Skip to content
Home
Blog
About
My Home
Contact
Search
Home
Blog
About
My Home
Contact
Home
/
Projects
/
DIY
DIY
DIY
|
Projects
|
Remodeling
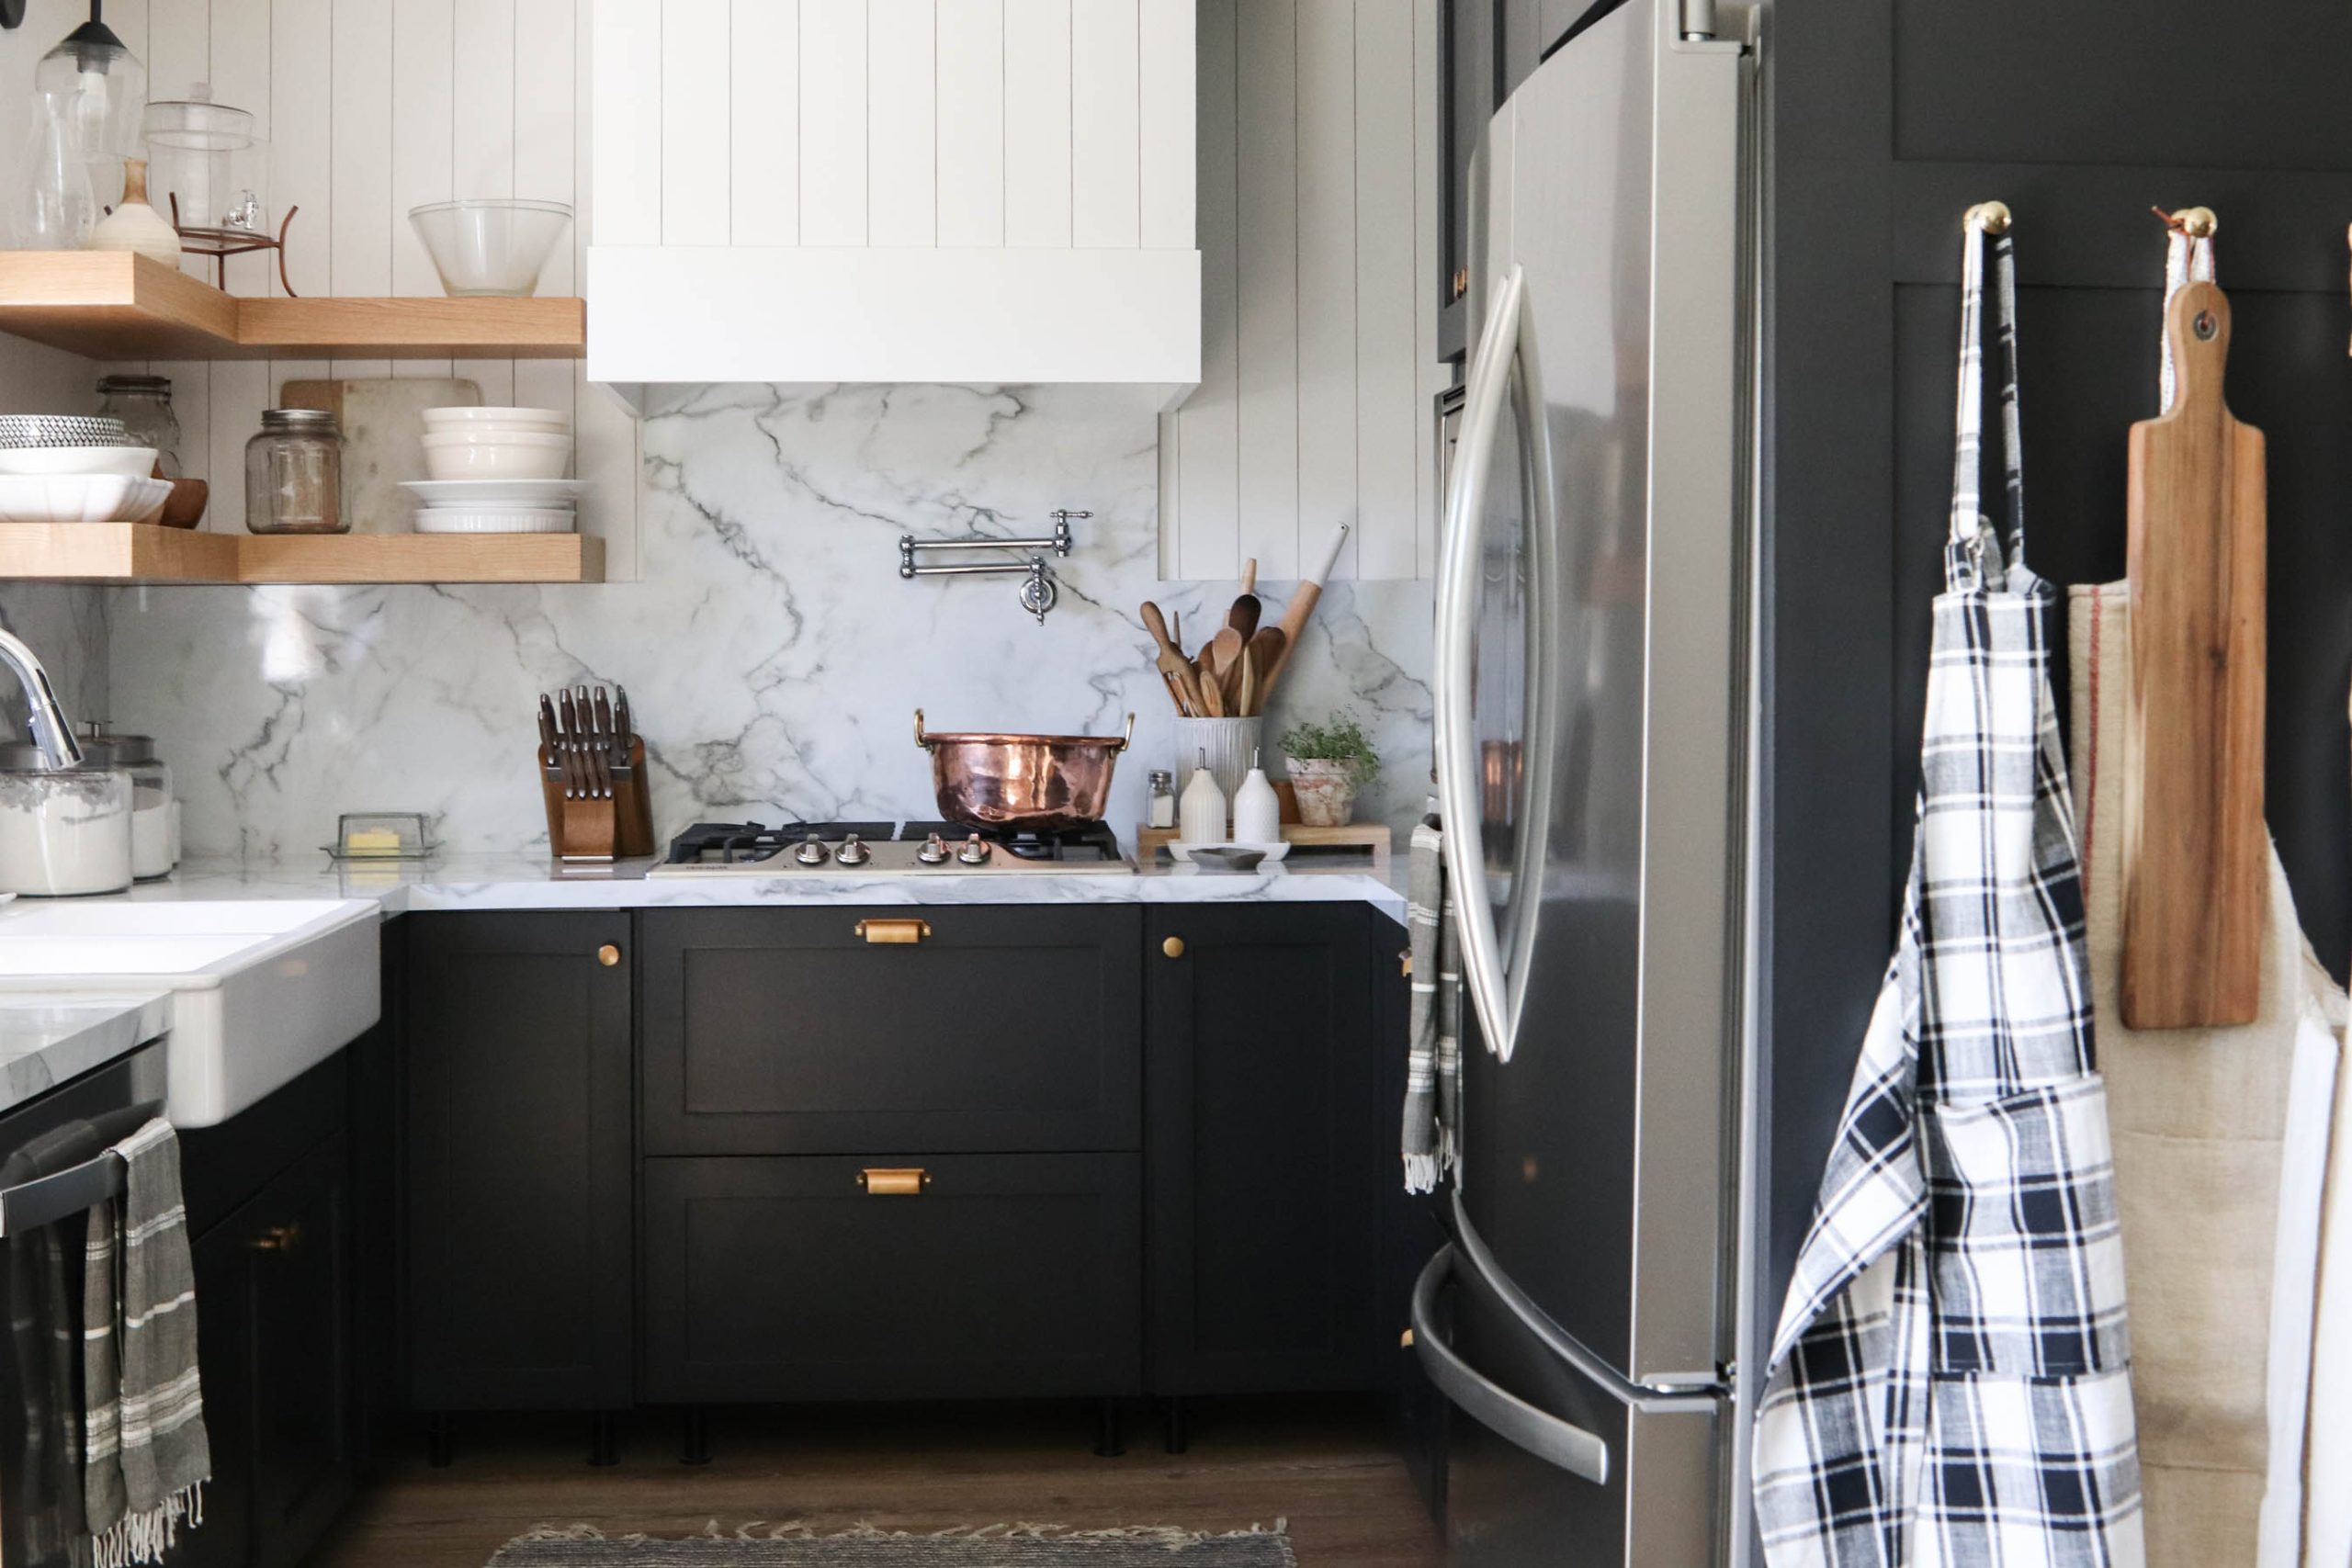
How We Built Our Custom Kitchen Vent Hood
DIY
|
Projects
|
Remodeling
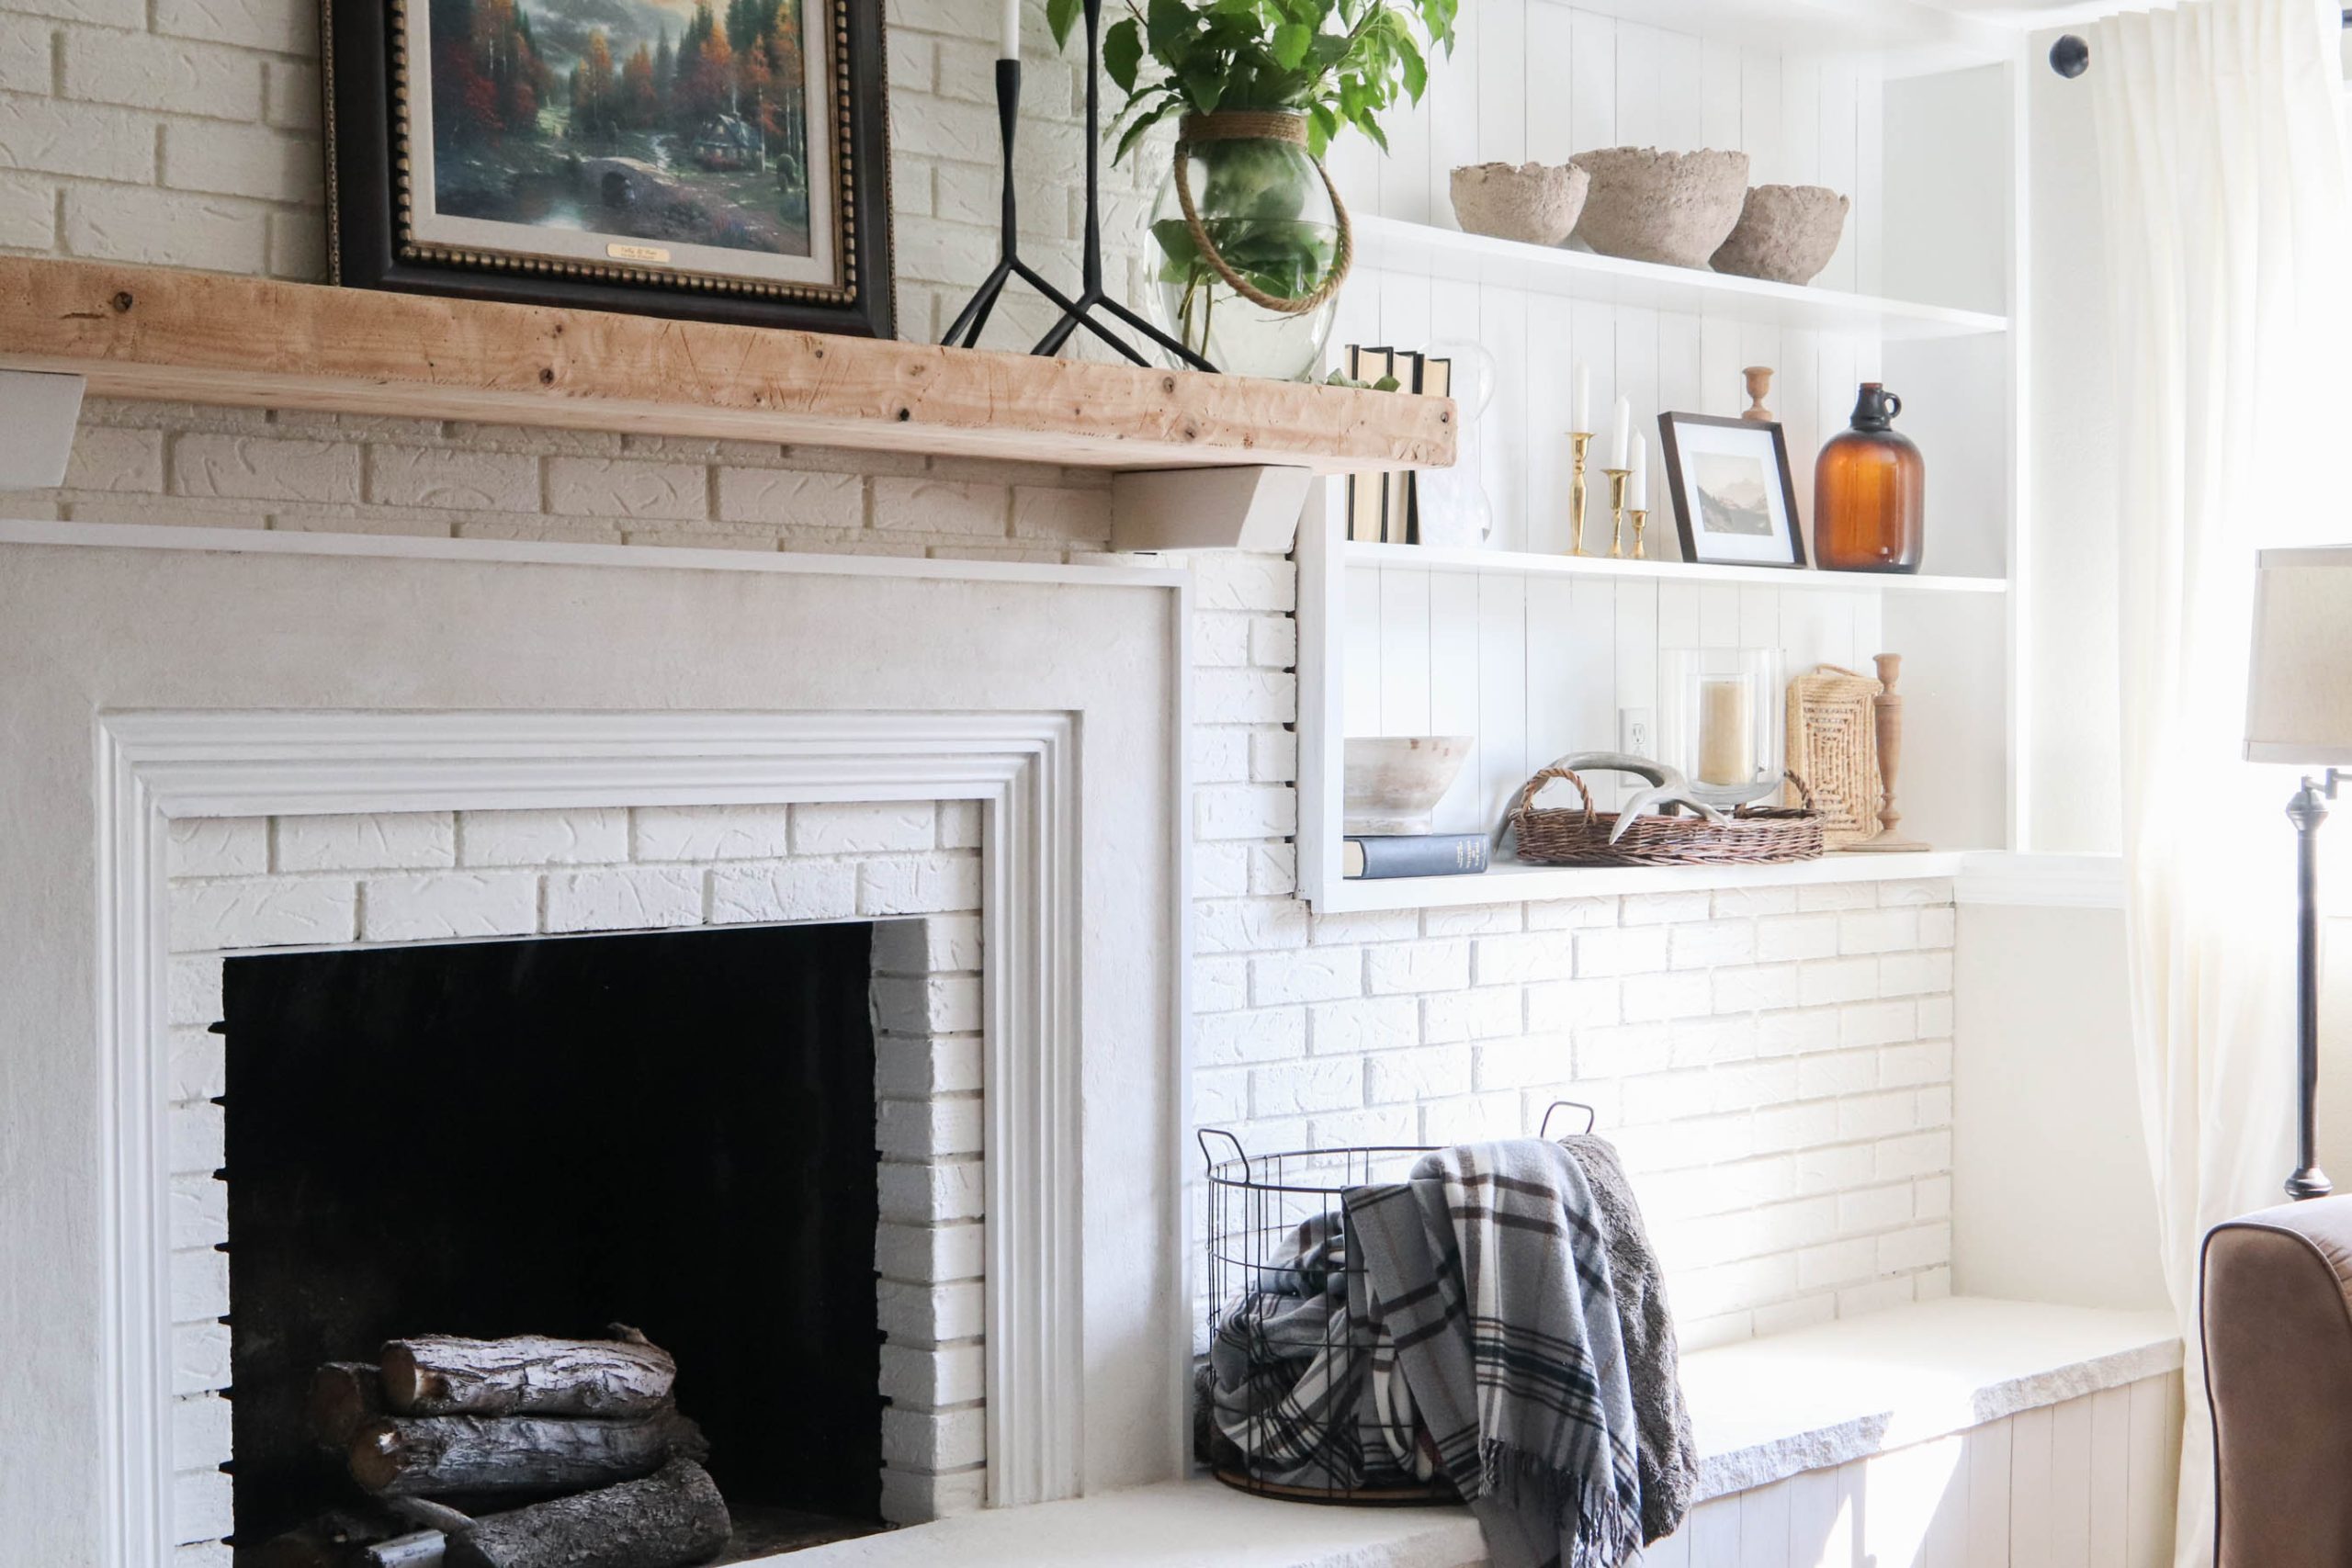
Our Brick Fireplace Makeover
DIY
|
Projects
|
Remodeling
Trimming Out Our Kitchen End Panel
DIY
|
Projects
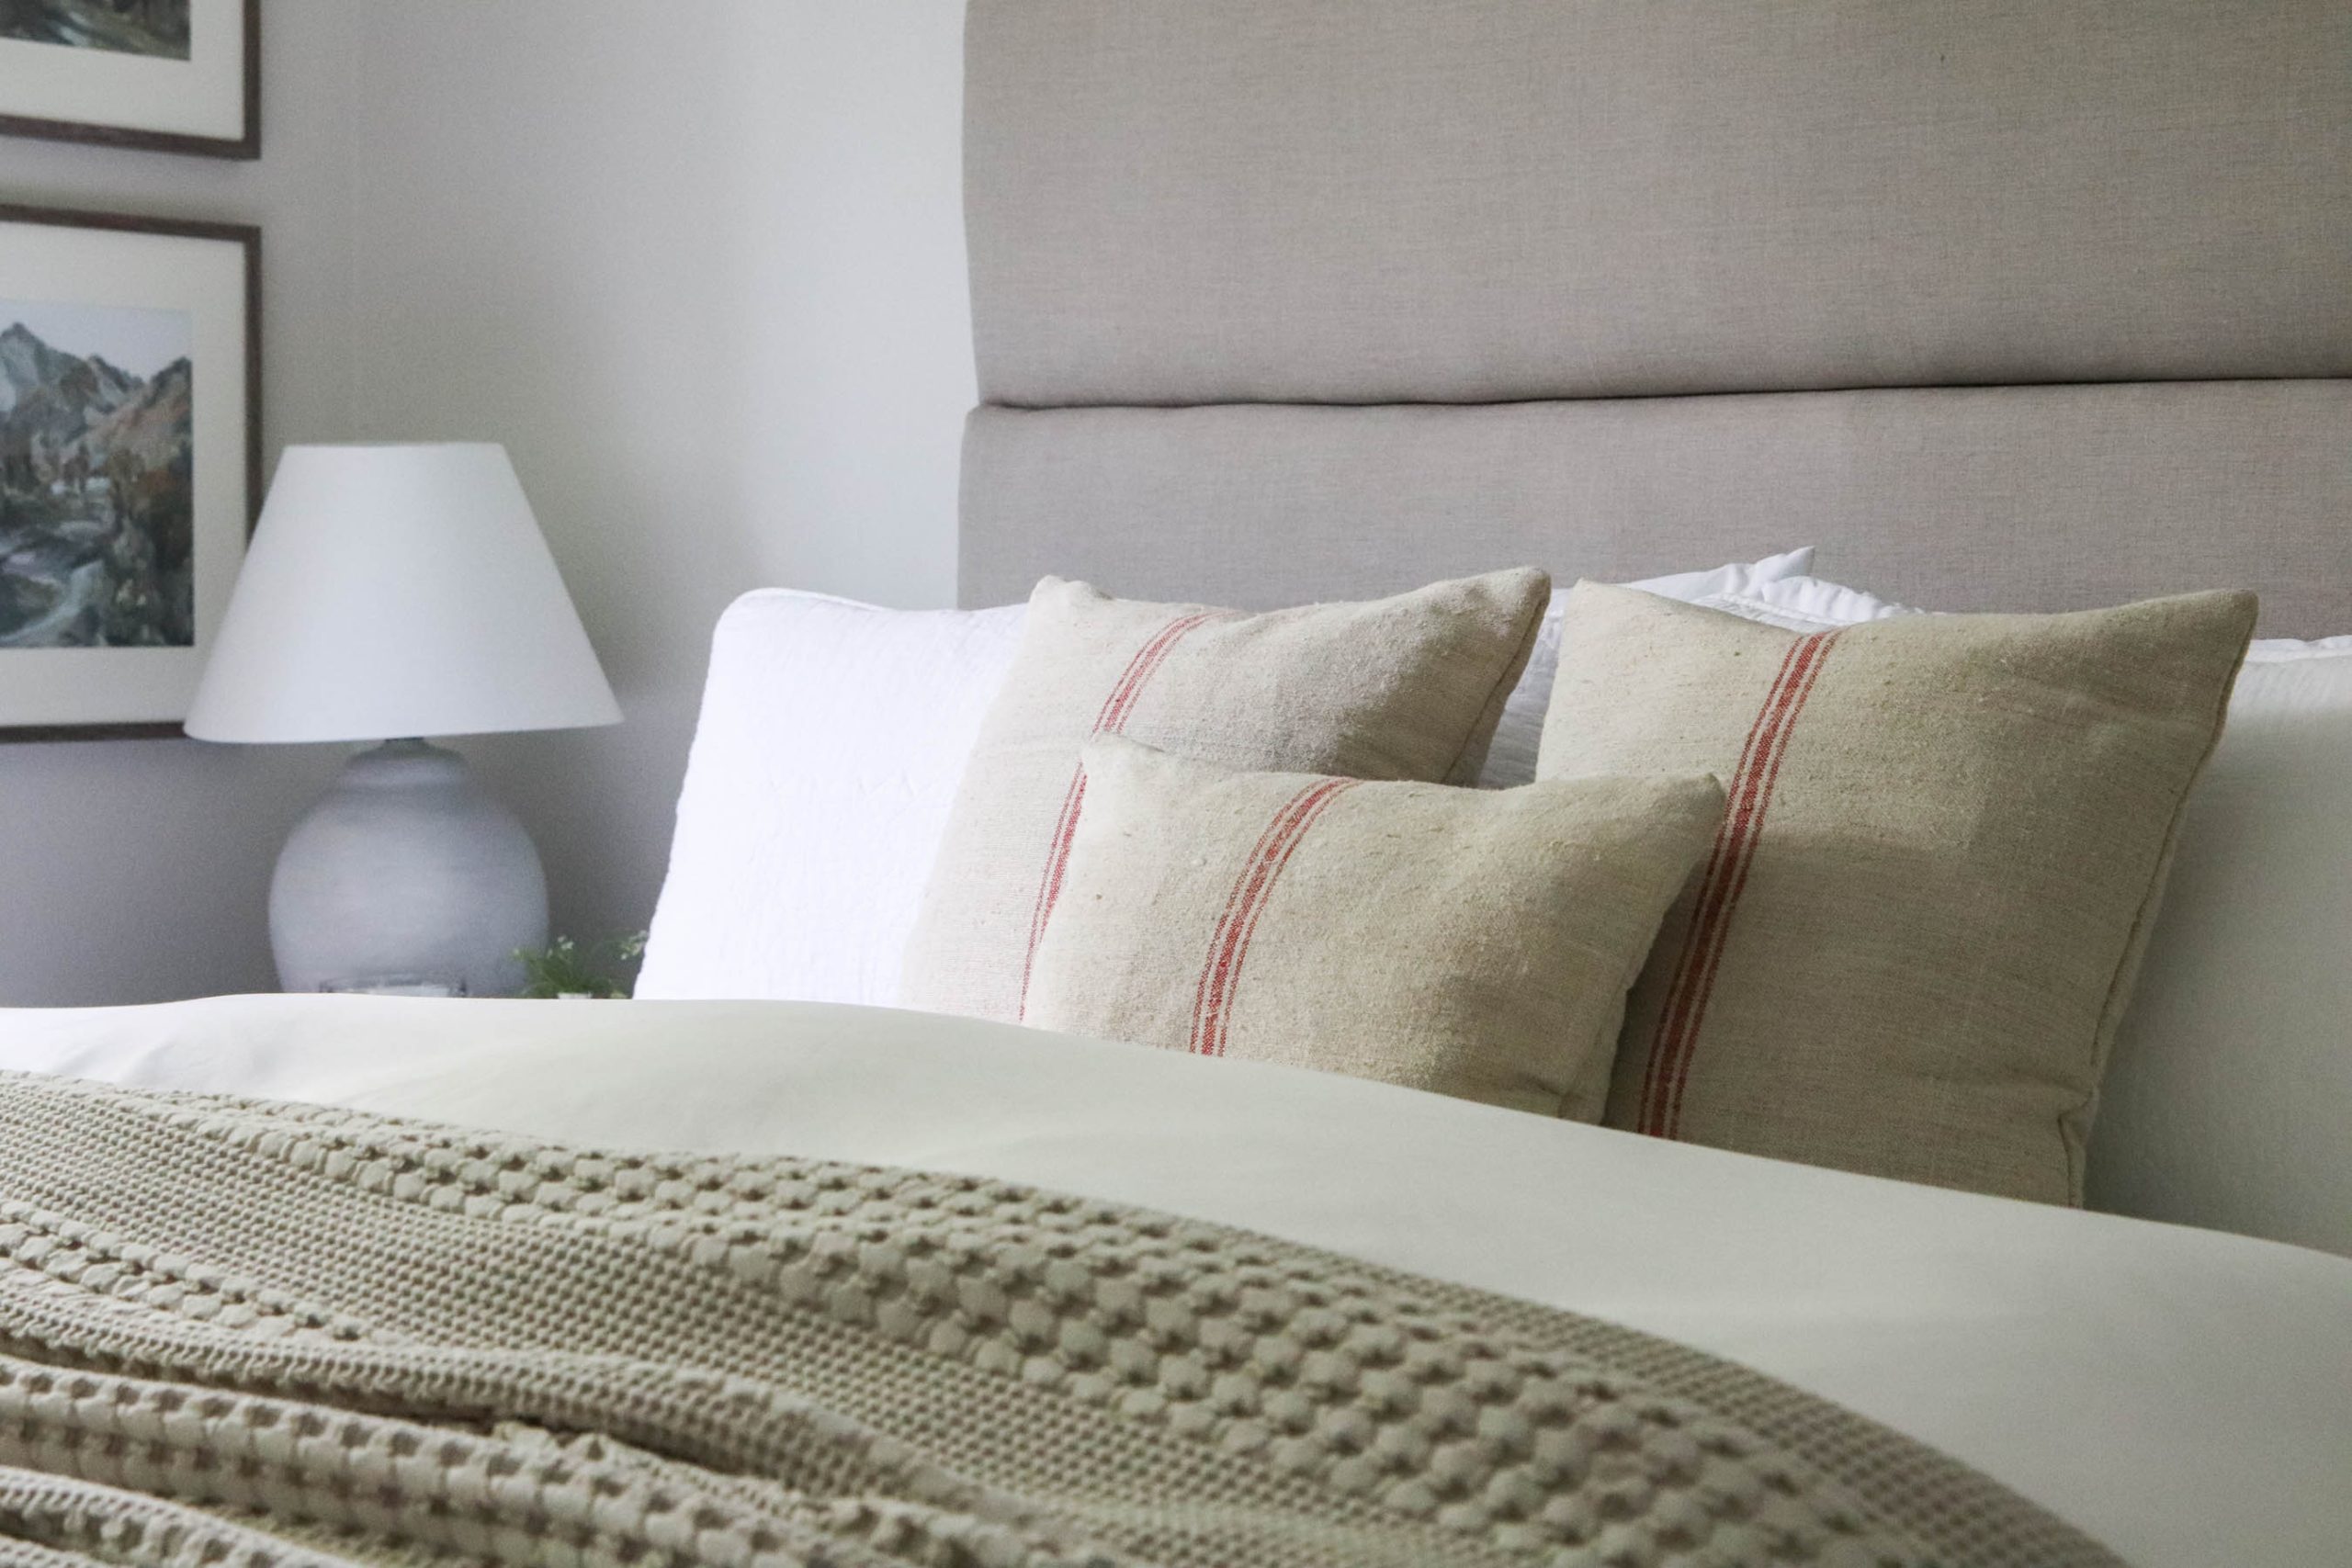
Building Our Master Bedroom Headboard
DIY
|
Projects
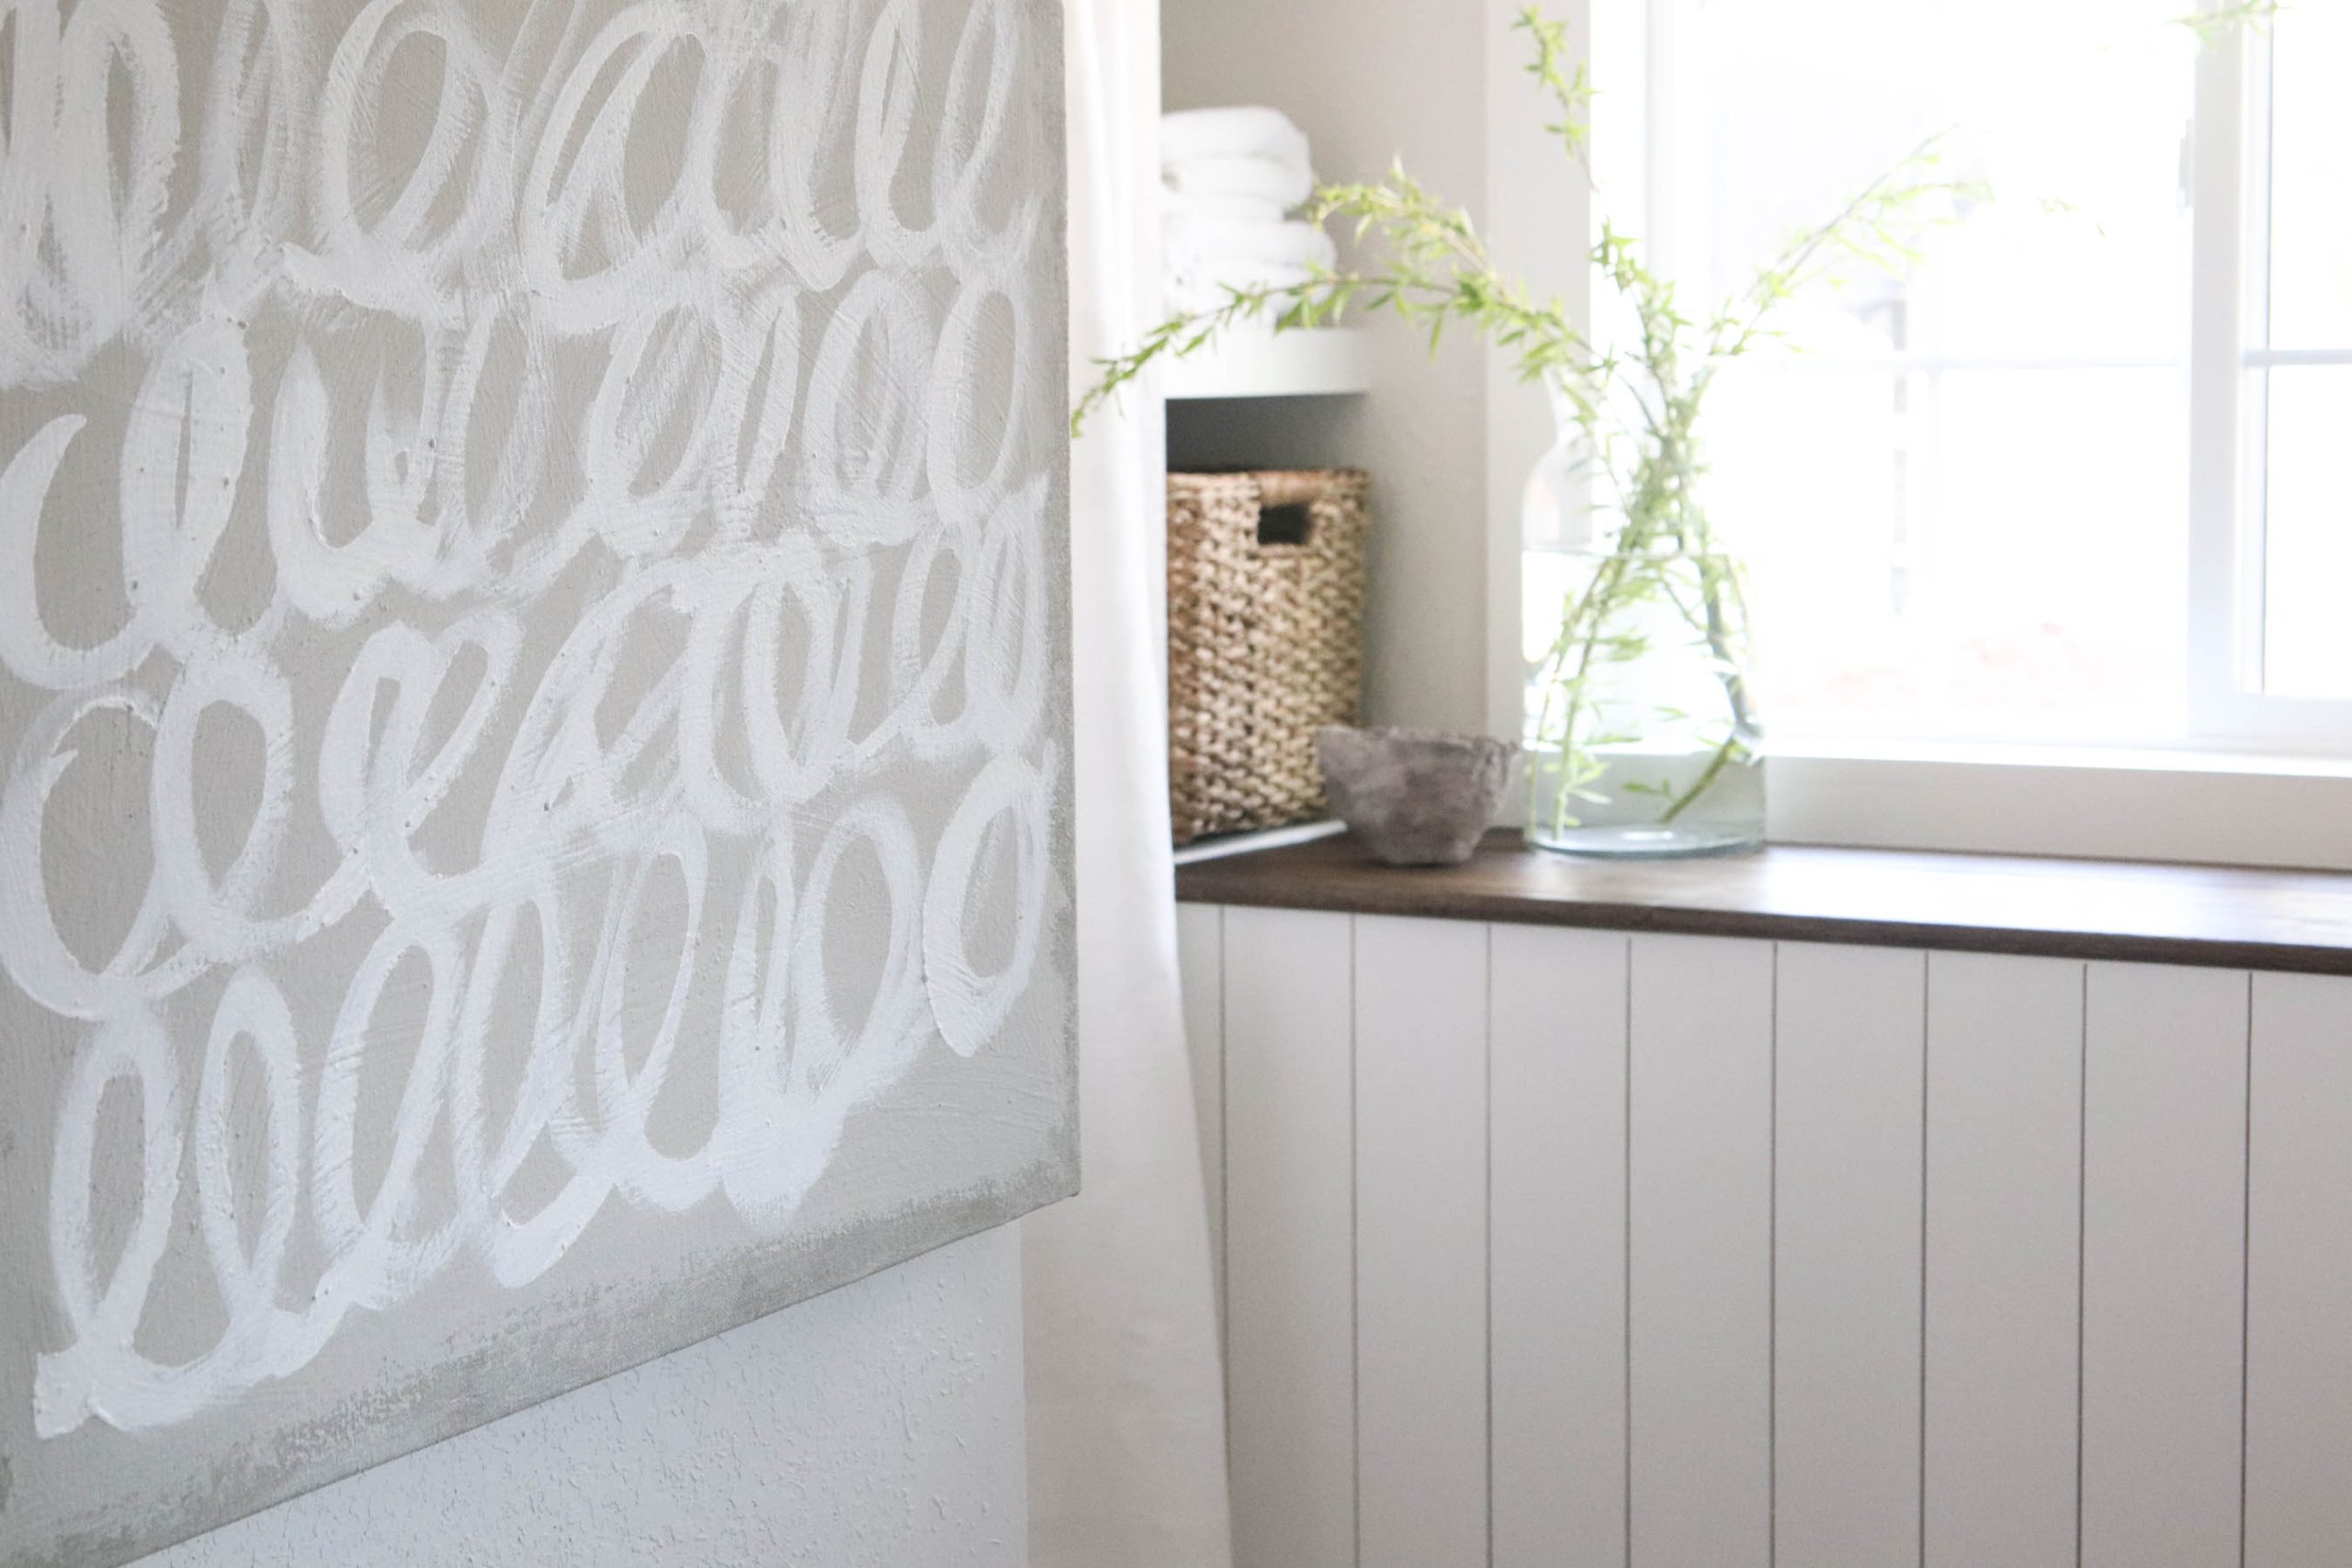
Creating Free Artwork For Our Downstairs Bathroom
DIY
|
Projects
|
Remodeling
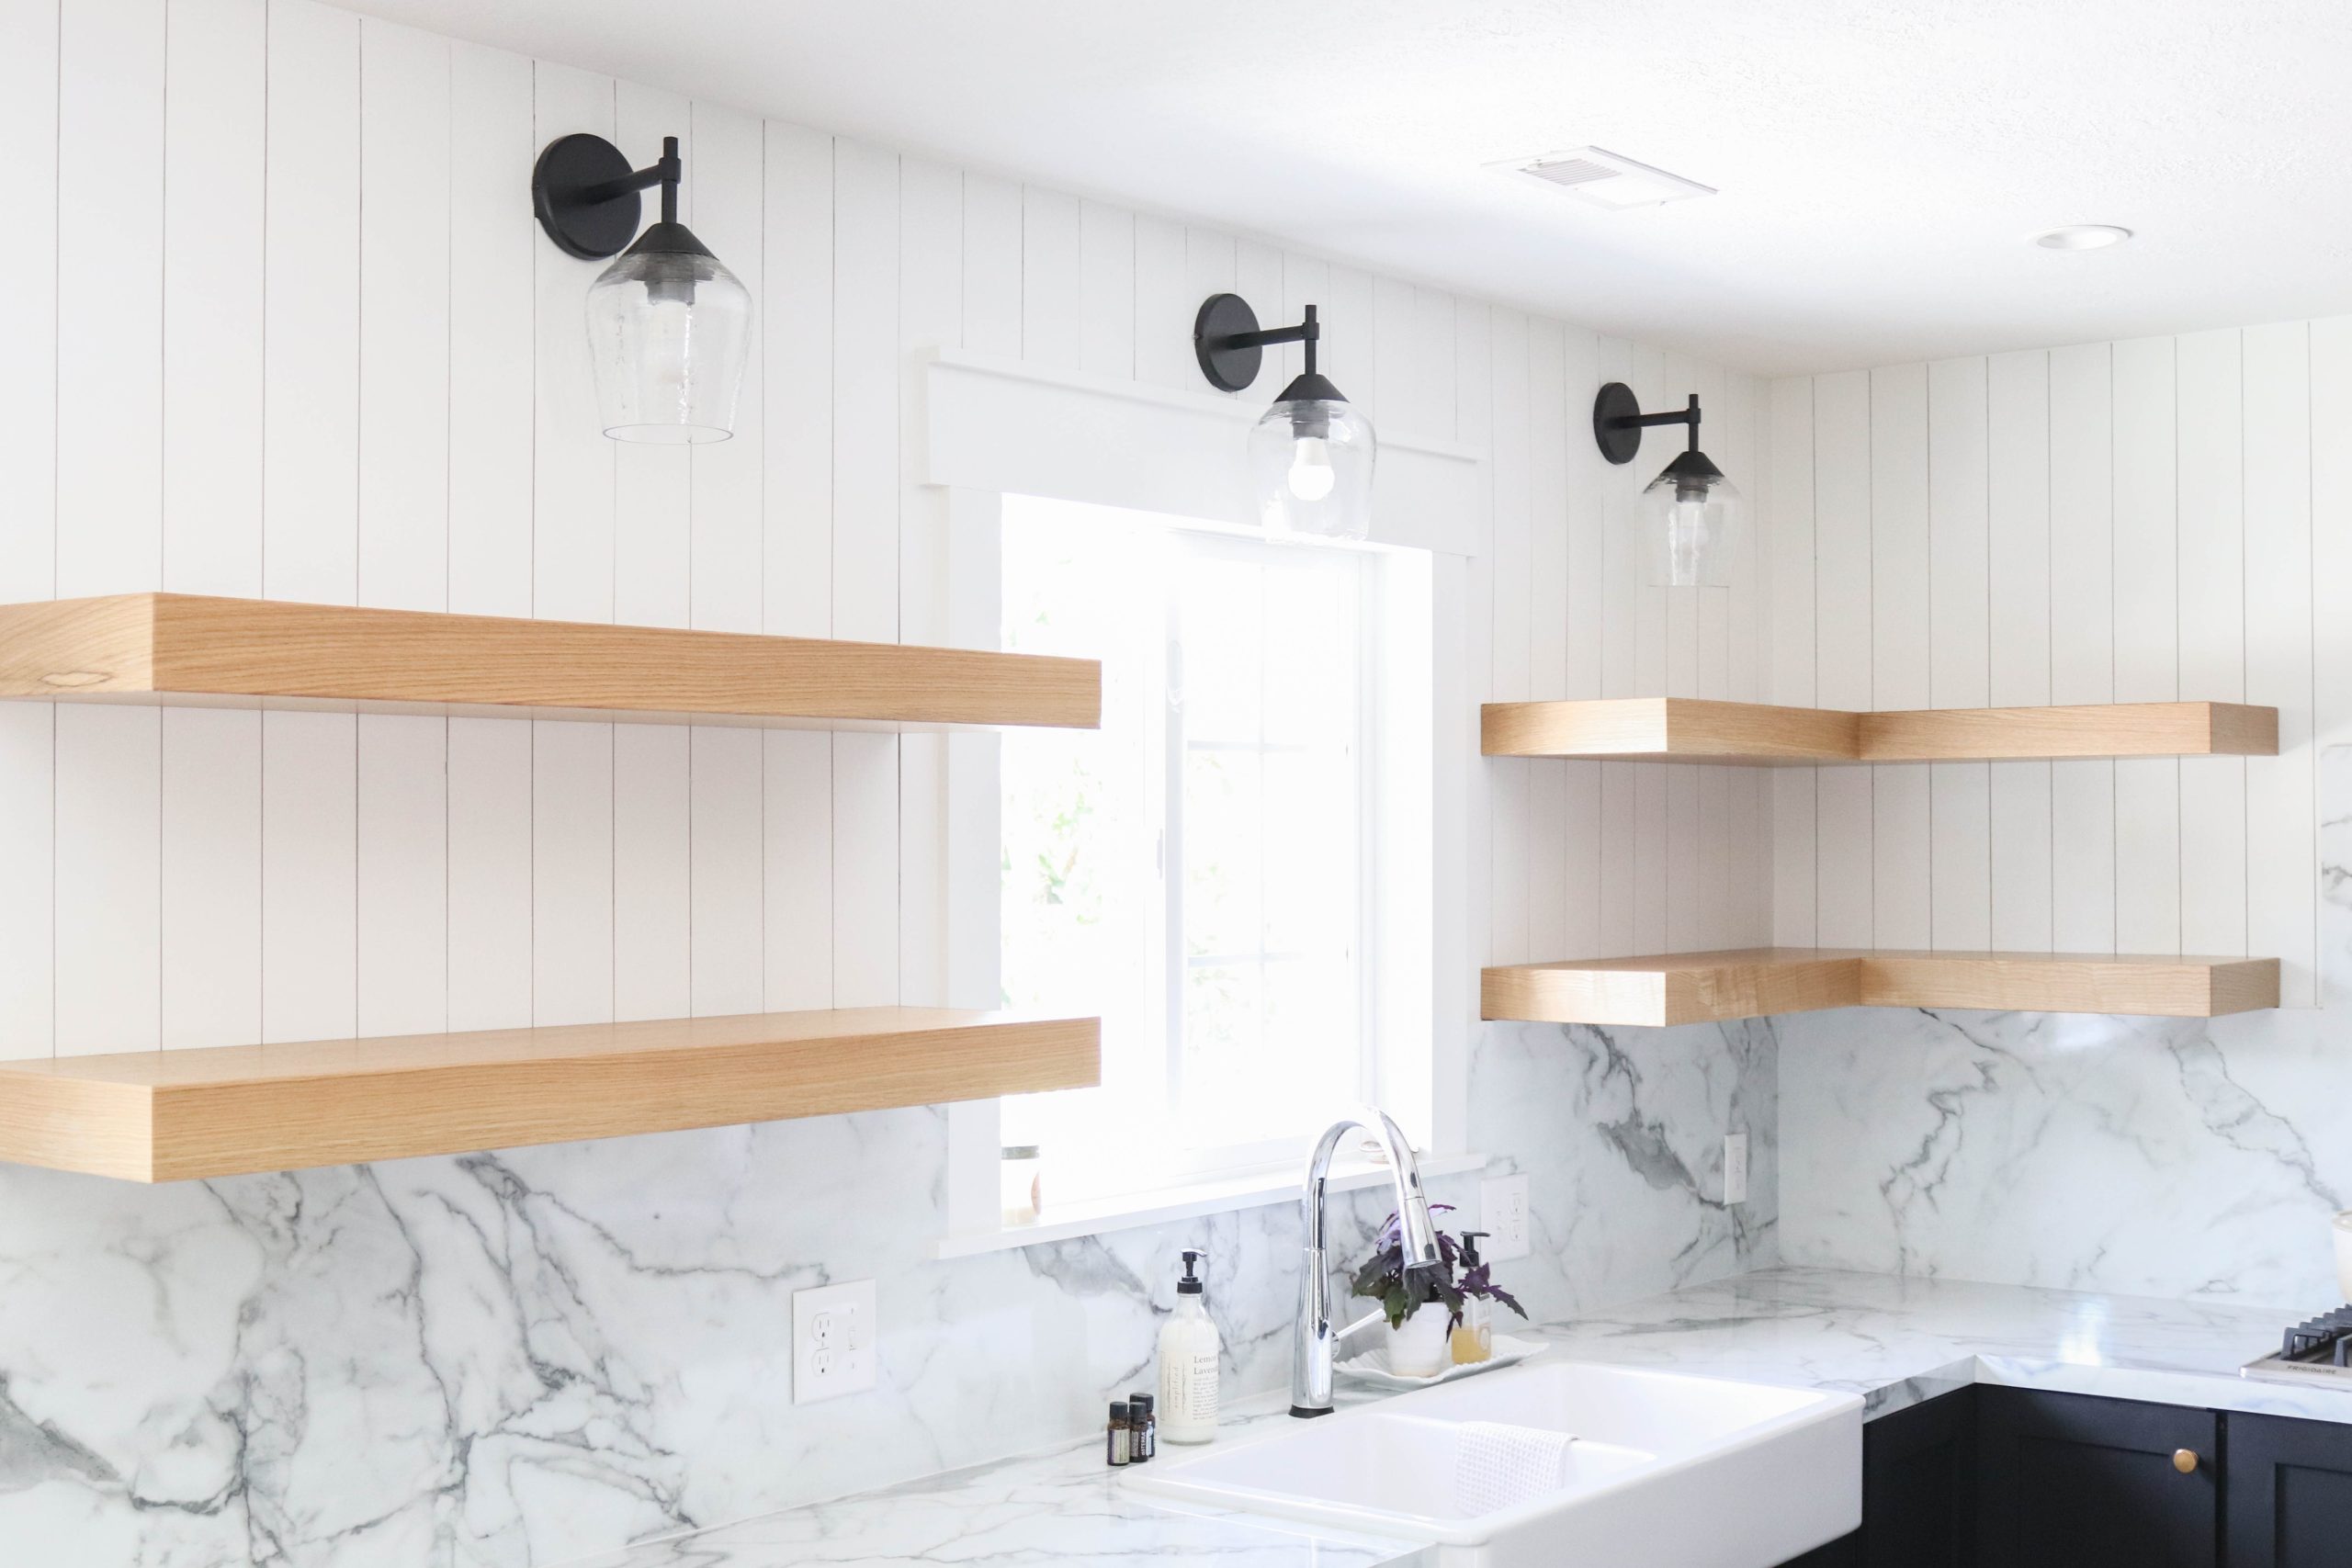
Vertical Planking & Open Shelves In The Kitchen
DIY
|
Gardening
|
Projects
Easy DIY Raised Garden Beds
DIY
|
Projects
Wall Moulding In The Nursery
DIY
|
Projects
|
Remodeling
Customizing Our Ikea Pax Dining Room Cabinet
DIY
|
Projects
DIY Towel Hook Rack
Page navigation
1
2
3
…
17
Next Page
Next
Toggle Menu Close
Search for:
Search