
Creating Free Artwork For Our Downstairs Bathroom
Creating free artwork for our downstairs bathroom was at the top of my list in projects I wanted to do for our budget friendly bathroom remodel. See how I made my own abstract art, completely free, and how you can too!
I’ve been adding several final touches to our downstairs bathroom, prepping it for the big reveal coming soon. One of the elements I really wanted to add, was abstract artwork. The thing is though, art can be expensive!
I’m absolutely not knocking artists, they create amazing things, but in this phase of my life, I’m not ready to invest in one of a kind artwork yet. So, enter in my mission to create free artwork for our downstairs bathroom.
The great thing about this project, is that you can customize it to use whatever you have on hand. Don’t have drop cloth? Use leftover fabric. Make it any size you want, in whatever colors you want. So many times we get intimidated because “I’m not an artist”, but don’t be scared to try abstract art. I’m not artistically gifted either, but this was a fun project. Give it a try for yourself!
Creating Free Artwork For Our Downstairs Bathroom
If you’re a long time blog follower, you may remember when I made curtains out of drop cloths. I used a stencil and hand painted them. They were loved, but since I sold the house and took down the curtains, I’ve had a stack of drop cloths just waiting to be repurposed for a new project. And drop cloth just happens to be perfect for creating artwork and building a canvas.
Plus, with some extra lumber laying around, we had everything I needed to create a fun, free artwork project!
Affiliate links are provided below. Full disclosure here.
- Lumber for the frame
- Drop cloth, or left over fabric for the canvas
- Paint- I used a custom mix of paint I had on hand
- Plaster of Paris
- Chip Brush
- Craft Brush
Building The Canvas
I had Todd rip down a 2″x4″ board and build the frame at 2′ wide x 3′ tall. Then, I cut the drop cloth to fit the frame…
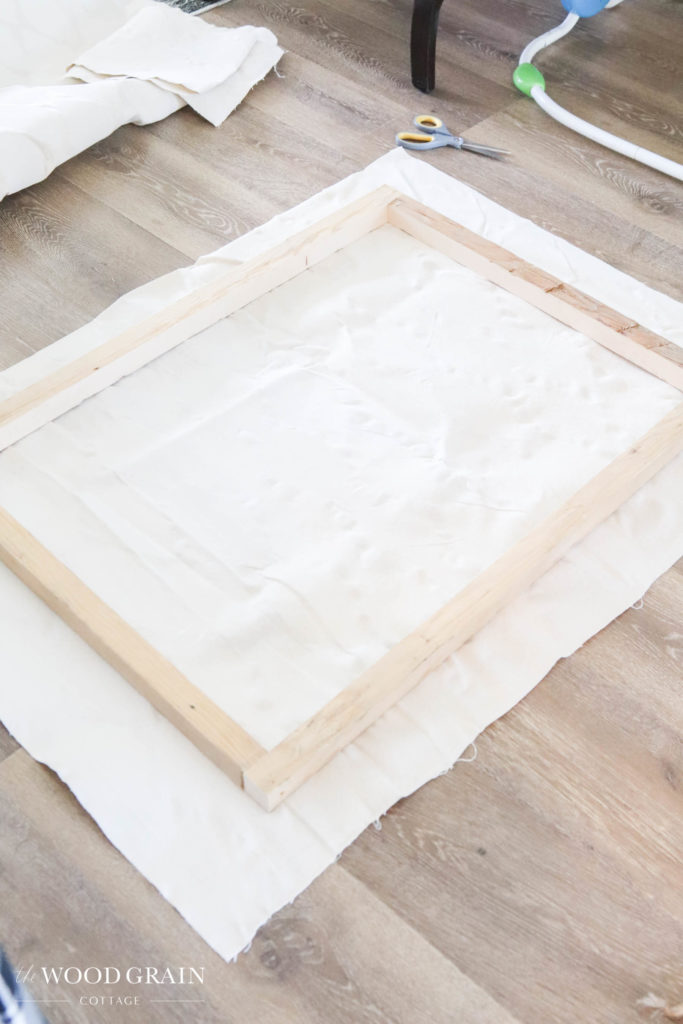
To get the best canvas, I ironed the drop cloth…
[one-half-first]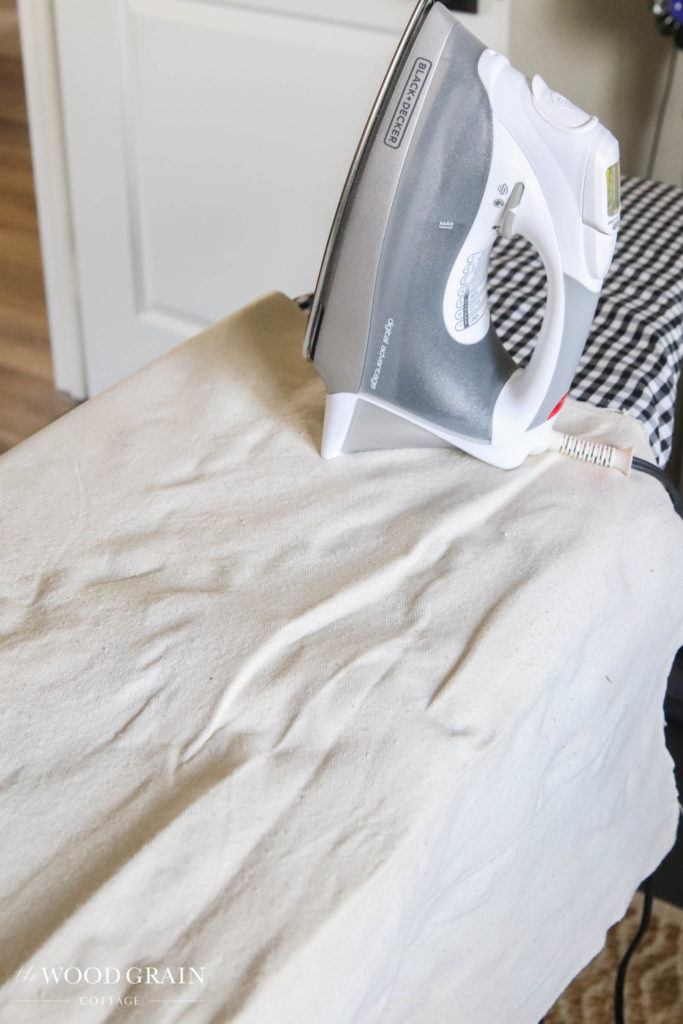 [/one-half-first]
[one-half]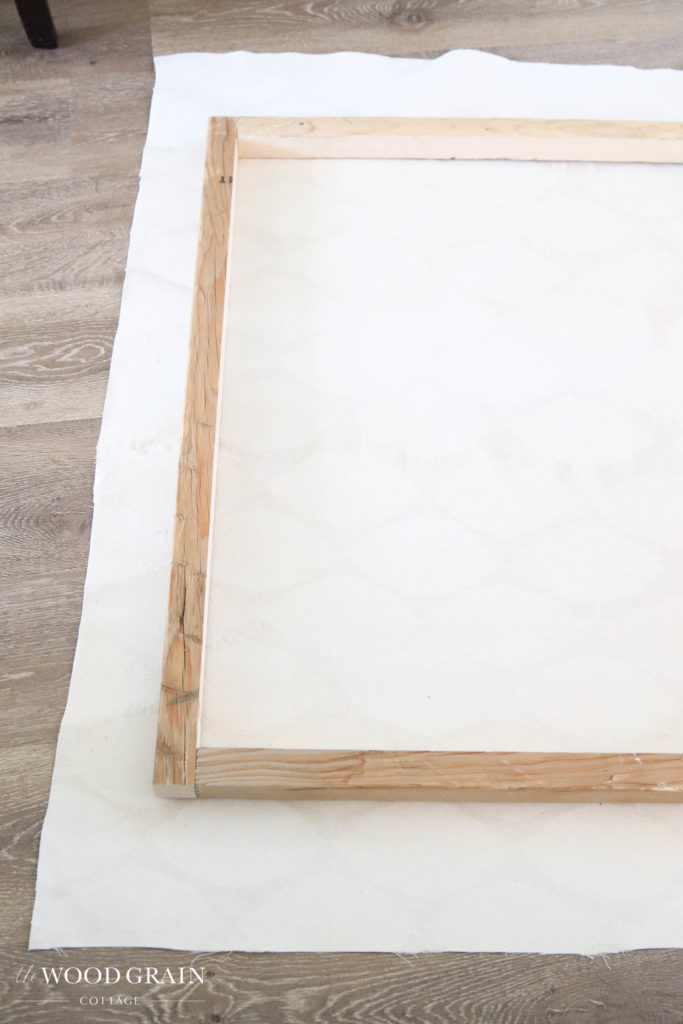 [/one-half]
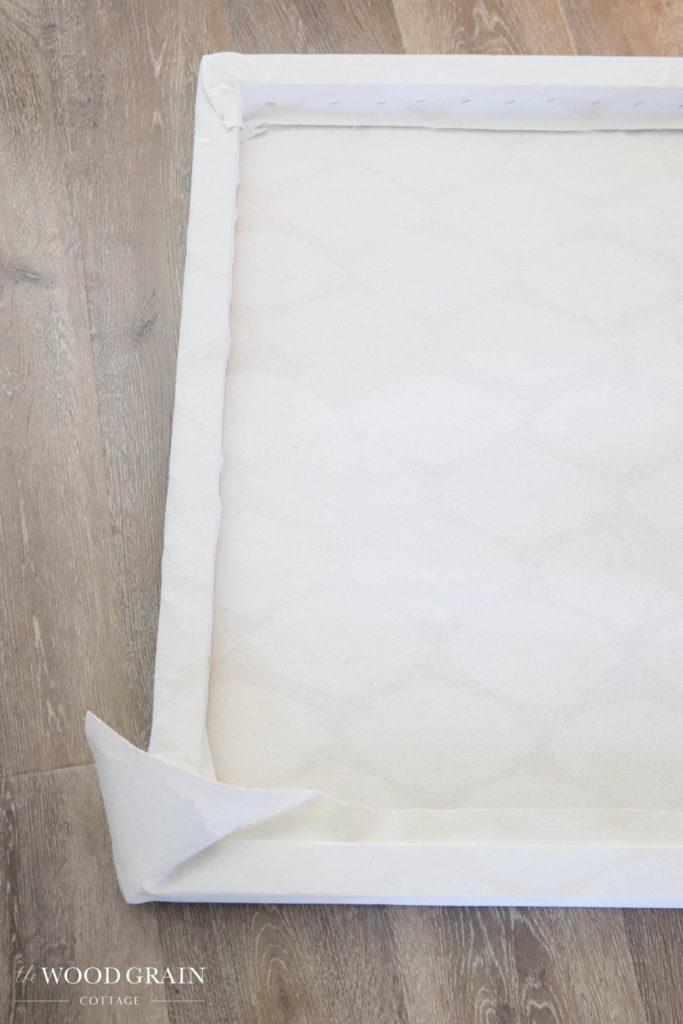
And then used my staple gun to attach the drop cloth to the frame…
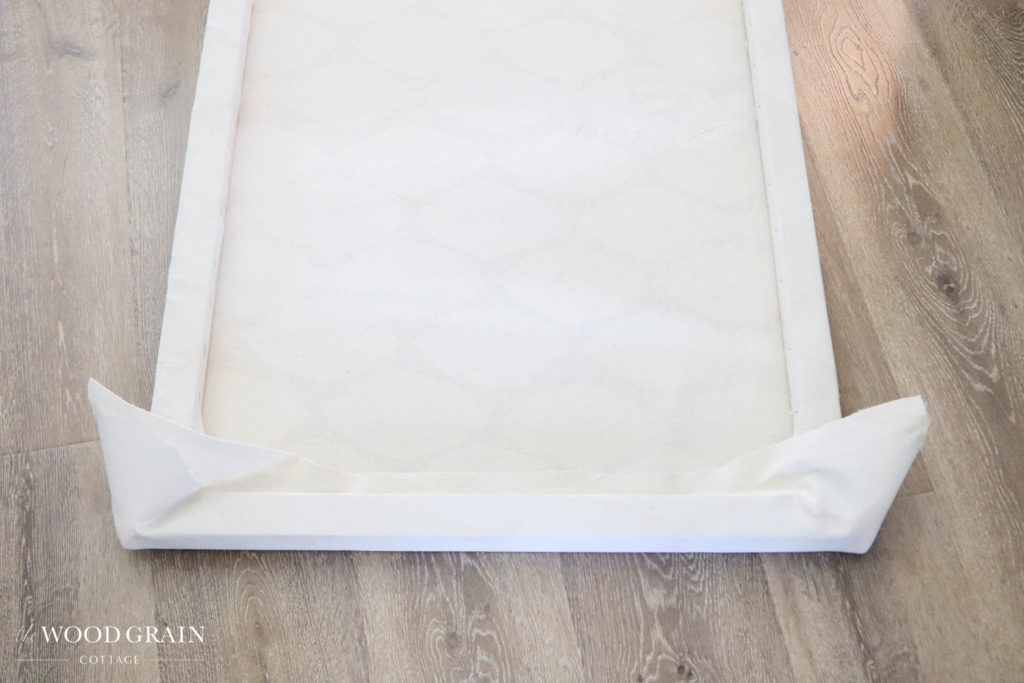
I pulled it as tight as possible and then folded the corners to create a nice edge…
Painting The Canvas
With that, my canvas was ready for paint! Since I wanted to keep this a “free project”, I looked through my stash of paint and found a few colors to test.
After seeing my different options, I decided to mix Mourning Dove by Sherwin Williams with Super White by Benjamin Moore. It resulted in the perfect warm putty color…
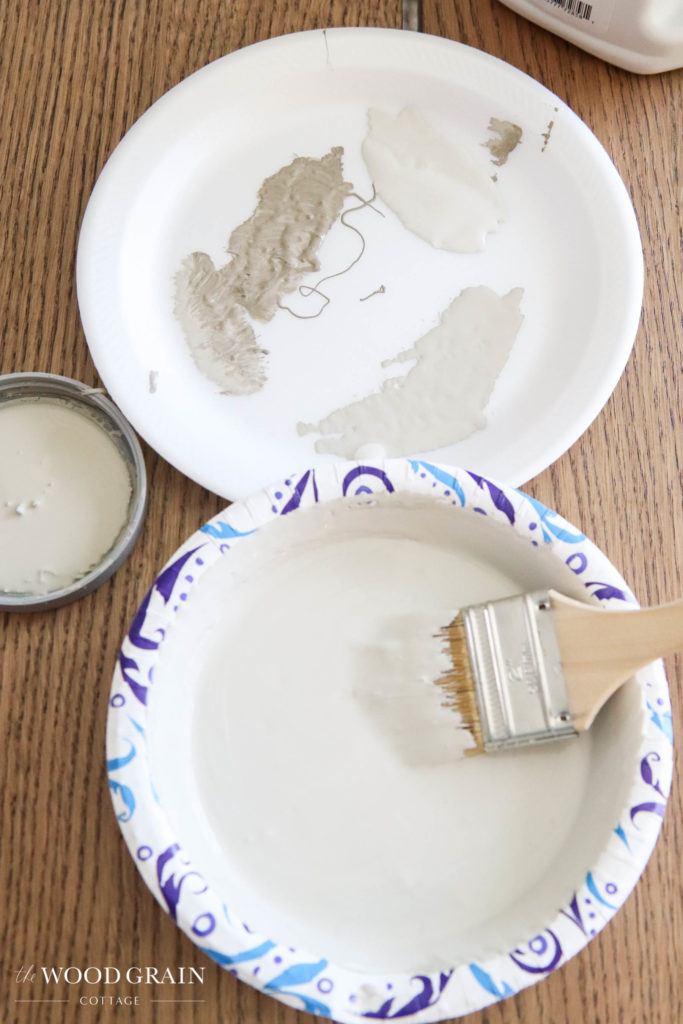
I used a chip brush to brush on the paint, making sure to swirl my brush around to create as much texture on the canvas as possible. Problem was, once the paint dried, you could still see the original pattern of the curtains…
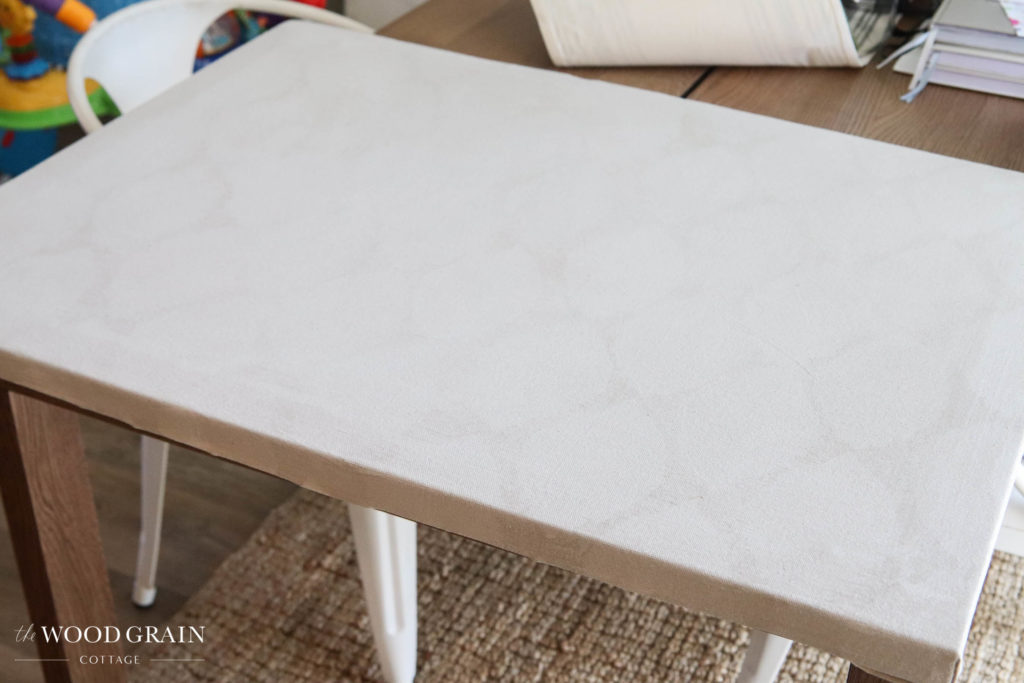
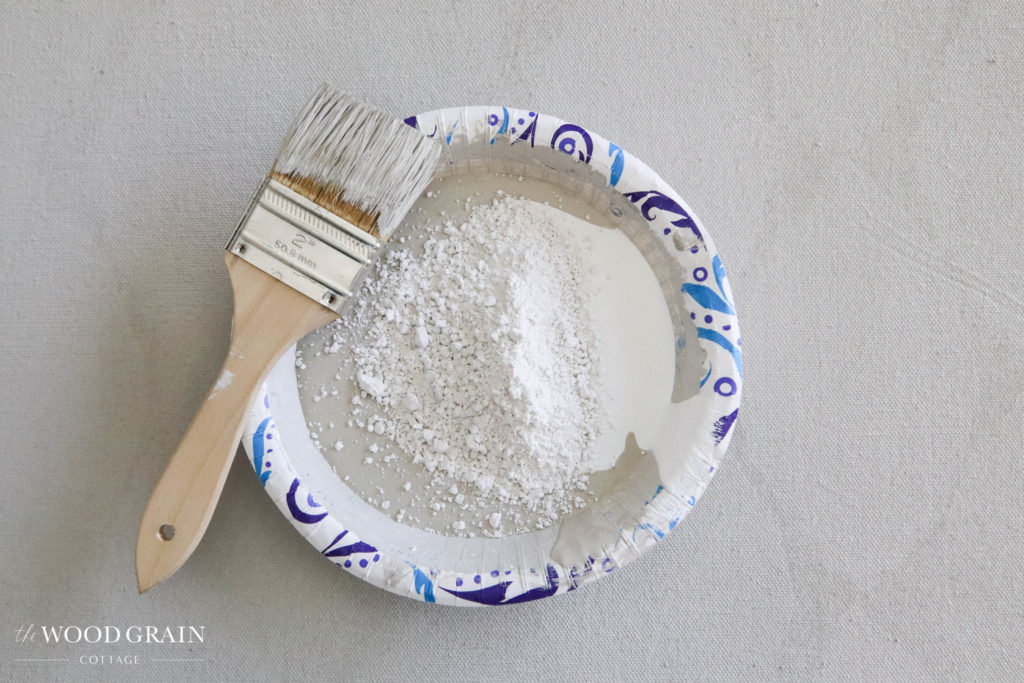
That wasn’t really the look I was going for, so I used the same paint mixture, basically a one to one blend of the two colors, but this time, I added about 3/4 cup of Plaster of Paris…
It resulted in the most perfect, ultra thick consistency that absolutely accomplished the two things I wanted: covering up the original pattern and adding loads of texture to the canvas.
The addition of the Plaster of Paris did make the paint color a little bit lighter than the original layer I added the first time, which was perfect! I was able to paint close to the edge, purposely not completely covering my base coat, giving the edge an abstract look as well. See the finished pictures below!
Creating Free Artwork
With the canvas painted, dried and ready, I started creating my abstract art! This was the fun part! I based my inspiration for the pattern off of this artwork, but I had fun making swirls and loops and letters. It’s suppose to be abstract and abstract I can do!
For this part, I used Super White by Benjamin Moore and mixed it with Plaster of Paris. It was thick and chunky and excellent for this application…
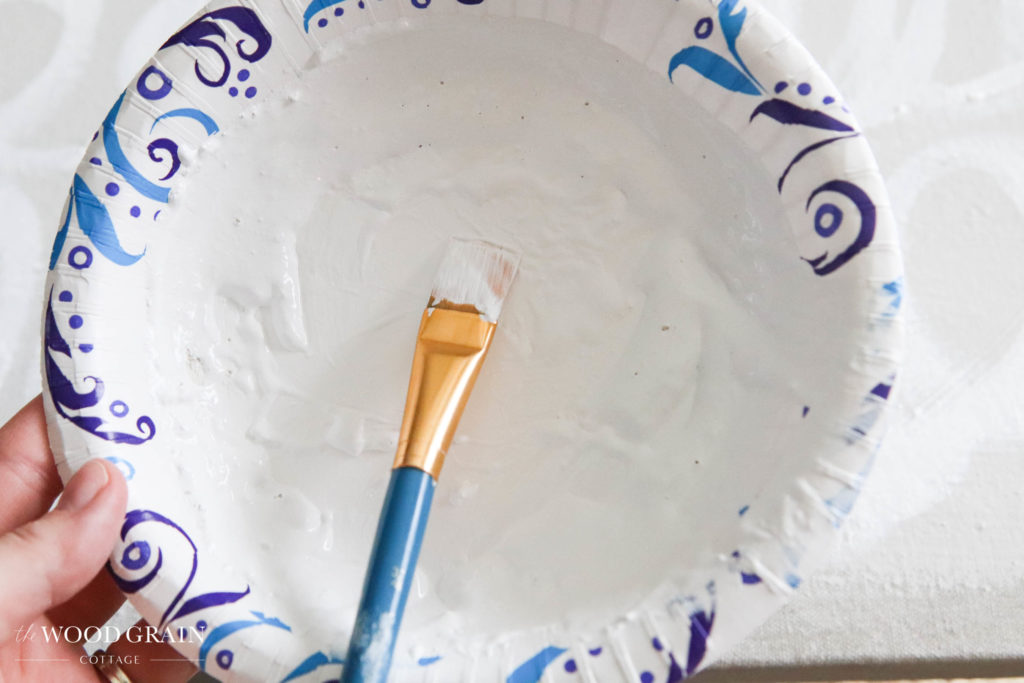
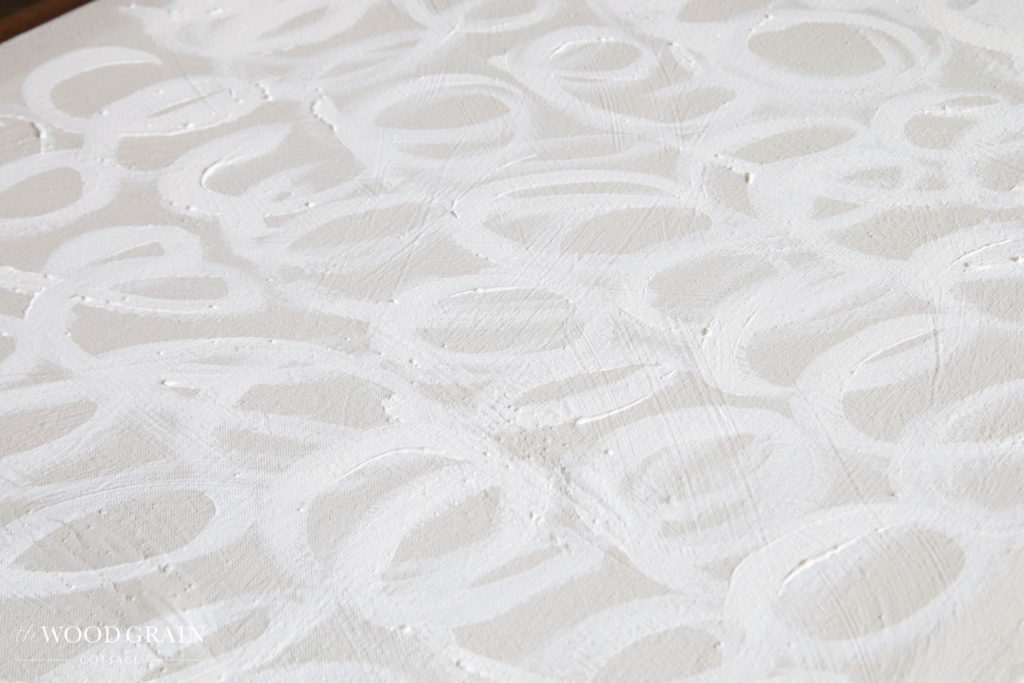
I purposely had it thicker in some areas and lighter in others. I also really liked having areas where the extra paint was left on the canvas…
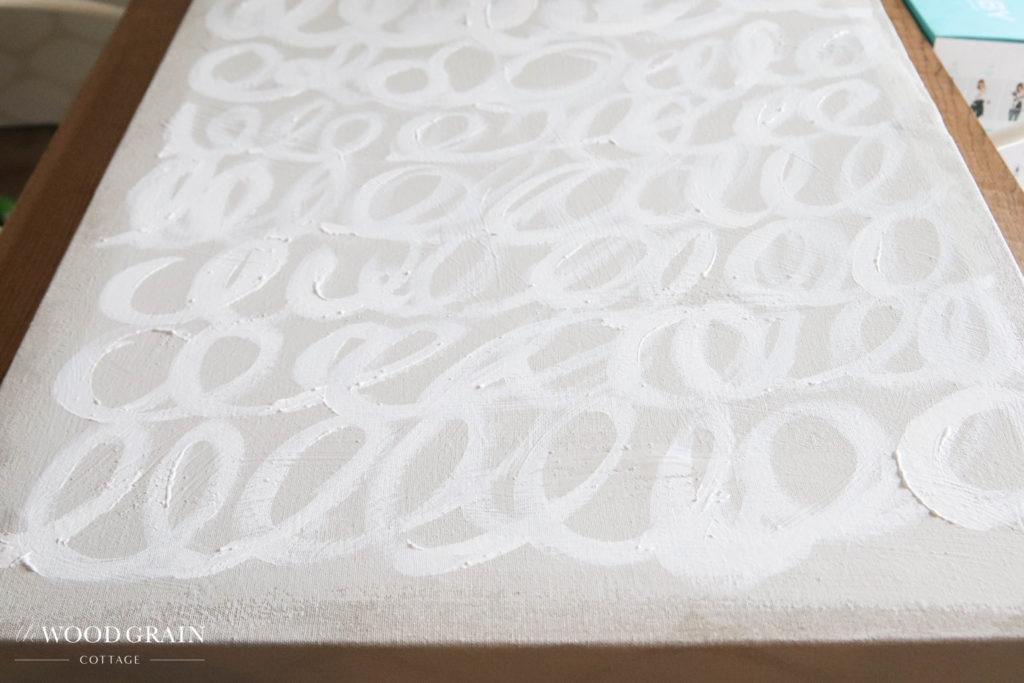
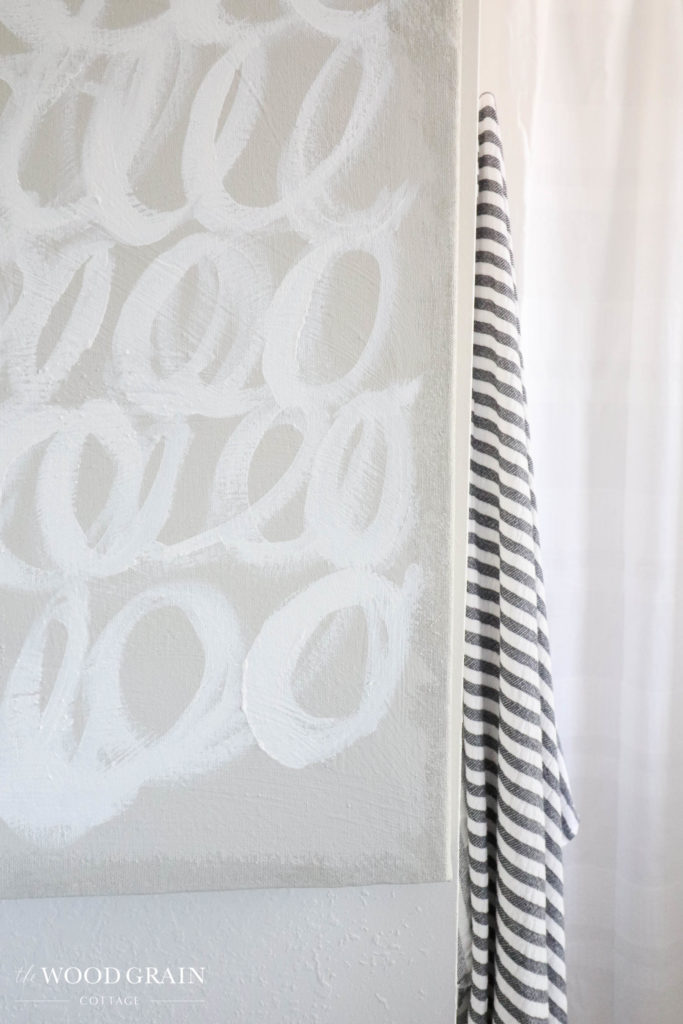
A swirl here and a loop there, this was a fun project to create and I loved seeing the texture of each paint layer shine through…
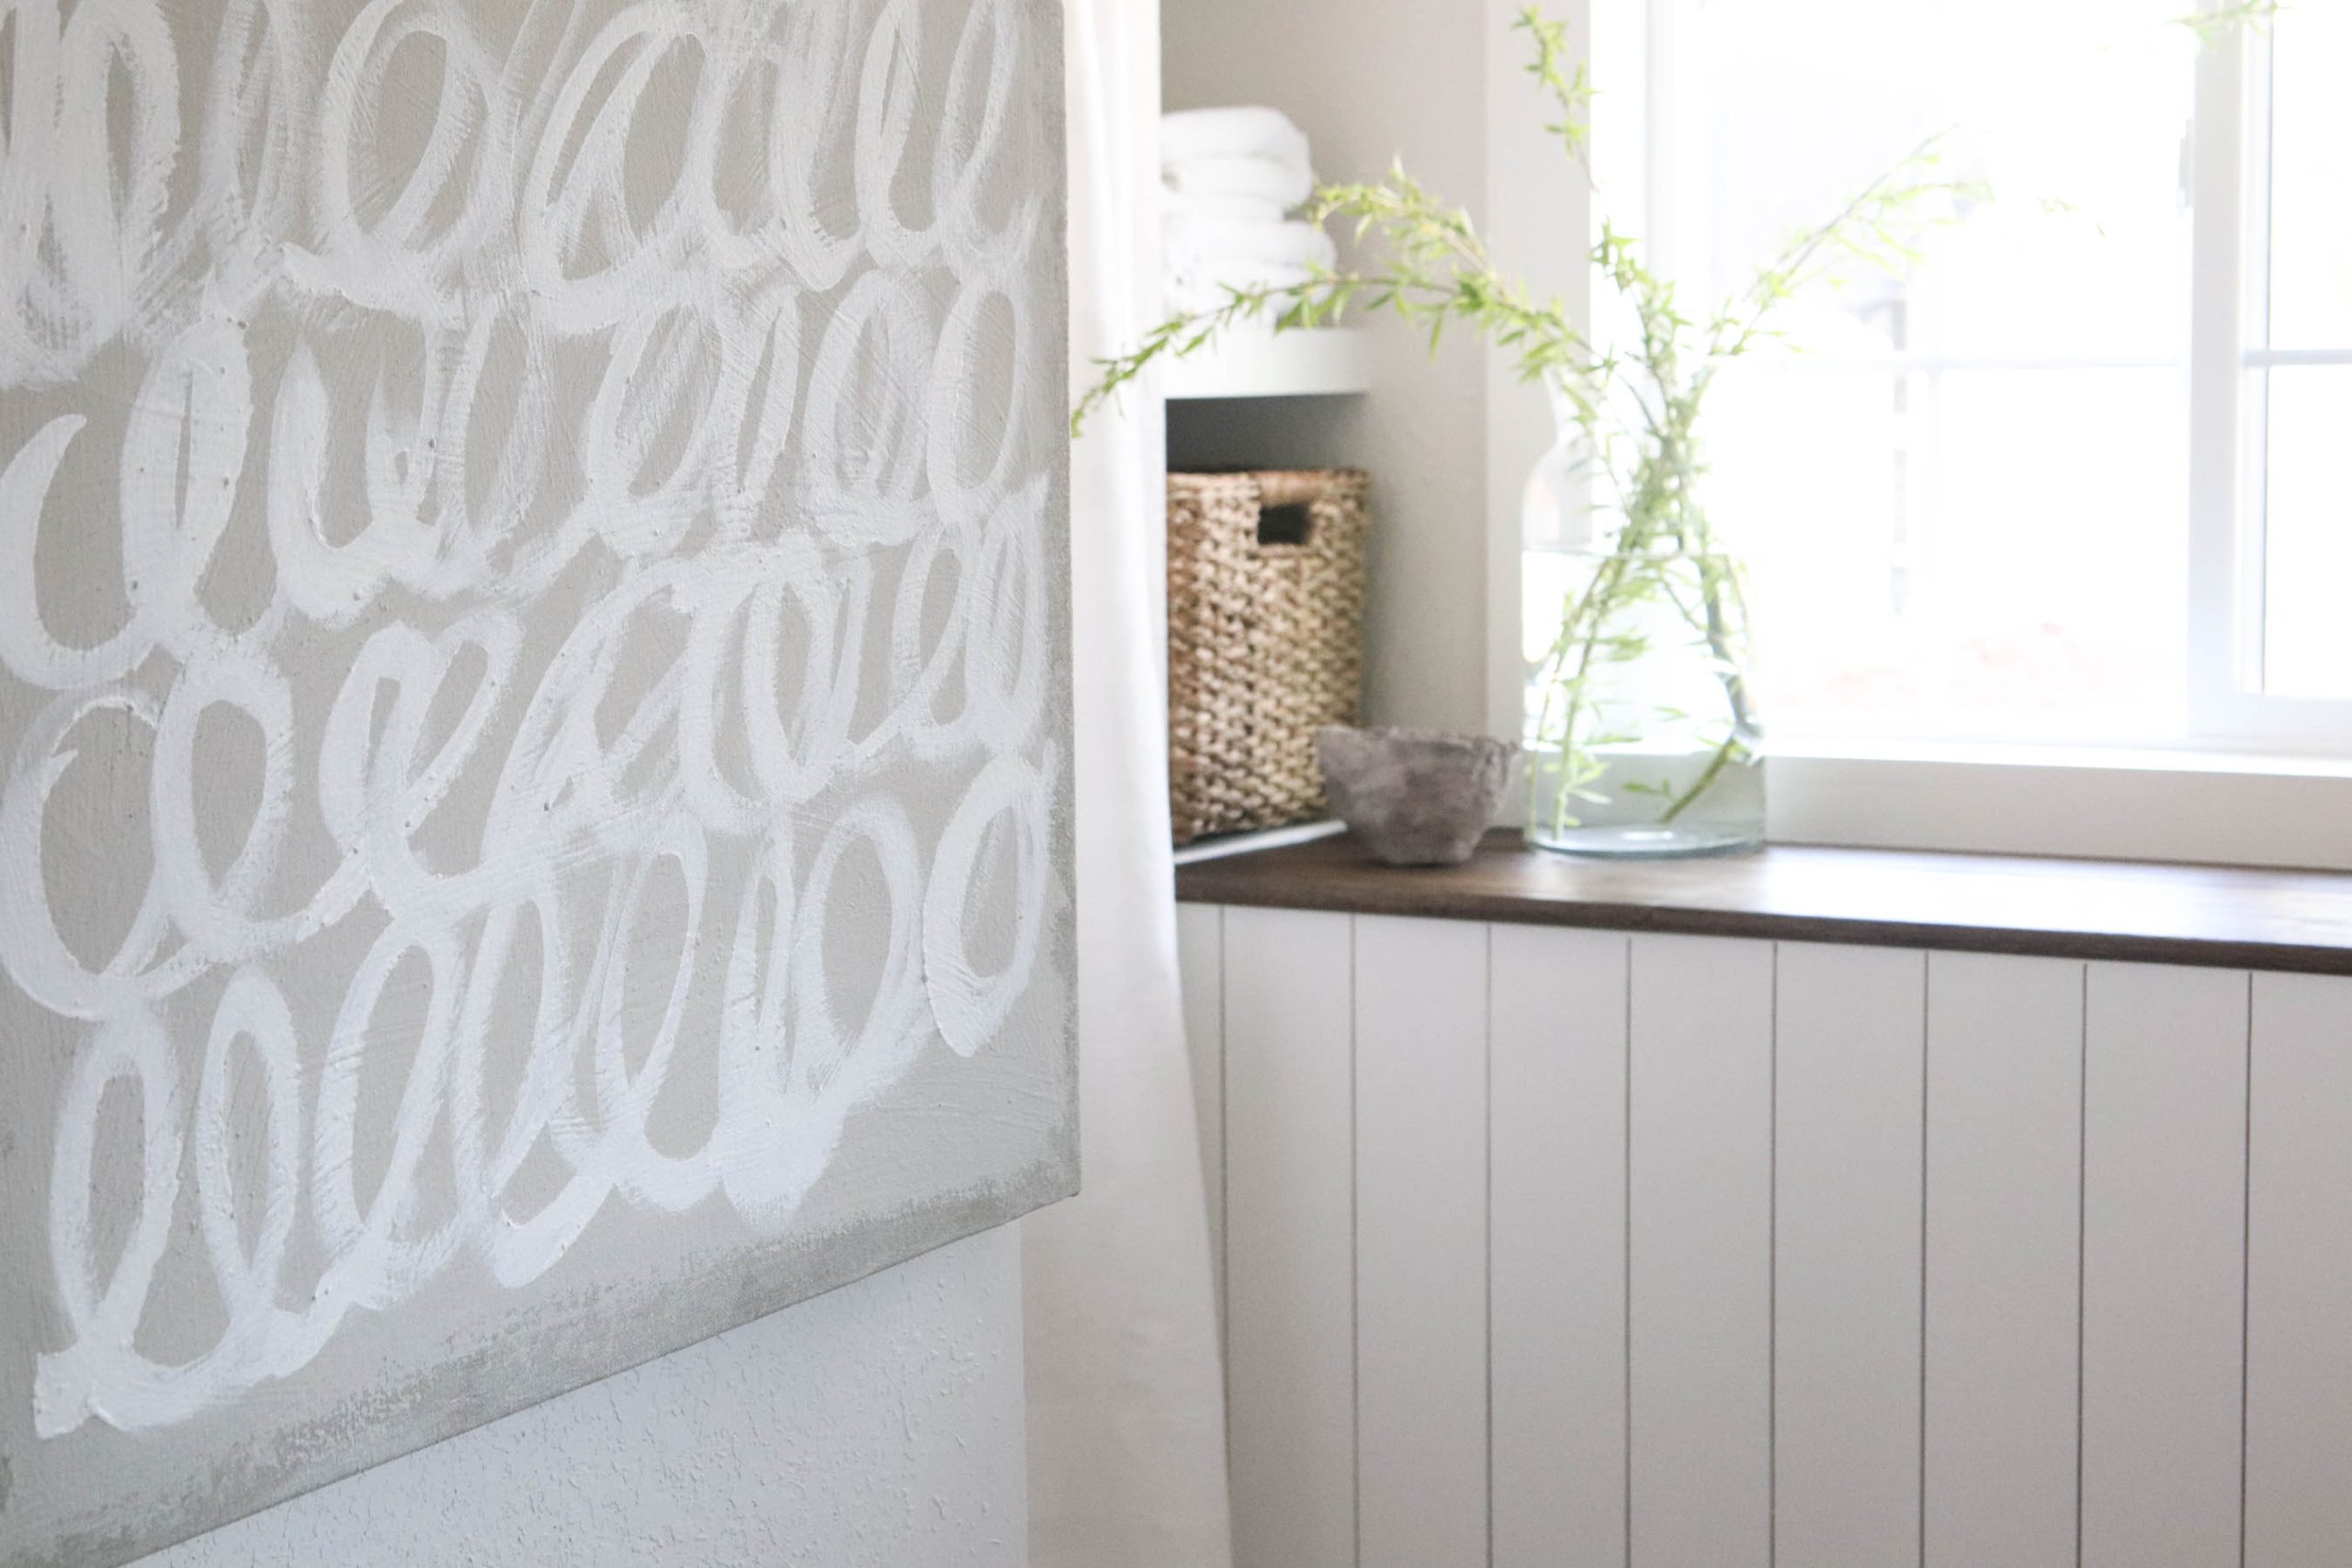
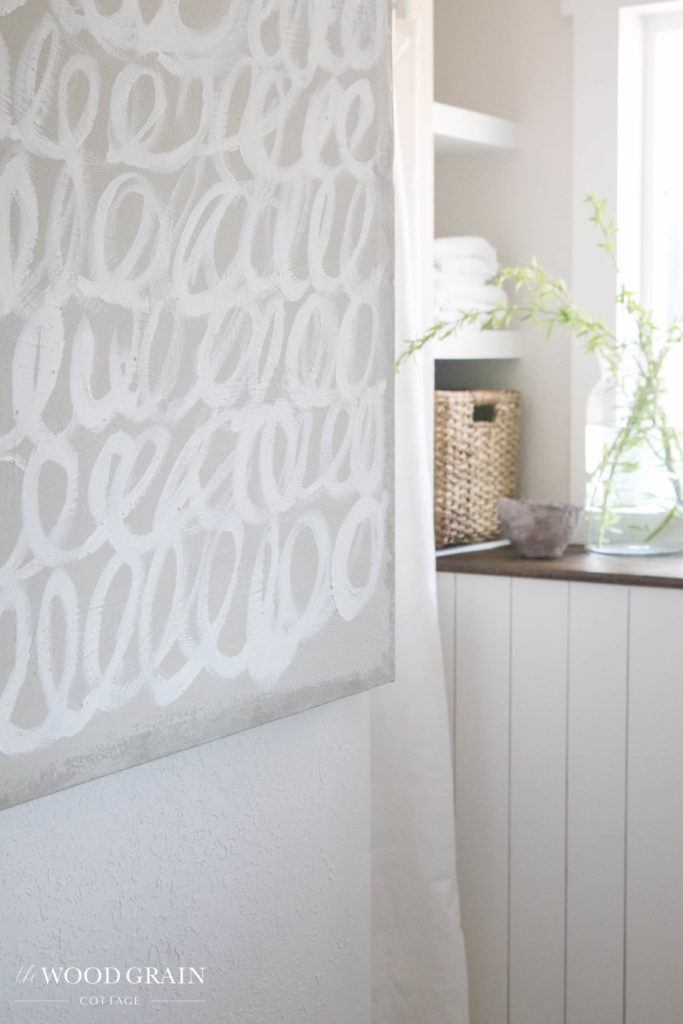
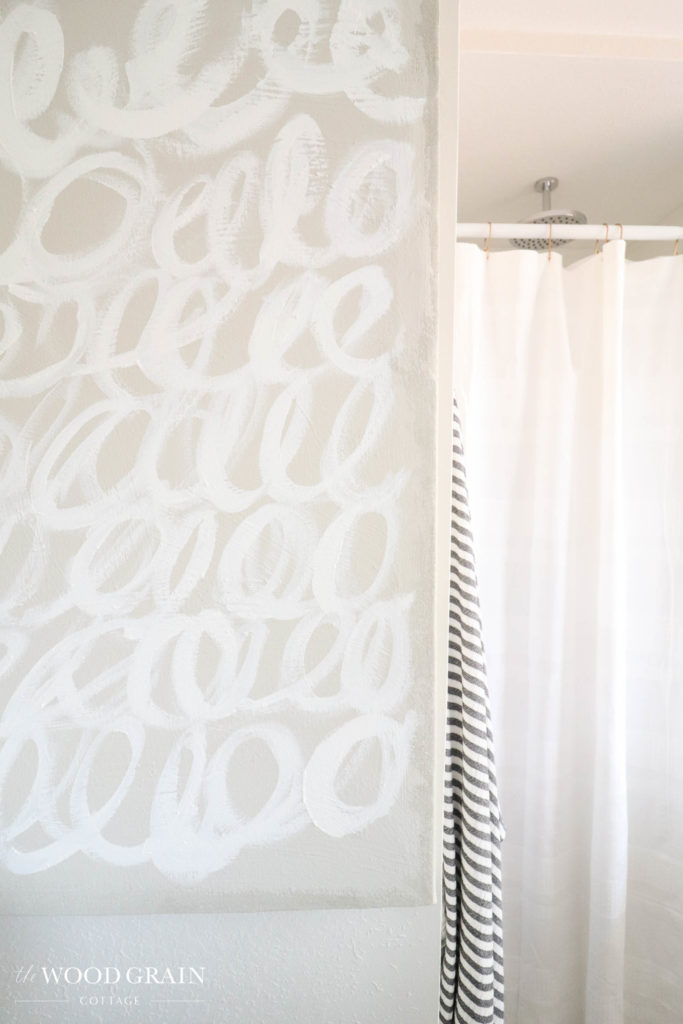
Once I was done, I let the paint dry, then it was time to hang it up! Overall, I love this project! It was fun, easy, free and I enjoyed being creative with it! It’s also the perfect accent to this bathroom… and not too bad for free artwork!
I especially love all the texture on the canvas, and the way the colors all blend together…


And even though I’m still pulling together all the finishing touches of this cute little bathroom, here’s a peek at how it’s coming…
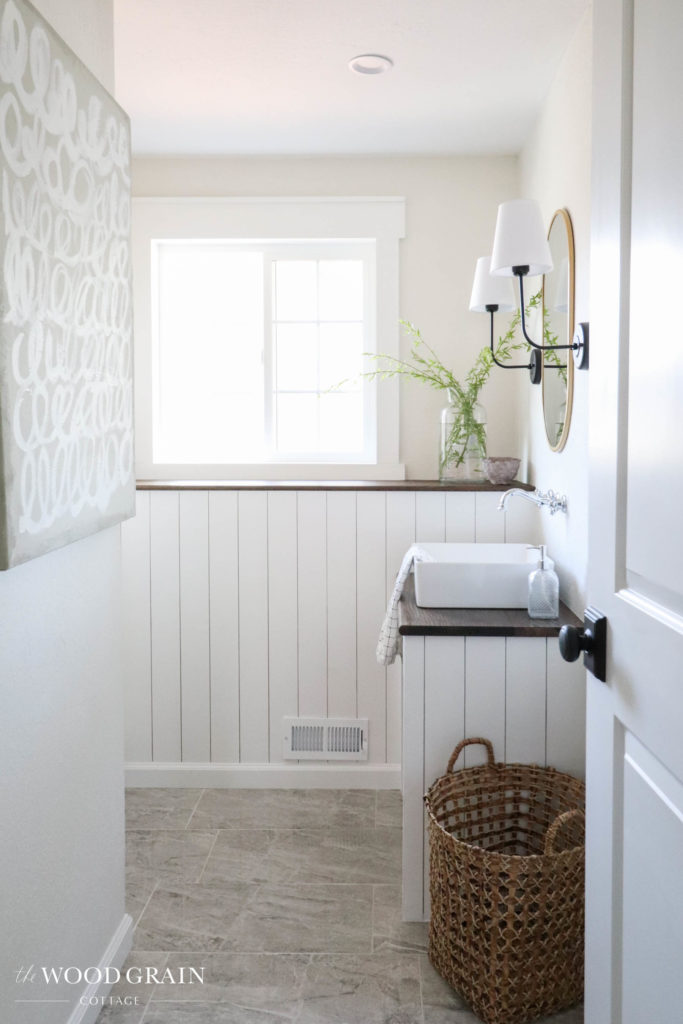
I just have a few more little things to add in and then this bathroom will be done! 🙂

[show_shopthepost_widget id=”4443003″]
I’m so going to do this! I have a frame with a lettered sign inside that I’m ‘over’ so I don’t even have to build one. Thanks for the inspiration!!!
Yay! I’m so glad you found inspiration and this is a perfect way to bring new life to old artwork! 🙂