
How We Built Our Custom Kitchen Vent Hood
I’m sharing a step by step tutorial on how we built our custom kitchen vent hood.
Even though we sold our Willow House, I wanted to share how we built our custom kitchen vent hood. I’ve had so many requests to share this tutorial that I didn’t want to leave you hanging!
When it comes to building a custom DIY kitchen vent hood, there are two main things you need to know:
- What size your vent insert is, and:
- The overall size and shape you want your vent hood to be
From there, it’s a matter of choosing how you want the vent hood to look. In the case of our Willow kitchen, I actually started with an entirely different design style, but as we started building it, we changed our mind and built the one you see here!
How We Built Our Custom Kitchen Vent Hood
Tools & Supplies:
- Vent Insert (We used this one!)
- 3/4″ MDF
- 2″x4″ Boards
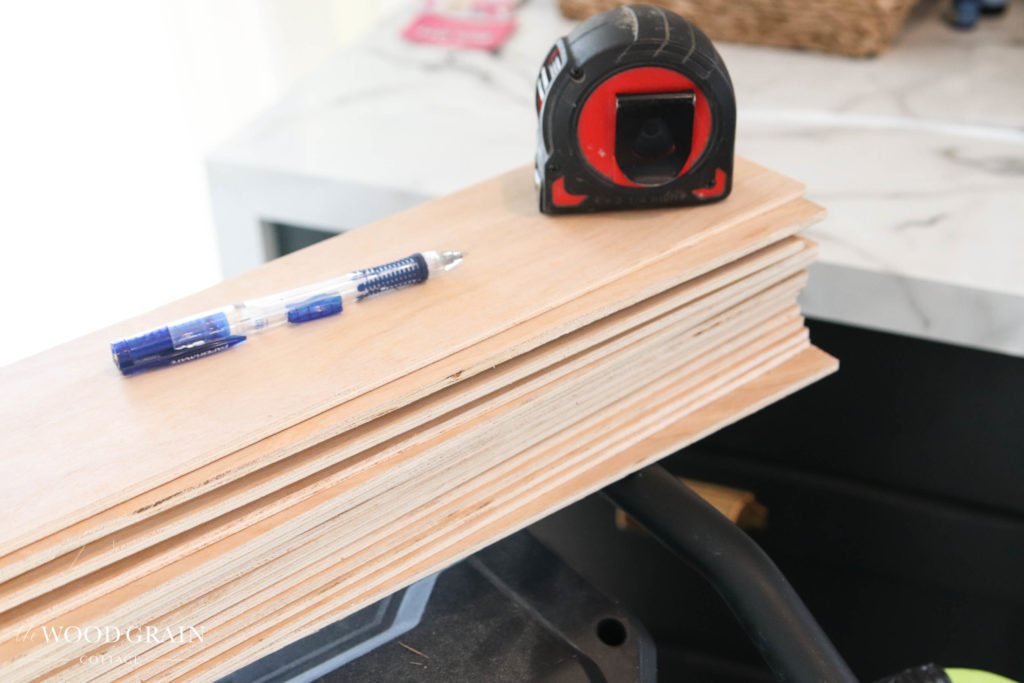
- 1/4″ Underlayment Planking (Ripped down to 4″ wide)
- Table Saw
- Chop Saw
- Jigsaw
- Palm Sander
- Screw Driver & Drill
- 1″ Spade Bit
- 6″ Ducting
- Ducting Tape
- Ducting Transition (Fit to your vent insert)
- Clamps
- 3″ Screws
- 18 Gauge Brad Nailer
- 1″ Brad Nails
- Level
- Tape Measure
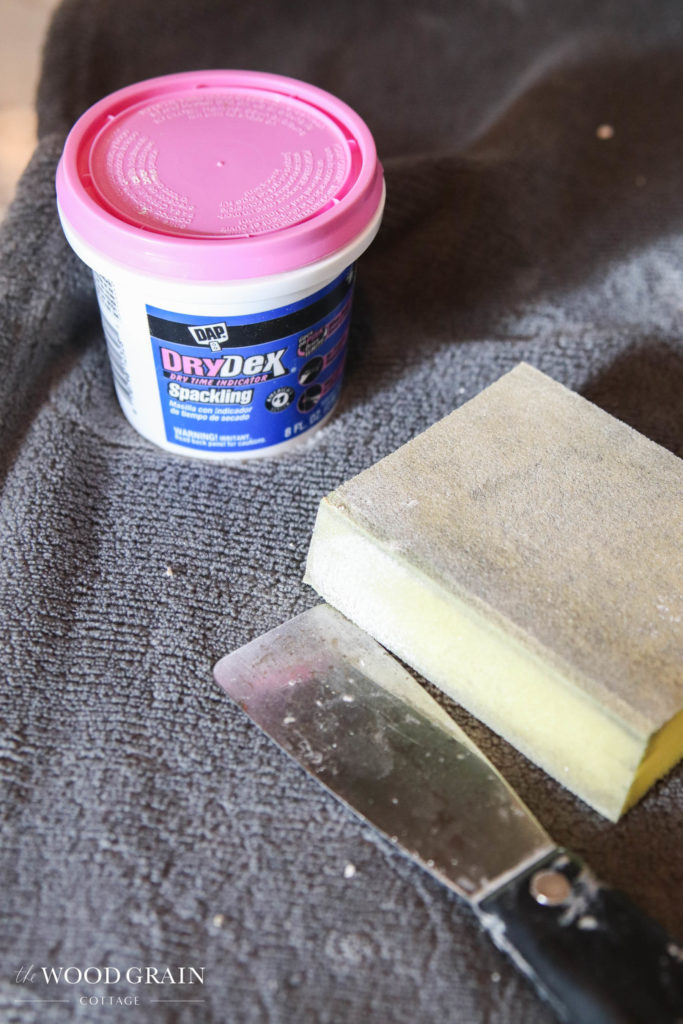
- Spackling
- Sanding Block
- Paint (We used Super White by Benjamin Moore in eggshell)
- Skinny Foam Roller
- Paint Brush
- Painters Tape
[show_shopthepost_widget id=”4673605″]
Choosing Your Vent Insert
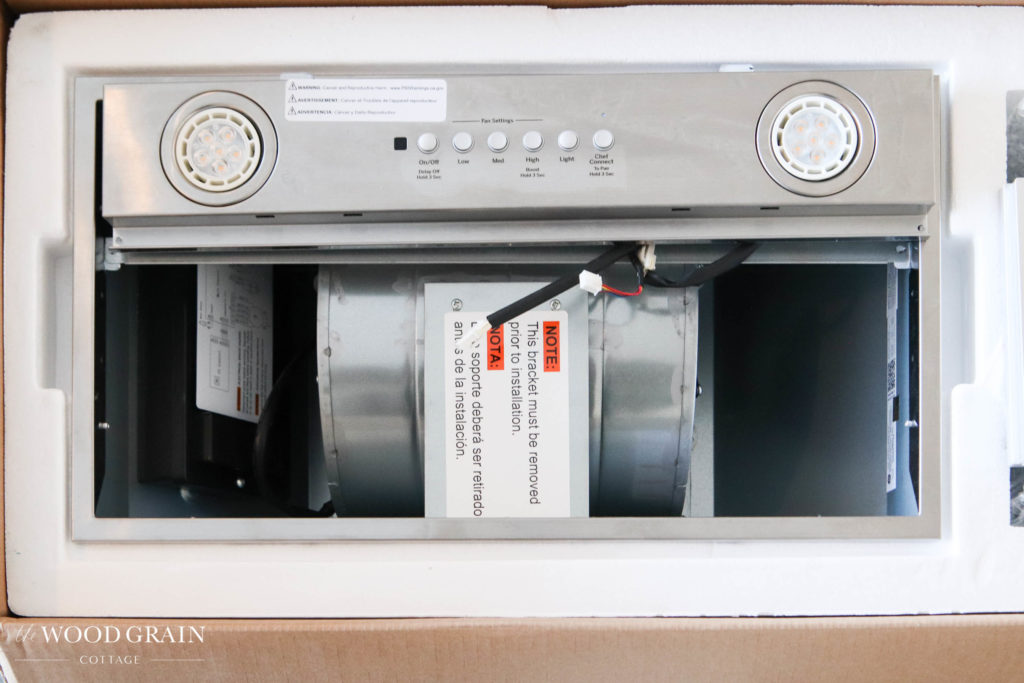
To start, we chose the actual vent appliance. There are so many options, and budget certainly comes into play as you pick and choose your vent hood, but you’ll want to start with a vent hood insert. Meaning, you’ll be inserting the vent into your own range hood design and framing. We chose this vent and we really liked it, plus it fit well into our budget.
Determining The Overall Size Of Our Vent Hood
Sizing is also important when it comes to building your own custom vent hood. Our cooktop was 30″ wide, so I wanted the overall finished size of the hood to be a few inches wider than the cooktop. We ended up making the hood 32″ wide.
Ceiling height also plays a role in design when you’re choosing your range hood height. Our ceilings were 8′ tall, which meant our hood wouldn’t be as tall as some that you see. We also chose to have the bottom of the vent hood 30″ above our cooktop. Standard heights range anywhere from 28″ to 36″ and because of our shorter ceilings, I didn’t want the vent hood to appear too “short” overall.
Another thing to consider when choosing your vent height, is where the bottom of the hood will be with you standing there cooking. That should certainly come into play, because you don’t want to constantly hit your head on the vent, or have it blocking your eye sight as you cook.
With the bottom being at 30″ tall, I didn’t have any issue seeing and cooking, but Todd, who is 6’1″, had to lean in to see. That’s just something to keep in mind.
Building The Vent Hood Framing
For the design of our vent hood, I wanted the overall shape to be more square. Not only is it easier to build a square box, but I also wanted the clean lines to match up with the vertical planking already installed on the walls.
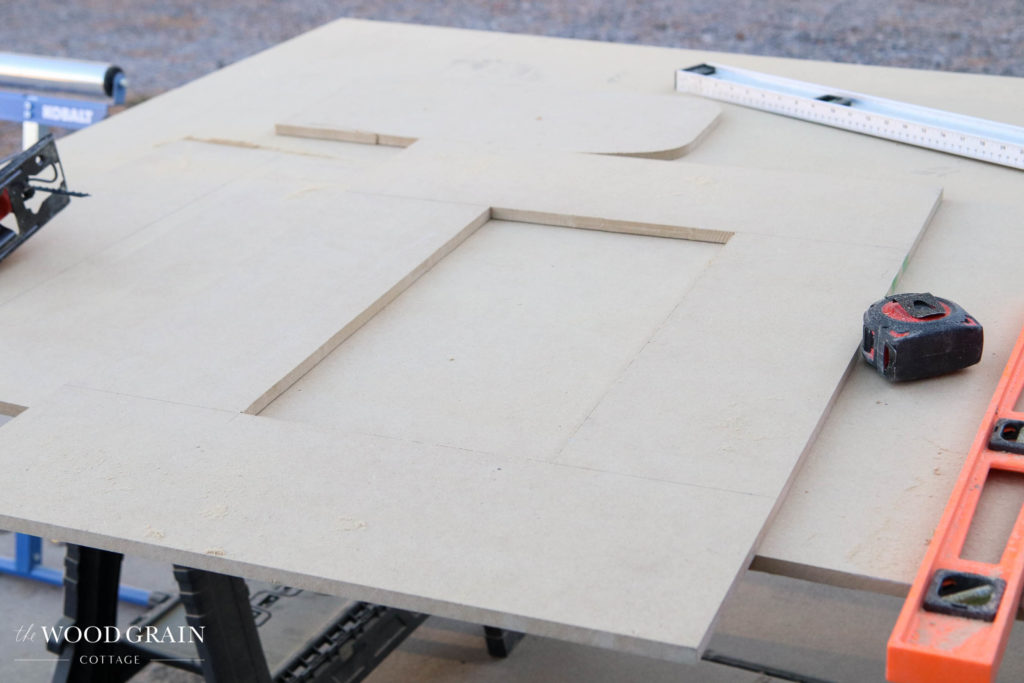
To start, we began with the very bottom portion of the hood we’d be building. We used 3/4″ mdf material and cut it to 24″ deep, the standard depth of countertops, by 32″ wide.
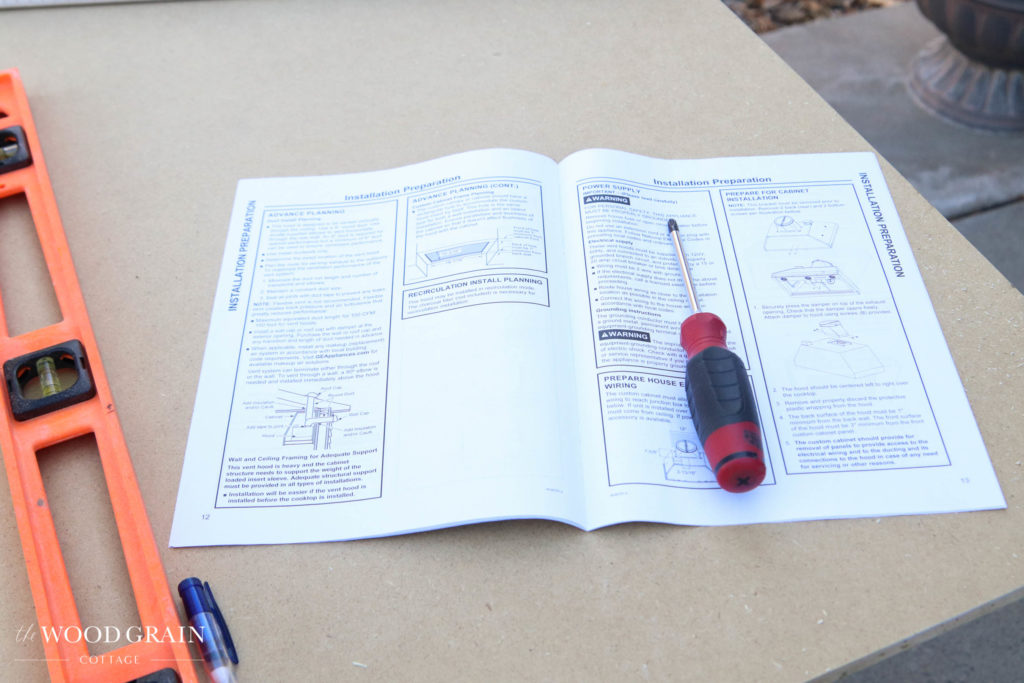
Then, Todd started tracing the cut out where the vent would sit. For those measurements, we used the installation manual for the vent insert…

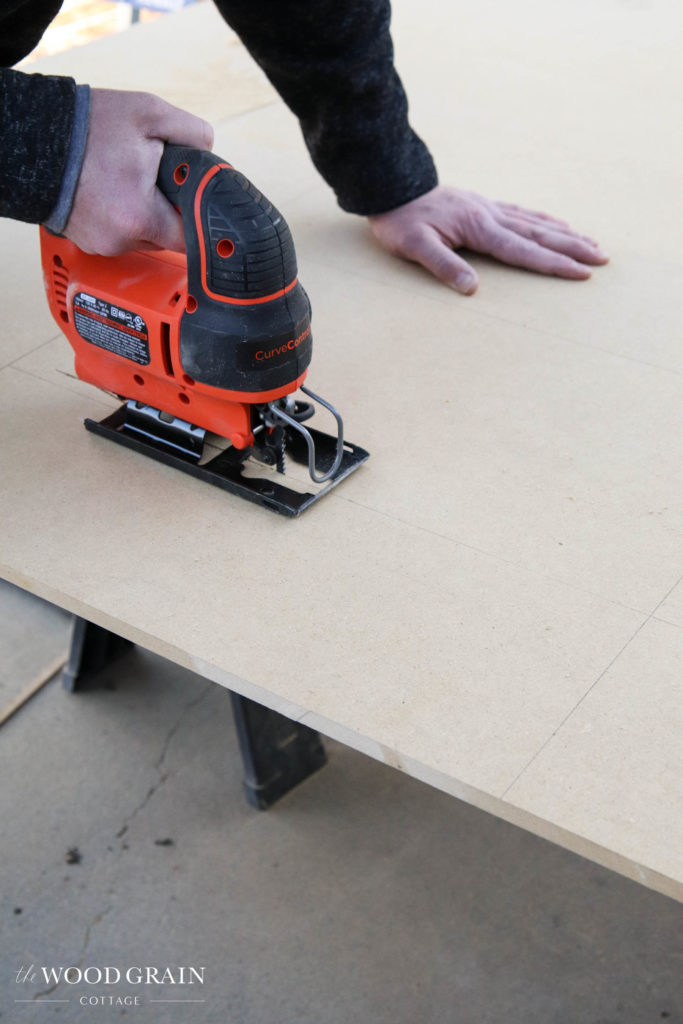
He used a jigsaw to cut out the interior portion of the base…
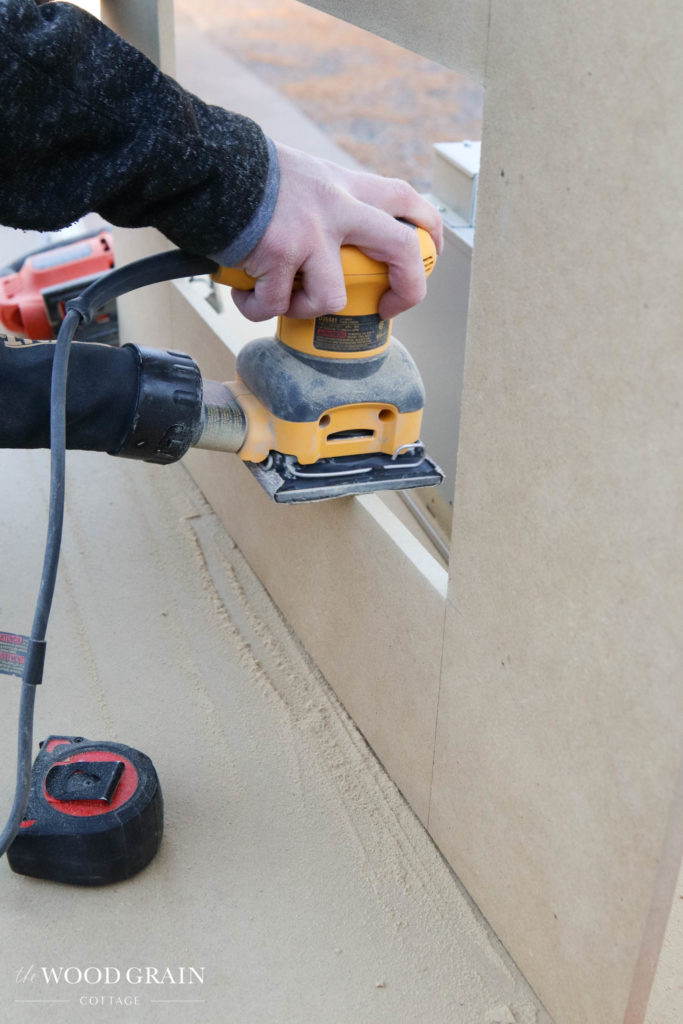
Then, before moving forward, he made sure the vent would actually fit…
It was pretty snug, so he sanded down the area where it was too tight…
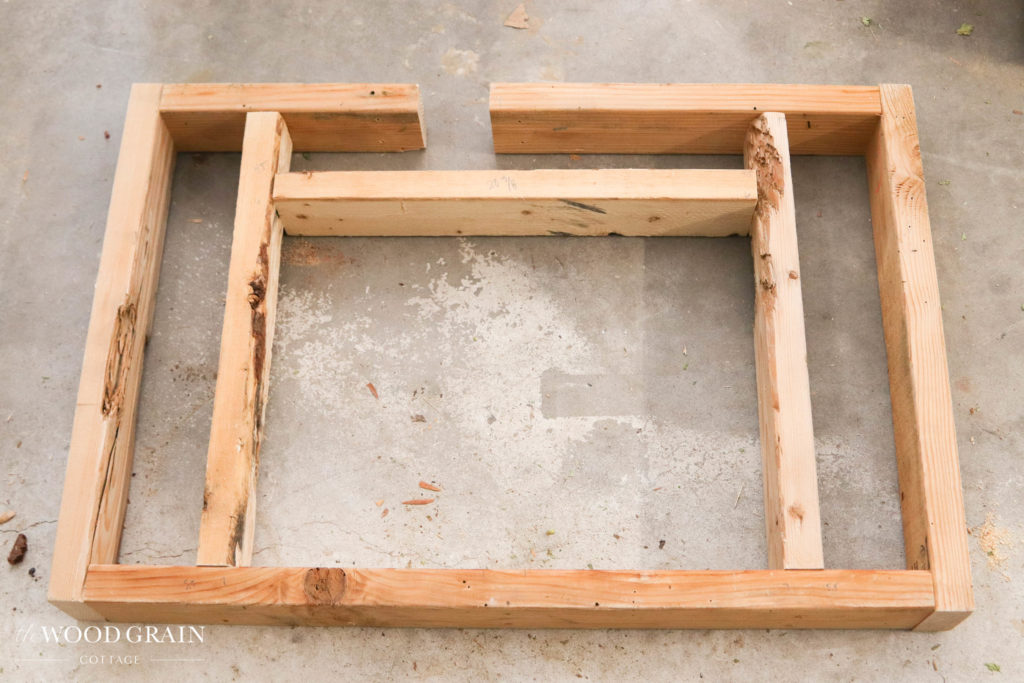
Once the vent insert fit well, he started building the bottom of the vent hood. He used 2″x4″ boards and cut them to the size of the bottom mdf board (24″ deep x 32″ wide). He then added interior bracing where the vent insert would mount and he cut out a part of the back section where our electrical outlet was on the wall.
Doing a dry fit to make sure it would fit and that it was built correctly is important.
We made sure the mdf board fit perfectly over the frame…

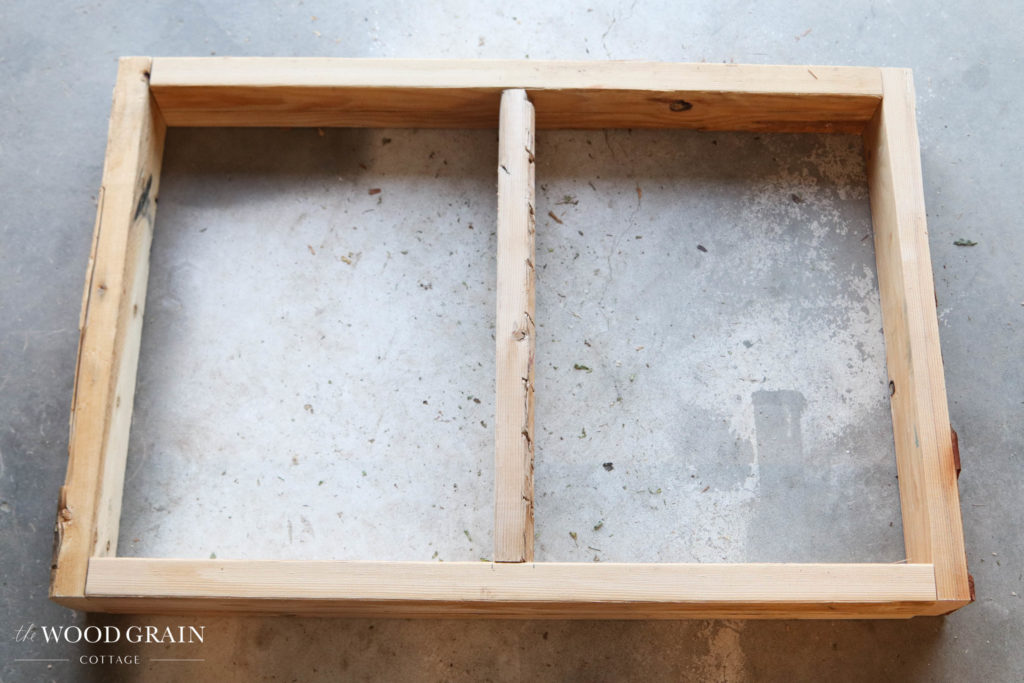
With the bottom base done, he started making the top of the vent hood. He used the same dimensions to make the frame, then added a middle 2″x4″ for support…
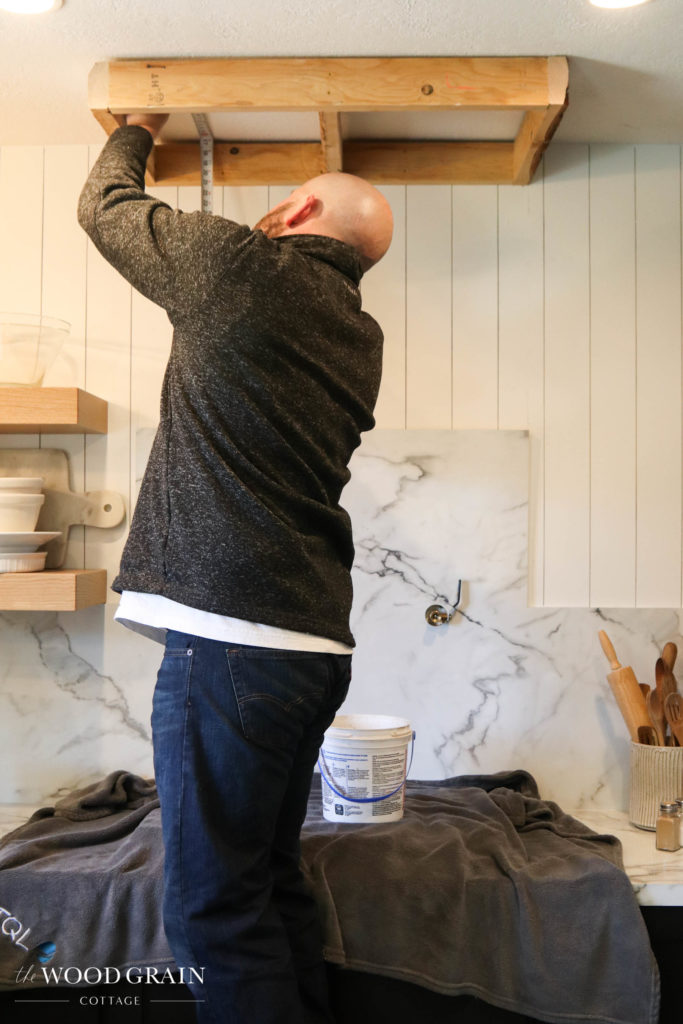
Mounting The Top Vent Hood Frame
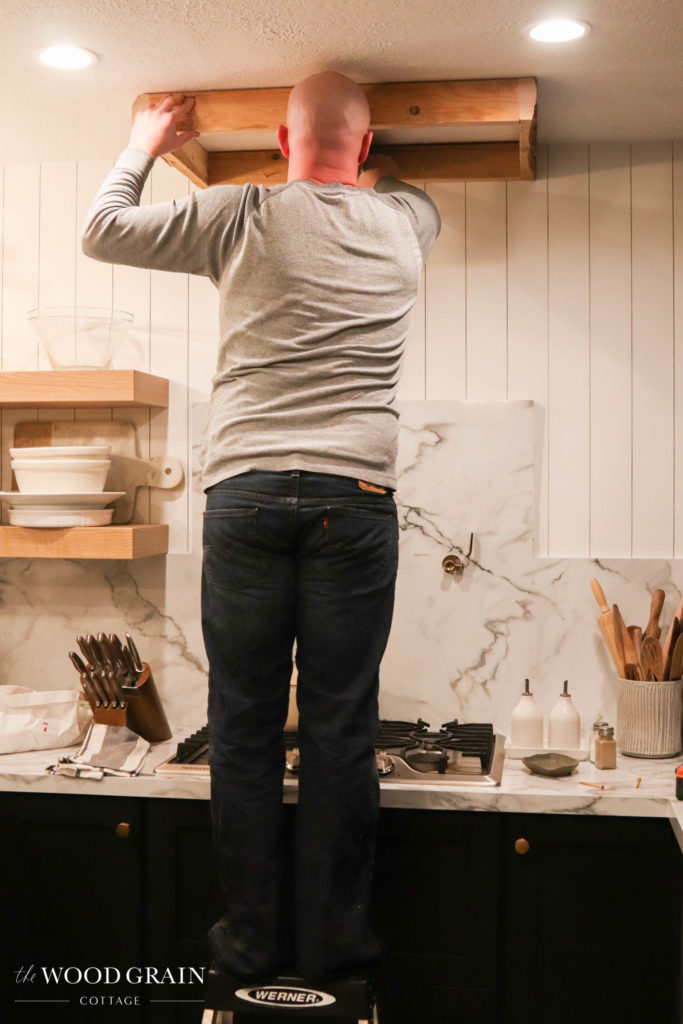
He then began mounting the top frame to the wall and ceiling…
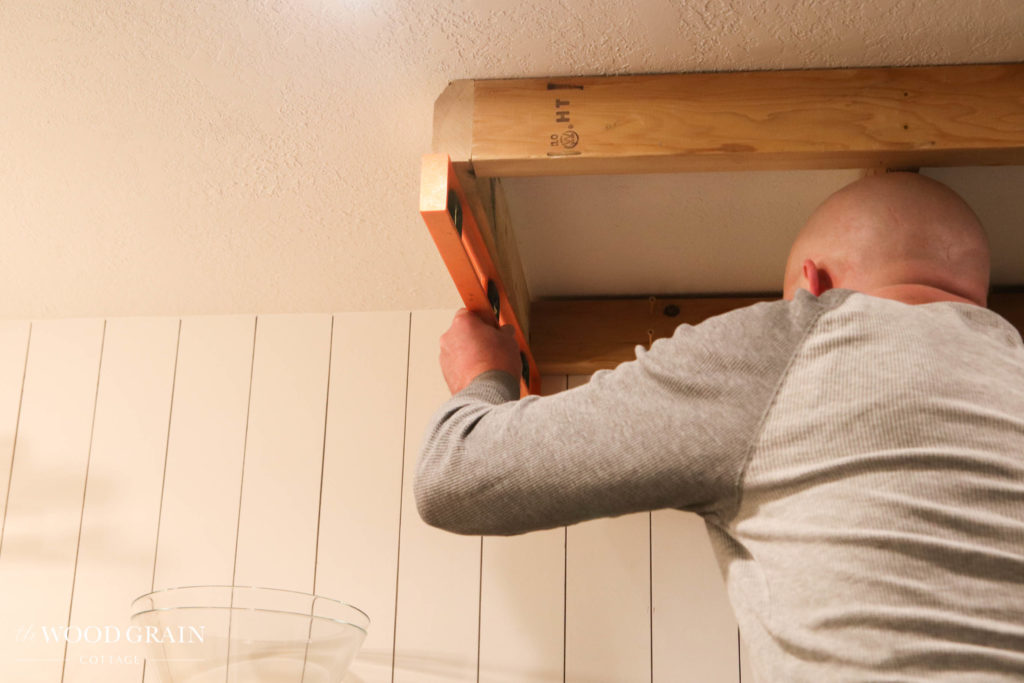
He made sure it was as level as possible, which is important because the wall wasn’t perfectly straight and the ceiling wasn’t level…
He used wood screws to secure the frame into our ceiling and wall studs…
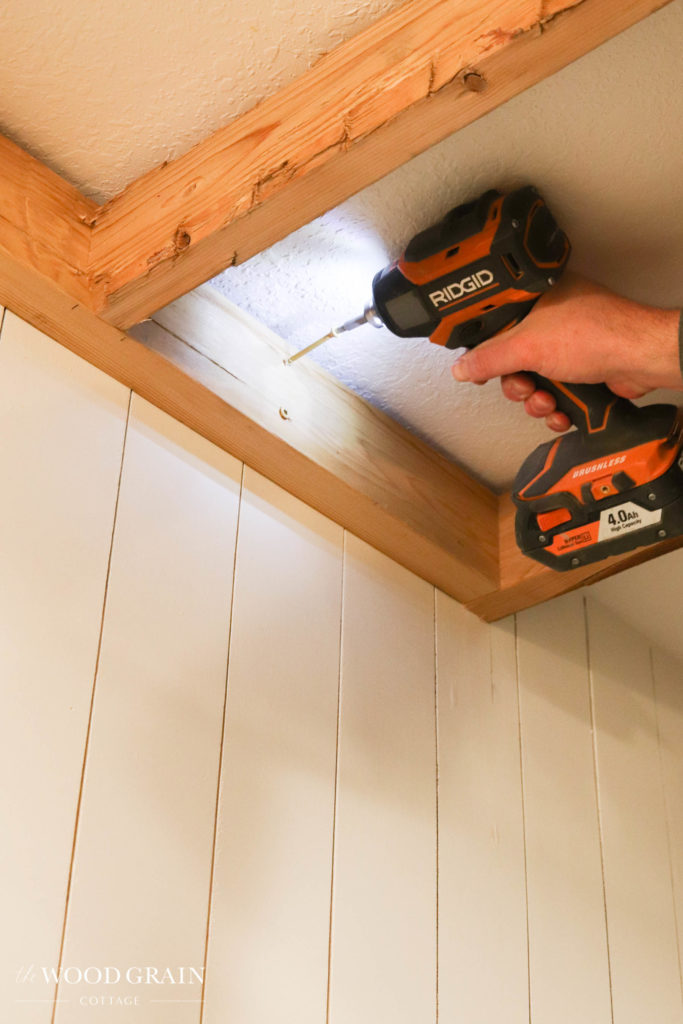
With that, the top frame was installed…
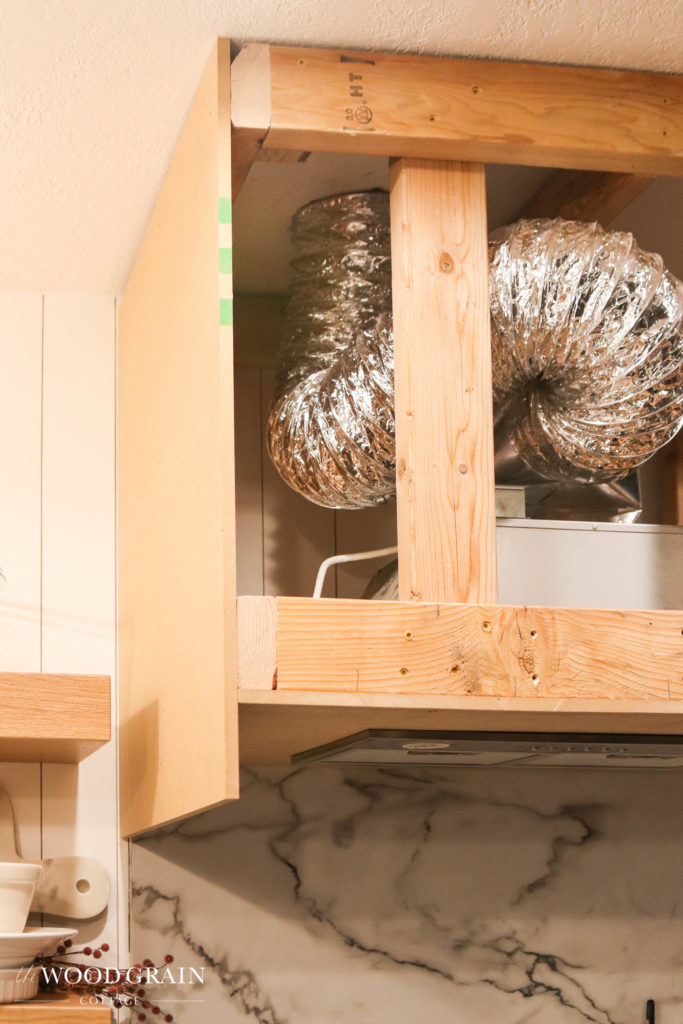
Adding The Vent Ductwork
Then, he started measuring where our ductwork would go. When we remodeled the house, we had our plumber add in the new vent, we just had to drill into the ceiling drywall to pull it down…
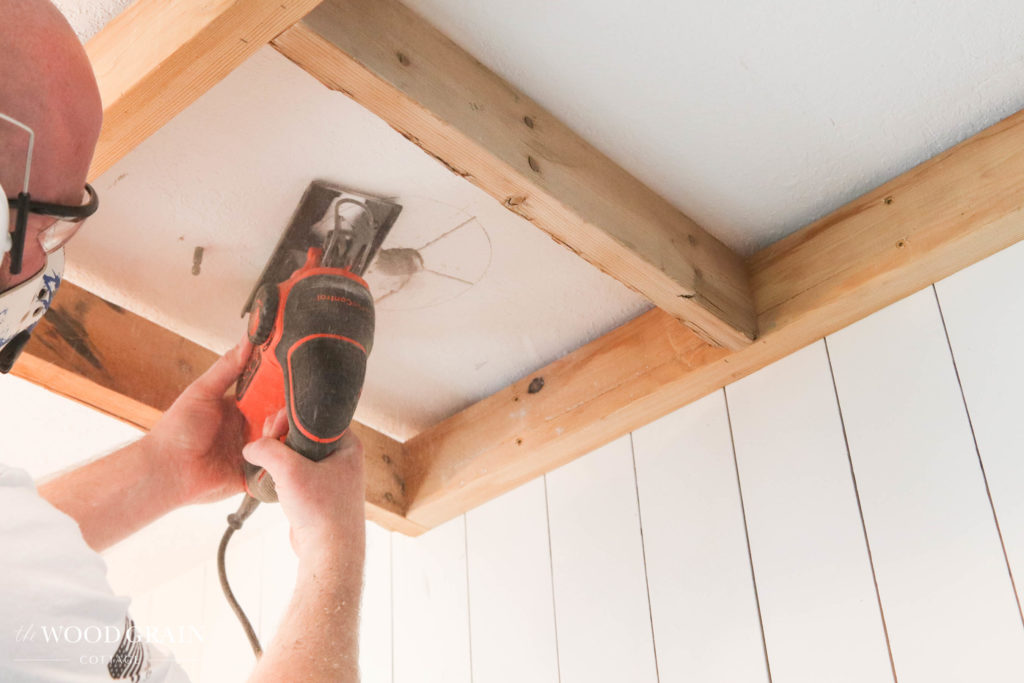
Once he had the location of the ductwork found, he traced a 6″ bucket…
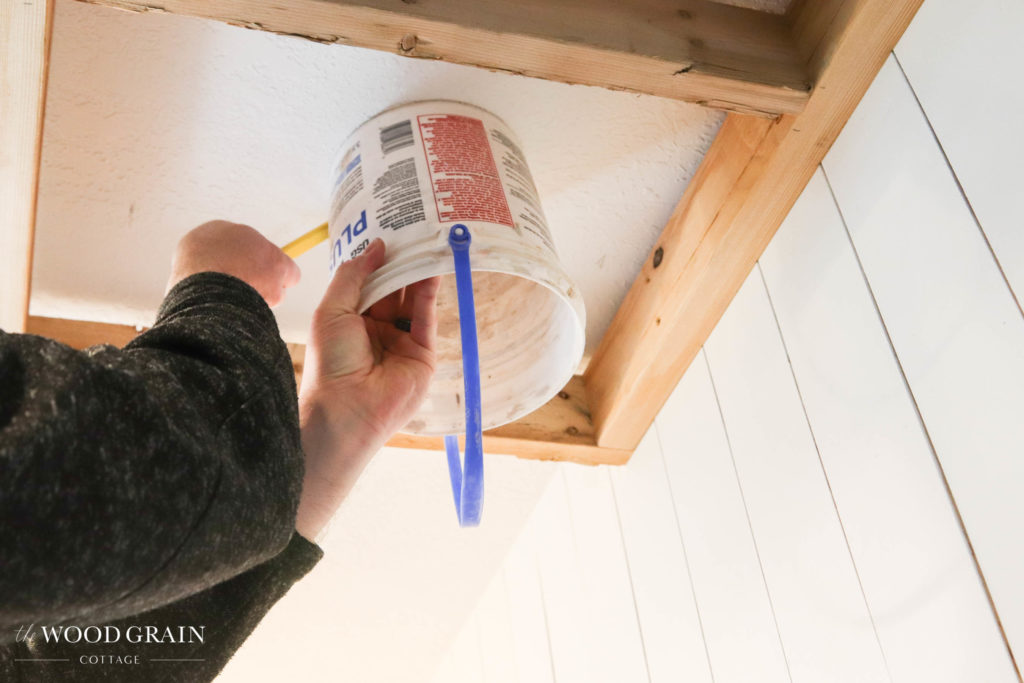
Then used a spade bit to drill a hole in the ceiling…
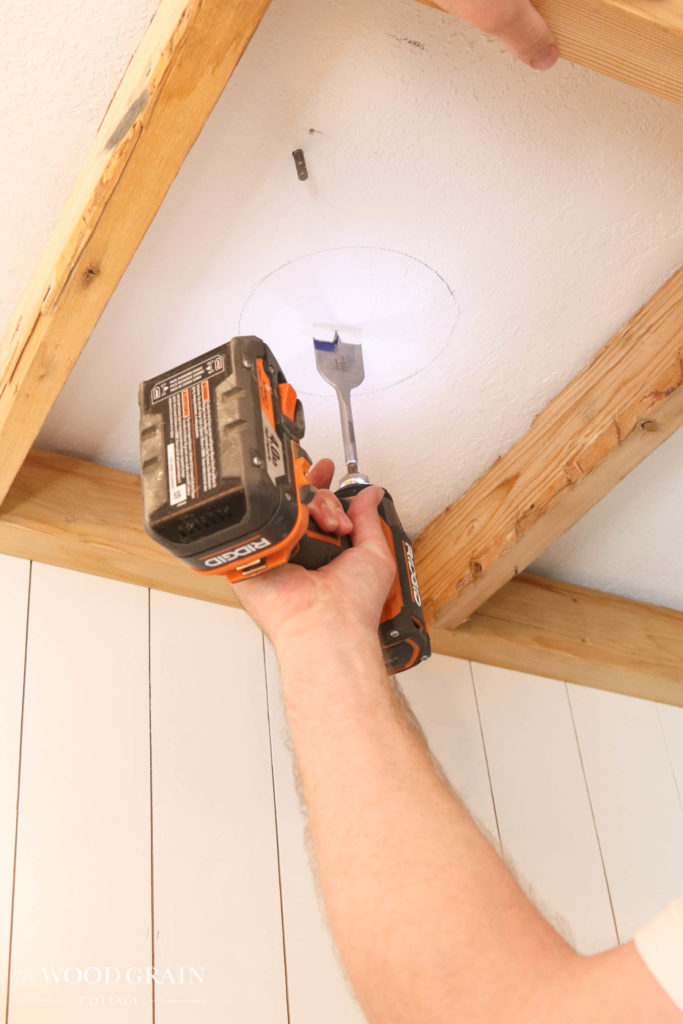
With a center hole cut, he used our jigsaw to cut the rest of the hole…
With the hole cut, he started pulling down the ductwork…
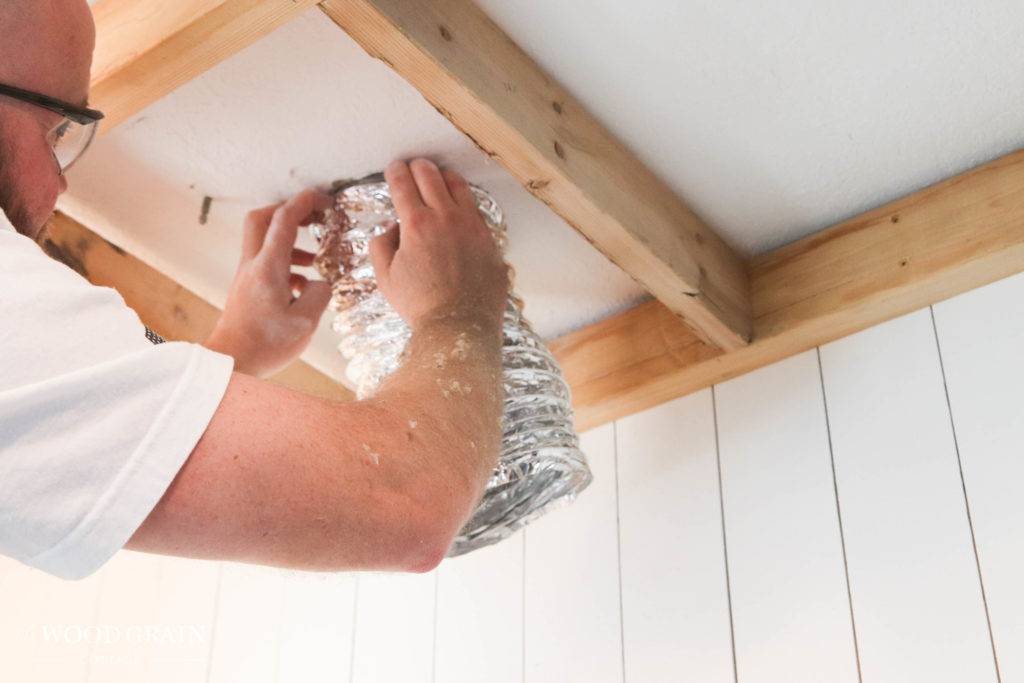
This step made a huge mess because as soon as the hole in the ceiling was cut, insulation fell…
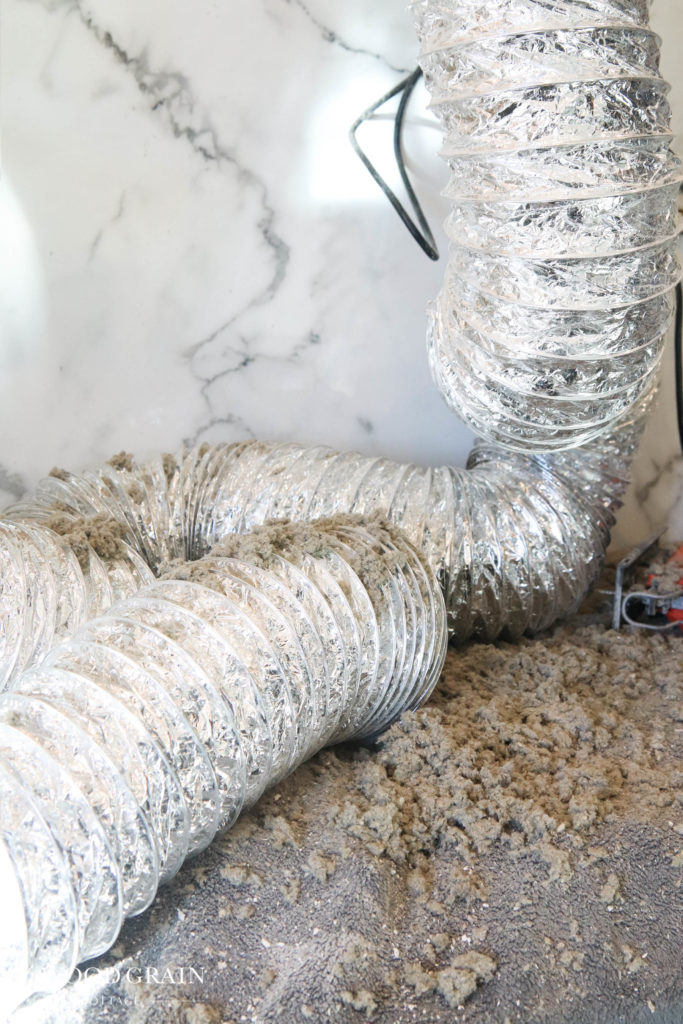
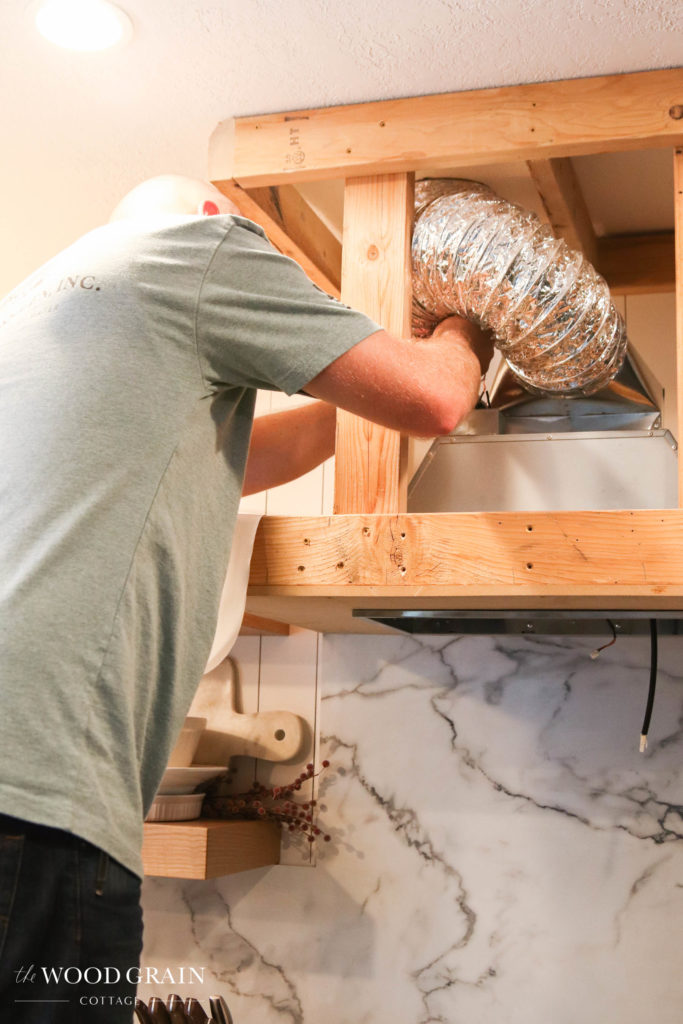
The plumber left us a lot of extra ductwork, so once we had it pulled down without a bunch of sagging ductwork in the attic (Todd crawled up there to check), we cut it to the length we needed…
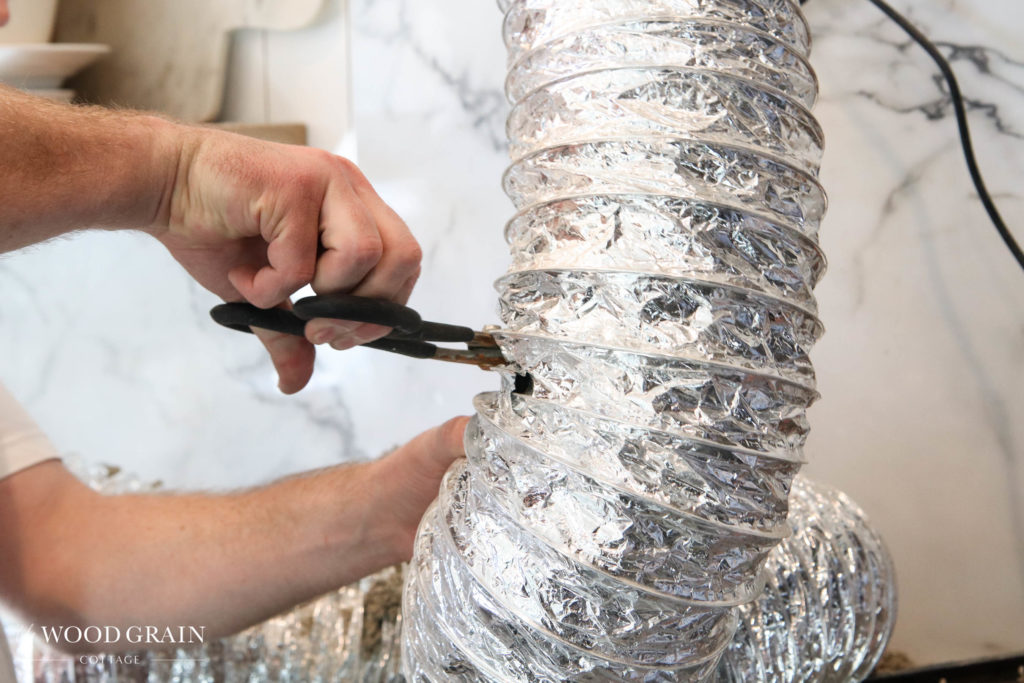
Then, we installed the end vent onto the ductwork. We used ducting tape to secure them in place. This is the end piece that would tie into the top of the vent insert…


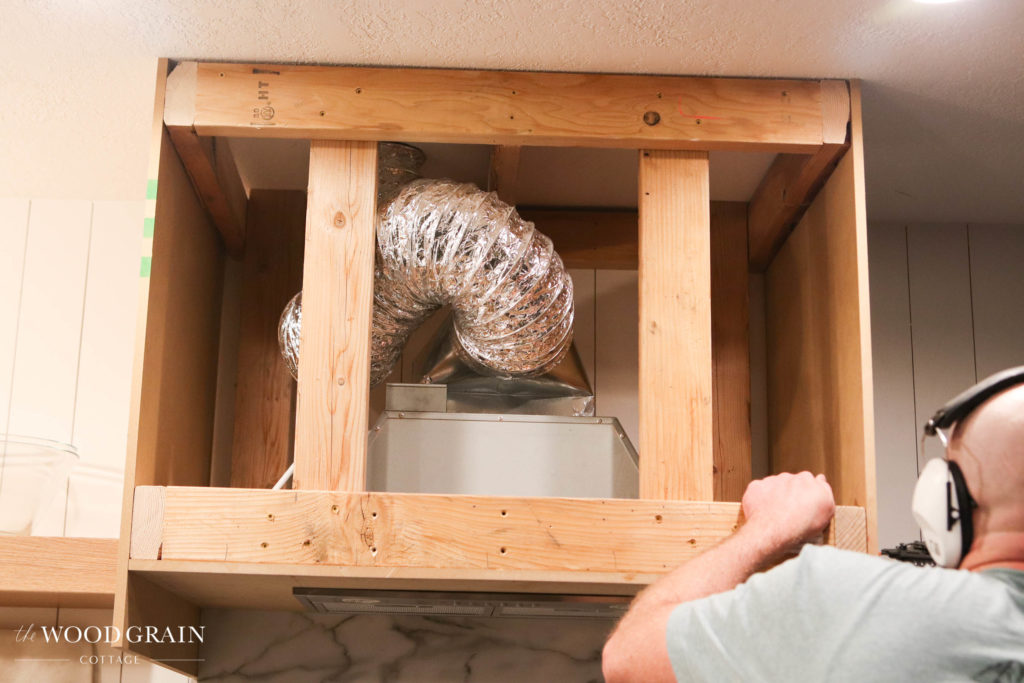
Mounting The Bottom Vent Hood Frame & Supports
He then started installing the bottom frame. I didn’t get great pictures of this stage because I had to help hold the frame…
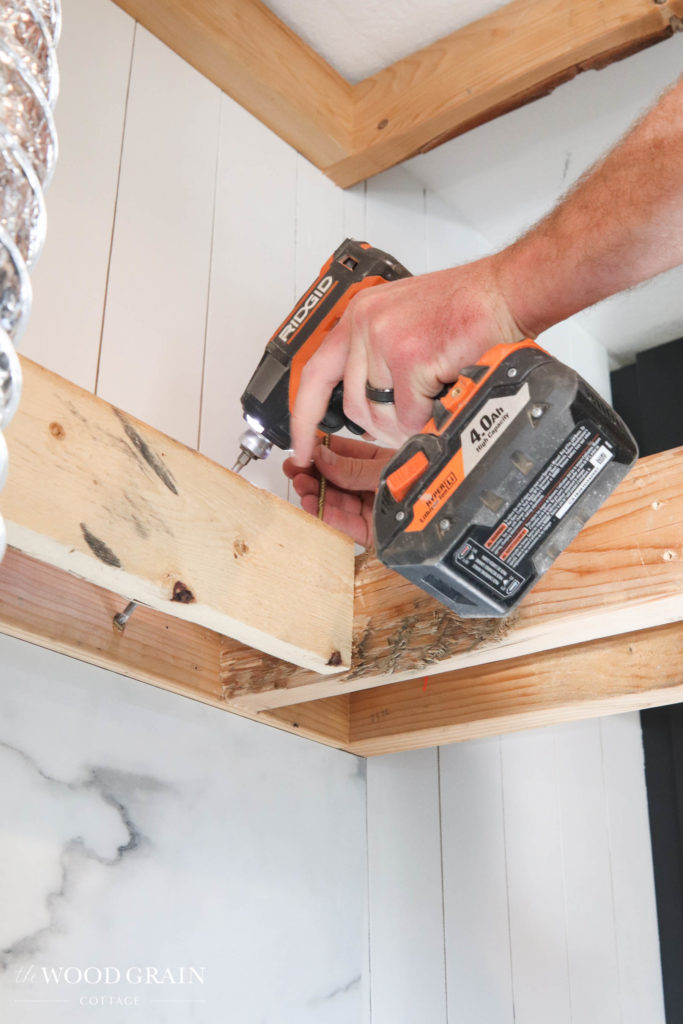
With the bottom frame installed, he started attaching the additional side and interior bracing and structure of the vent hood…
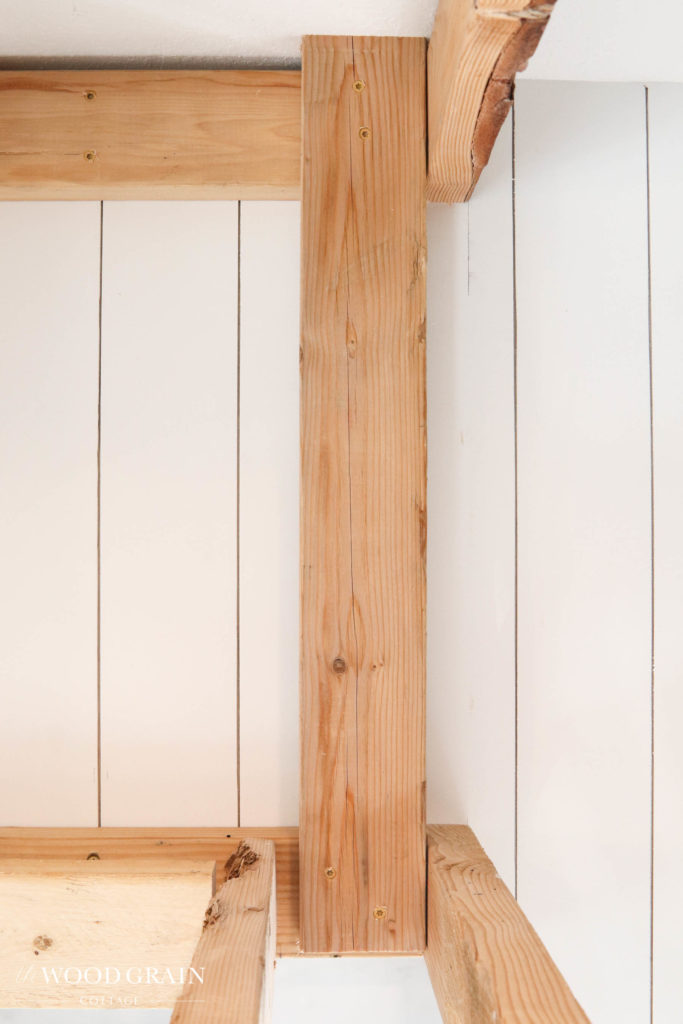
He anchored it heavily into the ceiling rafters. This hood isn’t going anywhere…

Installing The Vent Insert
With the frame of the vent hood built, it was time to start adding the vent insert and the exterior panels. We started with the bottom board first.
He clamped it in place, then used screws to attach it to the frame..
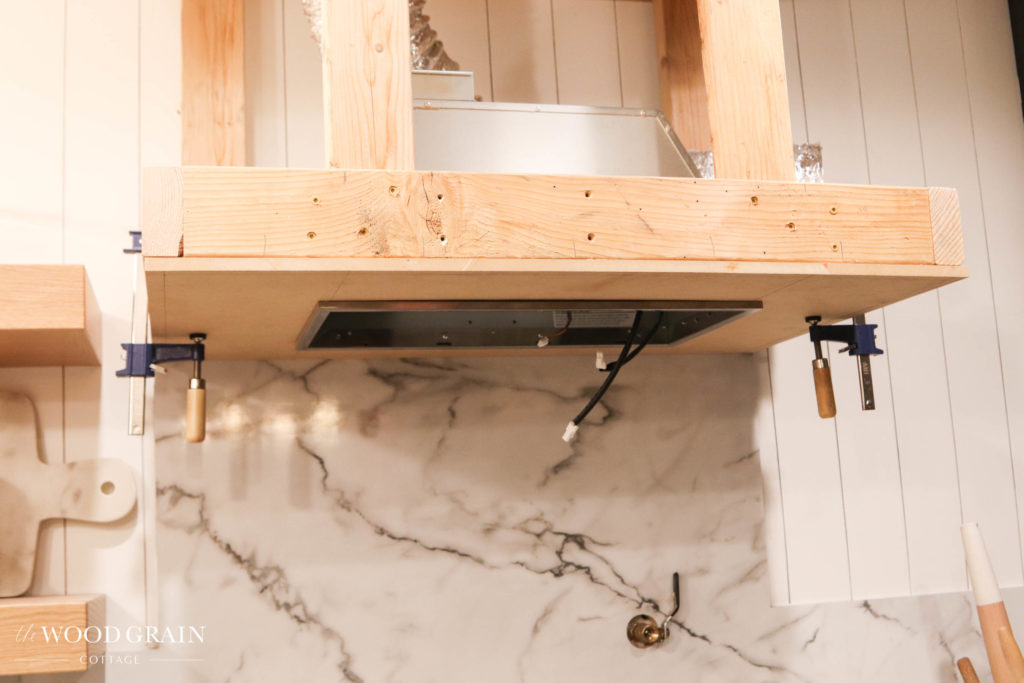
At this point, he also attached the ducting to the actual vent insert, plugged the vent in and tested everything to make sure the ventilation was working correctly…
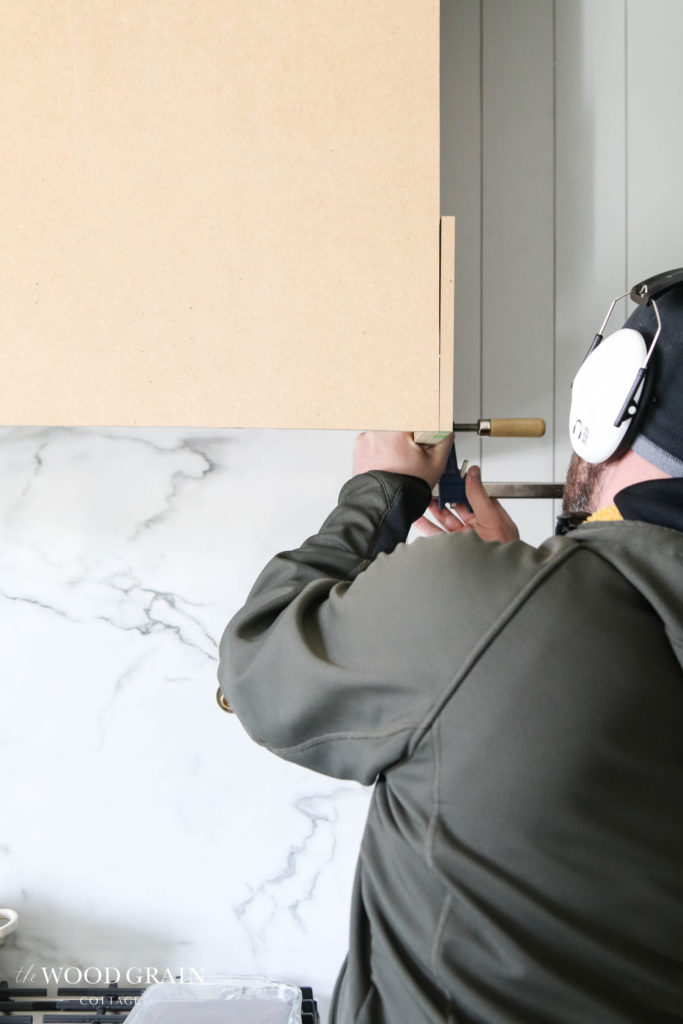
Attaching The Vent Side Panels
With the ducting hooked up and working, he started adding the 3/4″ mdf side panels. Each side panel was 23 1/4″ wide by 29 1/4″ tall, which gave an overhang on each side of 3 1/2″…
He used our finish nailer to attach the mdf boards to the interior frame of the vent hood…
With the side panels installed, he then cut the front panel piece to size and nailed it in place…

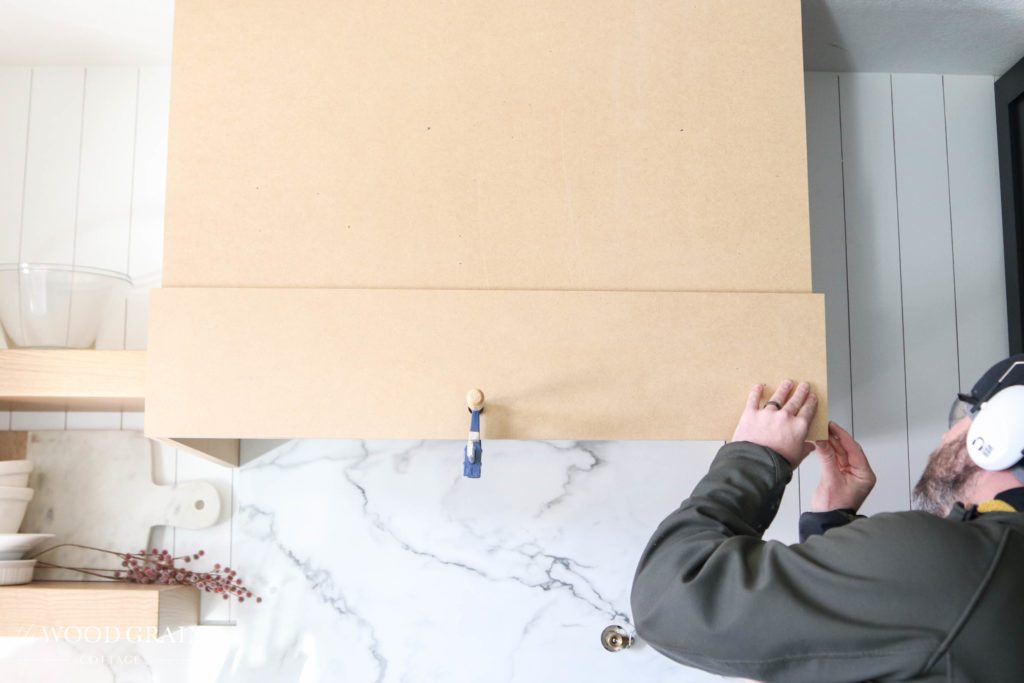
Adding The Vent Hood Finishing Elements
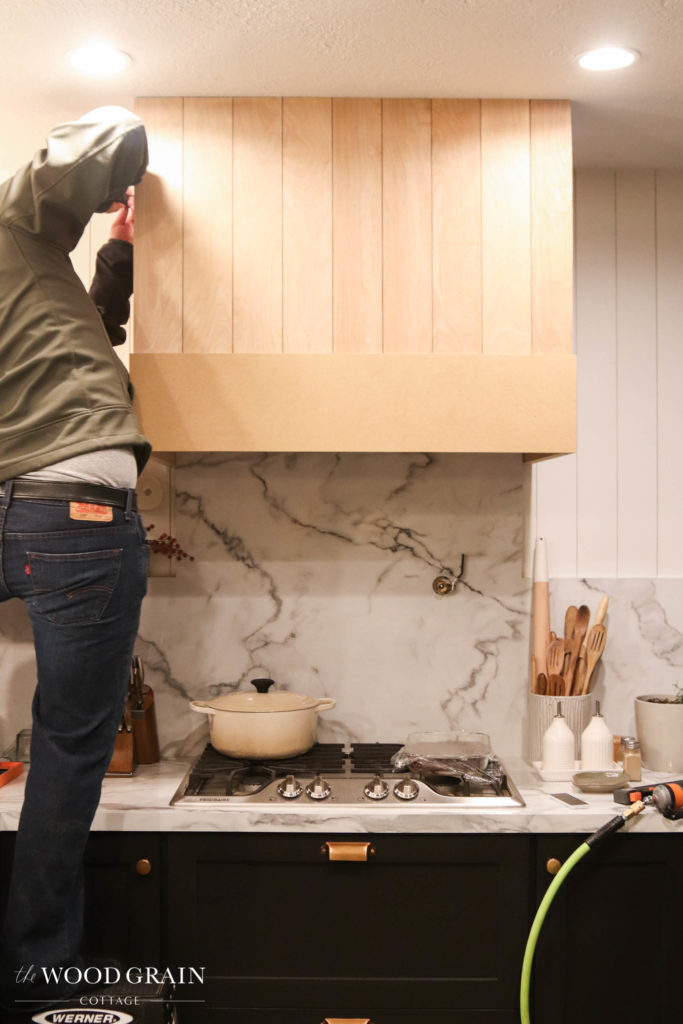
From there, we started adding the decorative finishing elements. I wanted the front to match the vertical wall planking we had, but I didn’t want them to run the full length, so we added a 8″ mdf board to the front and sides.
He used clamps to hold it in place, then used our finish nailer to attach it…
He followed the same steps for each side…
With the 8″ mdf piece installed on each side, it was time to start cutting the planks. We used 4″ wide pieces, cut to size…
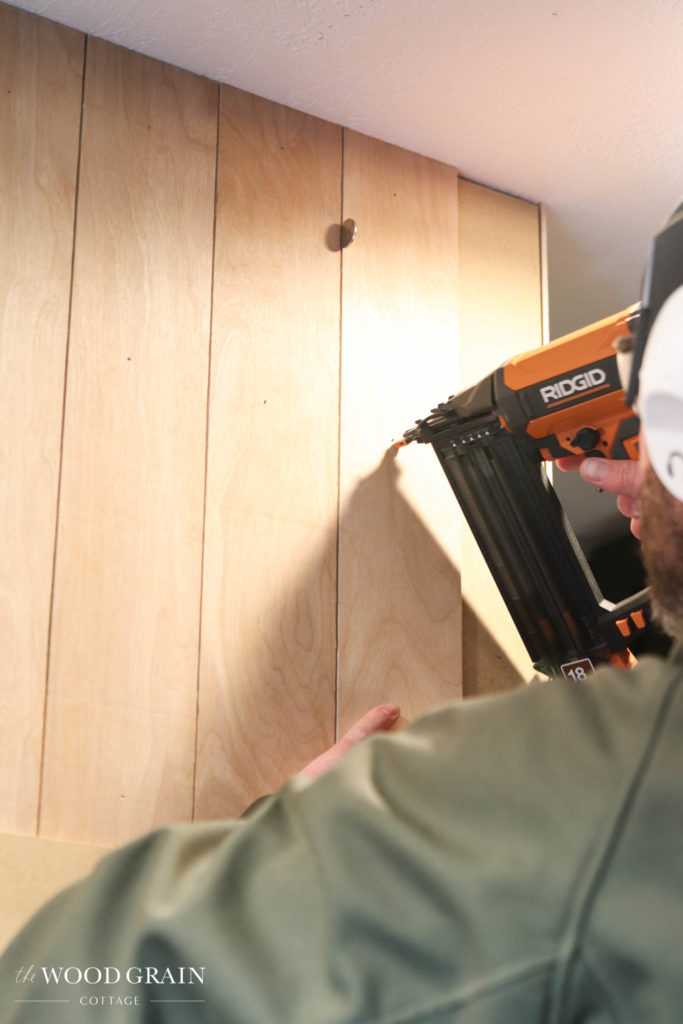
I wanted the planks to line up with the wall planks, so he lined them up and attached them to the face of the hood based on where they were on the wall.
To attach them, he used our nail gun and a nickel for even spacing between each plank…
Once he had everything installed, I working on filling all of the nail holes, sanding them smooth with my sanding block and then using caulk along the ceiling to fill in any gaps.
Painting The Custom Built Vent Hood
For the paint, I used the same color as the vertical planking on the walls, Super White by Benjamin Moore in eggshell.
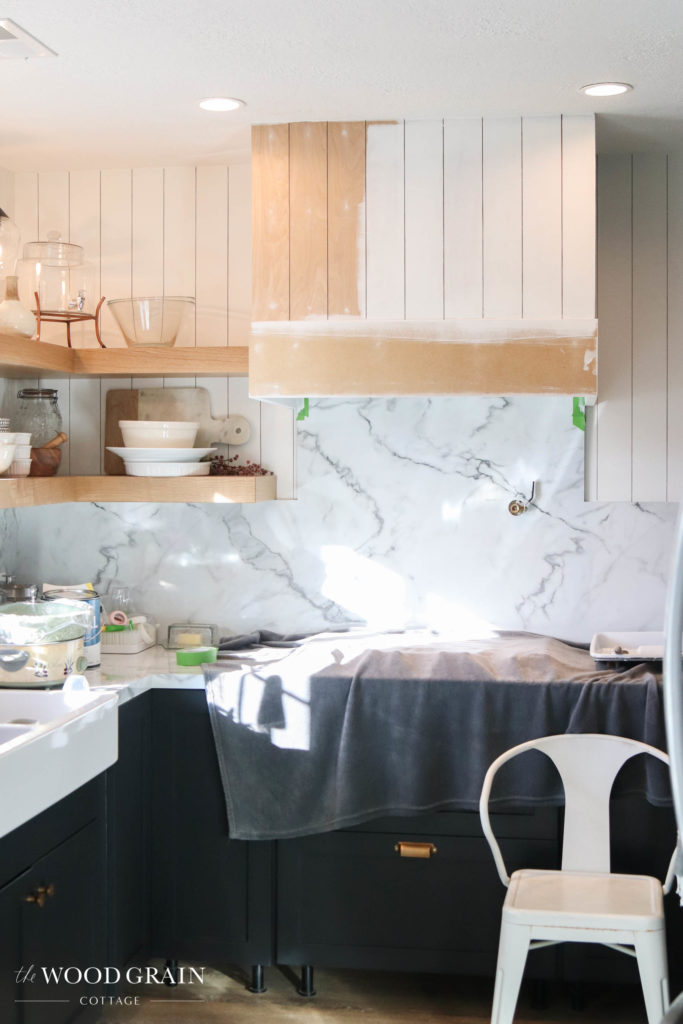
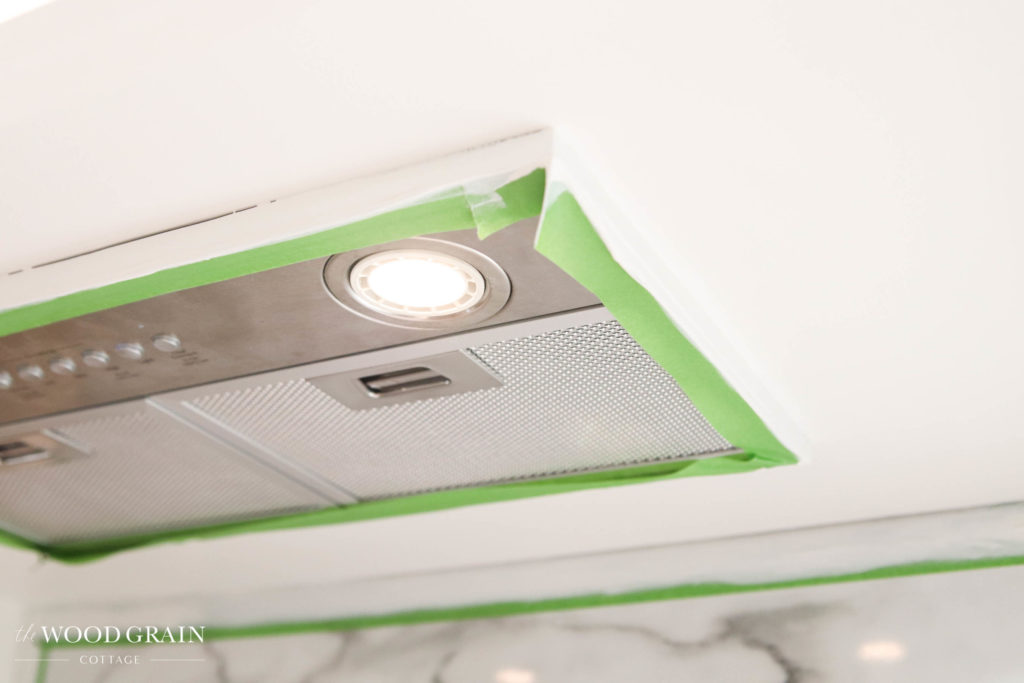
A smooth, skinny roller is the best for this material and gave a really smooth finish. I also painted the base of the hood and taped off the vent insert…
Once the paint was dry, the hood was officially finished. I don’t think we could have been more excited!
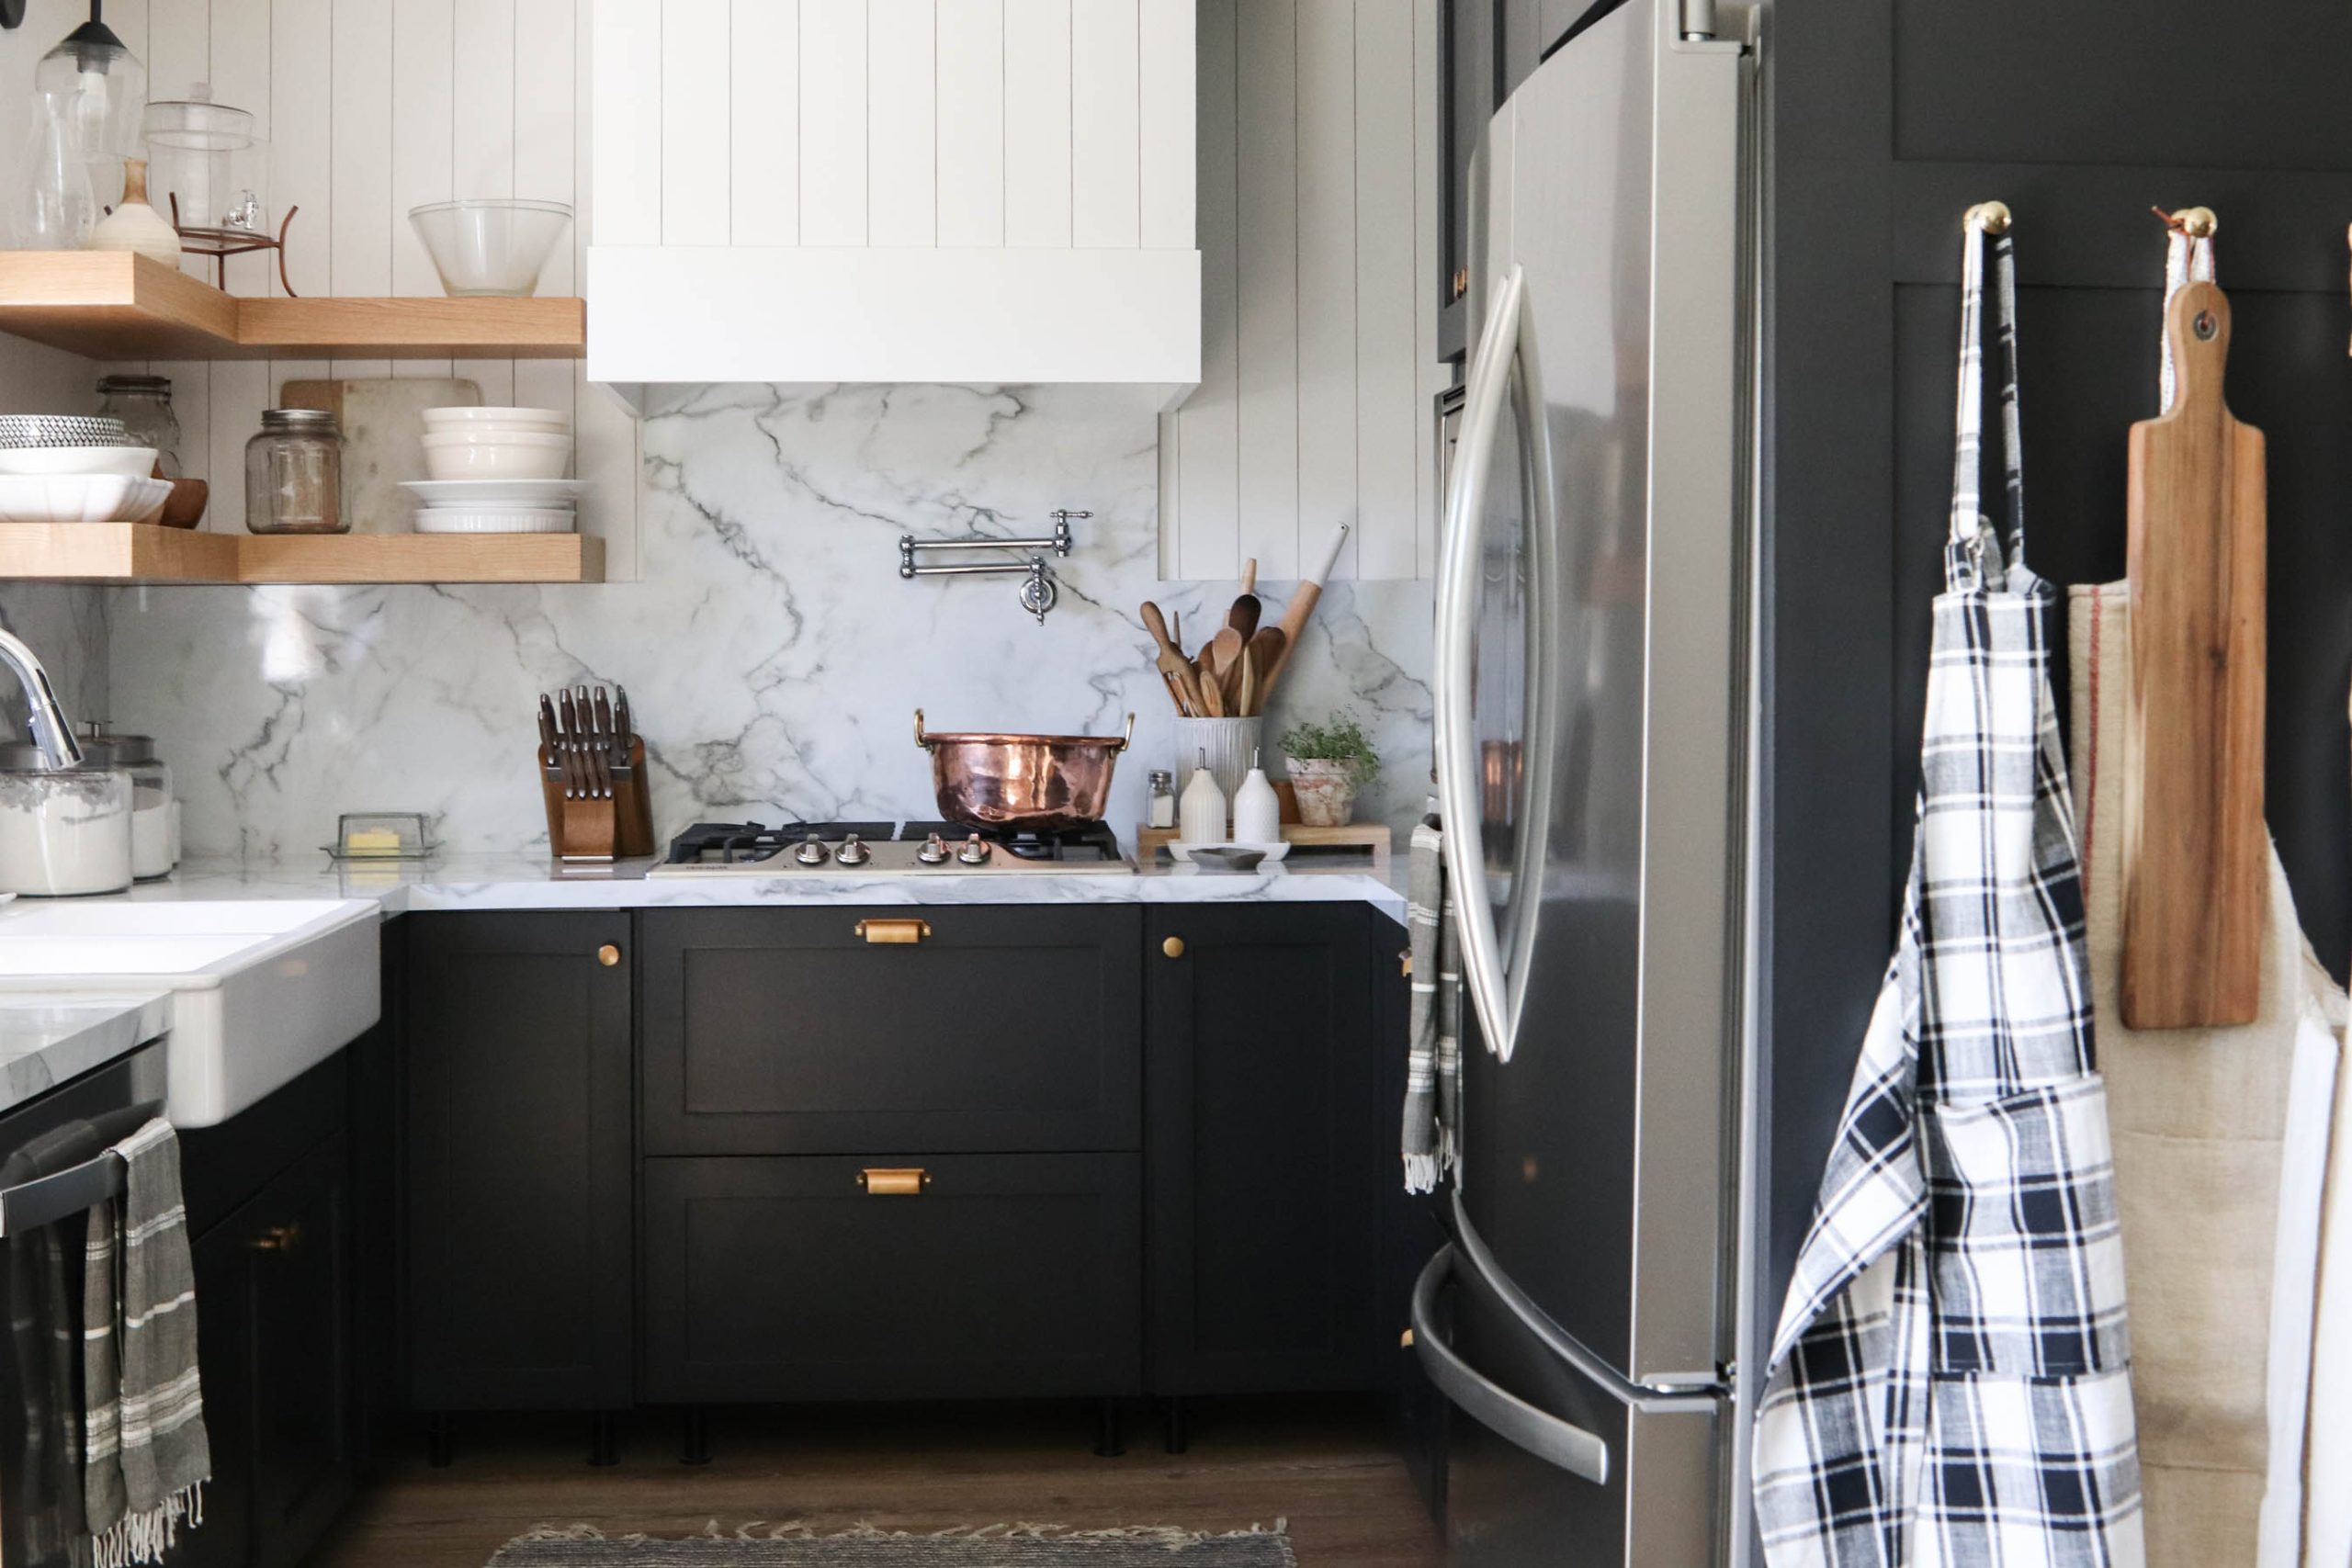
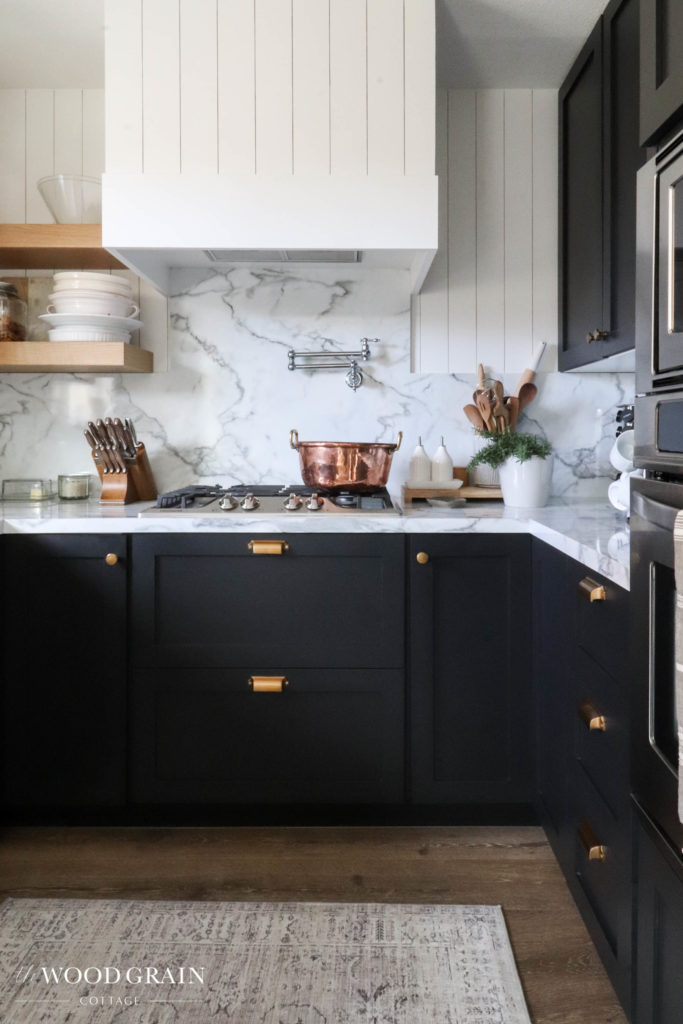
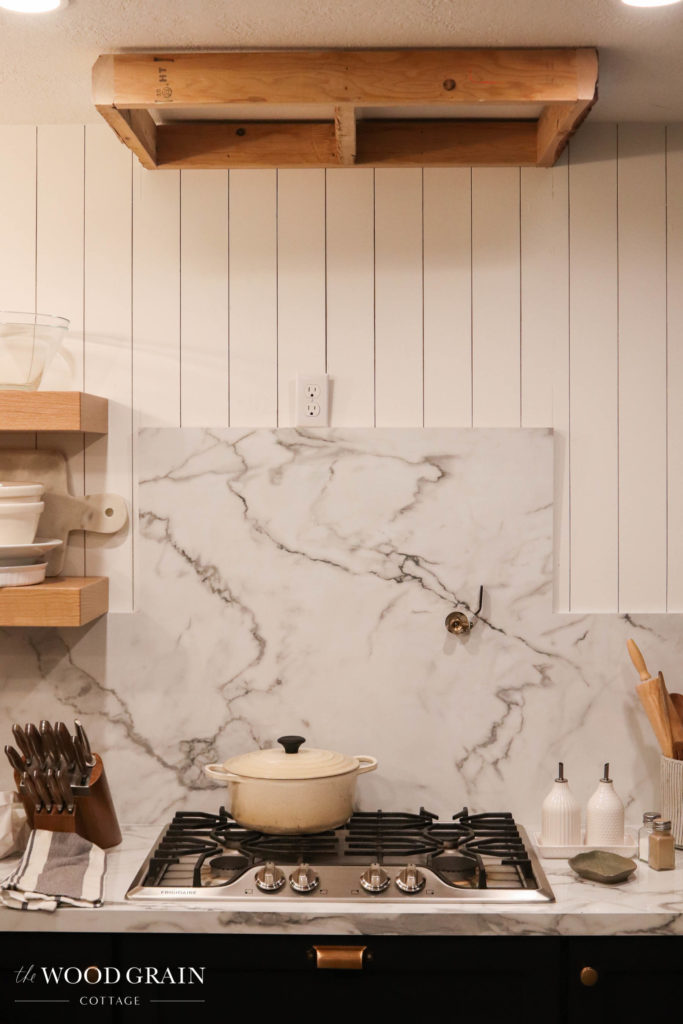
The Finished Custom Vent Hood
The kitchen sat like this for a long time, just waiting on the crowning jewel…
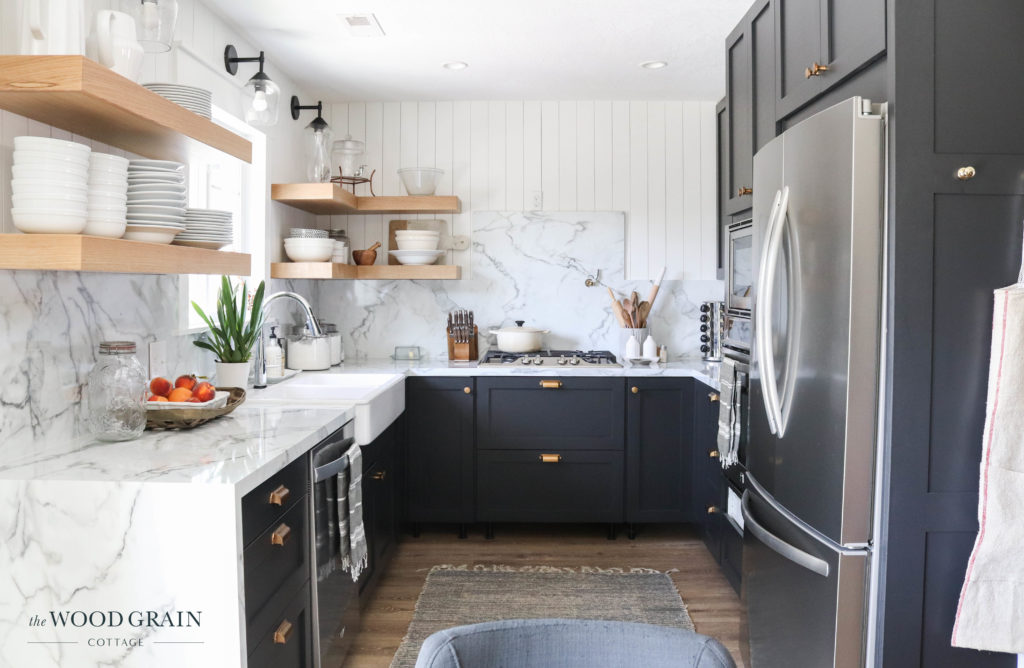
As soon as it was finished, we had a completely different kitchen…
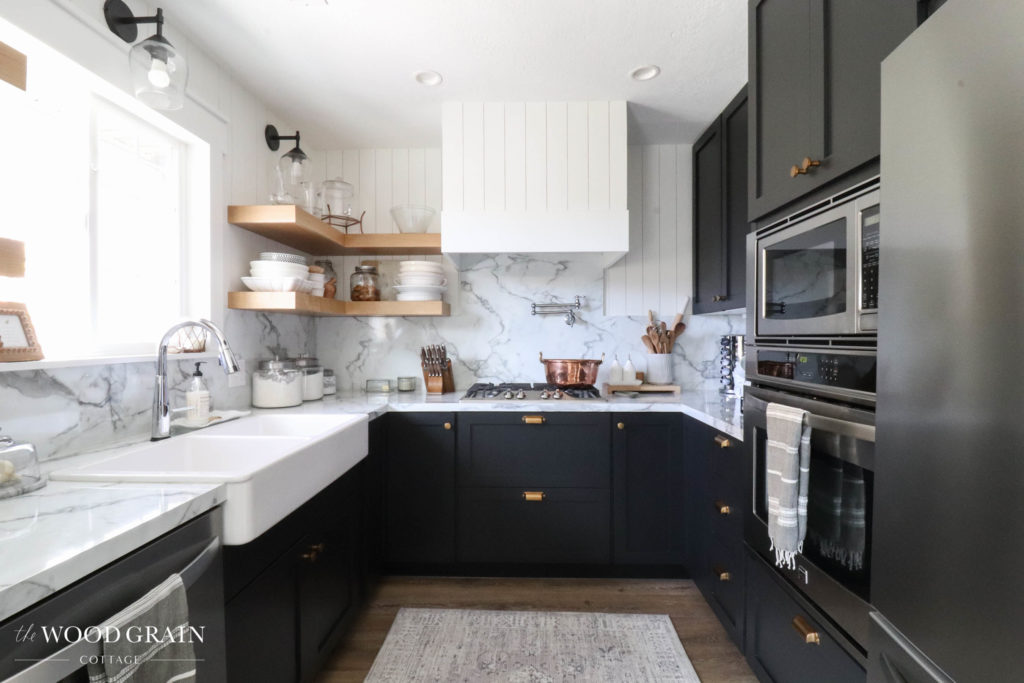
I love that it ties in seamlessly with the vertical planking on the walls…
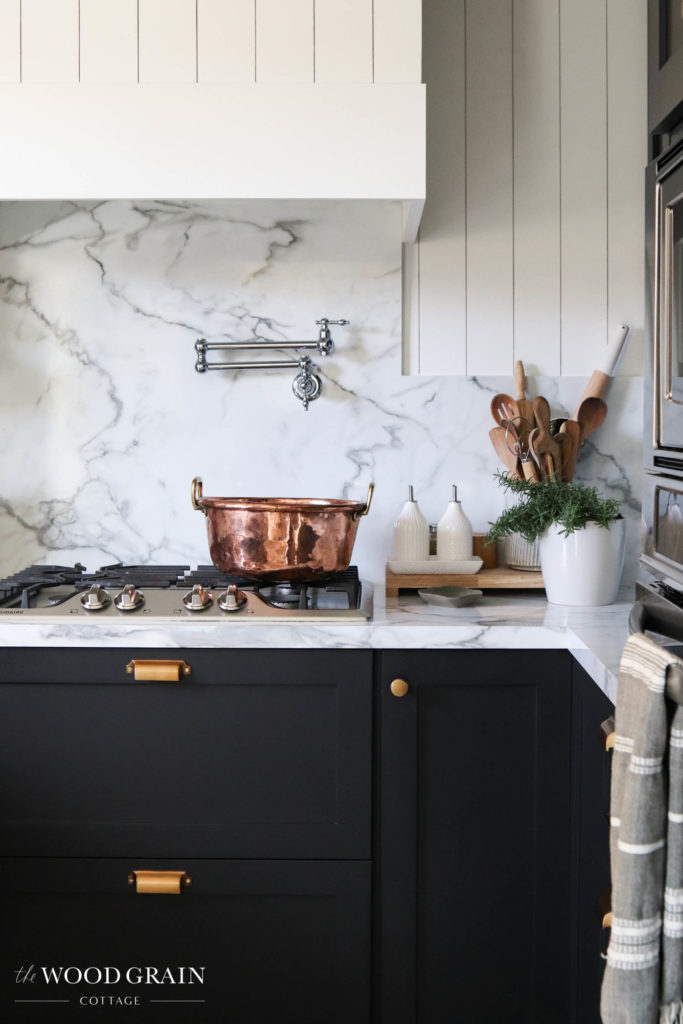

I also love that the simplicity in the design allowed for the laminate backsplash and countertops to really shine too…
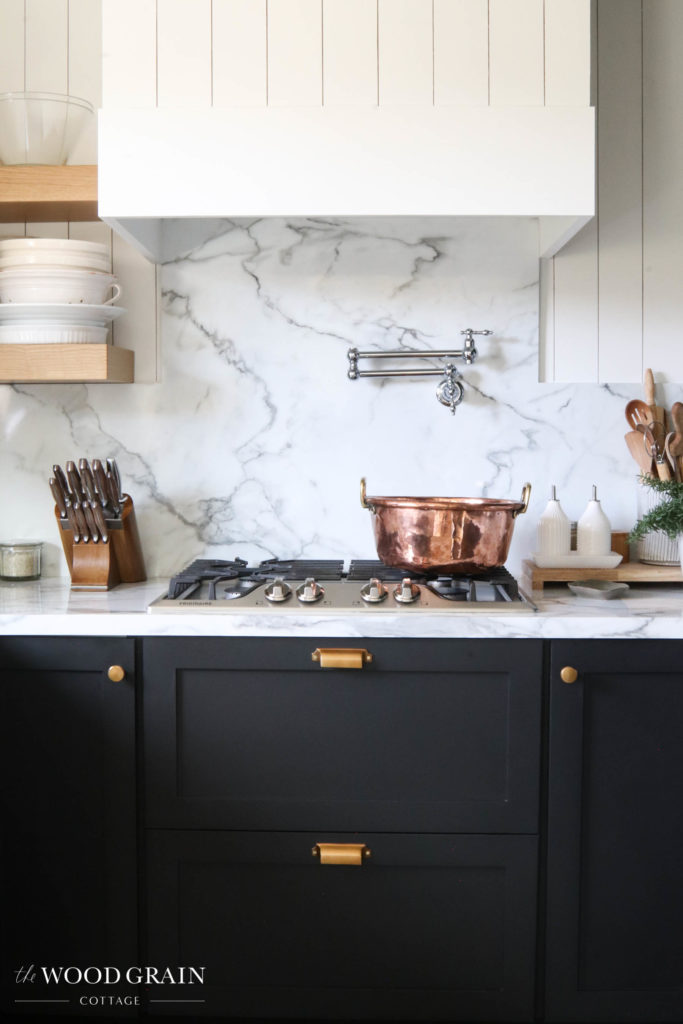
We love how it all came together and it was so budget friendly…

Overall, I’m so glad we chose to build our own custom range hood! It was a great project and it made all the difference in our kitchen!
Kitchen Sources:
[show_shopthepost_widget id=”4673609″]
Love this Shana and I did Pin it for reference later BUT your font on the blog is so tiny it is very hard to read and I thought your vent post was not even posted and lost somewhere. There were 12 blocks of ads and video’s of ads. I totally understand having those but it seems something wasn’t right and thought you should know. Thank you for the help with designing our stove vent. Ours is in an open kitchen LR layout and I’ve talked about doing this for over a year now. Maybe this is my boost! Off to get my glasses:0)
I agree with Lori re: the tiny font and light print is almost impossible to read in certain areas of your blog – it wasn’t like this before, something has changed recently (it’s a turn-off.) That said, the vent hood tutorial, super, my husband even forwarded it to me! Didn’t know he was now following also! 🙂
Thank you for the feedback, Cindy! I’ve increased the font size throughout the website. It should be easier to read now. I’m glad you enjoyed the tutorial! 🙂
Thanks for the feedback, Lori. I’ve increased the font size throughout the website. It should be easier to read now. And I apologize about the ads. On the day this was published, my ad company was having a glitch. That’s why there were so many ads. It looks normal on my end now.
Sorry Shana but I can’t read your printed type as it’s too small. I see a new post and it’s the same. Honestly trying to help. I never heard back so so sorry I will unsubscribe.