Wall Moulding In The Nursery
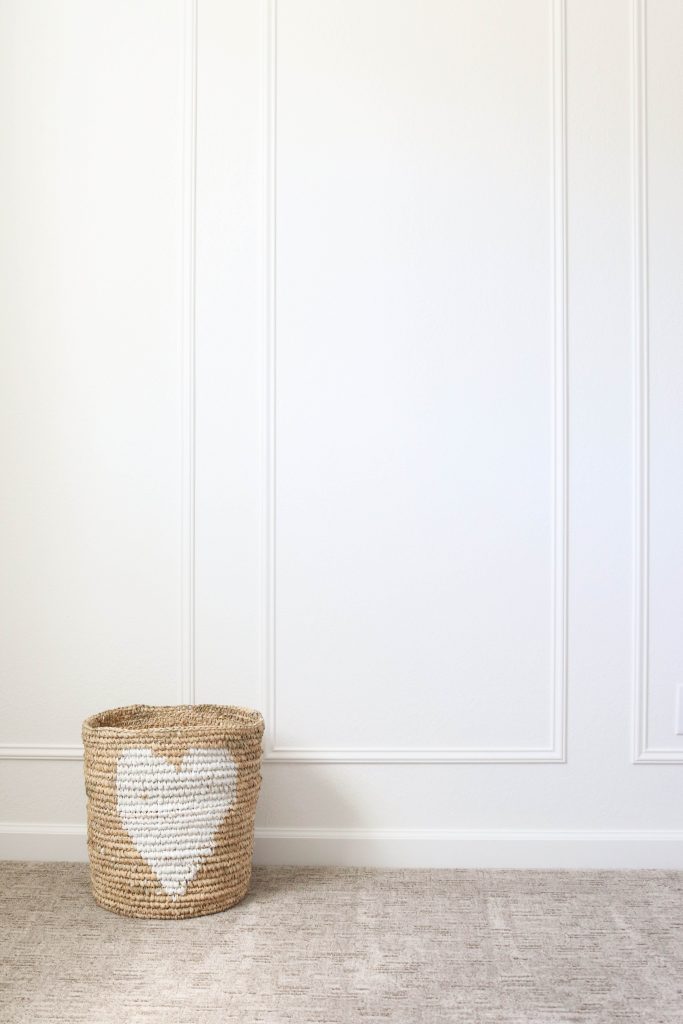
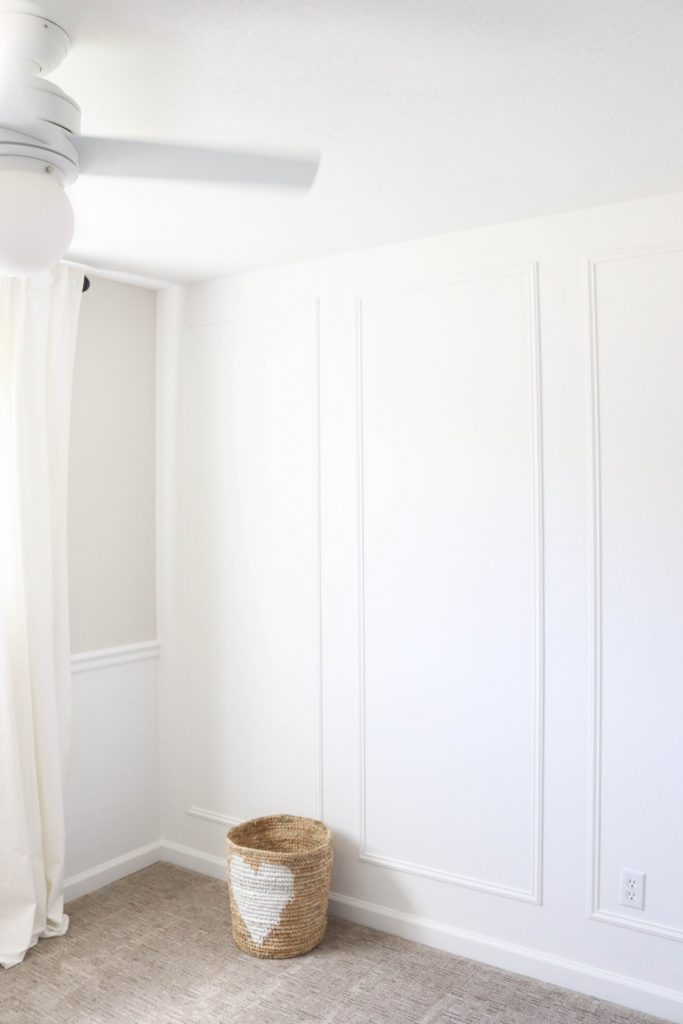
Today I’m sharing how we installed wall moulding in the nursery. It’s added the perfect amount of character to the bare walls, really bringing this room to the next level.
We’ve been hard at work getting ready for baby girl! It’s been a real team effort, but her room is looking so good and things are coming together beautifully! Today, I wanted to share the wall moulding we just installed in the nursery. It’s made such a huge difference and it’s added the perfect amount of character to her room.
If I’m honest, I’ve been a little bit indecisive when it came to what exactly I wanted to do in her room. The one thing I knew for sure, was that we would be installing wall moulding on the main wall of her bedroom, which is where her crib will go. It’s going to be the perfect backdrop!
Here’s how we installed the wall moulding:
Affiliate links are provided below. Full disclosure here.
Supplies:
- Wall Moulding
- Measuring Tape
- Todd’s Favorite Measuring Laser (Optional, but very handy and accurate!)
- Level
- Brad Nailer
- 18 Gauge 1″ Brad Nails
- Chop Saw
- Fine Grit Sandpaper
- Pencil
- Caulking Gun
- Caulking
- Spackling
- Paint (I used Super White by Benjamin Moore in eggshell)
- Paint Brush
Painting The Walls:
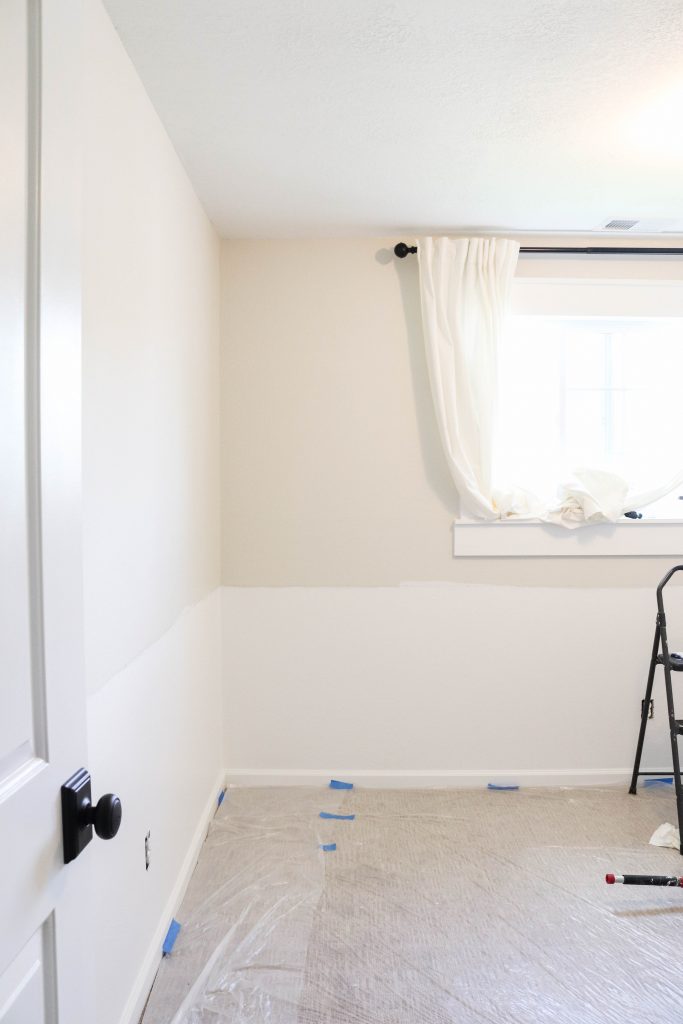
Before we started installing the wall moulding, my mom came over and helped me paint the main wall, and then the lower portion of the other walls. I really love how the bright white looks with the existing wall color, Gray Mist by Benjamin Moore.
We used the color Super White by Benjamin Moore on the walls, which is the same color as the trim and doors. It’s truly my favorite bright white and perfect for what I have planned. I’ve always wanted her room to feel really calm and cozy, with lots of layers and textures, and this color scheme is perfect for what I envision overall…
Installing The Wall Moulding:
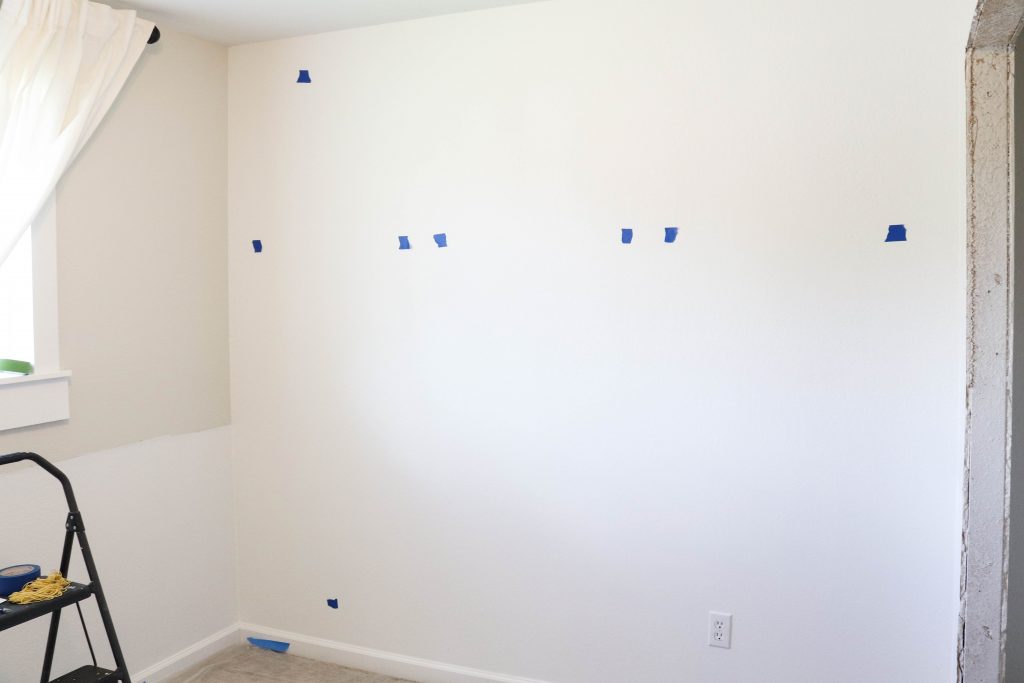
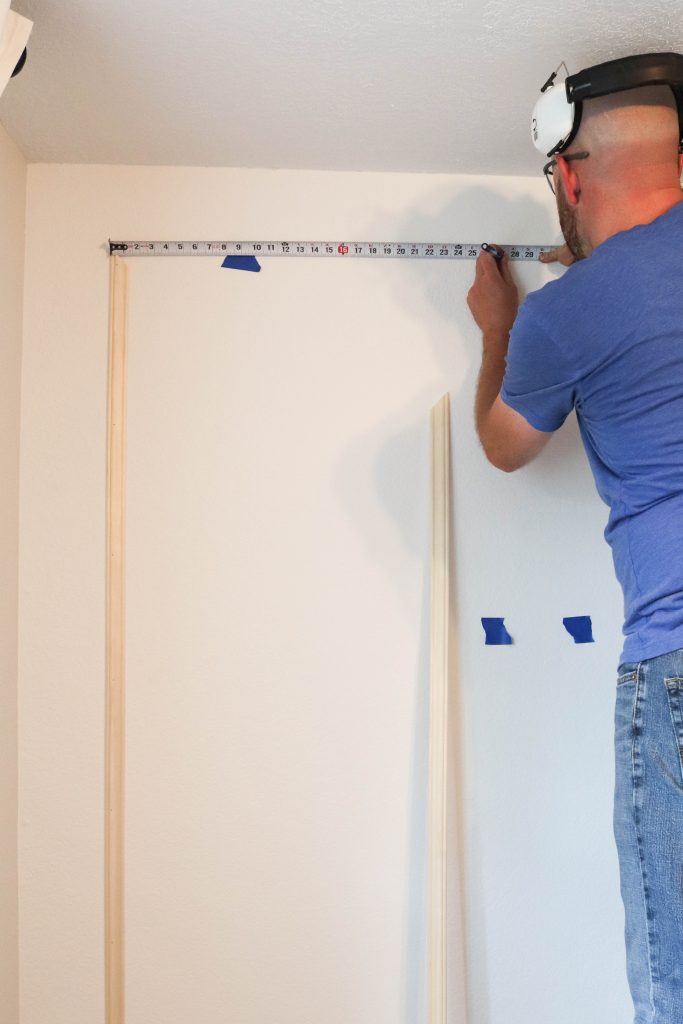
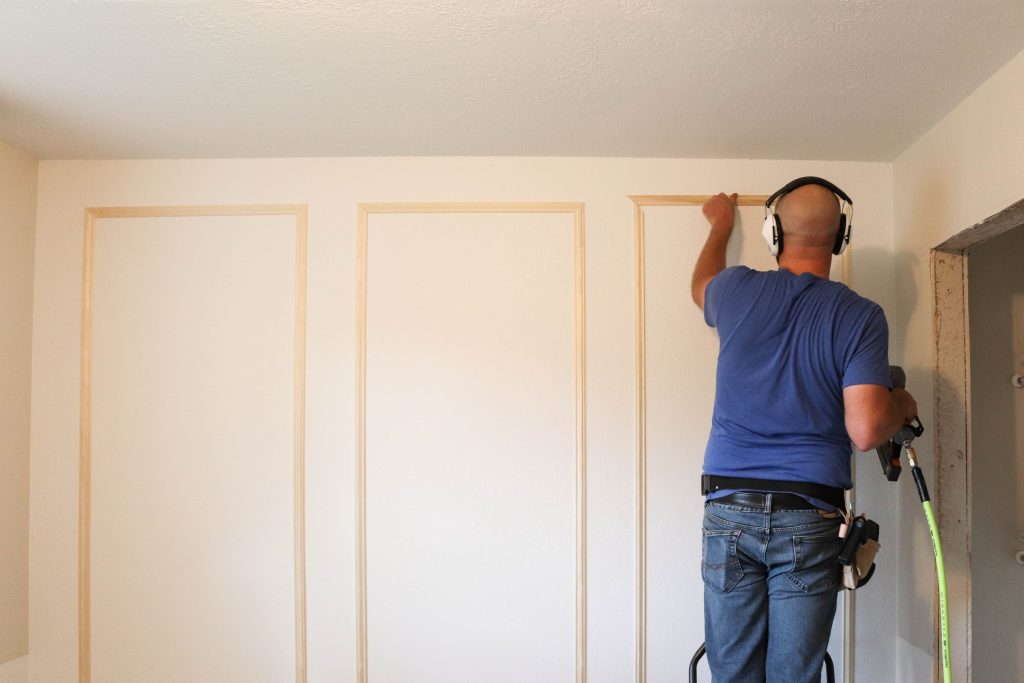
With the walls painted, Todd started working on the wall moulding. I wanted three equally spaced boxes, floor to ceiling. He started measuring first…
The wall measured perfectly for three 27 1/4″ evenly spaced boxes with a 6″ gap between each box, and at the top and bottom of the wall as well…
We basically followed the exact same tutorial I shared for our master bathroom wall moulding. The only exception this time, is that the boxes would run the full height of the wall.
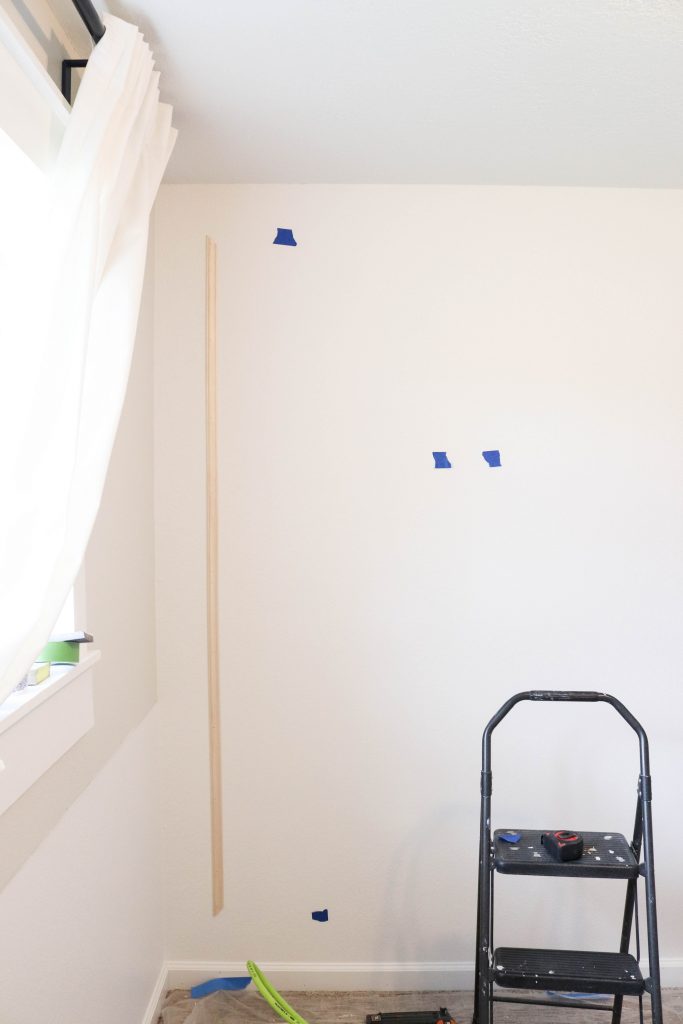
Todd pre cut all of the vertical pieces to 80 1/4″, and then started nailing them in place. The first board went on 6″ over from the edge of the wall, and 6″ down from the ceiling…
Then, he measured over 27 1/4″ and marked the wall…
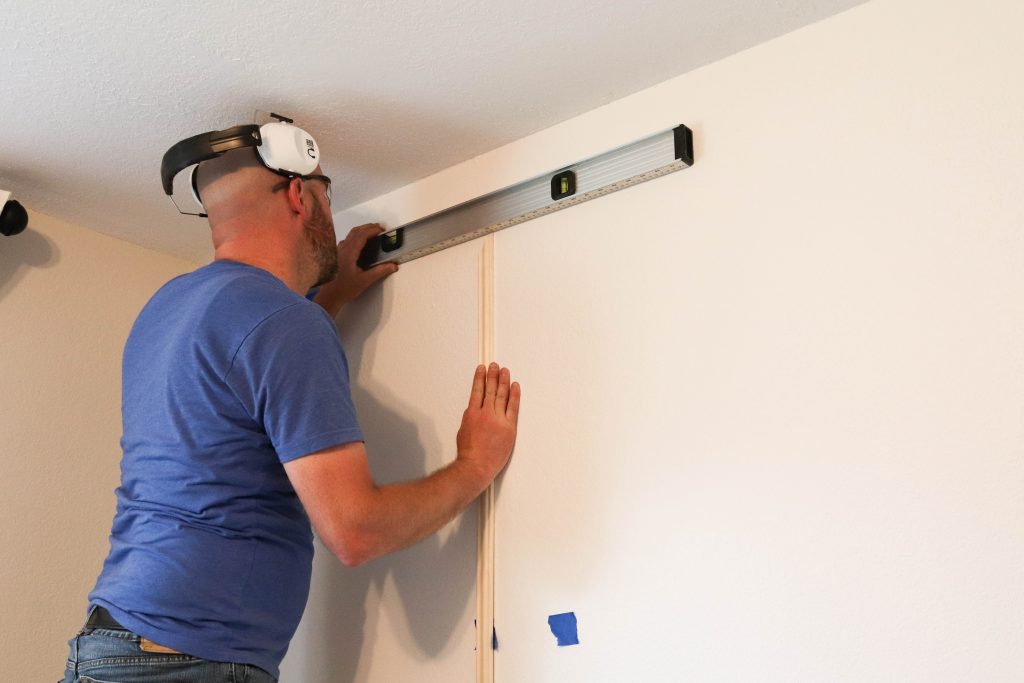
He used the level to make sure the top of the moulding strip was level with the first piece…
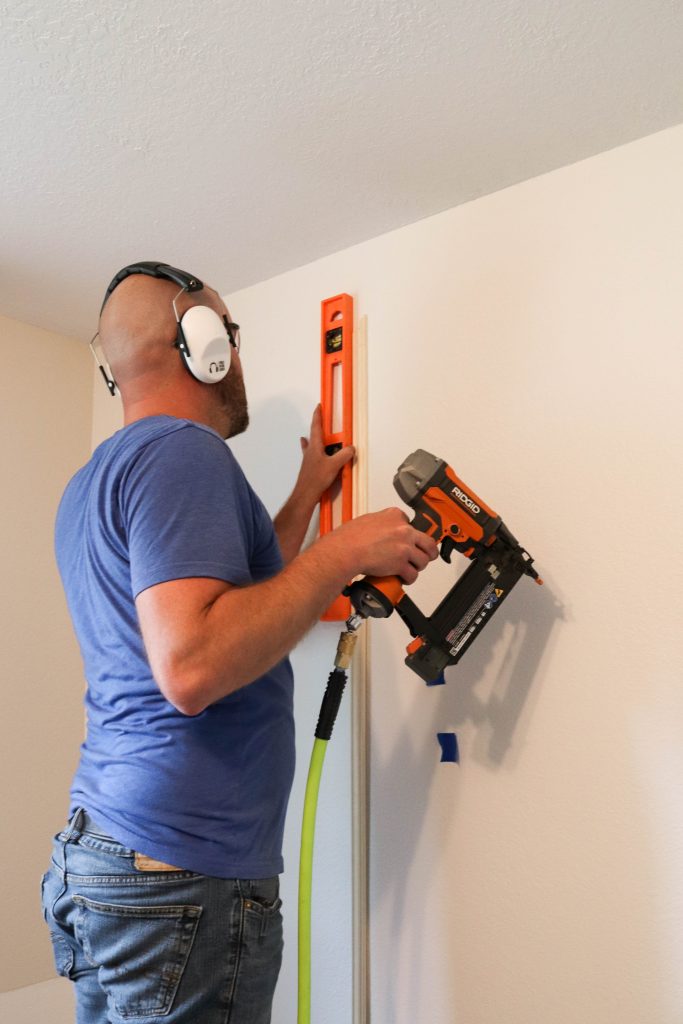
Then, he nailed it in place and used the level to make sure the board was straight vertically, nailing it in place as we he went…
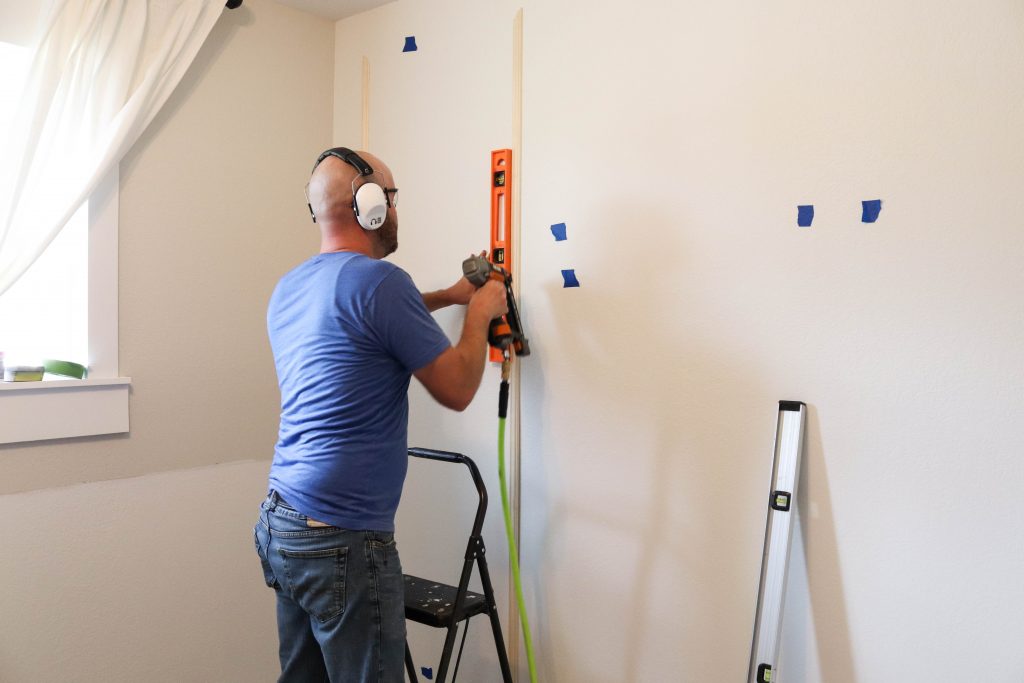
With the first box in place, he measured over 6″, then installed the next moulding piece…
With the moulding pieces being so long in length, using a level ensured the boards were as straight as possible…
He kept working his way across the wall, following the same pattern…
Once he had all of the vertical pieces in place, he measured and cut the horizontal pieces for each box…
He used the brad nailer to install them on both the top and the bottom…
Once all of the pieces were in place, it was time to caulk all sides of the moulding pieces and fill the nail holes. I gave all the nail holes a light sanding, then it was ready to paint.
Trimming Out The Closet
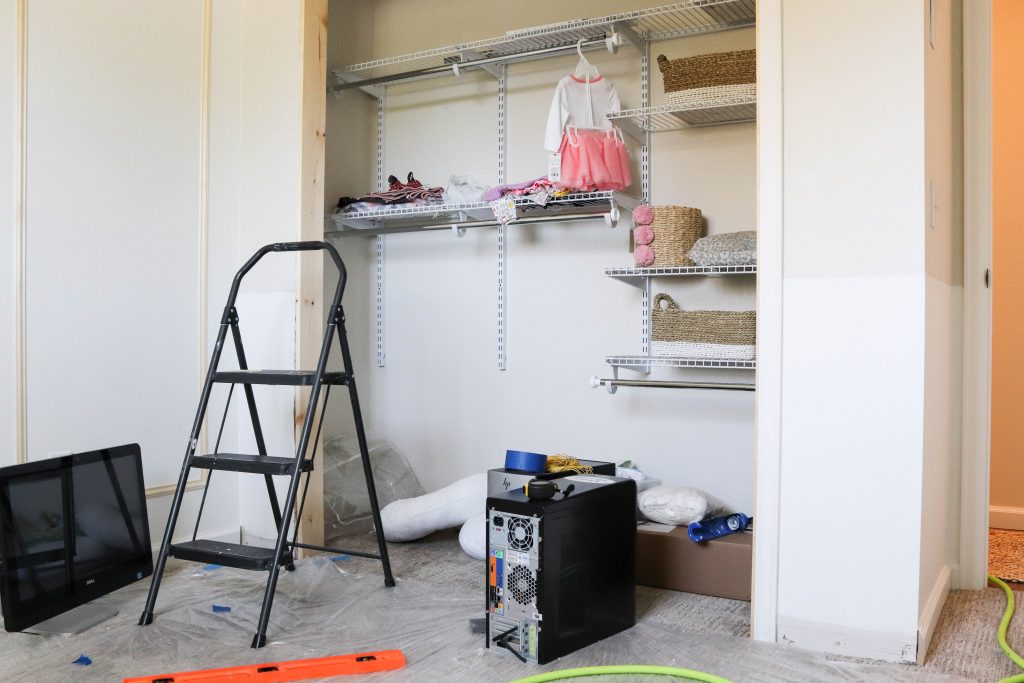
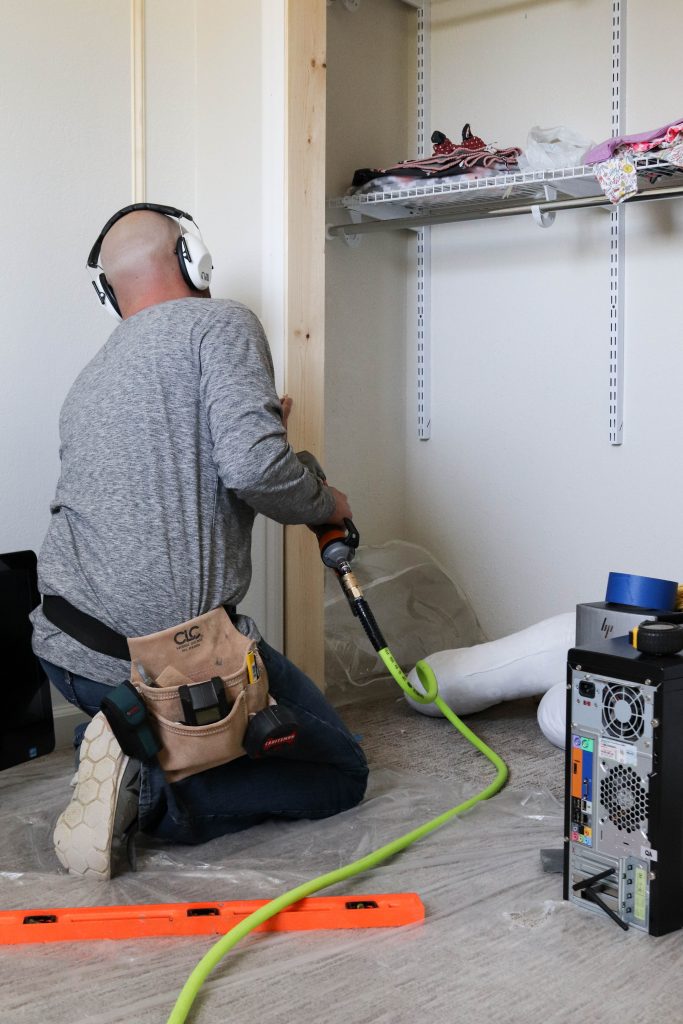
Before we painted the wall moulding, we needed to add a few other areas of trim. We started by trimming out the closet, inside and out…
It was so refreshing to see the closet get trimmed out. We’ve lived with drywall and the original framing since we demo’ed the house.
You’ll also see that we got the closet system installed. I’m excited to start filling it up. We’ve been gathering quite a few things lately and seeing it all in her closet gives me such a happy feeling. 🙂
Installing The Chair Rail
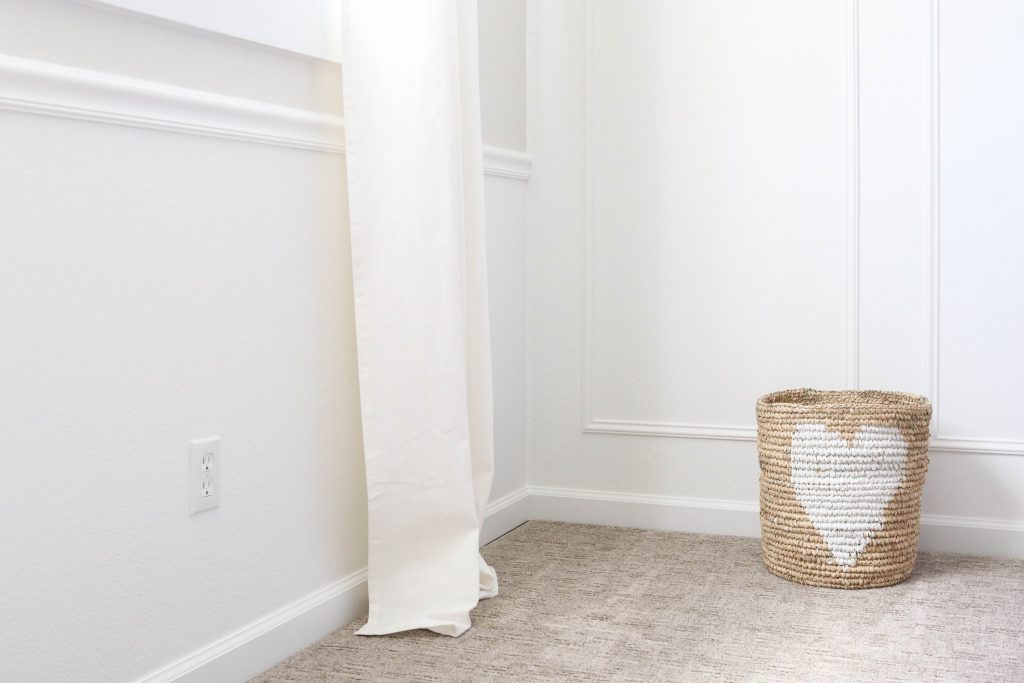
With the closet trimmed out, it was time to install the chair rail. With us doing two different colors on the wall, I knew chair rail would really finish everything off and tie it all together. I really debated about continuing the box wall moulding underneath the chair rail, but when it came down to it, the room was as cute as could be without it.
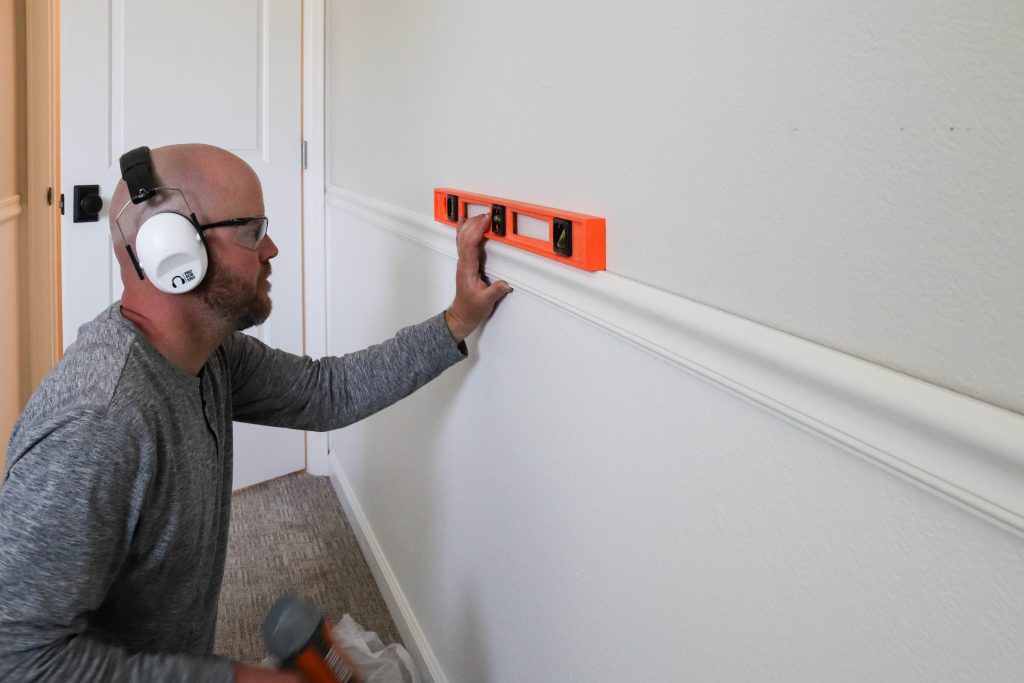
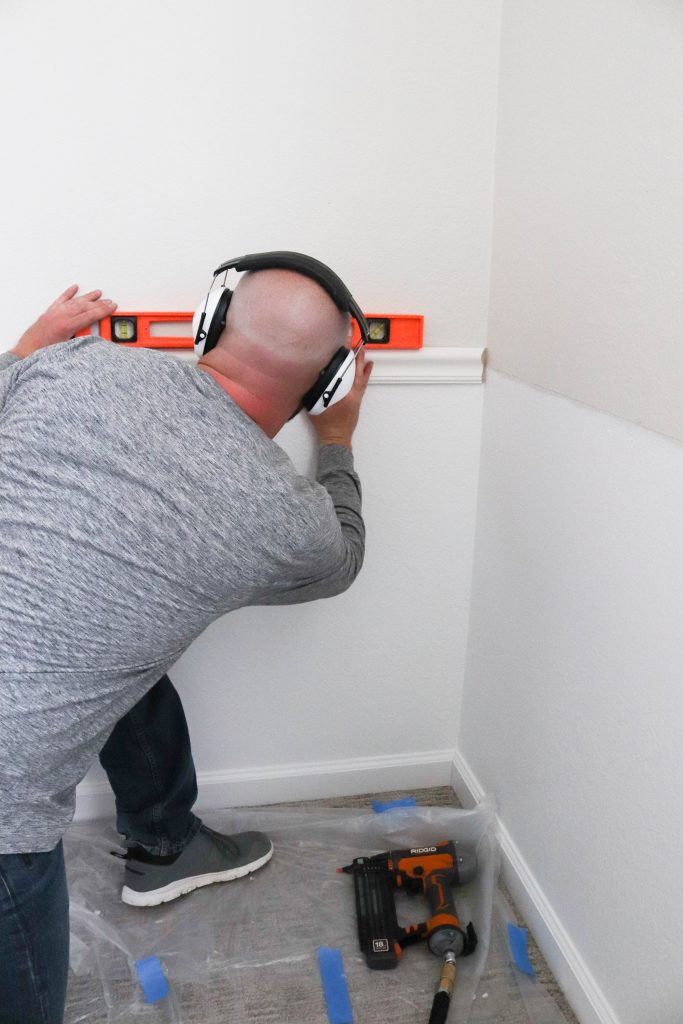
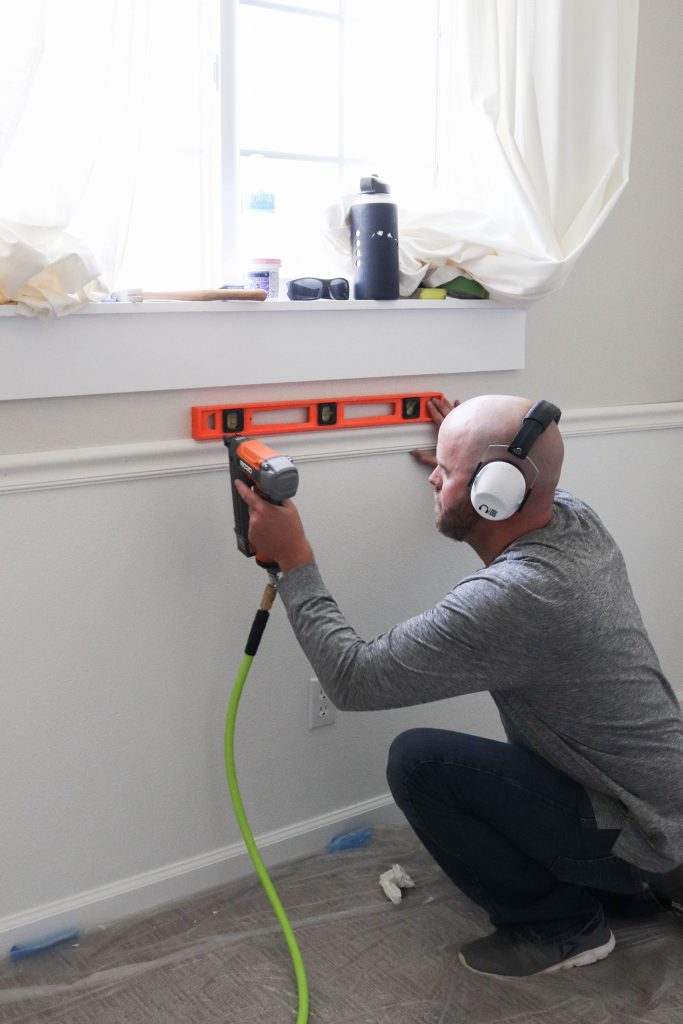
We added the chair rail at 36″ tall, which felt like the perfect height…
Todd used his brad nailer and level and nailed it in place as he worked his way down the wall and across the room…
Once all the chair railing was installed, I started filling the nail holes and caulking everything. Then, the room was ready for more paint…
Touch Up Painting
To get everything finished, my mom came back over to help me do the rest of the painting. She’s been such a fabulous help. While I rolled the closet framing, she started using the paint brush to paint the wall moulding strips and the chair rail…
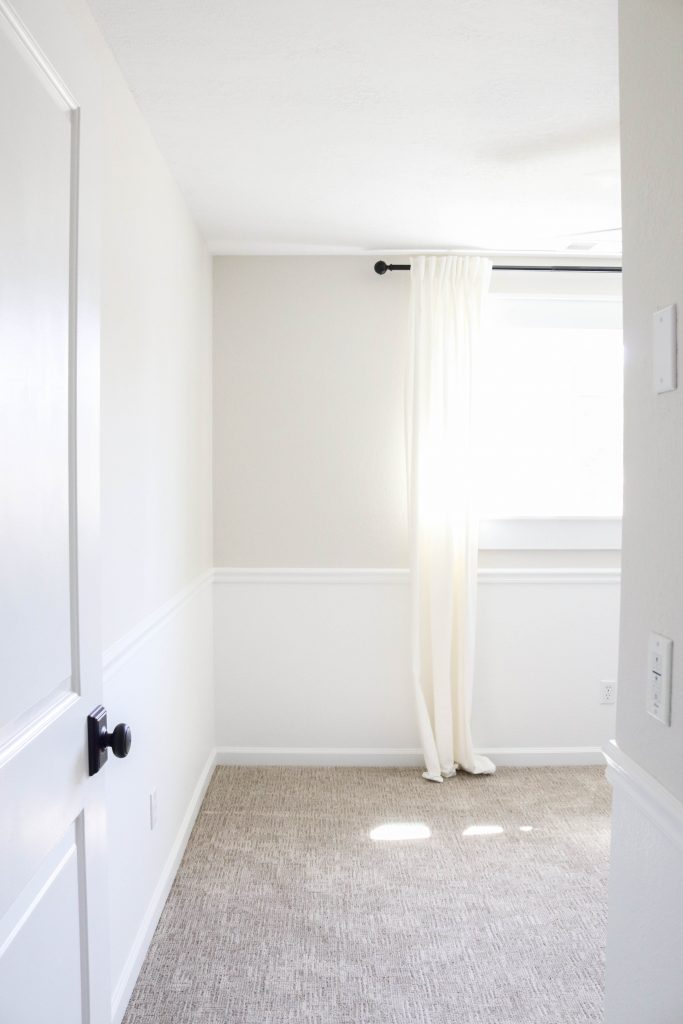
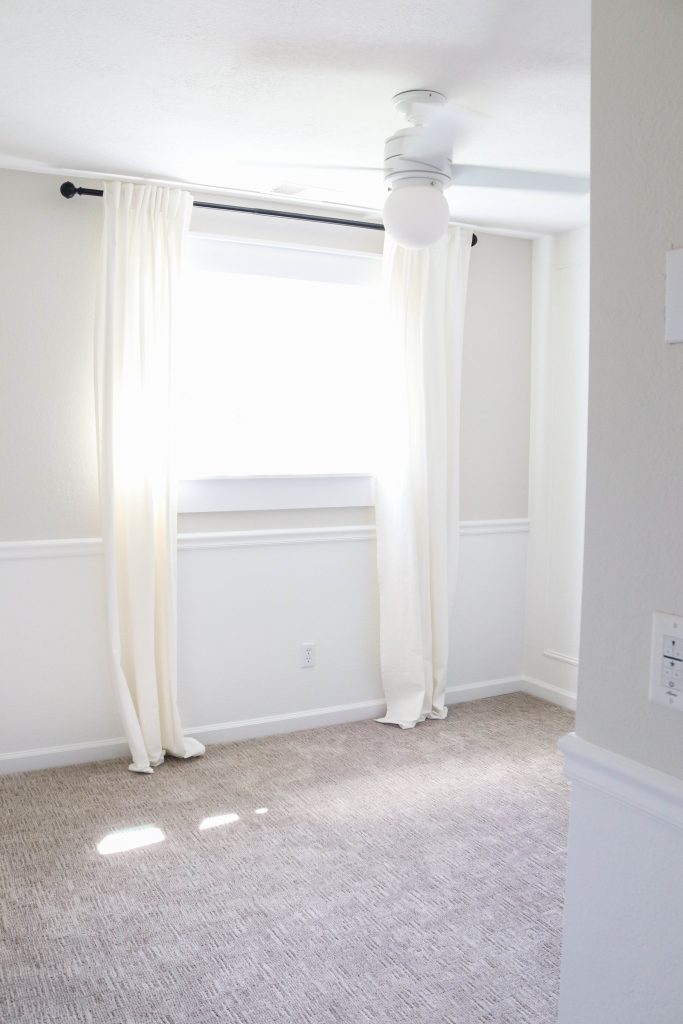
It went pretty fast and before we knew it, we had everything painted! Now, all we have left is to install and paint the closet doors.
Overall, we’ve made such great progress and I’m feeling so much better now that we have an empty, ready space to start bringing furniture into…
I’ve been ordering things like a mad woman and it’s all starting to arrive. This sweet basket is one of my very favorite things!
I feel so much relief knowing we’re basically ready to start organizing and arranging her room. I’ve been feeling a little bit anxious with her room needing so many things to get done, but we were able to knock most of it out within a few weekends…
We even got the ceiling fan installed! I did have to order a different color fan than I originally planned since the other one was backordered until the end of June, but I love the solid bright white of this fan…
We’re officially ready to start adding furniture. Her crib should be here in the next week or so, as well as everything else I’ve ordered!
It’s all becoming so real… she really will be here before we know it!
I’ll be working on the rest of her nursery over the next few weeks and I’ll be sharing the full reveal as soon as we have everything in place!
[show_shopthepost_widget id=”4019347″]














Great job on the wall! I bet your mom is so excited too!!
Hi Shayna! You are lucky to have such a handy husband!! By chance-can you tell me where your curtain and curtain rods are from?
I know! He is so handy! 🙂 The curtains and curtain rod are both from Ikea.
You can find them here: (affiliate links)
Curtains: https://fave.co/3cGopEM
Curtain Rod: https://fave.co/2Z2Tbns
I got excited when seeing how much of your nursery has been completed and it isn’t even my house. Must be such a good feeling.
Happy for you both and your sweet baby girl, what a pretty, functional room you have done up for her arrival! God Bless.
The transformations you’ve made to this fixer-upper have been remarkable!! Love, love, love this!!!
Hi Shayna
I’m getting ready to redo my guest room, and your baby girls room is absolutely beautiful.
What color is above the chair rail molding?
I love how the molding on the one wall looks. I’m thinking about doing this as well.
You always have such great ideas.
Have a wonderful day.
Much love,
Rose
Thank you! I’m so glad her room is inspiring you! The wall color is Gray Mist by Benjamin Moore. It looks wonderful with Super White. 🙂
So happy for you ‼️‼️
So beautiful!
Hello! I love the wall mounding! Any tips for installing this on textured walls? Do we need to sand them down first?
Thank you! It honestly depends on how heavily textured your walls are. If they’re really rough, you may want to consider covering them, or sanding them. We have a knockdown texture and the moulding looks perfect with it. I hope that helps! 🙂
Love the molding!! You think it would be too much to do the molding on all four walls for a nursery? My baby’s room is about 8×9 feet.
I think it would be beautiful installed on all four walls! Such great character! 🙂