
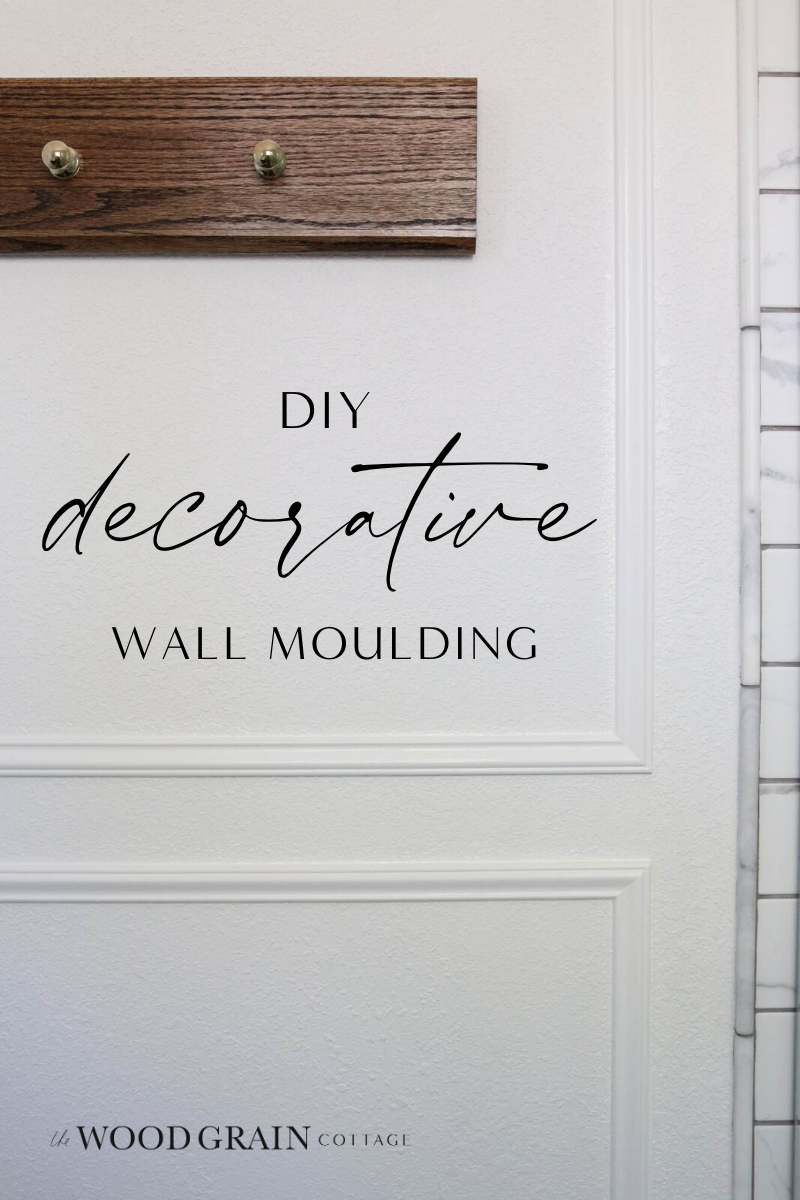
How To Install Wall Moulding
We’ve been doing some work in our master bathroom and it’s coming along beautifully. When coming up with the design plan for this bathroom, I really wanted to add some extra character, especially with the bathroom being such a small space. Wall moulding was an essential part of my plan, and we just recently installed a few walls, with one more to go.
Today though, I wanted to share our method on how to install wall moulding. It’s such a beautiful way to add character to any space.

How To Install Wall Moulding
Before we get started, if you haven’t caught up with progress in our master bathroom, you can read my last update here. This bathroom has come such a long way! Since my last post, we’ve had our shower glass installed and we’ve built a towel rack, which I’ll be sharing the tutorial for in a few weeks. Adding wall moulding was our next big project and it’s so fun to be able to check it off the list now too!
Supplies/ Tools:

Affiliate links are provided below. Full disclosure here.

- Wall Moulding
- Measuring Tape
- Todd’s Favorite Measuring Laser (Optional, but very handy and accurate!)
- Level
- Brad Nailer
- 18 Gauge 1″ Brad Nails
- Chop Saw
- Fine Grit Sandpaper
- Pencil
- Caulking Gun
- Caulking
- Spackling
- Paint (I used Super White by Benjamin Moore in eggshell)
- Paint Brush
Step 1: Pick Your Wall & Get Measurements
In our bathroom, we’ll be installing wall moulding on three of our walls, but the main wall I couldn’t wait to add moulding too, is the large wall by the shower where we’ll hang our towels…

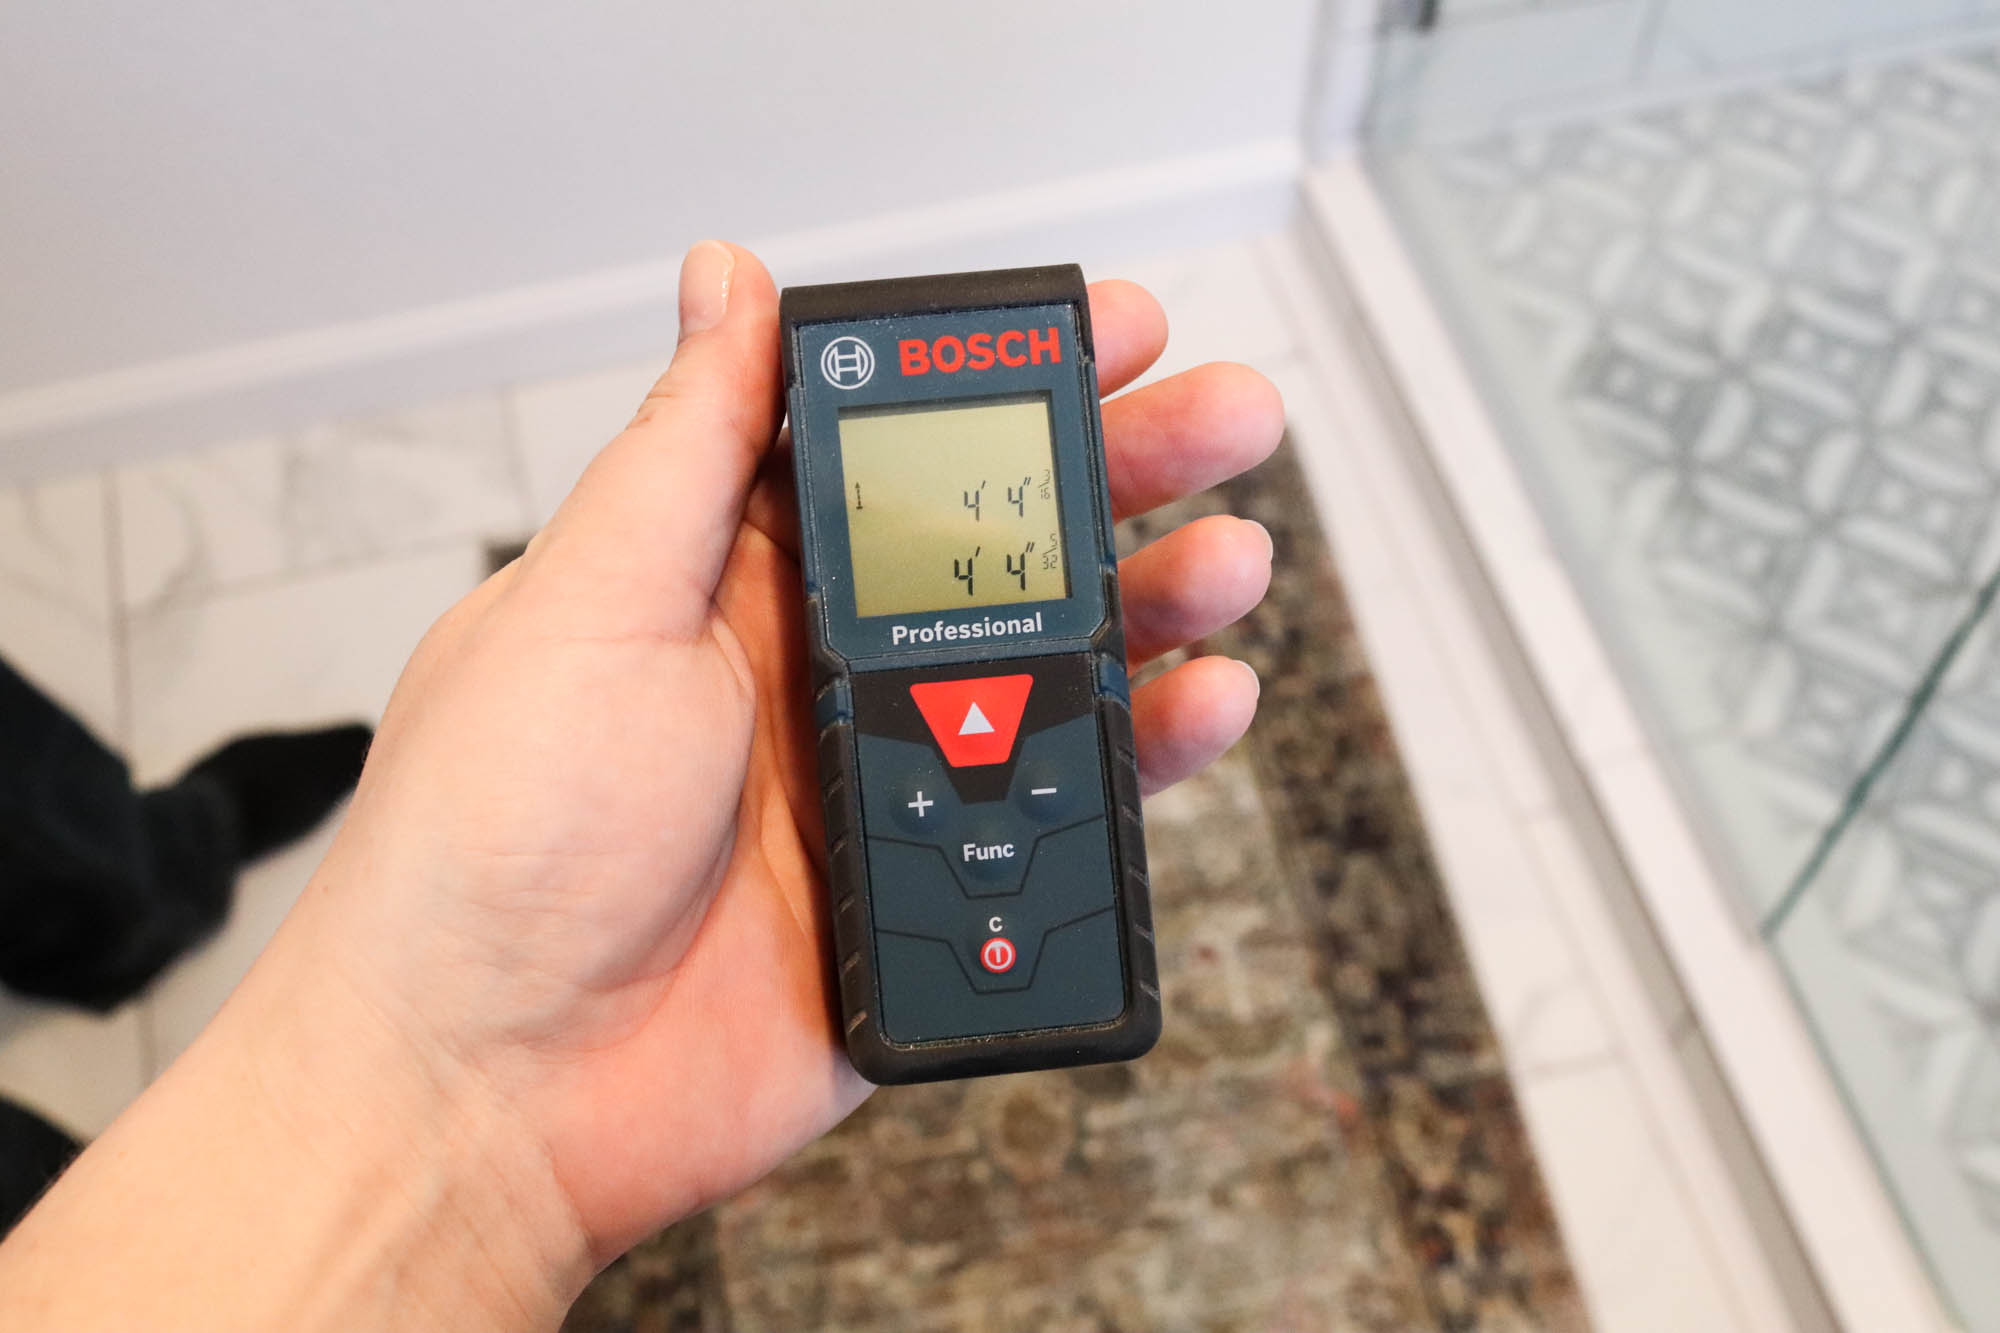
To determine the size/ shape of our moulding, we took an overall measurement of the wall, both in width and height…

For Christmas, I bought Todd a laser measuring tape and it’s basically become one of his favorite tools…
With our overall width measurement, we subtracted 6″ in total width, for a 3″ gap on each side of the two moulding boxes we’d be creating…

We also measured our total wall height, from the floor to the bottom of the crown moulding, since that would be our overall stopping point for the moulding. We also subtracted another 3″ for the bottom gap, middle gap and top gap, for a total of 9″.
Because I wanted the top moulding box to be substantially larger than the lower box, our goal was to create a top moulding box that would be double the size of our bottom moulding box.
Step 2: Cut & Sand Material
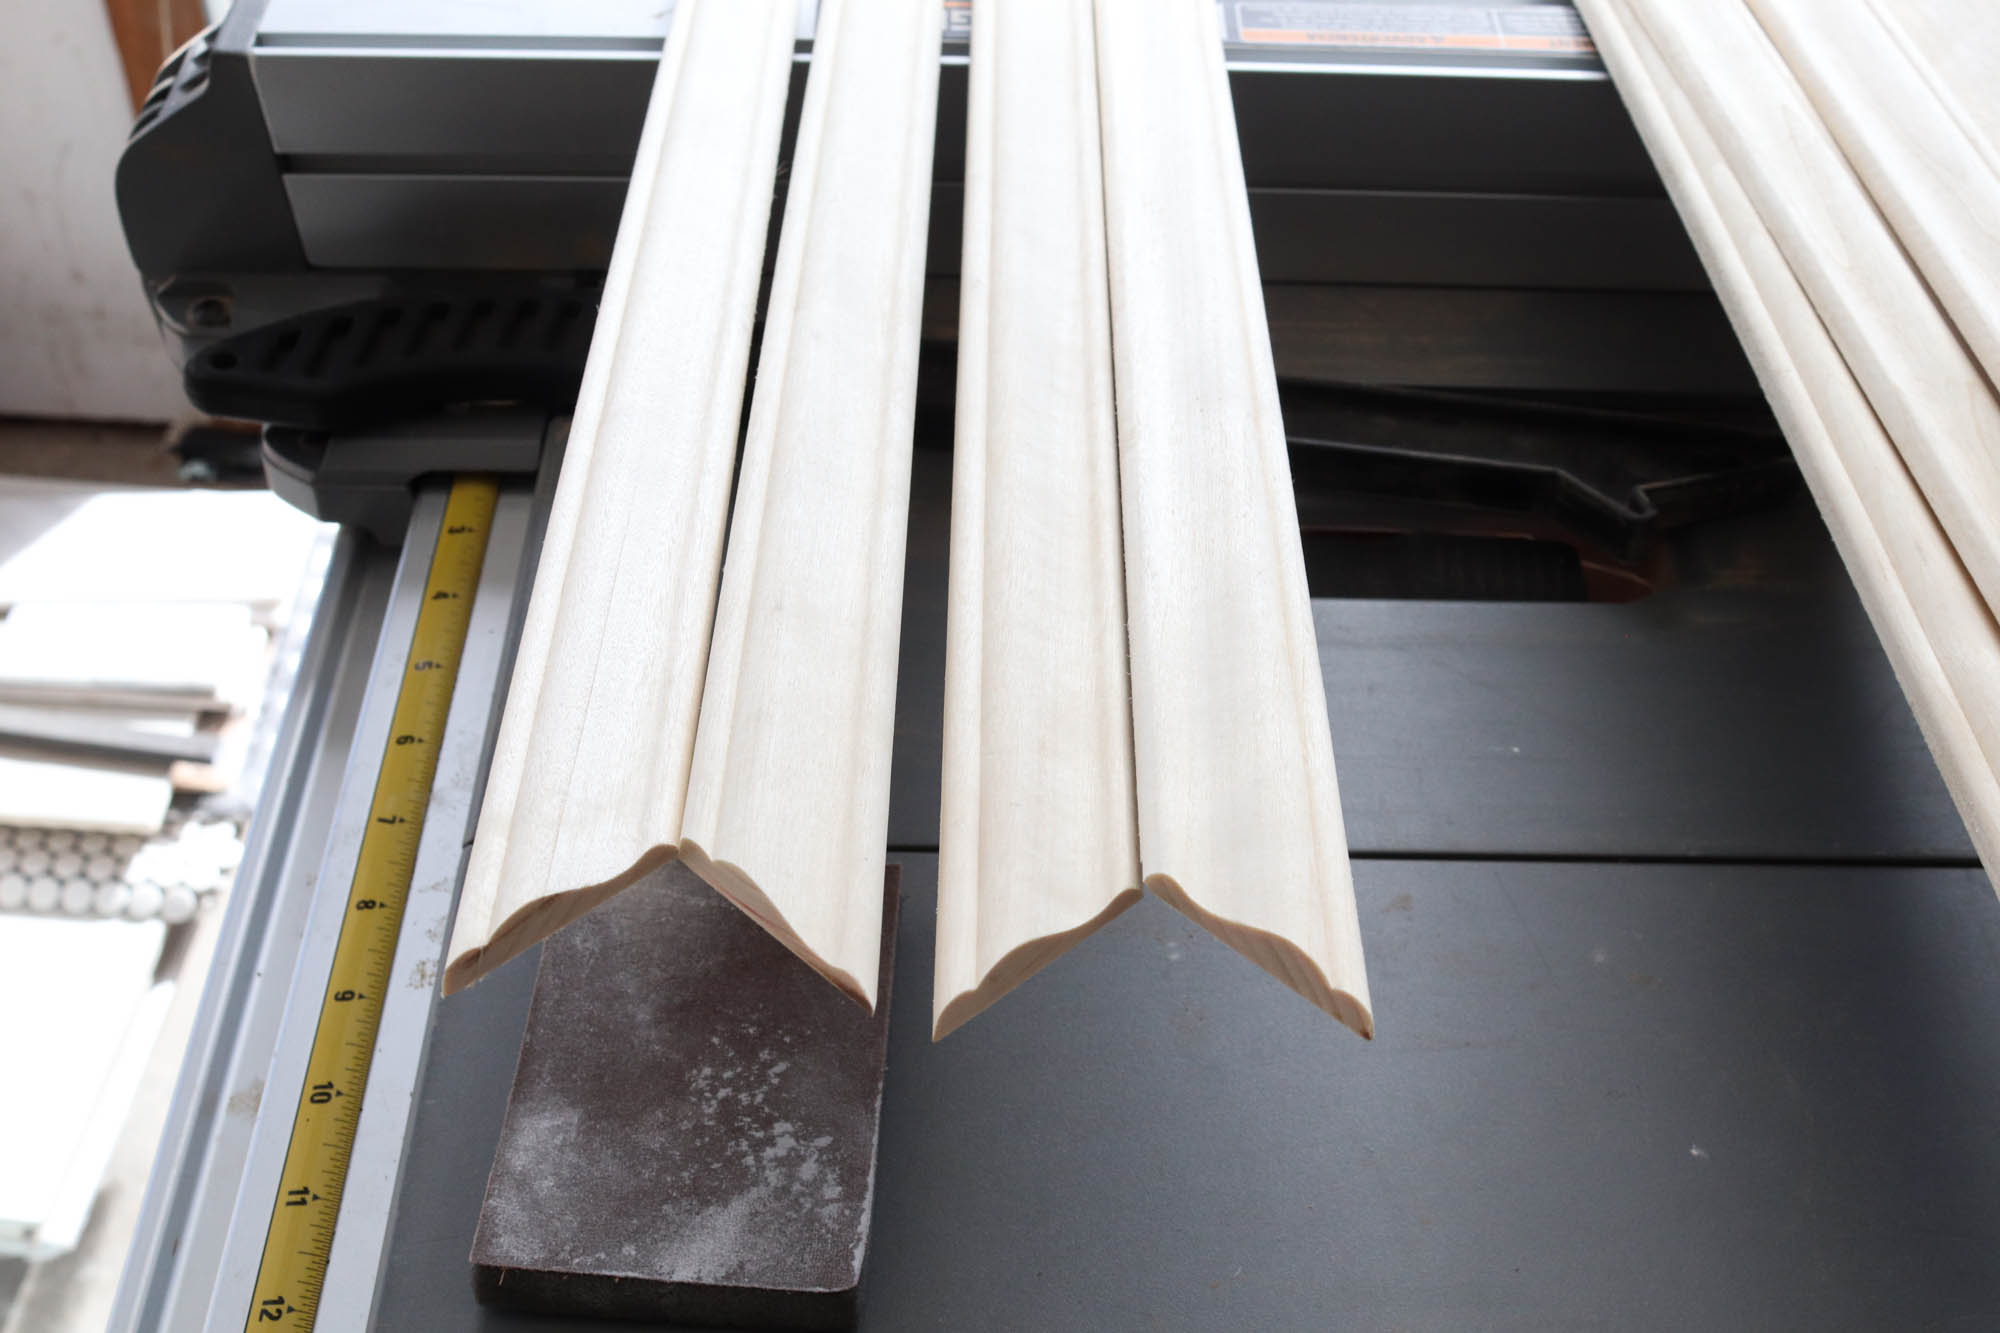
For the moulding material, we used this moulding. It’s in stock at our local Lowes and I loved the subtle detail it had, plus the overall width is 1 1/4″ making it the perfect size for this project…

With our width measurements in hand, we started measuring and cutting the material to length…

We cut each end at a 45 degree angle making for a more custom moulding look…

Then, I used a piece of fine grit sandpaper to lightly sand off any wood splinters…


Since we’re installing two moulding boxes on the wall, we cut four equal length pieces for the width…
Step 3: Install Horizontal Moulding Pieces Onto Wall
Before determining and cutting the vertical side moulding pieces to complete our box structure, we installed the horizontal pieces onto the wall first.
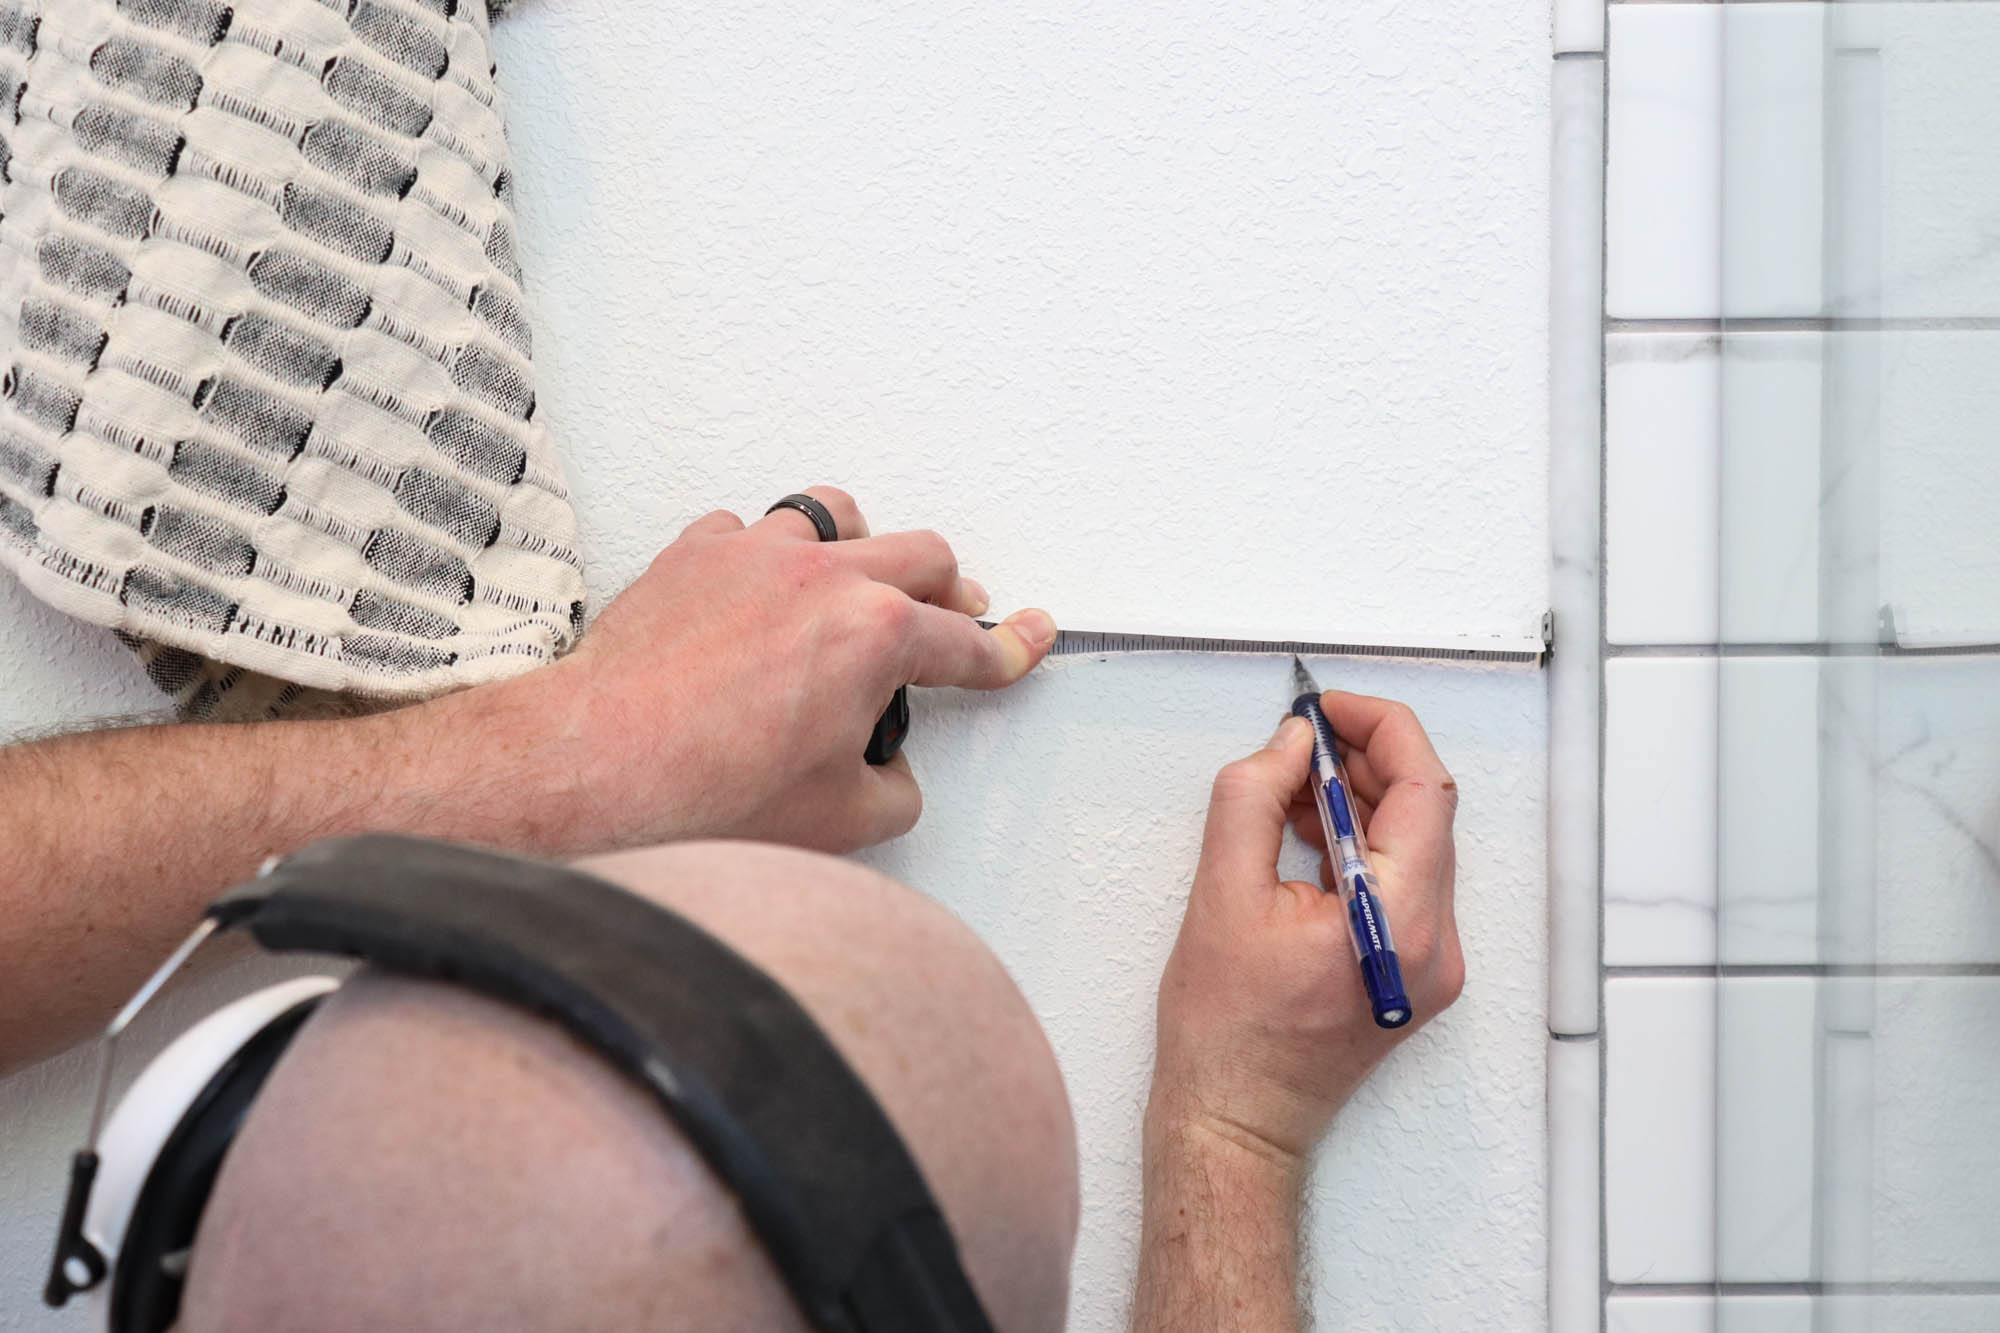
We started at the bottom and worked our way up the wall. First, we measured up from the top of the baseboard 3″…

And then over from our shower tile 3″…

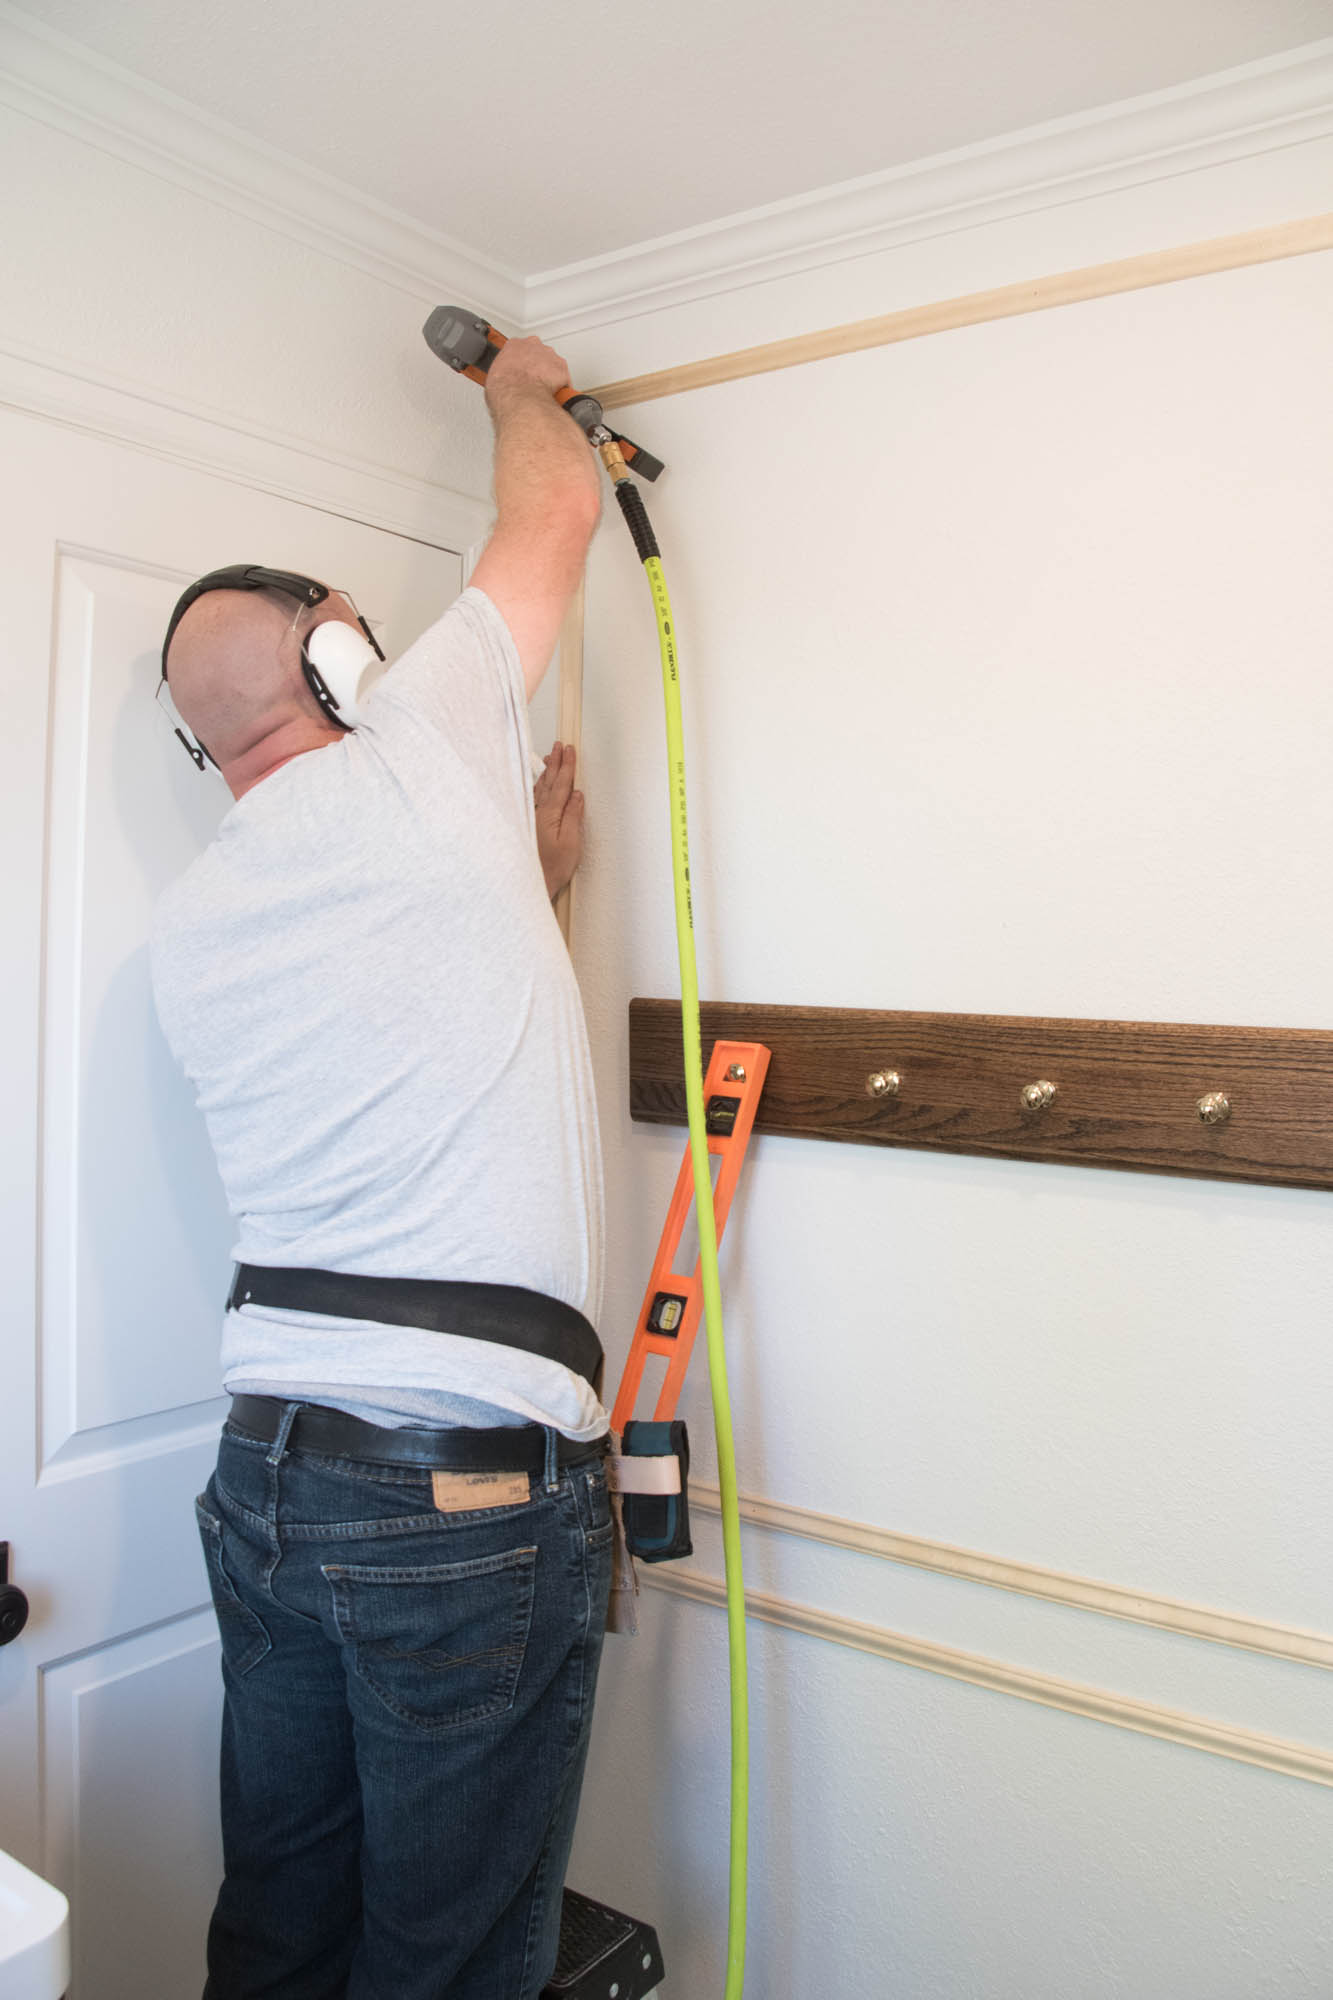
Todd marked the wall in each position, and then lined up the corner of our first moulding piece to the spot he’d marked….

He used the nail gun to add the first nail, anchoring it in place…

Then, he used a level to ensure the moulding strip was straight…

And nailed the piece into place along the wall…
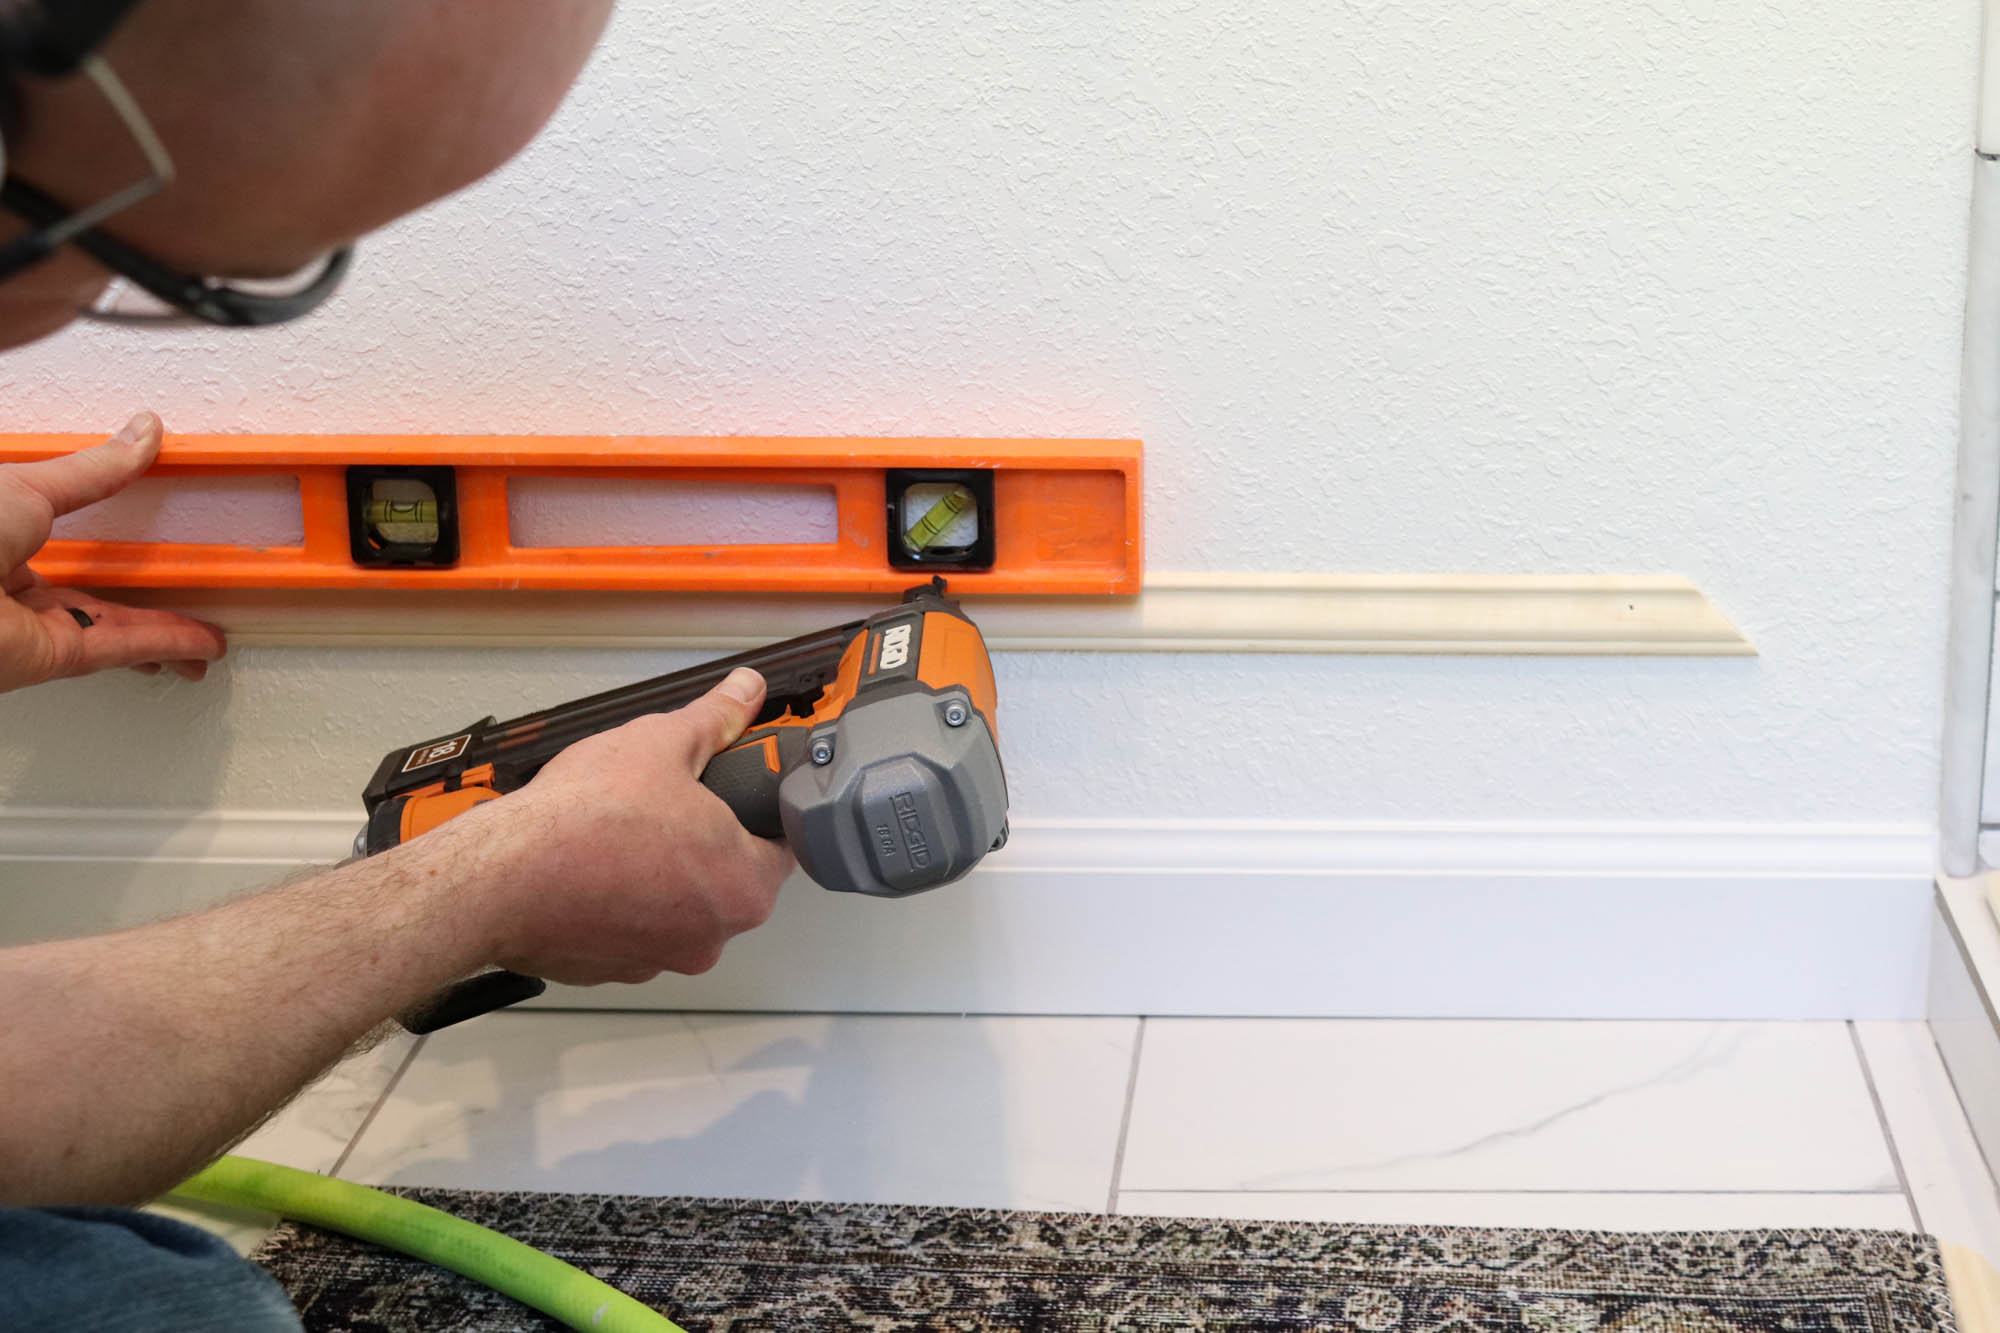
Because these moulding strips are really light weight, and decorative, we only used nails to secure them into the drywall. They’re not going anywhere.
With the first moulding piece in place, we measured up the wall to our next desired height, which was 24″, making the overall height, measured from the floor to the top of the moulding piece, 33″ total. He marked the wall…

Then measured over from the tile 3″…
As much as we wanted to assume the tile edge was level and straight (which we found out later it was!), we used a level to make sure the top board would be level with the bottom piece we just installed. Todd lined up the corner of our second moulding piece with the edge of the level, which was 3″ away from the tile…

Then he used a level to make sure the top board was straight, and started nailing it in place…

With the top and bottom pieces installed for the first box, we continued working our way up the wall, starting on the second and last box. From the top of the lower box piece, Todd measured up another 3″, which would give us our gap in between the two wall boxes…

He then measured over from the tile 3″, and used the level to ensure the moulding piece would be level and in line with the lower box piece…

He nailed the corner in place, then used the level to make sure the board was straight, nailing it in as he went…

With the bottom board of the second box installed, he then measured down from the bottom of the crown moulding 3″…

He also measured over from the tile edge 3″, and used our long level to make sure the edge was in line with the other box pieces. Then, he nailed the top piece as well…

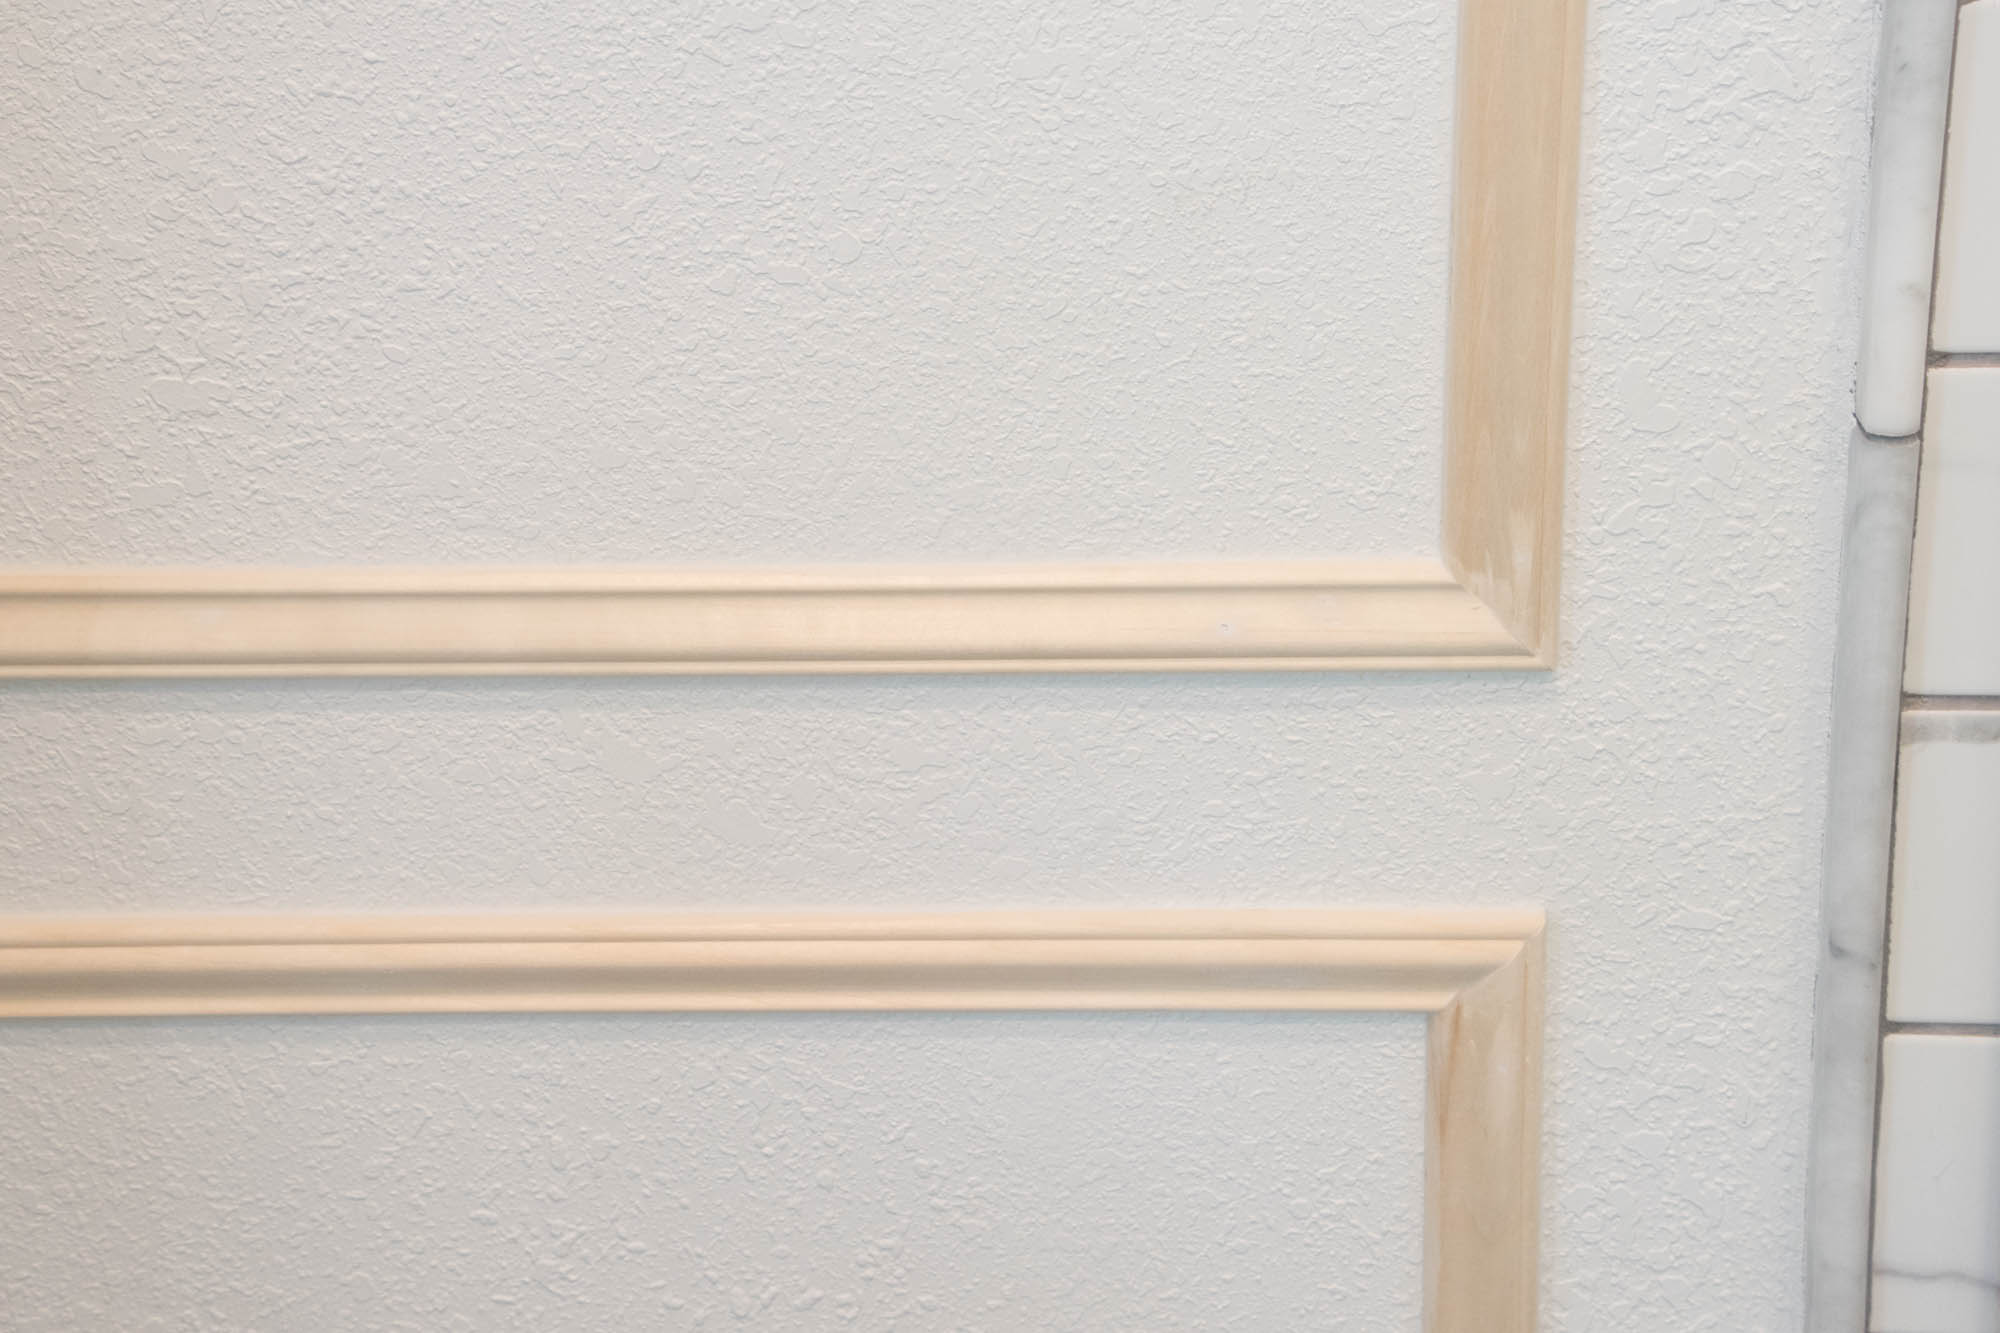
With all four pieces installed, we were left with this…

Step 4: Cut & Install Vertical Moulding Pieces
With the horizontal pieces installed for the two boxes, Todd began taking measurements for the vertical side pieces. We followed the same cutting and sanding steps as the horizontal pieces and then began installing them into each box…

With our first box complete, we began adding the missing pieces to the top box as well…

Since these pieces were longer in length, we did use a level to make sure the vertical pieces were straight…

And just like that, we had our box moulding installed!
Step 5: Caulk & Fill Nail Holes

To create a super seamless look with the moulding, I filled the nail holes with spackling, and caulked all edges of the moulding pieces…
Todd did an excellent job on all of the mitered corners, but the caulking filled in any tiny gaps, as well as making it look seamless to the wall. Once the caulking and nail holes were dry, I took some fine tooth sandpaper and lightly went over the nail holes, then wiped the moulding clean with a towel.
Step 6: Time To Paint
The final step, was painting the moulding strips. I wanted a seamless look for the moulding, so I painted them the same color and sheen as the wall, Super White by Benjamin Moore in eggshell.

It took three coats of paint, but the end result was beautiful and seamless…

I let the wall dry completely, and then it was finished!

While we were at it, we also installed the same moulding above our toilet area…

We followed the exact same steps as the other wall…

But this time, we had to notch around the toilet water line…

We’ll also be adding the same moulding to the window wall, but we were short a few pieces of material and decided to wait on installation until we could finish all the boxes on this wall at once…

I can’t tell you how much we love the wall moulding and the character it’s added to our small bathroom…

It’s made the walls so much more interesting…

And even though it’s all painted white, you absolutely notice the moulding…

I can’t wait to start adding in all the artwork and finishing touches, but installing the moulding was the first step to being able to bring in all the accessories!

Plus, now we can move onto our next project, the space above the toilet…

I have big plans for this little area… I’m just crossing my fingers it works out how I see it in my head…

More about that in another blog post! In the mean time, we’re loving the wall moulding we have installed so far!


- Vanity (It’s out of stock currently, but this one and this one are similar.)
- Wall Sconces
- Rug
- Faucet
- Towel Rack- DIY project, tutorial coming soon!
- Small Towel
- Large Towel- Local Store. These are similar.
- Toilet Paper Stand
- Floor Tile
- Shower Wall Tile
- Shower Floor/ Accent Wall Tile
- Shower Faucet System
More on this bathroom coming up soon! 🙂
Love this project? Don’t forget to pin it!
Always fun seeing what you are up to and seeing the process, great job!
Loving all your projects.
Hi Shayna, I love moulding. It adds so much detail to your already beautiful bathroom. I installed it in most our rooms and couldn’t image a plain wall again. Thanks so much for sharing all the details. Take care and Happy Easter, Julie
The moulding looks fantastic!
I just found and joined your site. I love what I see, for example, this project is outstanding. Thanks for sharing.
Loved your post. I’m about to embark on a very similar trim/moulding project in my guest bathroom. How did you decide how big the boxes should be (not including the wall behind the toilet). This is where I’m having a design problem. Would appreciate any information. Thanks.