
An Update On Our Master Bathroom
It’s time I shared an update on our master bathroom! We’ve made such incredible progress, and here soon, I look forward to revealing the finished space! Before that happens though, we have a few things left to finish. Let’s take a look at how far we’ve come!
The last time I talked about our master bathroom, I shared our design plan for the room…

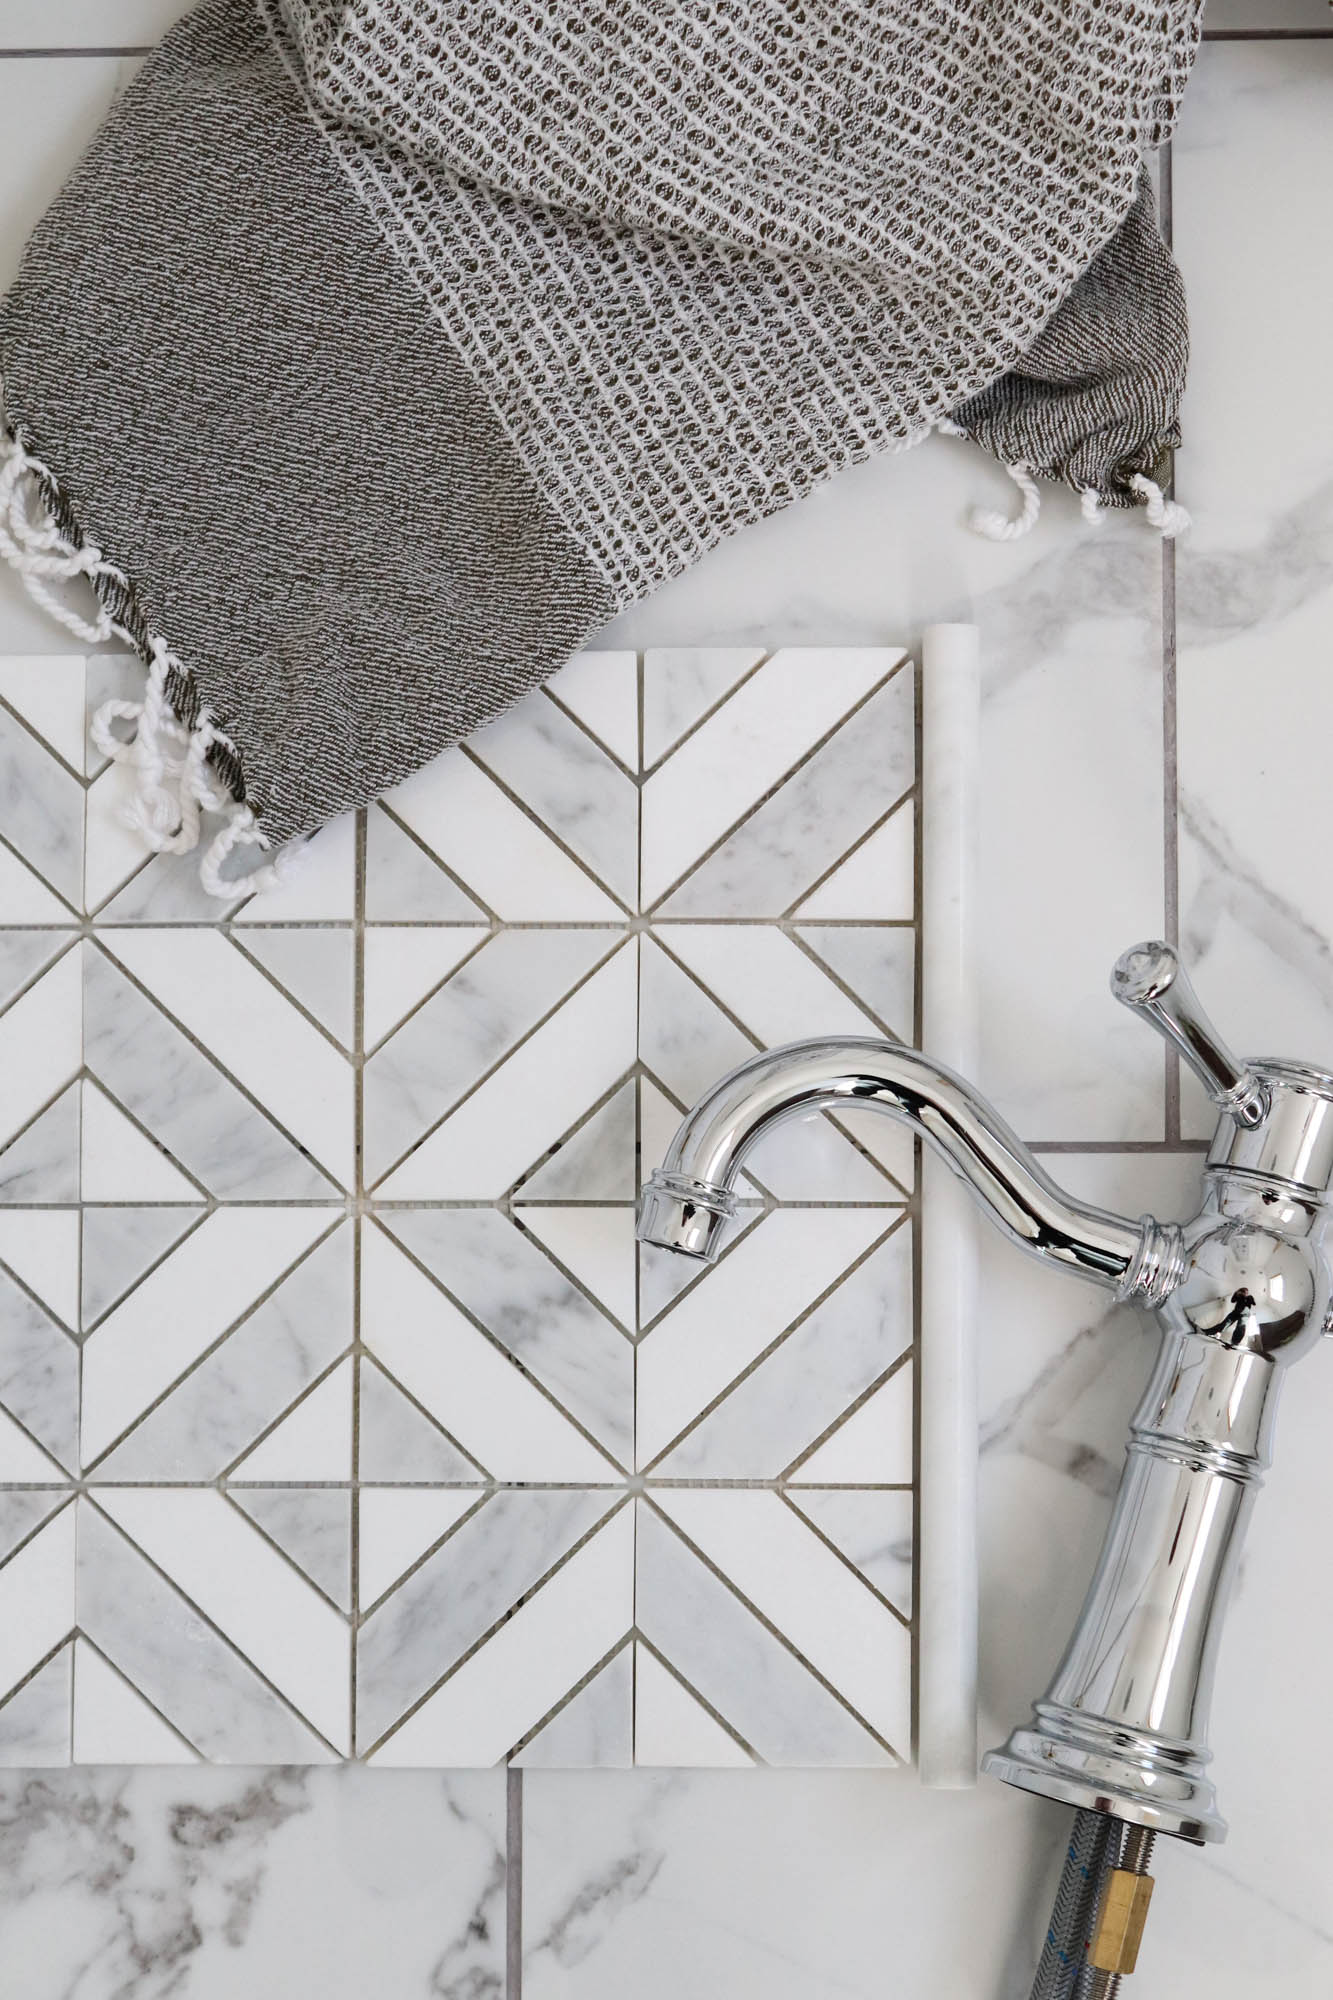
And a few pictures of the different elements we’re planning on using in the bathroom…

Today though, I wanted to share just how much progress we’ve made in our master bathroom, and what we have left to do before the room is finished. Just to refresh your memory, here’s a look back at what we started with…

Here’s the Progress We’ve Made:
First thing we needed to do, was scrape the last of the popcorn from the ceiling. Todd taped off the doorway leading into our bedroom, opened the window, put on his mask and started scraping. You can see our tutorial on how we removed the popcorn ceilings from the rest of the house here.

Then, our contractor stepped in and started doing the majority of the work. We hired him to do a list of things, including: replacing the warped sub-flooring, installing new plumbing, replacing any needed drywall, re-texturing the heavily textured walls (and ceiling), build/ install our new tile shower, tile the floor and a few other miscellaneous items. We also hired an electrician to remove any old lighting or wiring we wouldn’t be using with the new layout, and to then install our new lighting and outlets.
Our contractor started by removing all the necessary drywall where the new shower would go, where the old shower was and any areas the electrician needed access to…

Then, he started doing the necessary plumbing for the new shower and toilet location. Because we wanted to install an entire shower system for the plumbing, there were so many different layouts and measurements we needed to figure out. Once we knew where the majority of it would be going, he began covering the walls with new material…

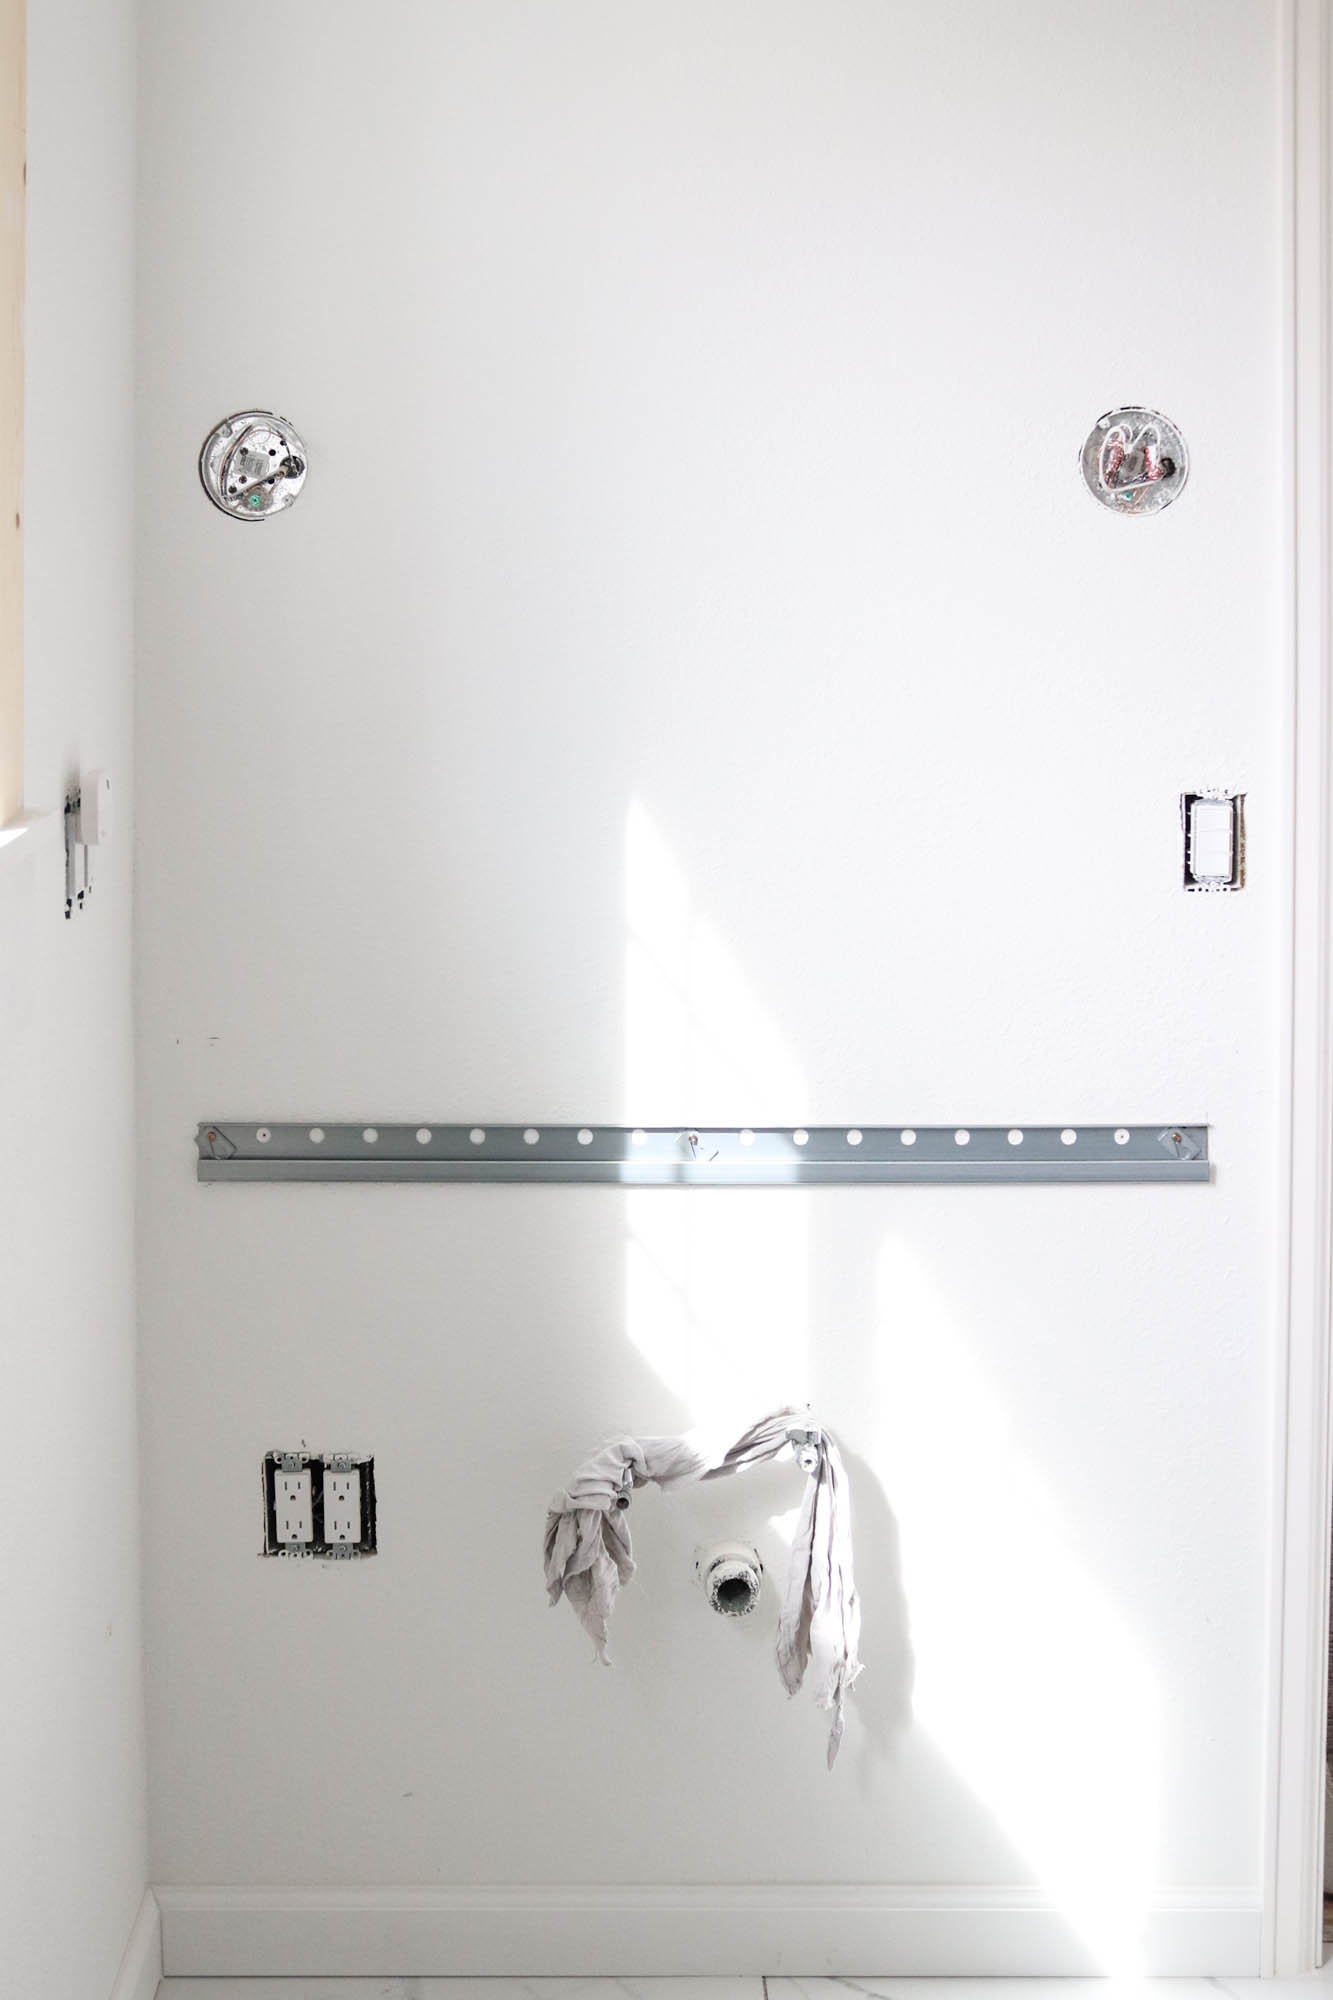
At the same time, our electrician was working on our new electrical layout. To make it easier, I taped off the size of our lights and the mirror for a better grasp on the layout. He did the final measurements to make sure it was all accurate before moving forward with installation…

Once the plumbing was in place, they replaced the sub flooring. The original sub flooring we started with looked new, but it was installed very poorly and wasn’t level. The floor sloped in several different places.

They also started taping all the new drywall seams…


With the walls coming together, they began working on the shower and the shower pan. We also made a last minute change to our shower head location. After looking at the shower size and the location/ size of our bench, we decided to install a ceiling rain shower head instead of having it come out of the wall. That meant a little bit of modification, but now was the time to make the change…


With the plumbing figured out, and the new shower pan poured, our contractor started working on the framing for our shower bench…

They also sprayed texture on the walls and ceiling. As much as we would have loved to update the wall texture to a more modern skip trowel, we kept the bathroom the same as the rest of the house, making it a seamless transition from room to room. All the texture throughout the house now matches…

With the walls textured, they installed the crown moulding and then started moisture guarding the shower walls in preparation for tile…

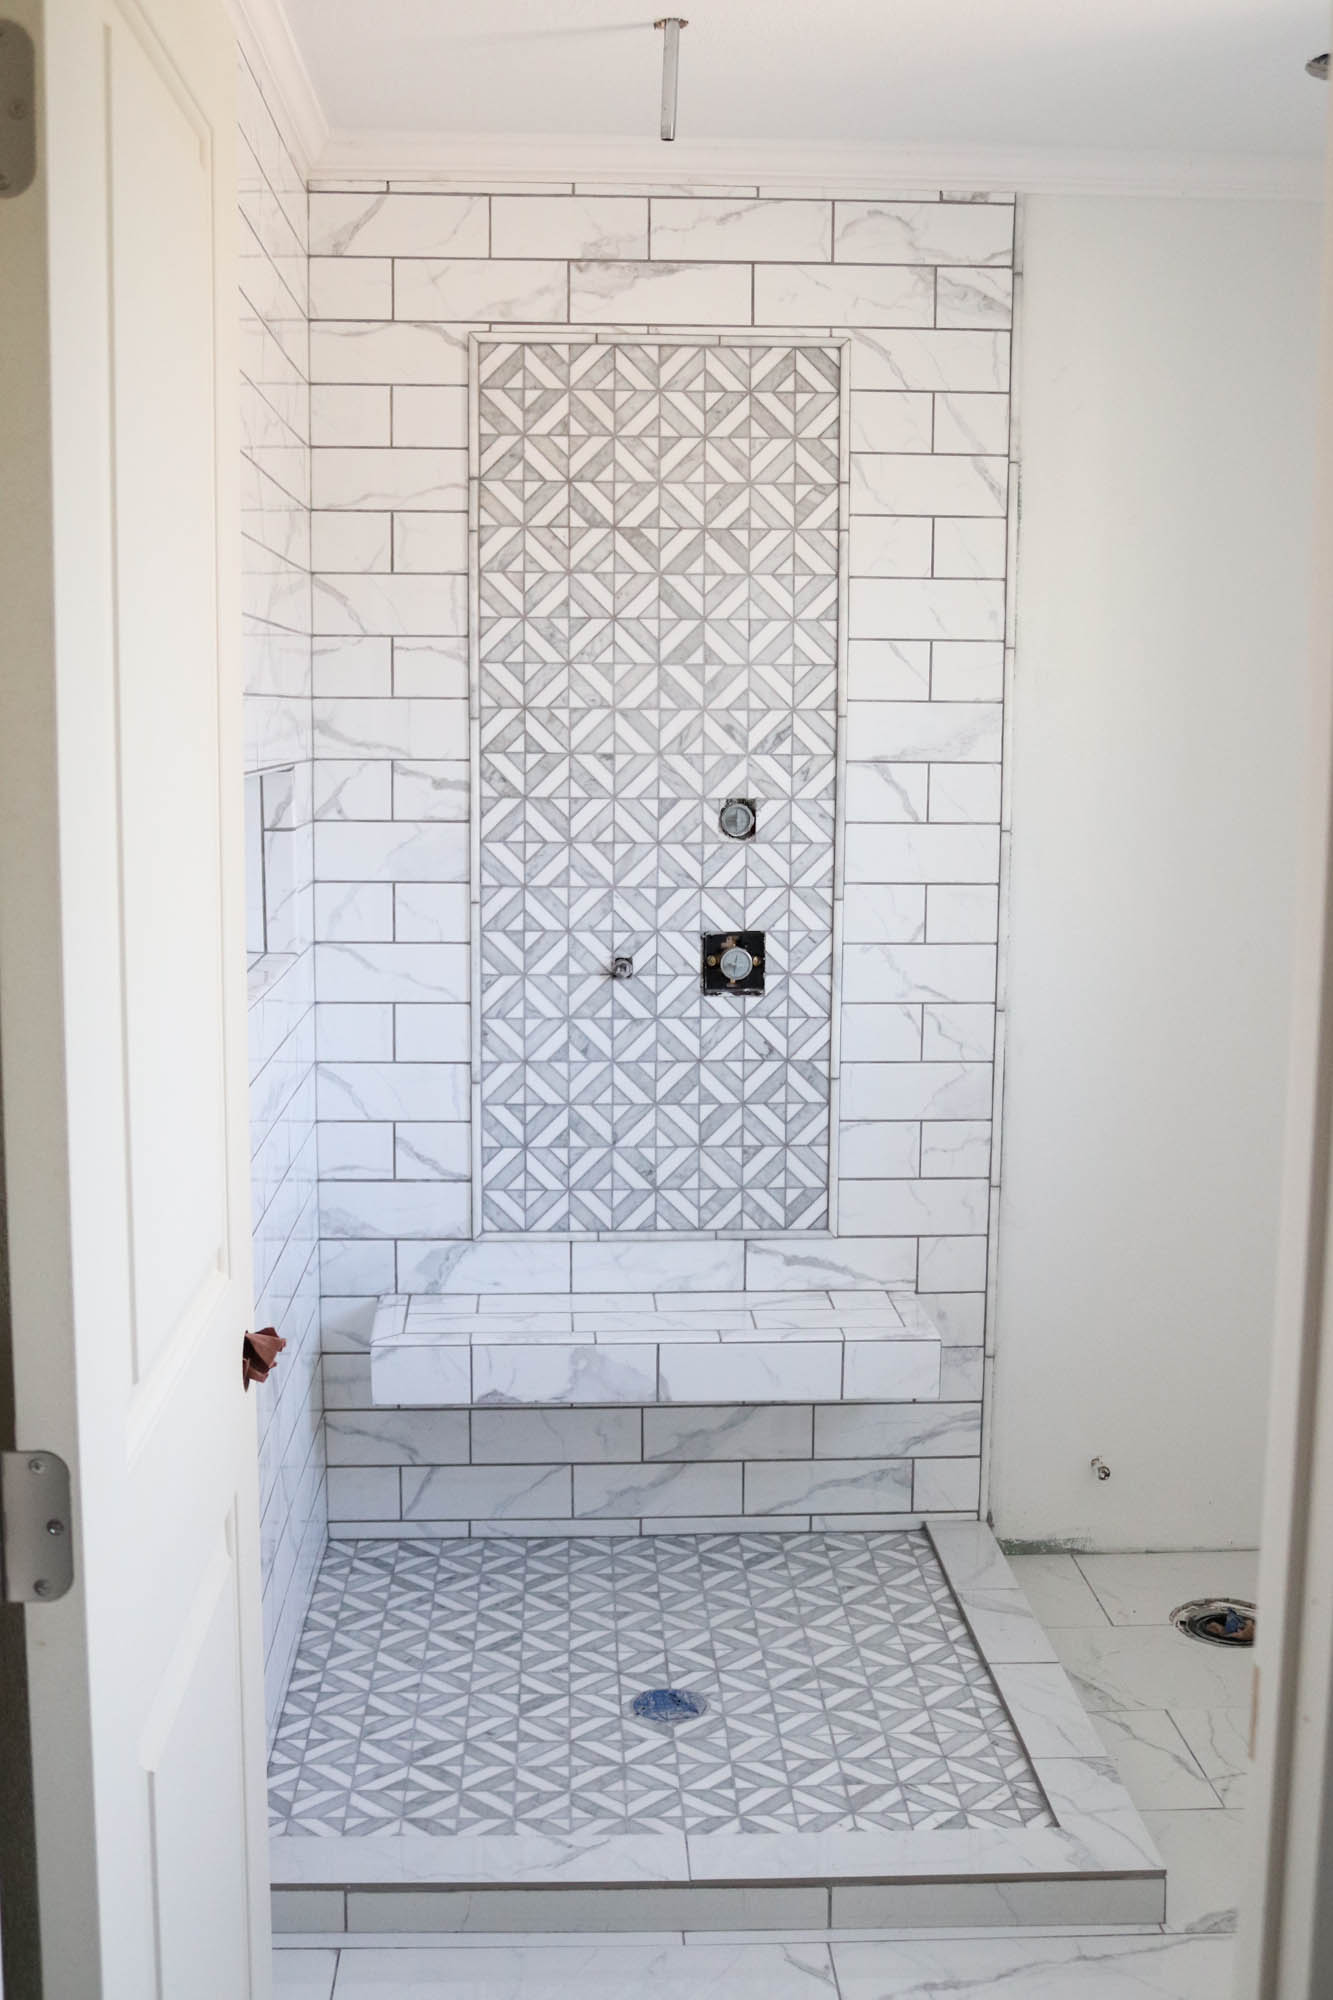
The next few days is where things really started coming together. The shower floor tile was installed, and they started working on the tile for the shower walls…


They also started installing the accent tile on the shower wall. I’ve been the most excited to see this come together becauseI knew it would create an amazing focal point for the shower, and be the first thing you see of the bathroom from our bedroom…

I can’t tell you how gorgeous this tile inlay looks. It’s exactly what I envisioned when Todd and I were picking out tile…

Todd and I also went in and painted the walls. I really want this bathroom to feel bright and clean, with the accents really popping, so I chose my favorite white, Super White by Benjamin Moore. We painted the walls in an eggshell finish and the crown moulding/ trim the same color, just in semi-gloss. For the ceilings, we used a ceiling flat paint, already tinted white…

While Todd did the harder work of rolling the walls and ceiling, I cut in the corners and around the trim. With both of us working on the room, it went by quickly and suddenly things were feeling that much more finished…

The next week, our contractor continued working on the shower walls, and added in our shower niche…

Seeing the progress every day was the best part. The transformation from where we started is nothing short of amazing…

With the shower done, they started tiling the bathroom floors, and the shower curb…

Once the tile installation was finished, they started grouting. We went with the same color for everything and it looks wonderful…
I also asked our contractor to try and install the tile so that the “veining” throughout the wall tile and floor tile looked as though it were a continuation in pattern. Rather than having random veining all throughout the surface, it feels more real this way and looks more seamless…

Next, Todd went in and installed our baseboard and trim. I started caulking and filling the nail holes…

He also began installing our floating vanity with our tried and true method. You can see our tutorial for that here. Even though this one wasn’t nearly as heavy as the vanity in our hall bathroom, floating vanities can be a little bit tricky when it comes to the mounting and the plumbing. And even as much as we planned and prepared, we still had to make some last minute plumbing adjustments to make everything come together where the plumbing was completely tucked inside…
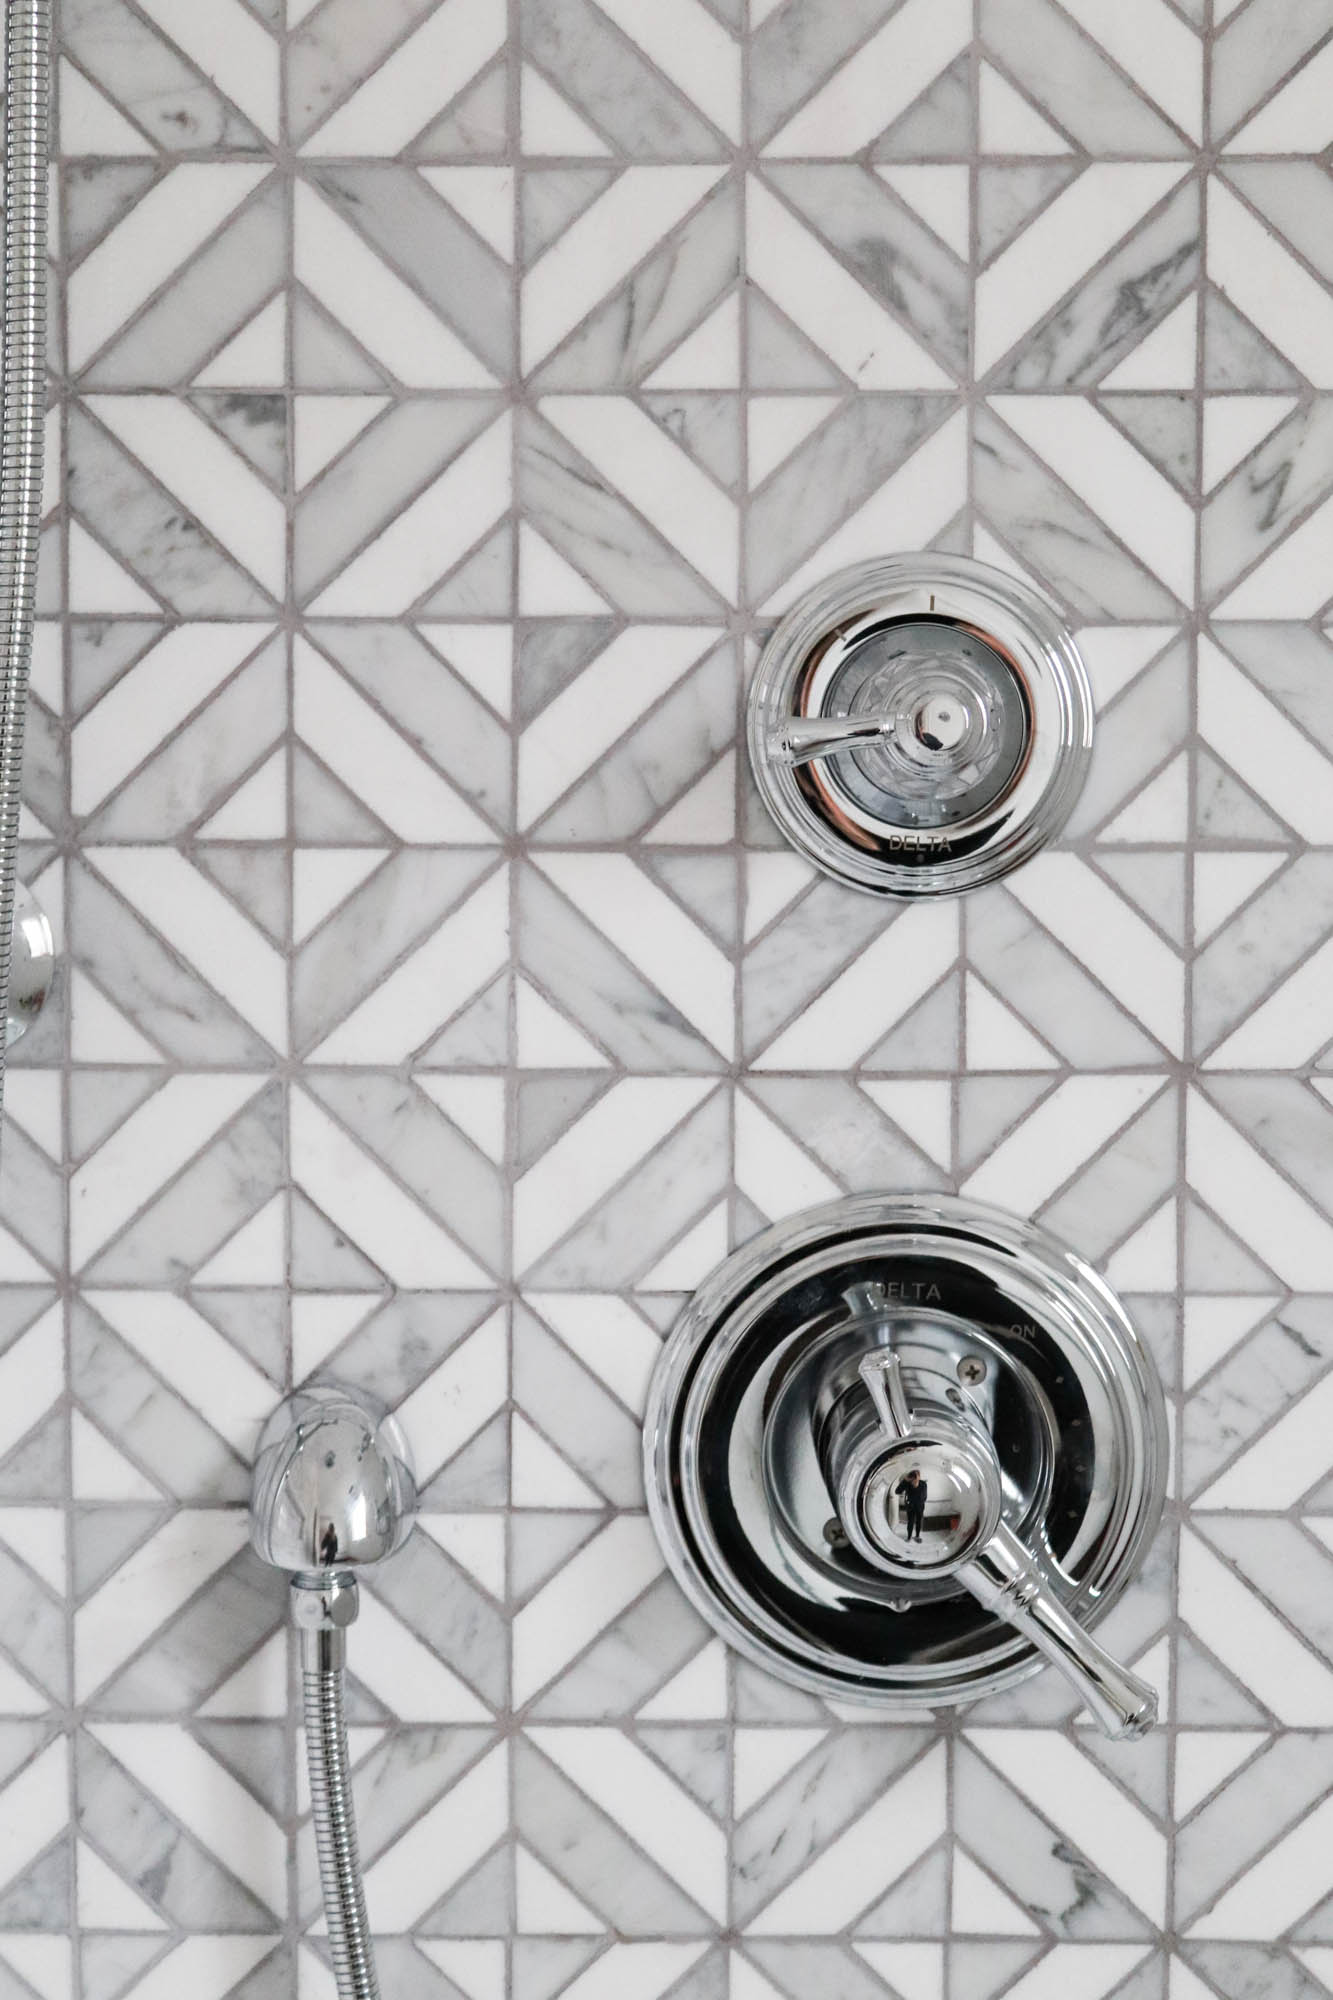
Our contractor came back to install all the shower fixtures and it was such a happy moment seeing the shower come full circle with all the fixtures in place…

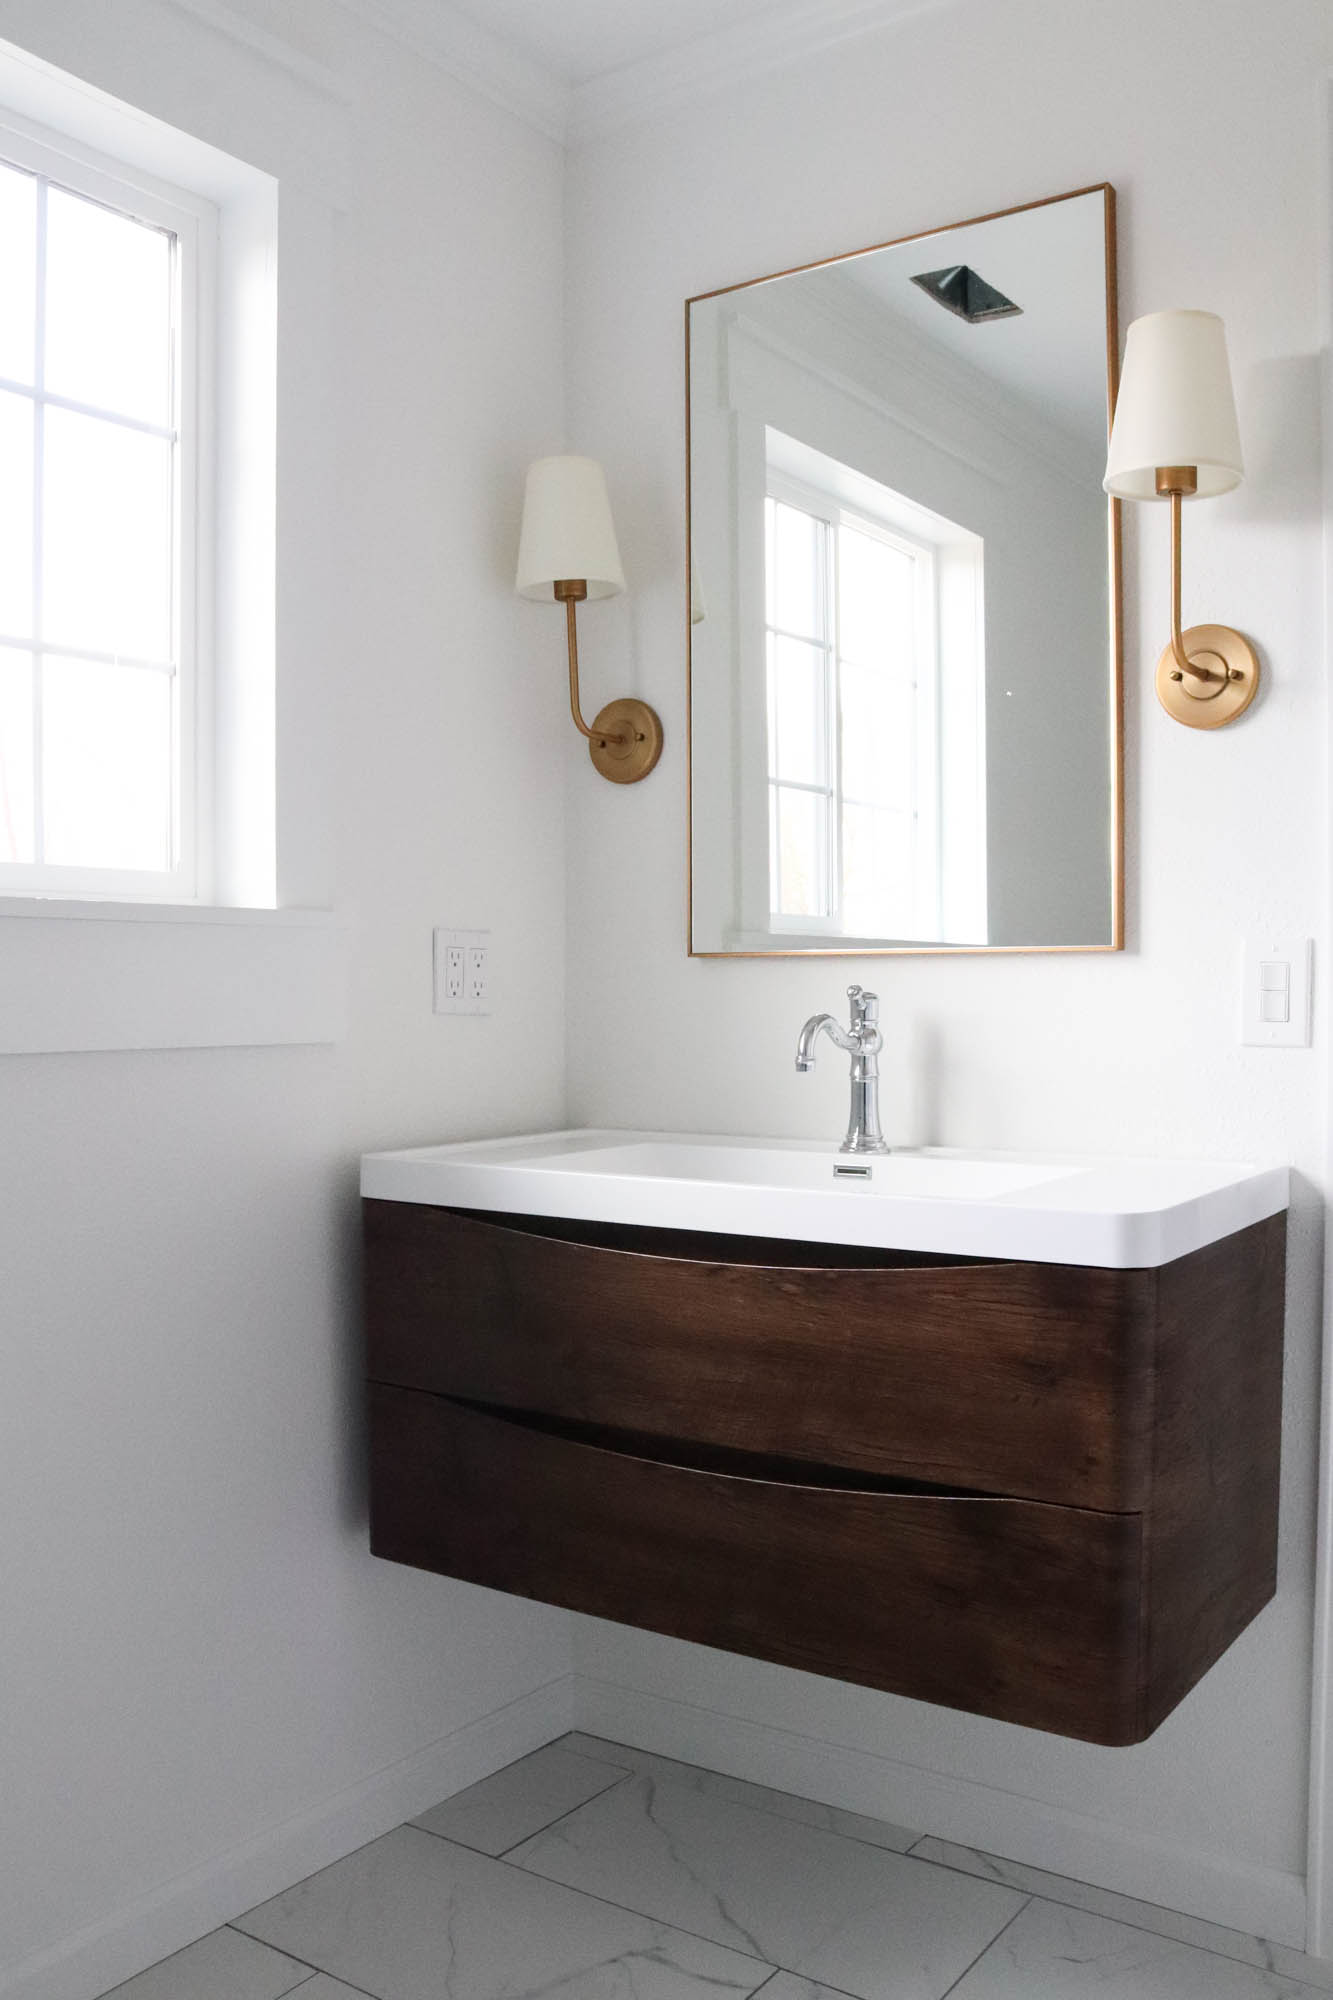
Meanwhile, the toilet was also installed, I finished painting all the trim work and Todd finished hanging our floating vanity and he installed our sink faucet. Our electrician also came back to finish installing the lighting and we hung the mirror.
Suddenly, this bathroom is looking night and day different…
Here’s What’s Left To Do:
Phew, that was a lot of progress… but we still aren’t done yet! As of right now, here’s what’s left to do:
- Install the glass shower walls. We hired a local company to do this, and the first time they came to install the glass, the cut wasn’t quite right, so we’re waiting for them to come back and install everything before we really start using this bathroom.
- Install wall moulding. We’ll be adding some moulding to the walls and I’m really excited to see the character it will add to this small bathroom.
- Install a ceiling vent cover.
- Install the bathroom blind.
- Install shelves above the toilet.
- Install towel hooks.
- Hang art.
- Add accessories.
I’ve been placing several orders for all the finishing touches and as soon as we have everything finished and in place, I’ll be sharing the full bathroom reveal. In the mean time, if you’re looking for all the sources, you can find them below:

Affiliate links are provided below. Full disclosure here.
- Shower Wall Tile
- Shower Floor Tile/ Accent Tile
- Floor Tile
- Grout Color: Delorean Gray
- Shower Plumbing System
- Toilet
- Floating Vanity
- Sink Faucet
- Mirror
- Wall Sconces
I can’t wait to see this room come together with all the fun accessories I have planned. We’ve already come so far, but we haven’t crossed the finish line yet. Needless to say, we can’t wait until we can fully use this bathroom! More to come soon, but in the mean time, we’re majorly celebrating how far we’ve come! Is this even the same bathroom?
WOW! It’s gorgeous. That’s amazing tile work.
Love it!! ???
One picture led to another eye-opening transformation. How fun for you and your husband to be so close to having another room in your house finished!
It looks great! Love your style and thanks for all the info!