DIY Leather Pulls
Want to make your own DIY Leather Pulls? See our full tutorial below and customize them to fit your space.
Cabinet hardware is always such a huge way of transforming a piece of furniture, or an entire space. Thing is though, cabinet hardware can be down right expensive. Lately, I’ve been loving all things leather, so when it came down to finalizing the cabinet hardware for the new office desk and filing cabinet, I couldn’t stop myself from incorporating leather.
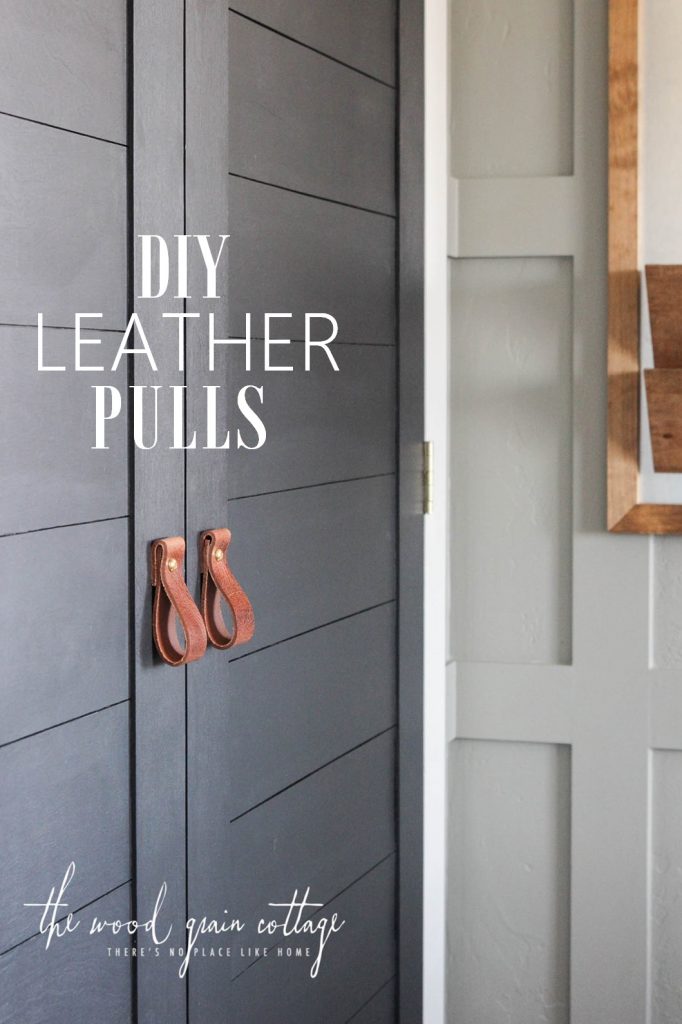
So, we made our own DIY leather pulls!
I honestly couldn’t be more thrilled with how the pulls turned out, or how easy and budget friendly they were to make. Not kidding!
DIY Leather Pulls
Affiliate links are provided below. Full disclosure here.
SUPPLIES:
- 1.5″ Leather Strap, I love this stuff!
- Pen
- Tri-Square, or a ruler
- Vise Grip, or a clamp
- Tape Measure
- Razor Blade
- Drill
- Drill Bit
- 1.5″, 2″ or 3″ Brass Screw, depending on your drawer/ door thickness
- Machine Screw Nut
- 7/16 Wrench
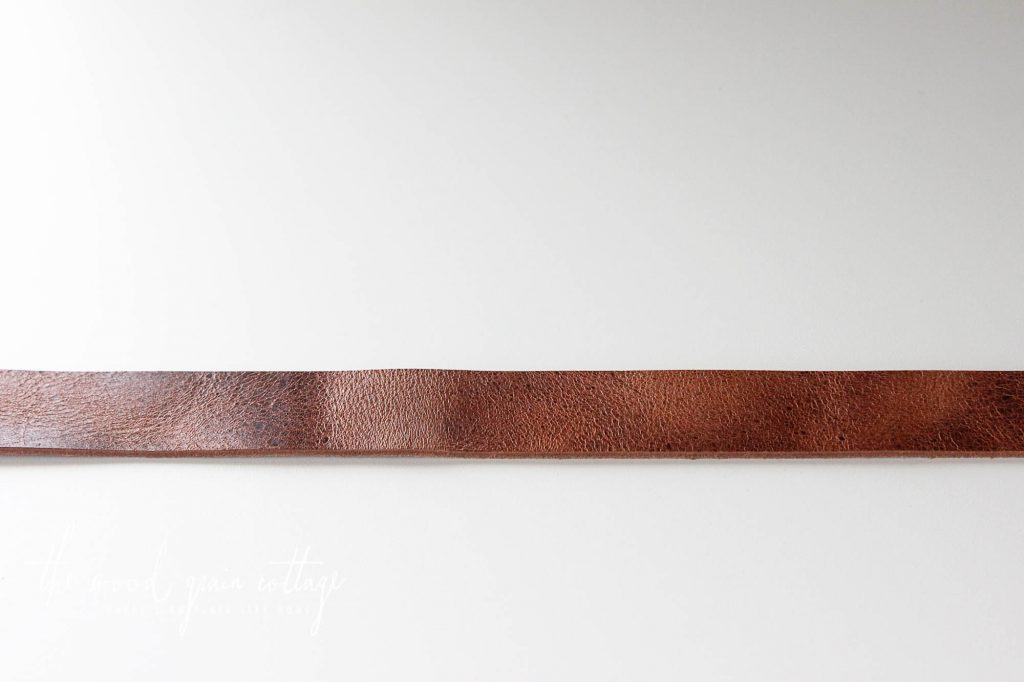
Step One: Unroll the Leather
First step, is finding your leather strap. I ended up using this strap and I love the way it looks. It has a beautiful texture, color and the thickness is solid and strong. It’s perfect for handles!
Unroll the leather…
Step Two: Create Your Loop
Then start creating your “loop”. Fold over the top portion of the leather about an inch…
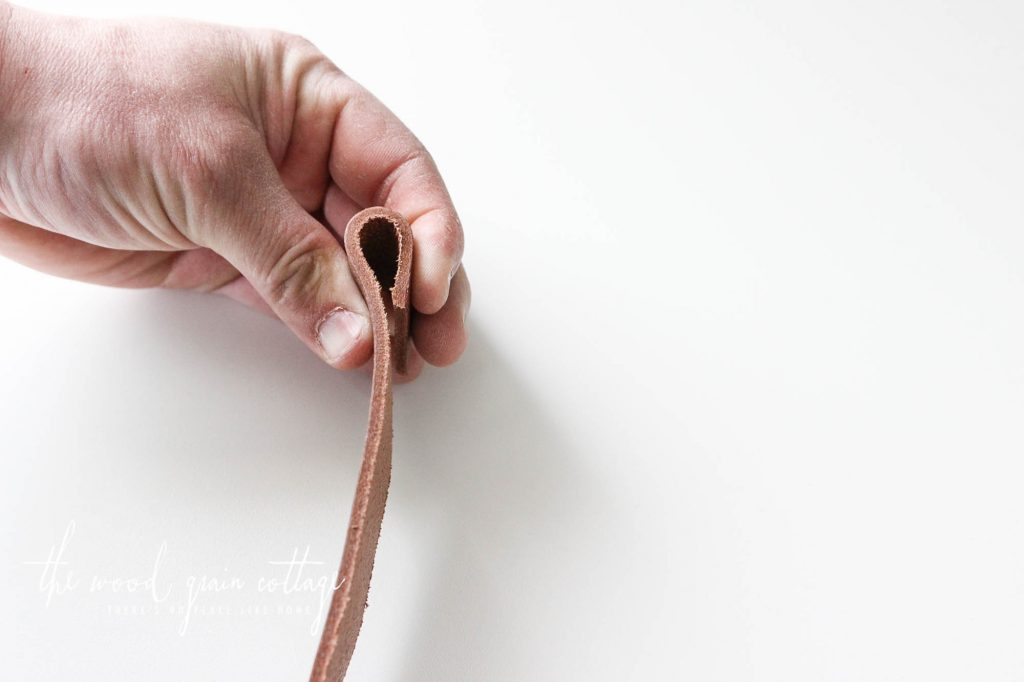
And then fold the leather back up to create a “loop”…

Use a tape measure to determine the total length of the pull. For this pull, we wanted 4″ as the total size…

Step Three: Mark Off The Leather
Where the end portion of the leather strap meets the top of the pull, use a pen to mark the leather…
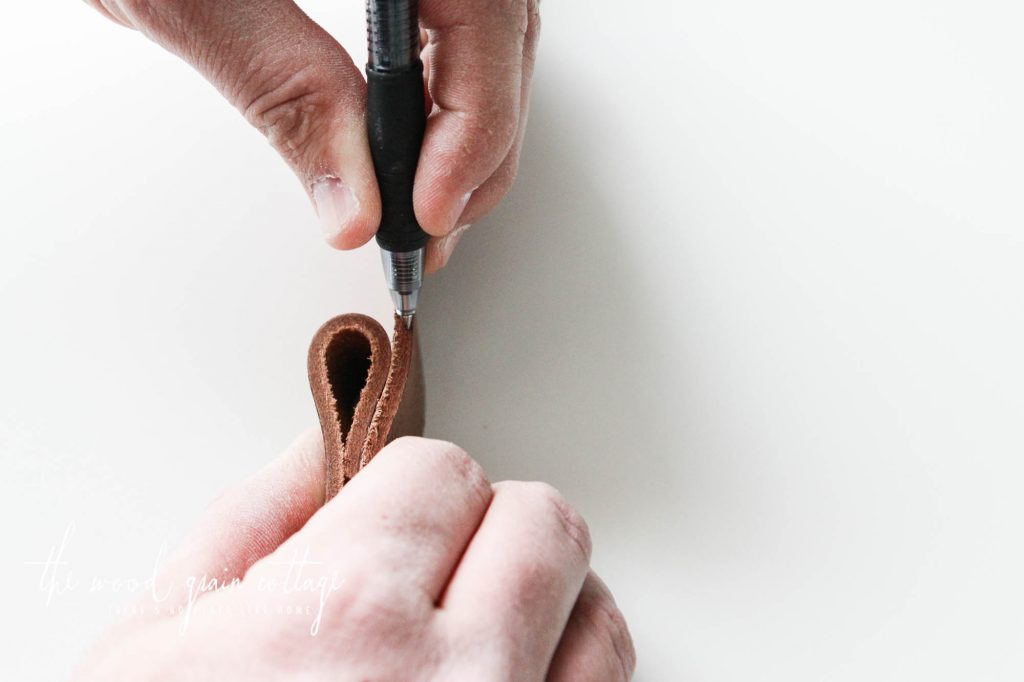
Use a tri-square, or ruler to mark a straight line on the leather…


Step Four: Cut The Leather
Use a razor blade to cut the leather. It works better than snips, or anything else. Just be sure to turn the leather on its side, and use the edge of the razor blade to cut in a downward motion. It cuts quite easily…

For a four inch loop, it came out to a 10.5″ piece of leather…
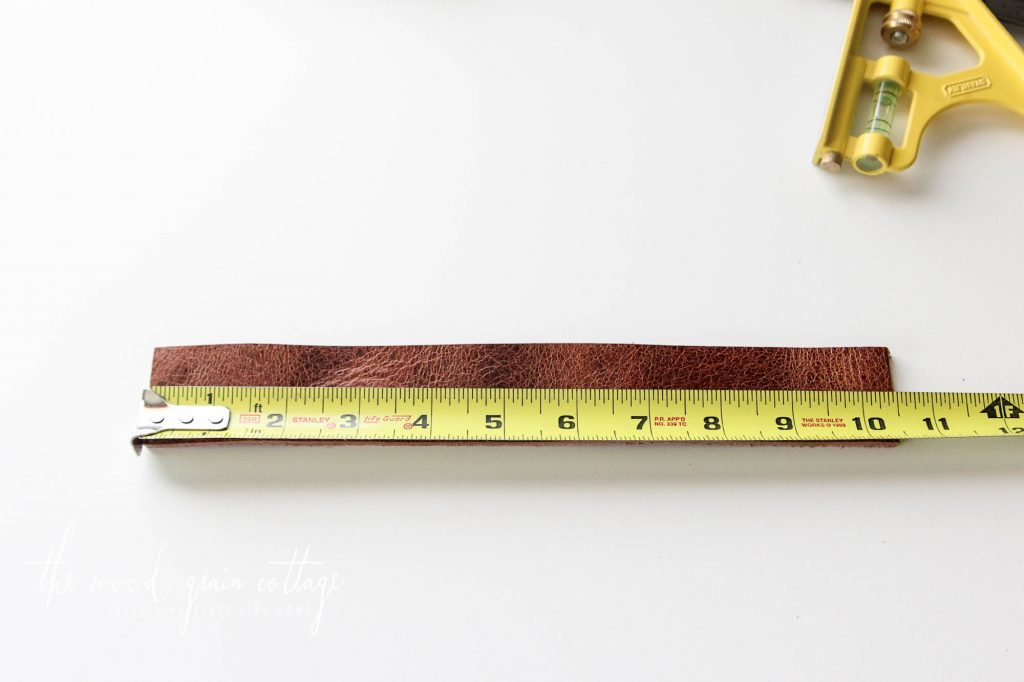
Step Five: Re-Fold The Loop & Clamp
Fold the leather strap to create the loop, only this time, fold the long end of the loop inside the top portion of the leather…
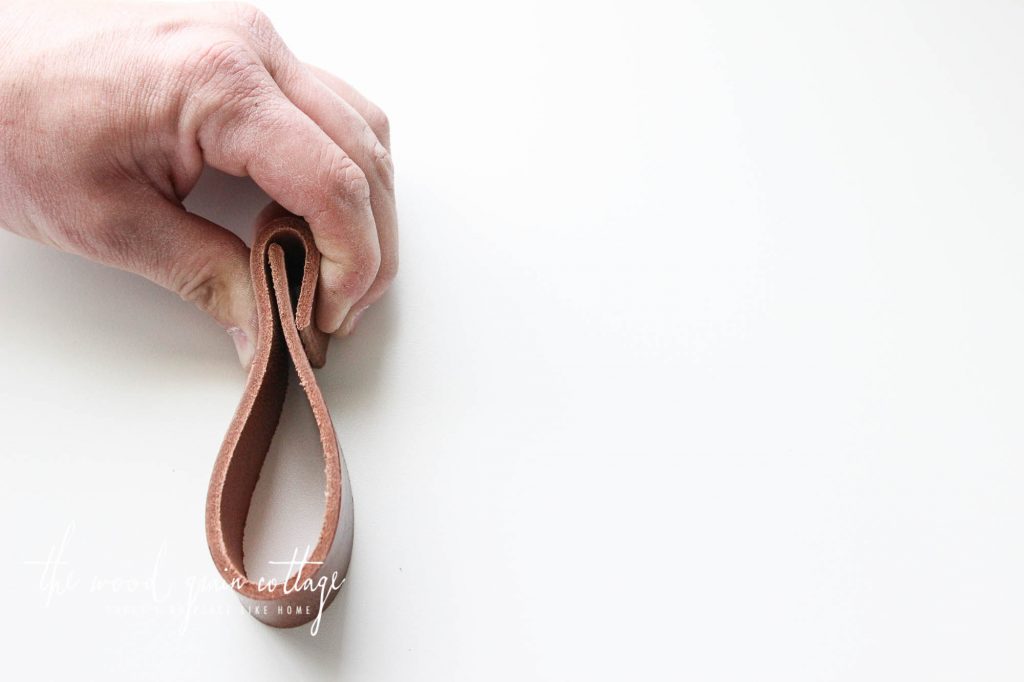
Use a tape measure to ensure the loop size, then use a clamp to hold the leather pull in place…

Step Six: Mark The Center
With the tri-square, determine the center of the leather pull and mark the spot with a pen…


Step Seven: Drill The Hole
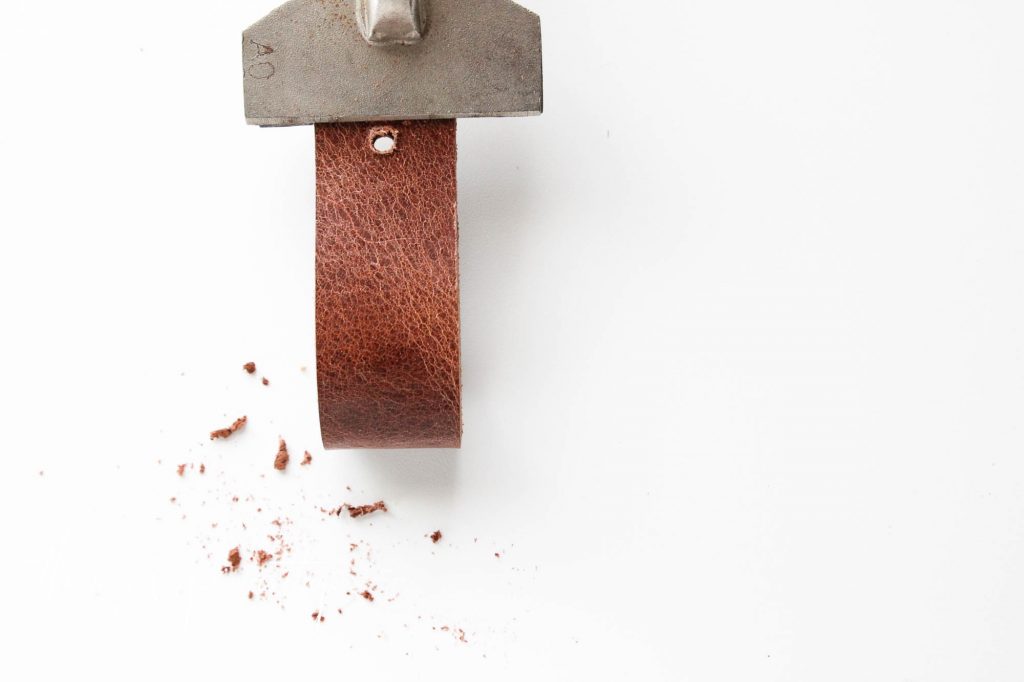
Use a drill to create a hole in the leather… (If you have one, you can also use a leather punch).

With the hole drilled through the three layers of leather…
Step Eight: Add The Screw
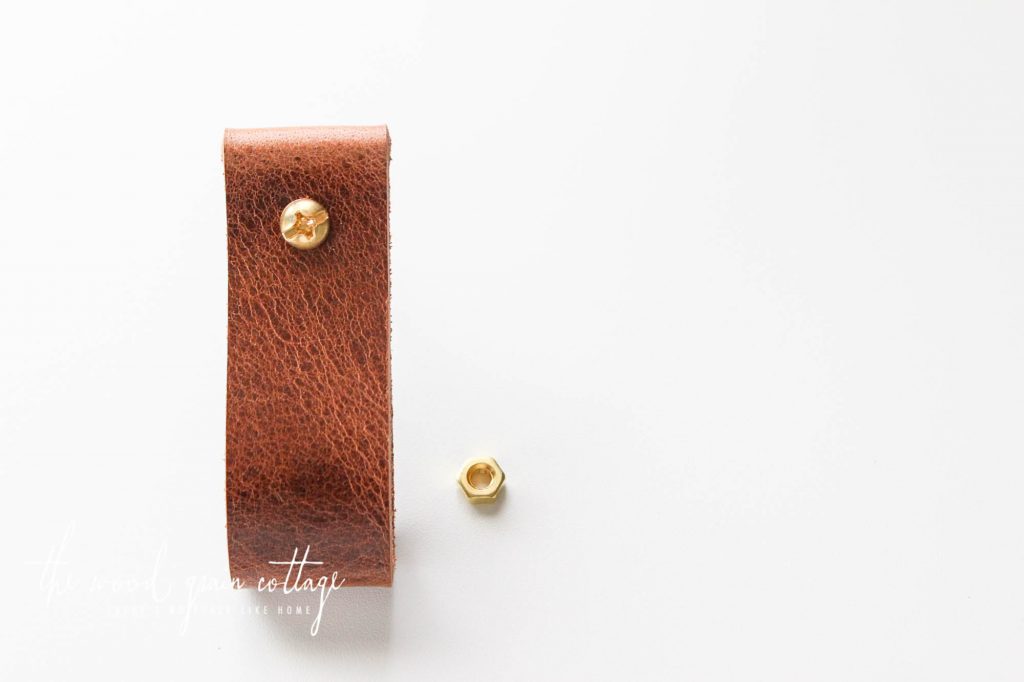
Grab your screw and nut. I wanted something that appeared more decorative, so we chose these brass screws…

Push the screw through the hole in the leather…

Step Nine: Drill The Surface
And then drill through the surface where you’ll be installing the pull. In this case, it was our closet doors…

Step Ten: Add Leather Pull
With the hole drilled, push the screw through and attach the nut on the other side of the door. Use a wrench to tighten the screw.

Follow the same steps to create the other matching leather pull…
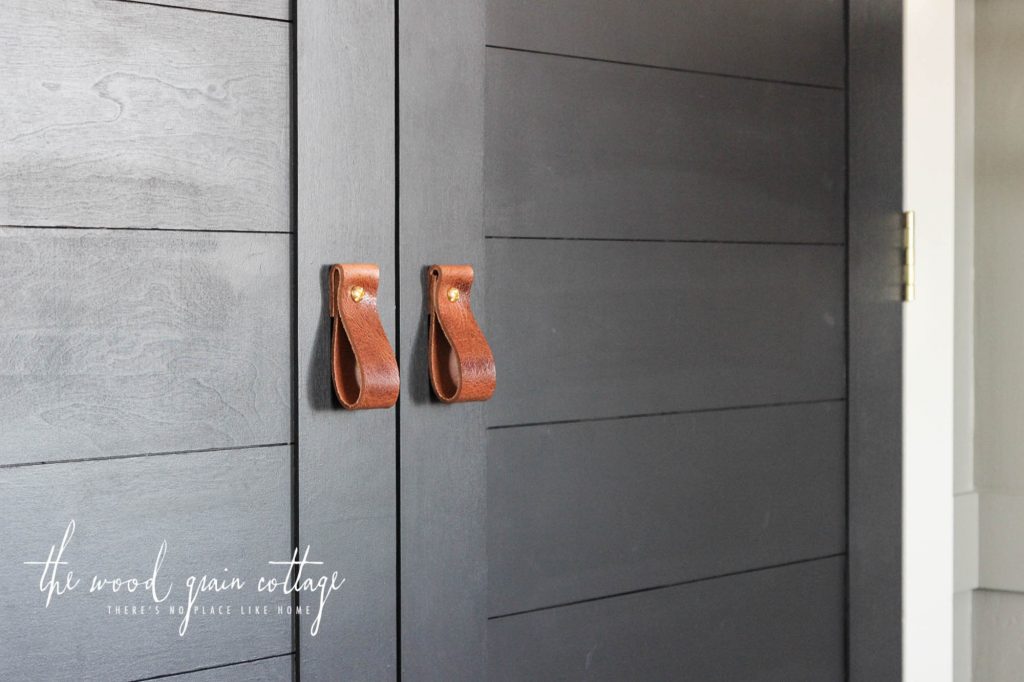
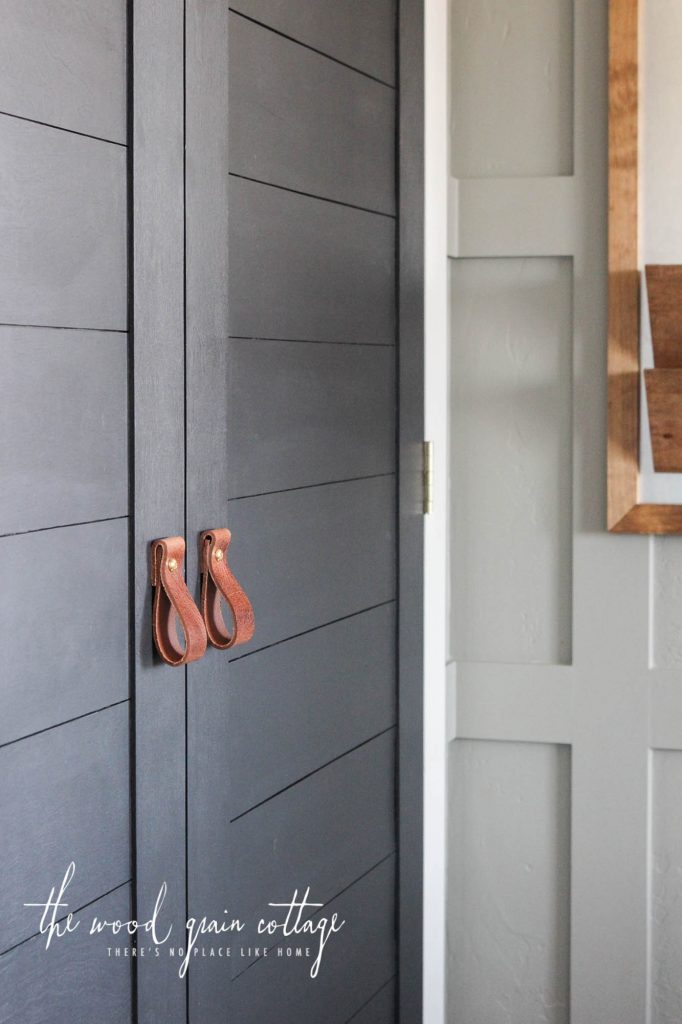
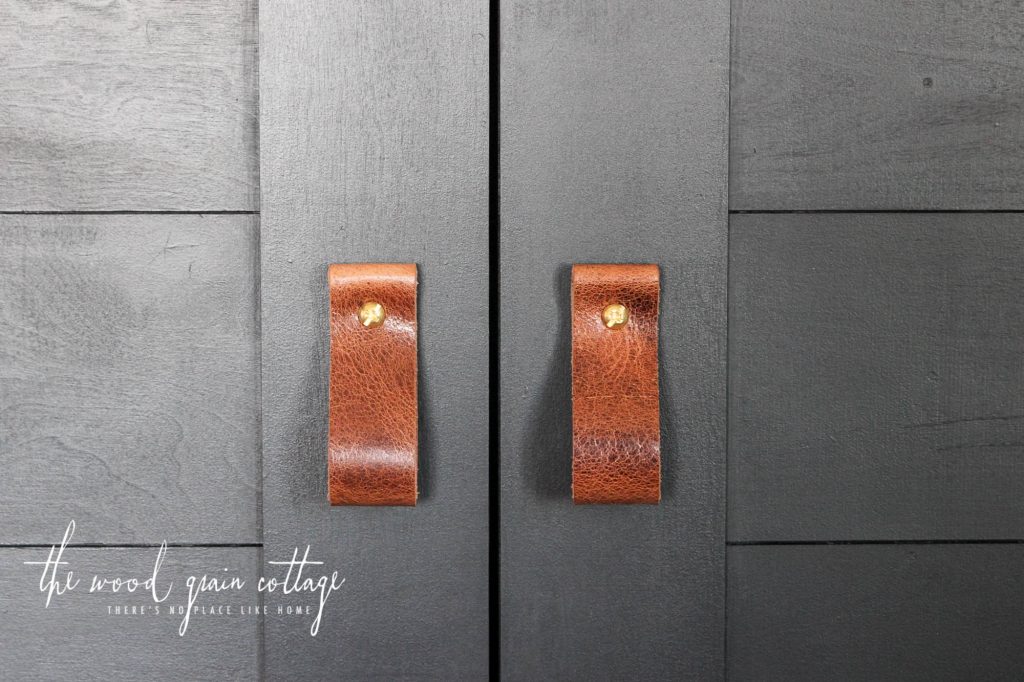
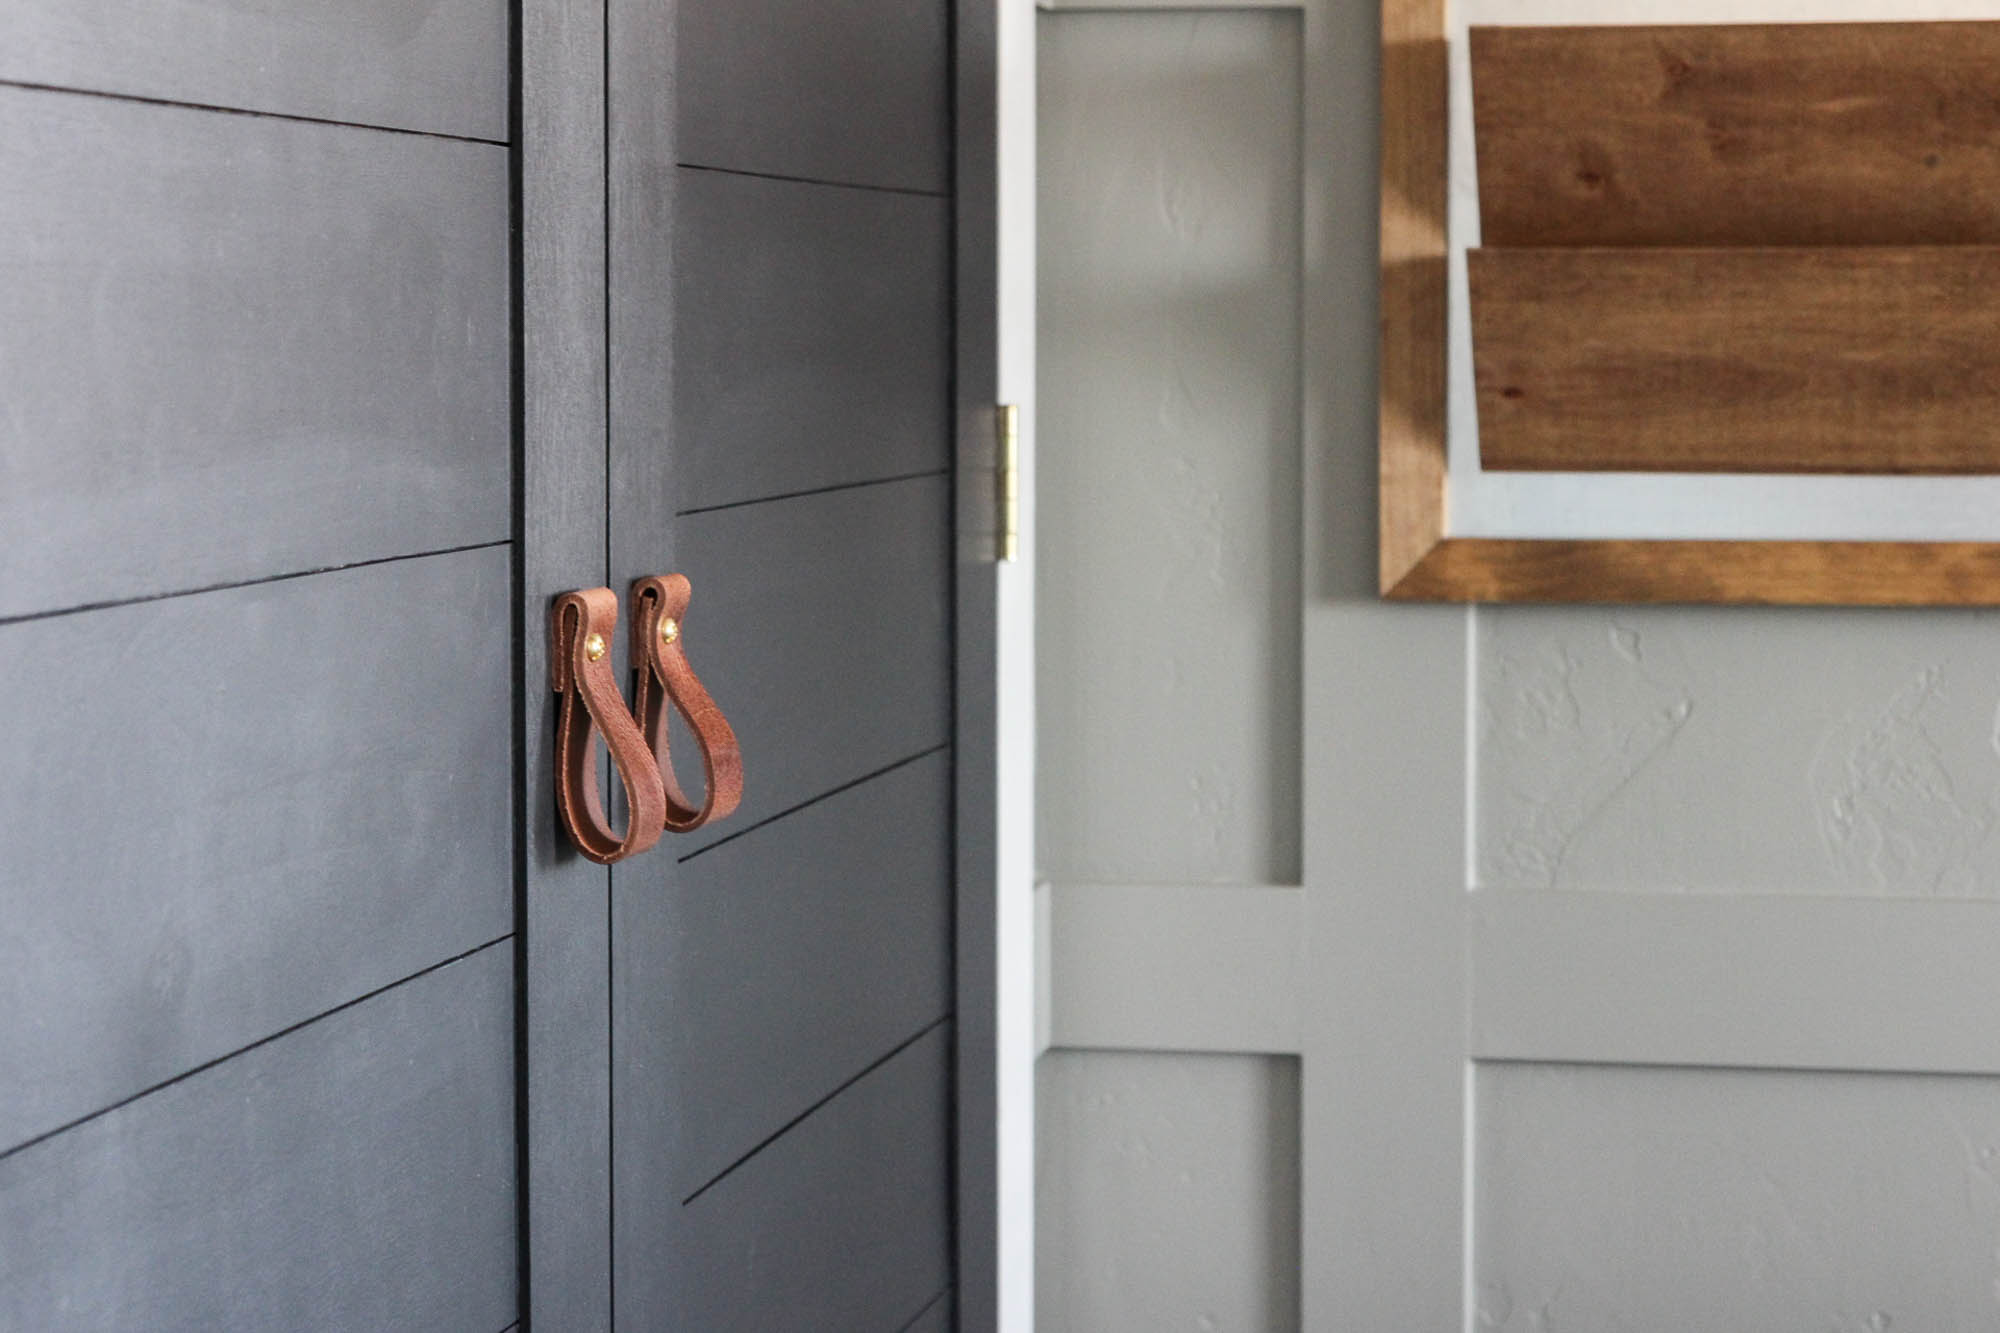
And just like that, you have your own DIY leather pulls! They look perfect on our closet doors…



Creating Smaller Leather Pulls
Once the closet door pulls were done, we followed the same tutorial for the desk and filing cabinet drawers, only making the pulls smaller in size. They’re 2.5″ long total…
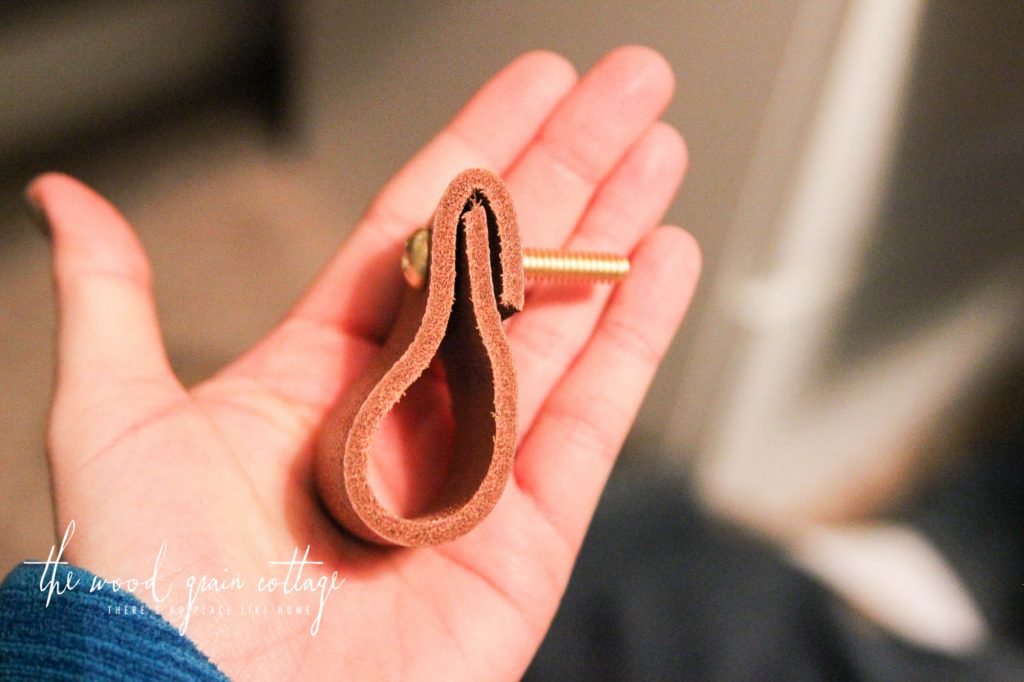
We also used shorter screws since the cabinet fronts weren’t nearly as thick as the closet doors…

Installing The Pulls On Cabinets
And as for installing them on the cabinets, we found the center of the cabinet…

Then came down a minimal amount from the top of the drawer front. I wanted the pulls to be closer to the top of the drawer face. These specific Ikea cabinets have an angled top…
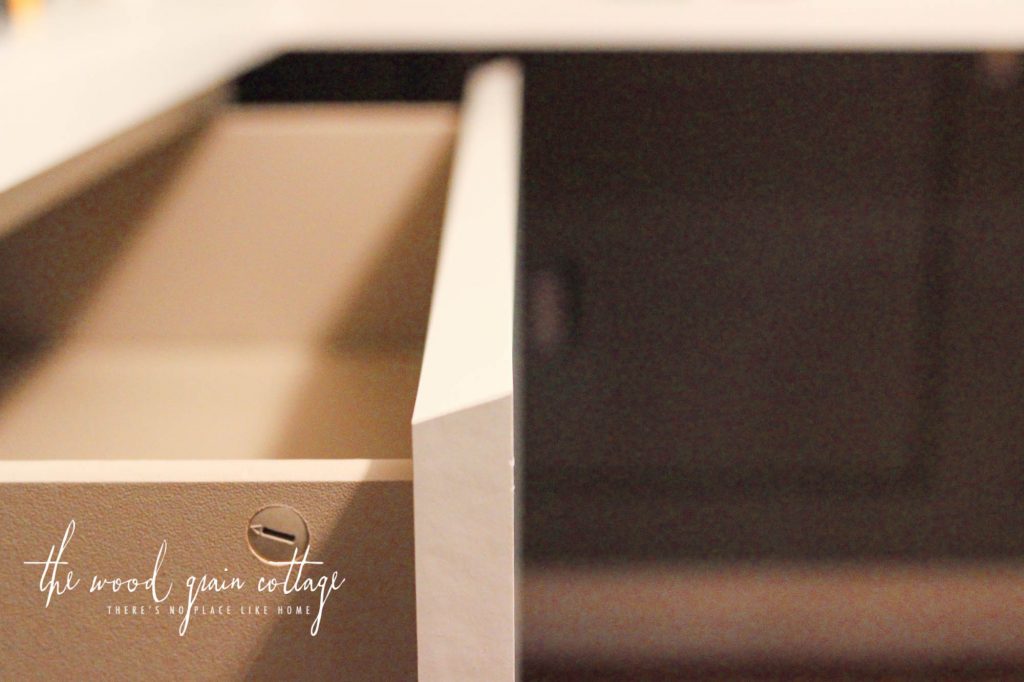
So we came down an inch total…


From there, we just drilled the hole…
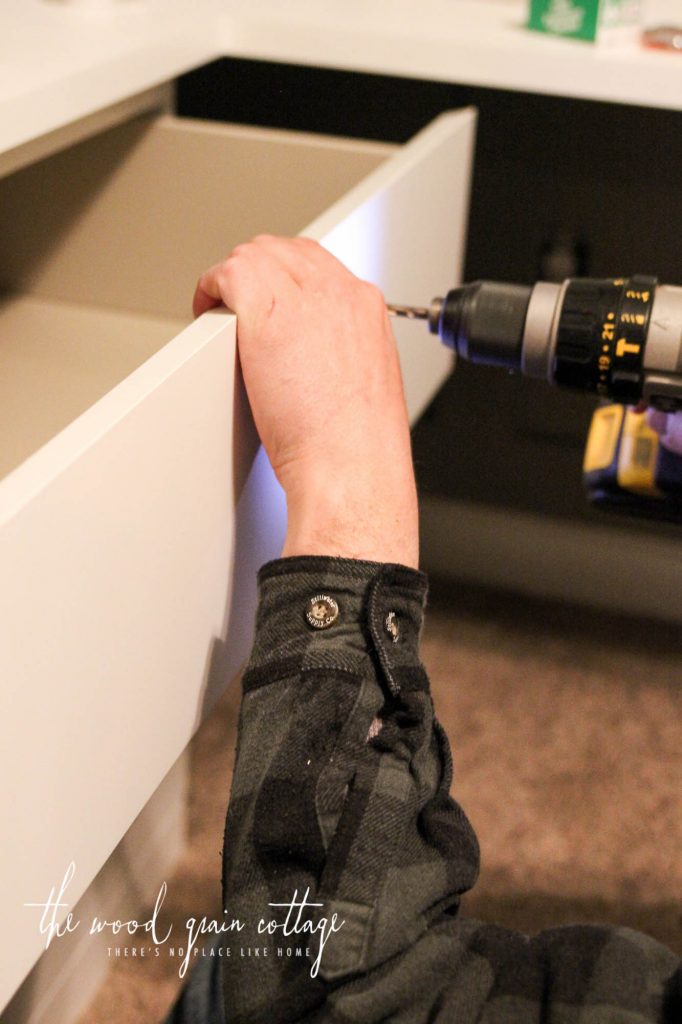
And installed the leather pull…
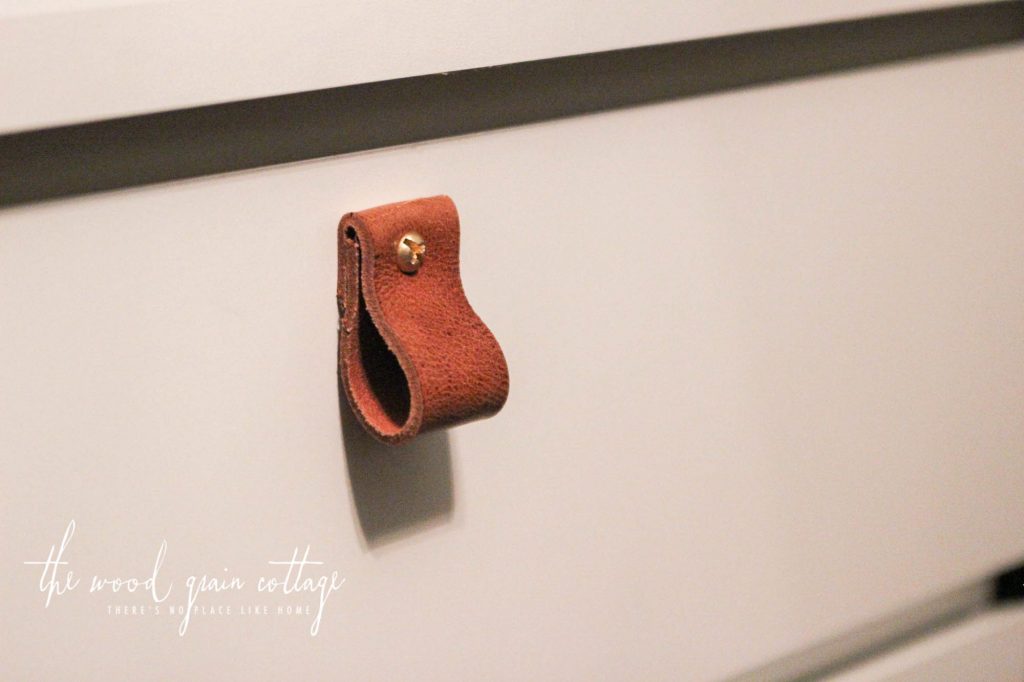

We did the same thing on every drawer…

And just like that, we had cabinet hardware!

They’re my favorite things! Such a perfect touch to the room and the cabinets!
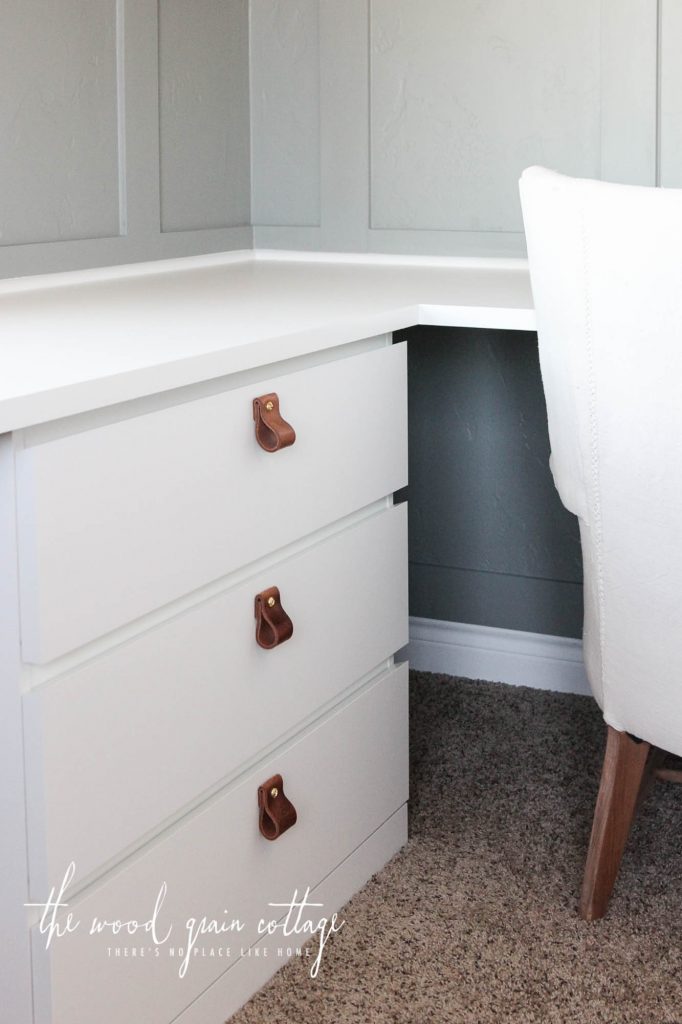

They tie in beautifully with the blinds and shelves…
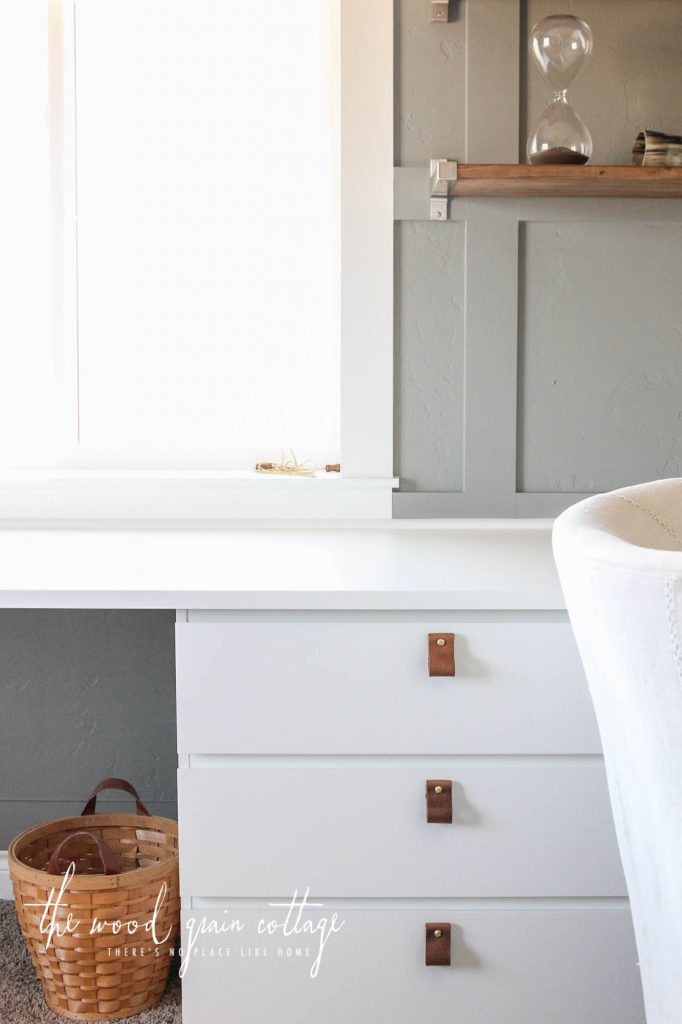
And I love the simple vibe they add to the room…

The loop is the perfect space to stick in a finger or two…
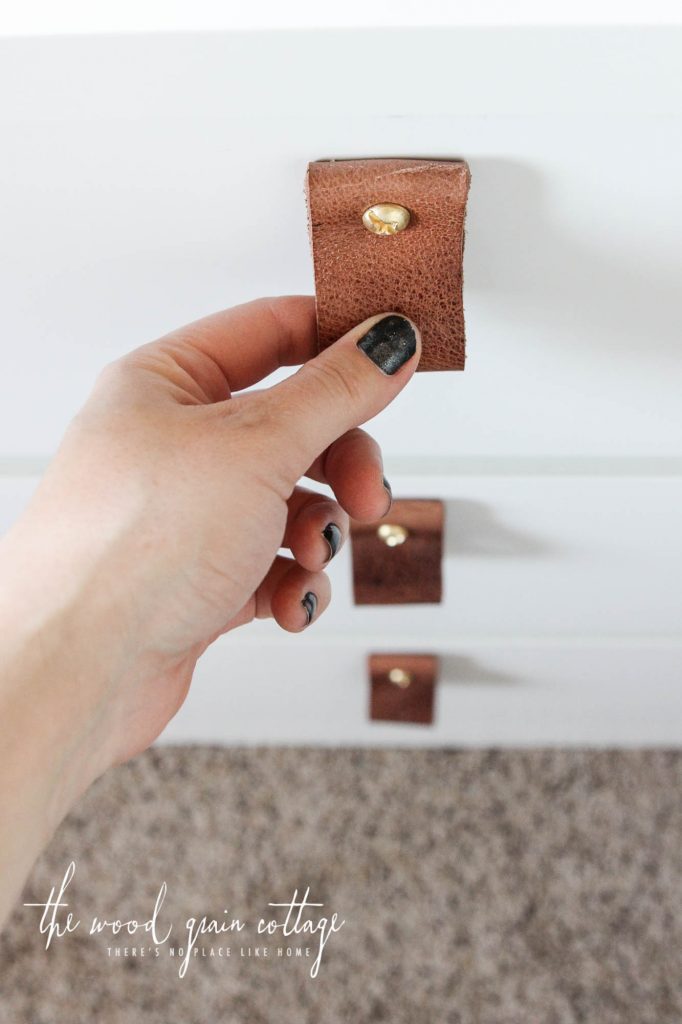
I call this little project a big success! And I really can’t say good enough things about the leather strap we used either! I’ll be using more of that in the future!

Here’s another Pinterest friendly picture in case you want to save the tutorial!

Such a fun project to have finished and marked off the to-do list! 🙂


Love it for the closet doors, but not feeling it so much drawers. A little overwhelming for the drawers.
Those look awesome! Great idea!
Love this idea. Truly unique and provides a great look!
Absolutely beautiful and SO creative! Love this! 🙂
Perfect!!! I loved them! Thank you so much for sharing with us! Great!!!
LUV. LUV. LUV.
I love the pulls; they’re so different. Didn’t the lateral file cabinet come with pre-drilled holes though for other handles? If so, how did you handle that?
Do you know what the overall length was on the cabinet pulls you made? they look longer than the 10″/4″ pulls for the closet doors.
The closet pulls were definitely longer in total length than the cabinet pulls. The overall finished cabinet pull length is 2.5″. For the total amount of leather you’ll need, I’d double that, and add an extra inch for the “fold” portion. Hope that helps! 🙂
Where were the closet doors from. I love them and the leather idea
You can read all about the closet doors right here: https://www.thewoodgraincottage.com/2017/01/26/diy-closet-door-tutorial-home-office/ 🙂
Hi! For the desk and file cabinet, the total length was 2.5″ before folding? Just trying to calculate how much leather I need to order! Thanks!
The total length once the pull is folded is 2.5″ long. In order to make the pull, you’ll need to double that, and add extra leather to create the top fold. I hope that helps! 🙂
I love these pulls, and thanks for explaining your method so thoroughly. I am wanting to create similar pulls for my drawers but wondered how these have stood up to regular use over the years? Did they last well or did you have any major issues with them? And looking back, is there anything you might do differently if you were to do this again?
I’m so glad you enjoyed the tutorial! Unfortunately, I sold this home not too long after sharing this tutorial. While I can’t speak to how the pulls have held up, I can say I wouldn’t hesitate to follow this same tutorial if I wanted to recreate the look. They were sturdy pulls and well made. I hope that helps!