
DIY Board And Batten In The Hallway
Our house really only has one hallway. I guess that’s what you get when you have such a big, open floorplan… all the rooms seem to flow right into each other. And other than adding a new rug, I haven’t done a single thing to this hallway since we built the house. What?! So today, I’m finally sharing our tutorial for the DIY board and batten in the hallway. We actually finished the project right around Christmas, hence all the greenery and red pillows, ha, but it’s making it’s debut on the blog right now! 😉

As far as projects go, this was a pretty simple one. Board and batten isn’t overly hard, and our hallway isn’t very big, so we were able to get it done quickly. Here’s how we installed the board and batten!
Please note: Some of the links in this post are affiliate links, which allows us to make a small commission from your purchase, but your purchase price stays the same. Thank you for helping support our blog! We greatly appreciate it!
SUPPLIES:
- 1/2″ MDF 4′ x 8′ sheet, cut into 4″ and 2.5″ strips
- Saw To Cut MDF
- 18 Gauge Nail Gun
- 1 1/4″ 18 Gauge Brad Nails
- Air Compressor
- Level
- Tape Measure
- Caulking Gun
- Caulking
- Wall Putty
- Paint, I used Super White by Benjamin Moore in eggshell
To start, we decided on the total height of the board and batten. I wanted something a little bit taller for the hallway, so we decided on 68″.

We ripped down a 4″ strip of 1/2″ MDF for the top board…

We used our level to make sure the board was straight…

Then nailed it in place…

With the top board in place…

We added the 2.5″ side piece that would run along the bullnose corner by the breakfast nook…

We made sure it was level…

Then nailed it in place…

Then, we started adding the rest of the wall strips. We decided on a span of 12 3/4″ between each board, so Anthony cut a piece to size for easier installation…

We nailed the MDF pieces in place as we went, but did run into a few areas where the wall wasn’t straight… meaning the wall strip wouldn’t sit flush with the top board. To fix that problem, we used paper to fill the gap…

Here’s a good example of what it looks like with paper behind the strip compared to when it doesn’t have it…

Everything just sits a little bit more flush, and you can’t even tell the paper is back there once the wall is caulked…

We continued our way along the wall…

Once the big wall was complete, we started on the two little walls…


On one of the walls, we had a few different wall outlets to work around. We have a regular electrical outlet, our central vacuum outlet and then our thermostat. To solve the outlet situation, we removed the electrical outlet cover, which is where a MDF strip needed to go…

Then, Anthony notched the board around the outlet…

But because that looked pretty wonky, we added a side piece to complete the look…

With that problem solved, we turned our attention to the thermostat, which had the same issue as the outlet…

We trimmed the thermostat cover out as well, which made things look much more finished. Anthony notched a piece of MDF to slide around the thermostat wires…

We centered the cover in the the MDF, so all the edges are even around the box…

I started filling all the nail holes and caulking along the seams…

This step is always very important. Spending the extra time to make sure the nail holes are completely filled and sanded really helps the overall look of the board and batten… even if it is messy…

And then, since I thought the top of the board and batten seemed a bit naked, we added a 1″ x 2″ board to the top…

That made it look much better, and way more finished…


After the caulking had dried, I started painting! I decided to brighten up the hallway and paint the board and batten Super White by Benjamin Moore in eggshell…

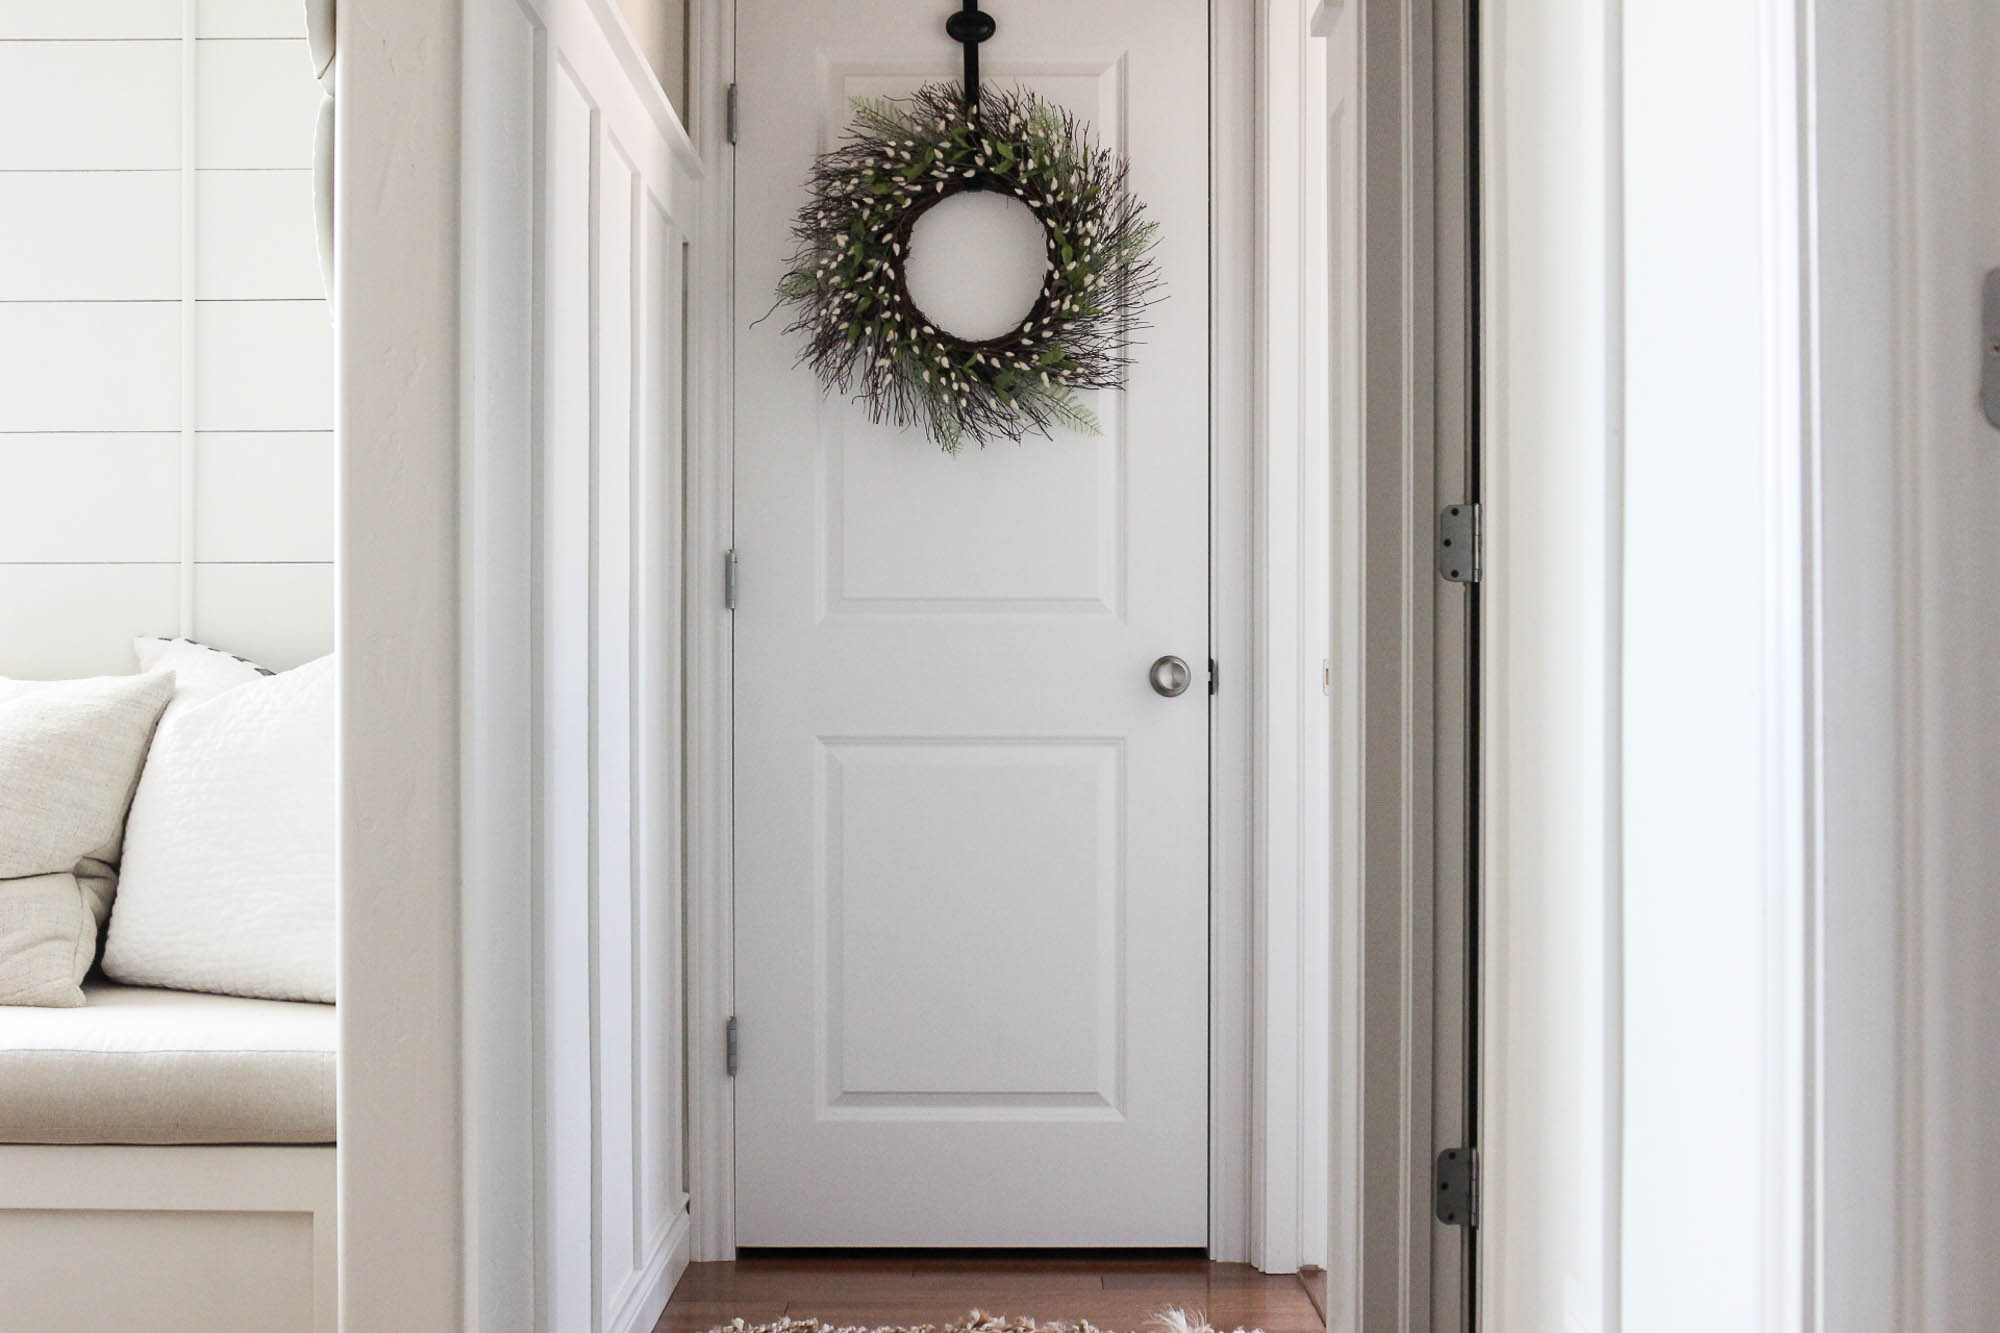
Here’s how our little hallway looks right now…

This was such a fun change for the space. The wreath helps too! 😉

I have a few other things I’d like to do, like change out our super cheap, builder basic door knobs to a black knob with a back plate, swap out the nickel door hinges for black ones, add artwork and maybe paint the upper wall portion a different color. I’m still debating on that one. Right now it’s painted Edgecomb Gray by Benjamin Moore, but I think I’m ready to change it.
There’s no denying that it does look fresh and cozy now though…

Hallways need love too, haha! 🙂
Beautiful new photo, Shayna, and love what you and your husband did with the board and batten walls. Cheers, Ardith
Love that new wall and you make it look sooooo easy!
The board and batten looks great – makes such a difference! My hallway looks similar to yours – gray on top with white on lower half, and I am also going to change my door hardware, but having a hard time deciding between brushed nickel or black.
Wonderful! So clean. We changed out door handles and hinges but as I type I see we did not do the hinges in our master bath ? I do like your changes. Perfect changes.
As always, it looks gorgeous!!!!
How do you decide which doors you paint dark and which ones you leave white??????
Thank you! For the doors, I generally decide on a “focal” door. Meaning, if it’s at the end of a hallway, an entry door, french doors, etc. I’ll pick a door that looks a little more “special”, so to say, and make that the focal door. I hope that helps! 🙂
Hi! Your board and batten looks great! I have been considering adding a faux board and batten to a couple of rooms in my home as well, but like you, I have textured walls. I have been concerned that the texture might look funny. How do you feel about the look of the texture? We also have “real” board and batten in our home, so I’m worried that it might look off in comparison. Would love to know your thoughts! Susan