
DIY Closet Door Tutorial For Our Home Office
I’m sharing our DIY closet door tutorial for our home office. See our full, step by step DIY tutorial and how these closet doors transformed our space.
I’m back today with another update on our home office… the closet doors! When we started converting the guest bedroom into our home office, I knew the closet doors would need some help. When we built the house a few years ago, we didn’t want to spend any extra money on fancy closet doors. We didn’t really have it in the budget, but knew we’d update them when the time came. So today I’m sharing our DIY closet door tutorial for our home office. The difference in unreal!
Before I share the tutorial on how we built them, let’s take a peek at what we started with in the room…
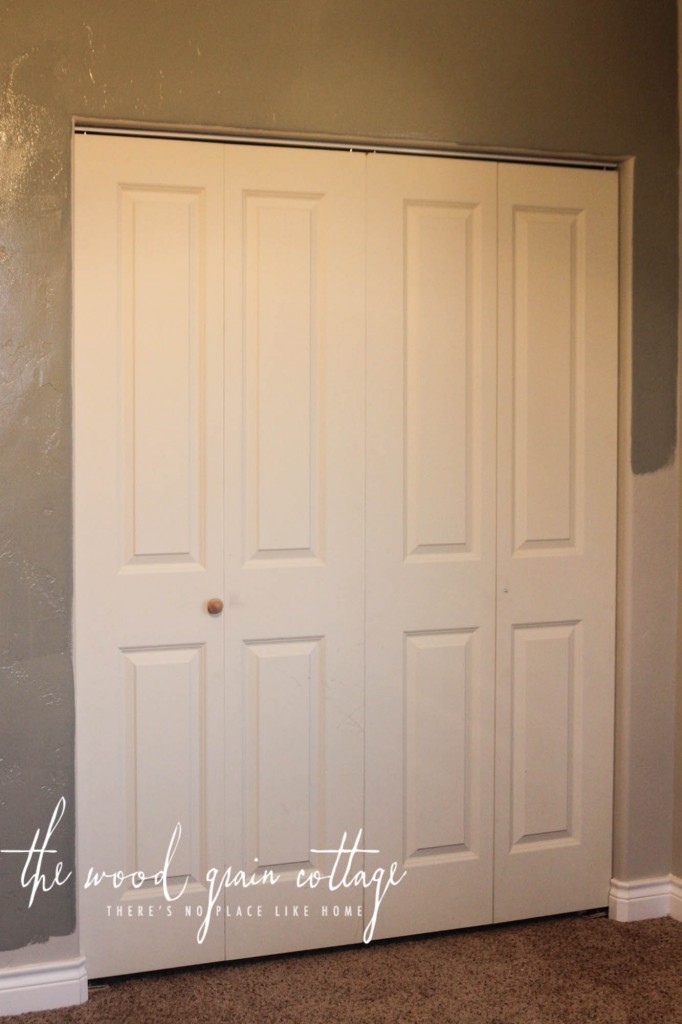
They were your basic, cheap bi-fold closet doors… nothing fancy. One of the knobs wouldn’t stay on, and I never got around to painting them after they were originally installed… Can you tell how much I loved them? Ha.
When Anthony and I started talking about converting this room, I told him I wanted to do something about the closet doors. We tossed around several different ideas, and we originally decided on covering up the doors with some new planking and transforming them from bi-fold doors into a fully swinging door with a hinge. The more we discussed it though, Anthony didn’t really like the idea. While we could have made it work, he wanted the doors to look as professionally done as possible. That’s Anthony, if he’s going to do something, he’s going to do it right, and he just didn’t want to convert those cheap hollow core doors, mainly because they wouldn’t have looked complete. The outside would have been covered in the new plank design, and the inside would have sported the old paneled face we were covering, plus a few metal bars to hold the doors together, rather than having them slide bi-fold. Plan B quickly came into effect and we decided to buy two new doors.
DIY Closet Door Tutorial For Our Home Office

Affiliate links are provided below. Full disclosure here.
Supplies:
- 2- 30″ wide x 80″ tall hollow core doors, we cut them down to 29 1/4″ wide
- 1/4″ 4′ x 8′ sheet of Underlayment, we used 1 sheet, cut into 4″ and 6″ strips
- 3″ torx screws
- 3″ torx screws, to match finish of hinges, optional
- Table Saw
- Chop Saw
- Screw Driver/ Drill
- 1/8″ & 1/4″ Drill Bit
- Brad Nailer
- 1 1/4″ 18 Gauge Brad Nails
- Air Compressor
- Magnetic Metal Latch
- Tri Square
- Measuring Tape
- Spackling
- Painters Tape
- Foam Roller
- Paint Brush
- Black Paint, I used Onyx by Benjamin Moore in satin
Step One: Trim Doors To Size
To begin, we decided to use two 30″ wide x 80″ tall hollow core doors…
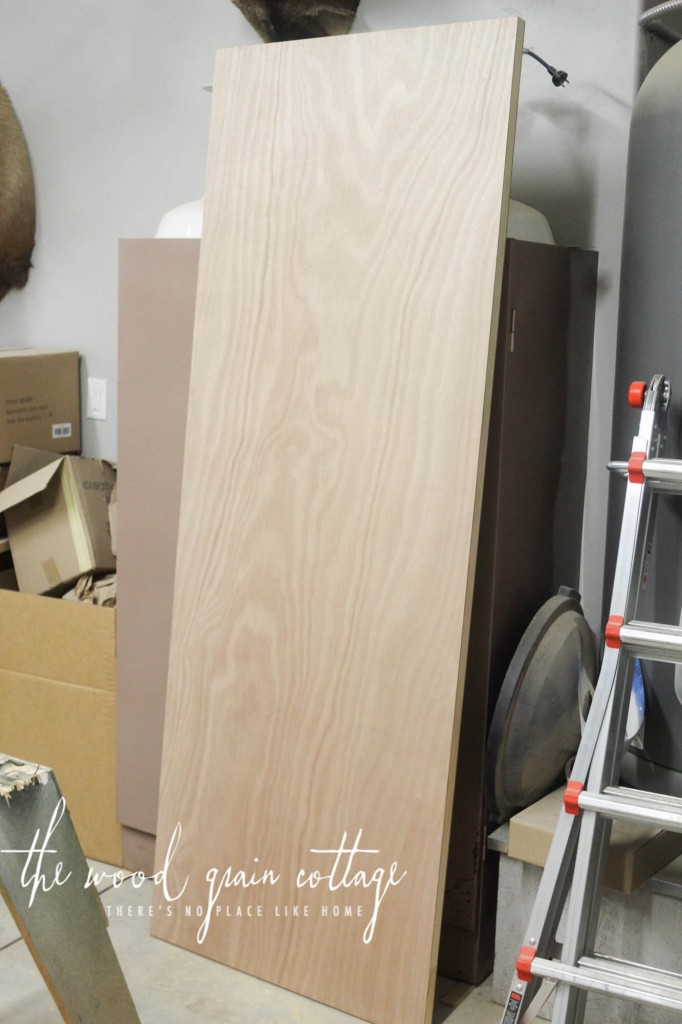
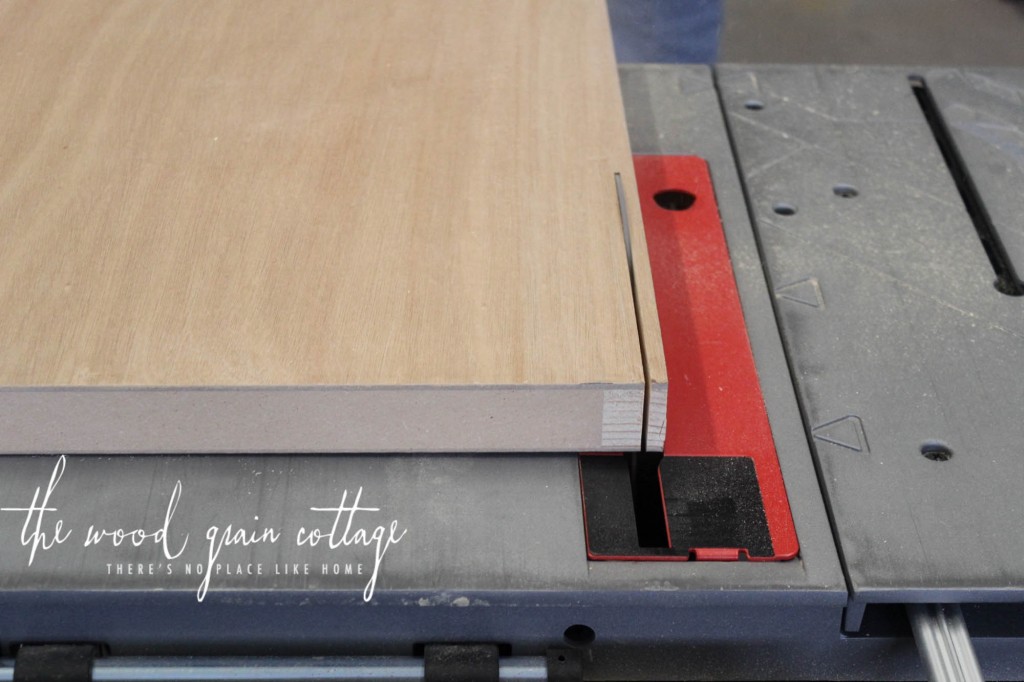
They were just a little too wide to fit two of them side by side in our closet door opening, so we trimmed them down to 29 1/4″ wide…
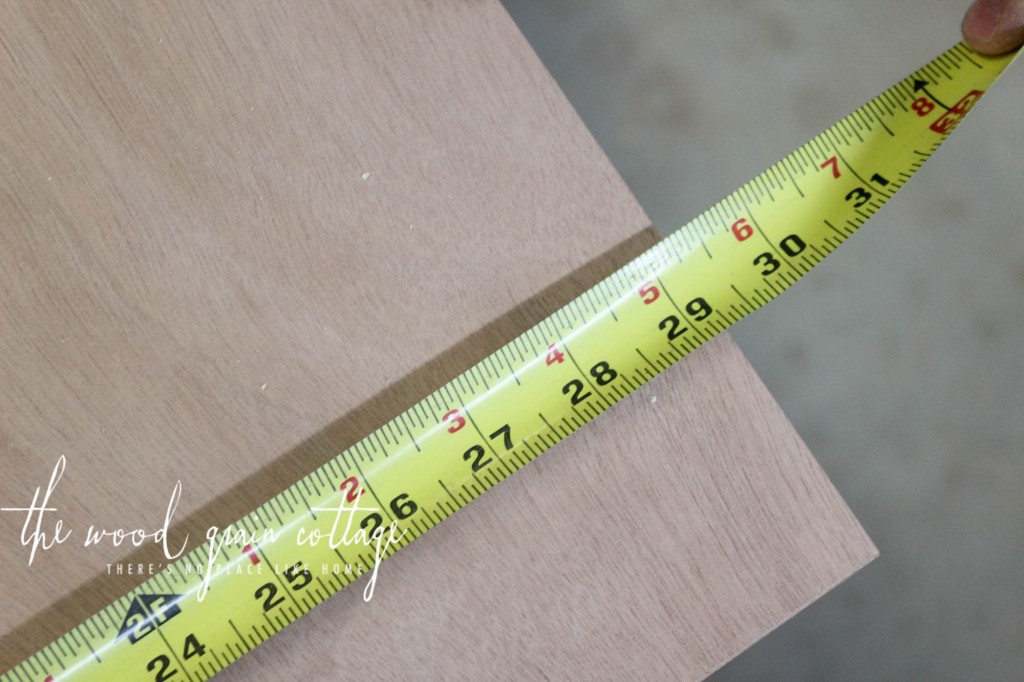
We used the table saw to trim off the extra material…
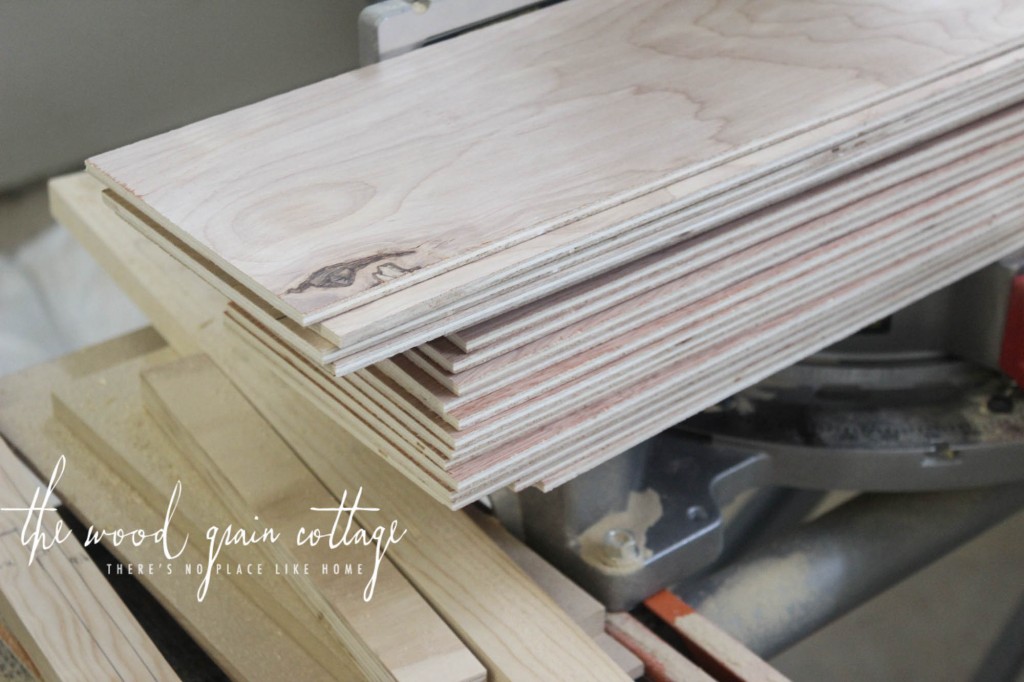
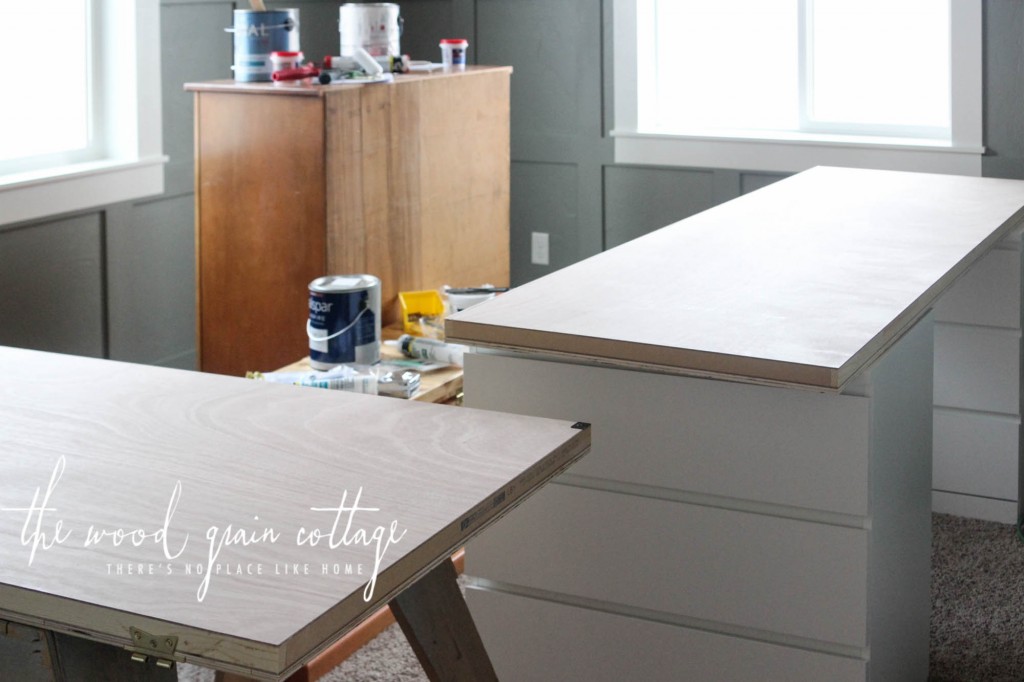
Step Two: Rip Down Underlayment & Install Planks
With the doors trimmed down to size, we began planking them with 6″ wide boards of 1/4″ underlayment…
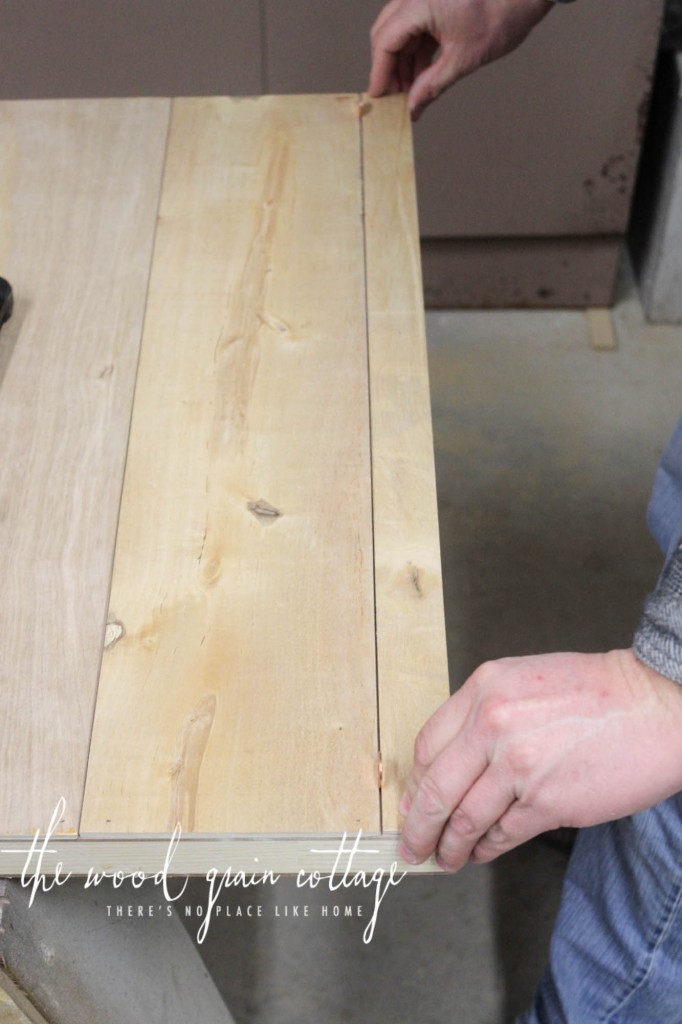
For the planks, we started them in the center of the door…
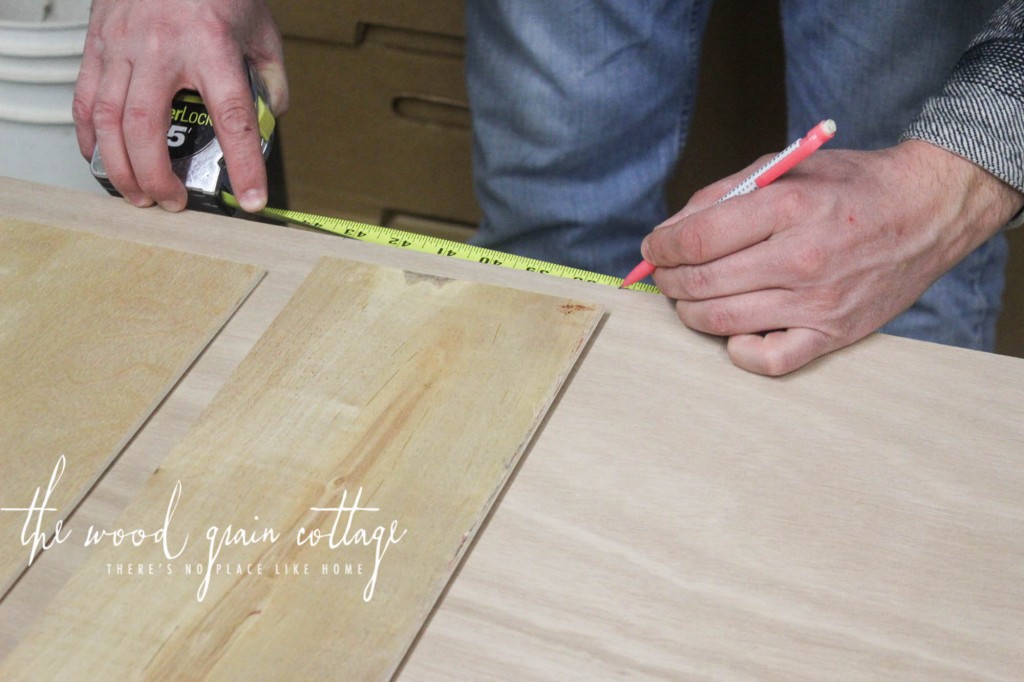
Once we found the center, we started installing the boards over the door…
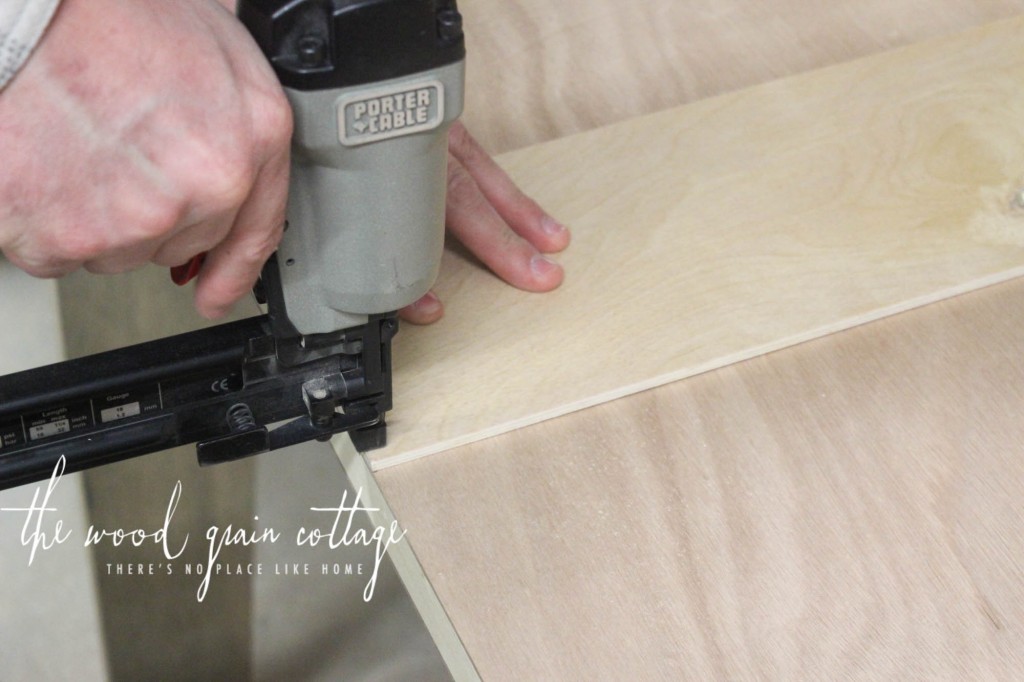
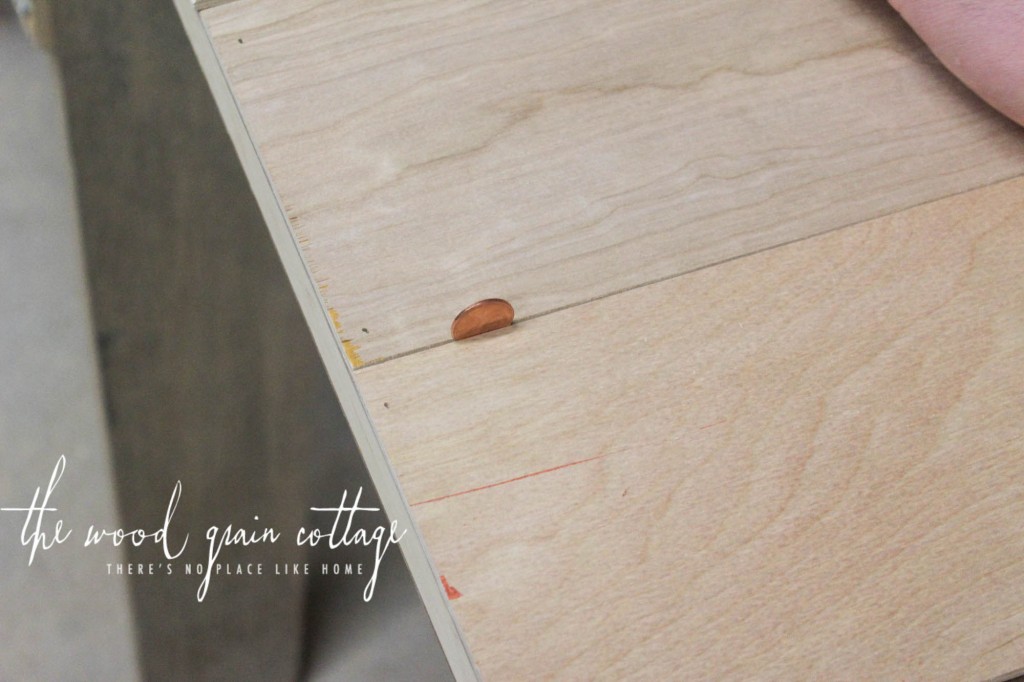
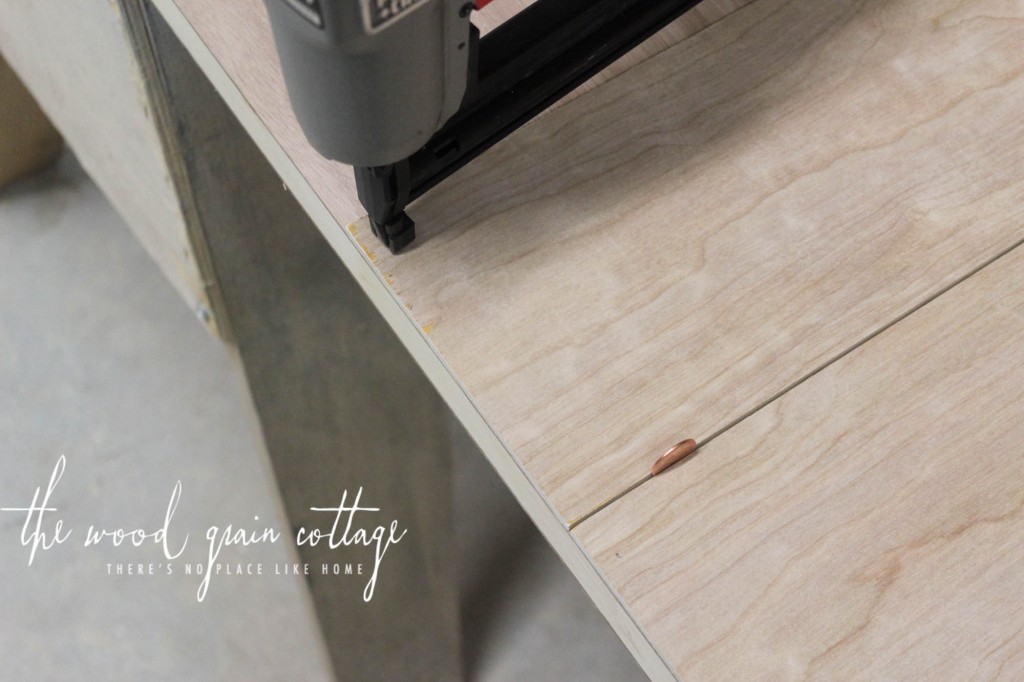
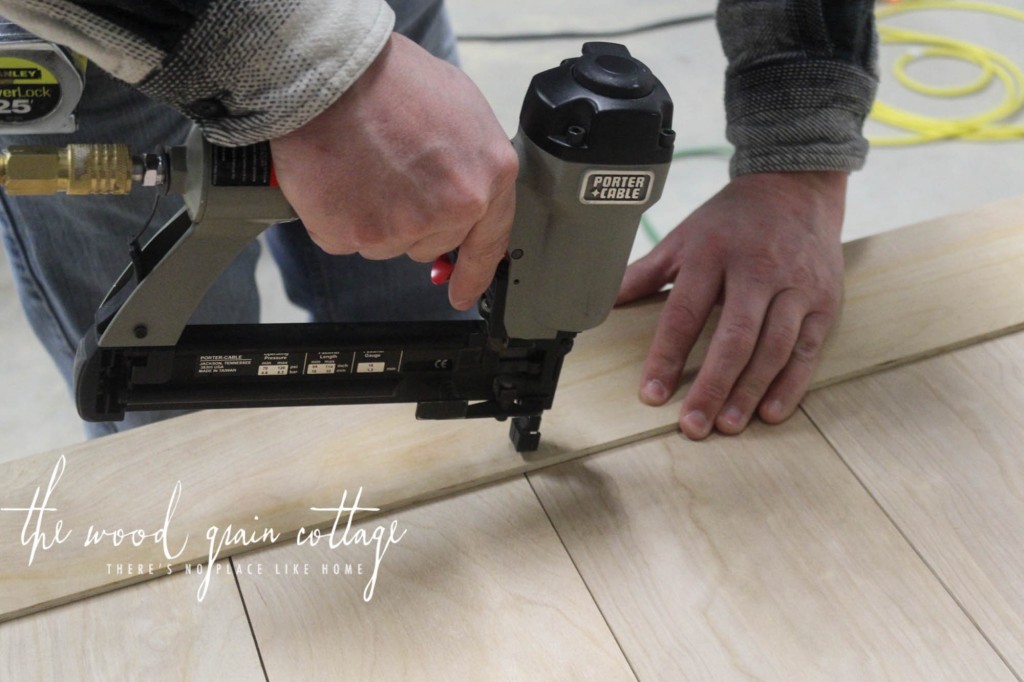
We used a penny to keep the spaces even between the planks…
And used our nail gun to secure them in place…
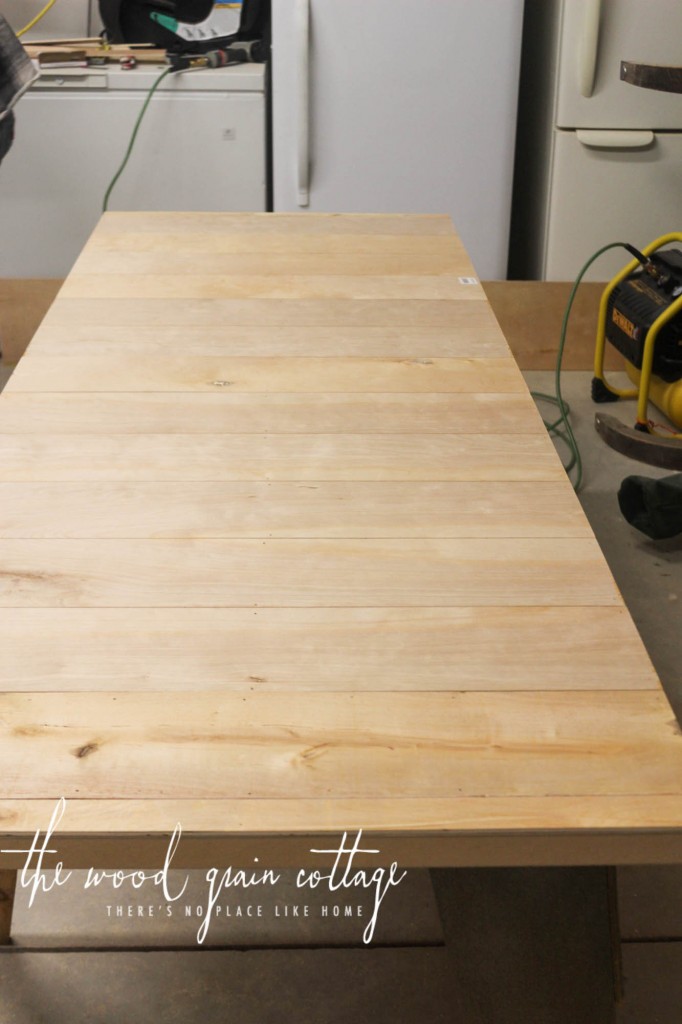
We kept working our way until the planking was covering the door…
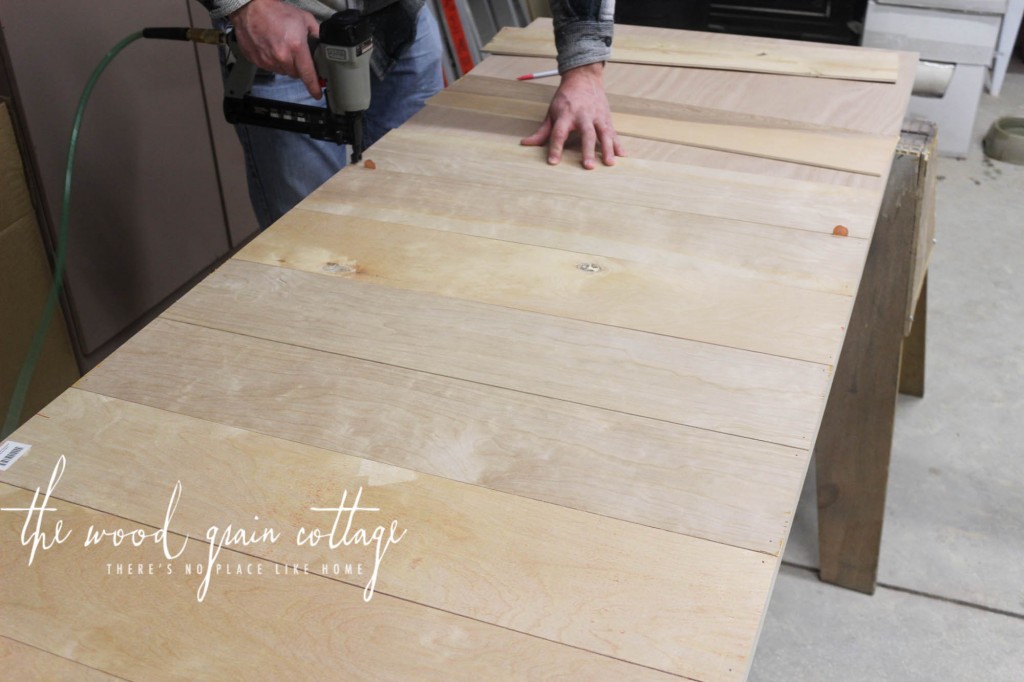
Both ends of the door needed a little piece of planking installed to fill the remaining space, so we trimmed the plank down with the table saw…
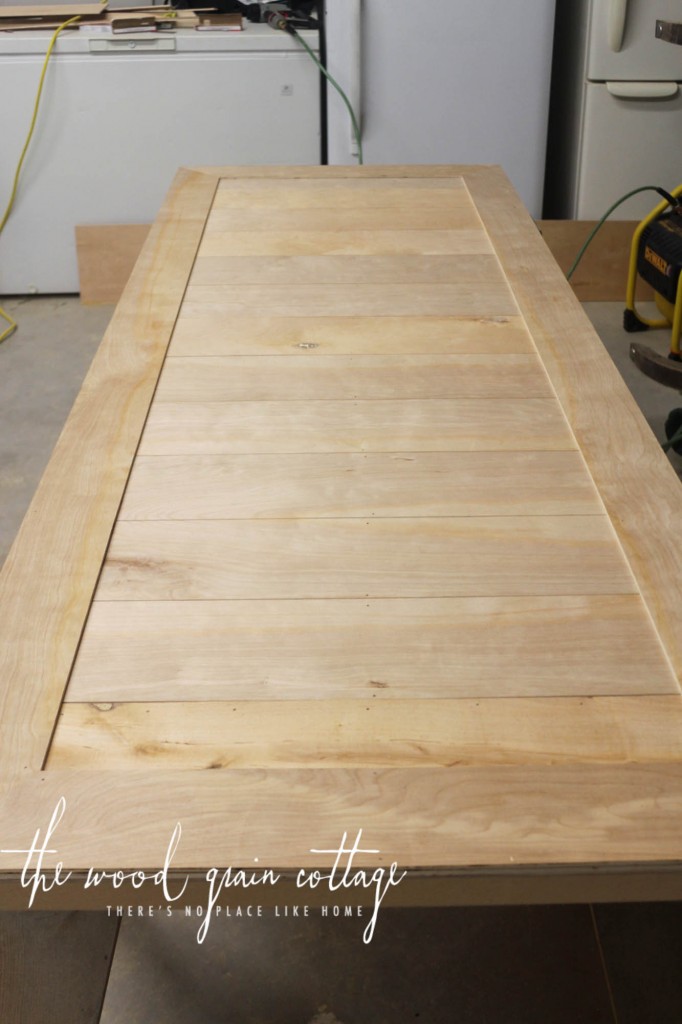
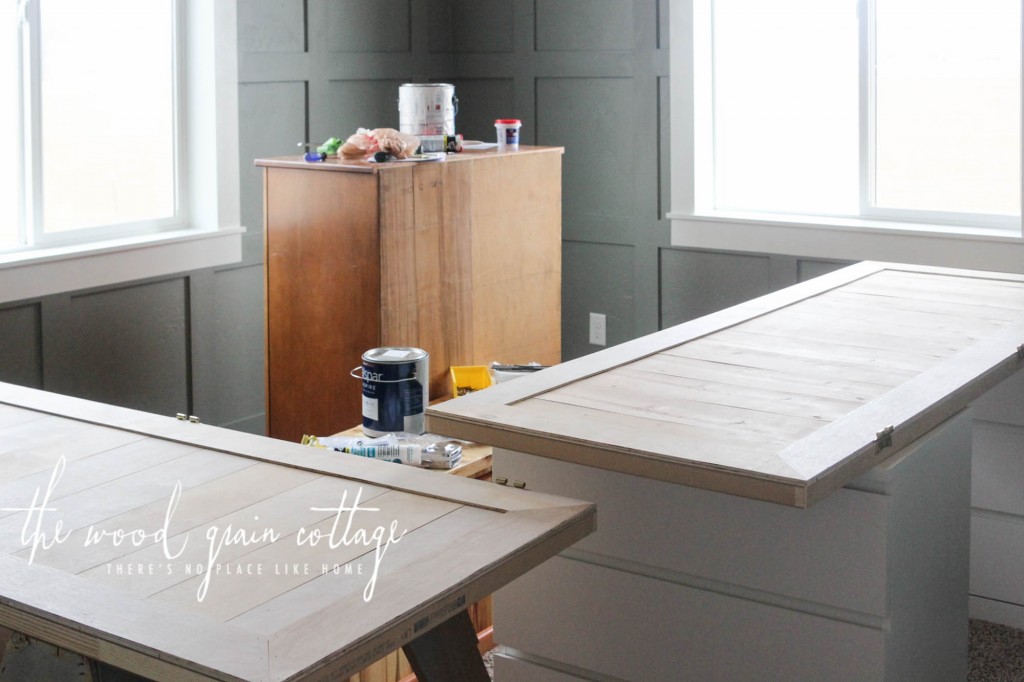
Once the entire door was covered with planks…
We began adding the trim pieces around the edges of the door. For these, we cut them at 4″ wide.
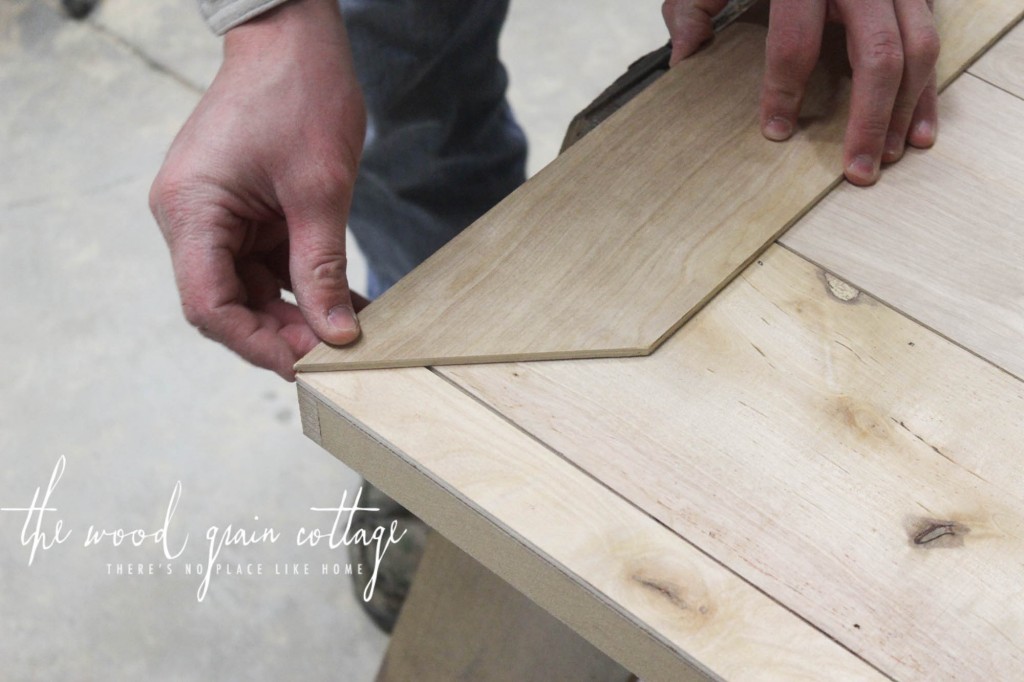
Once we had all the boards cut and fit to size, we started nailing them in place…
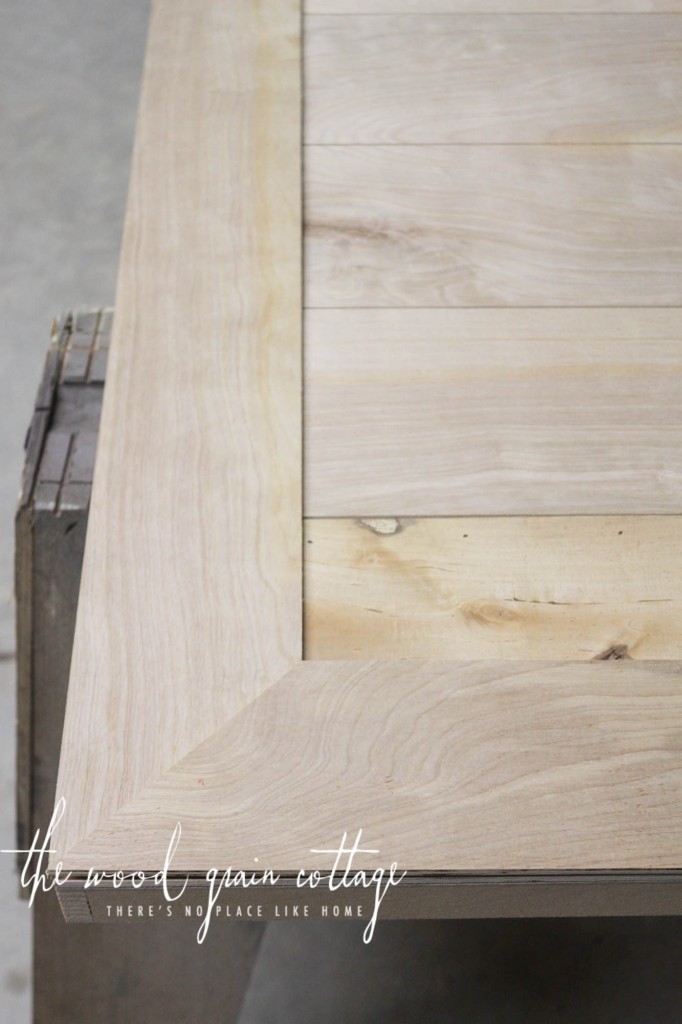
With the trim pieces in place, the door was finished and we began working on the second door.
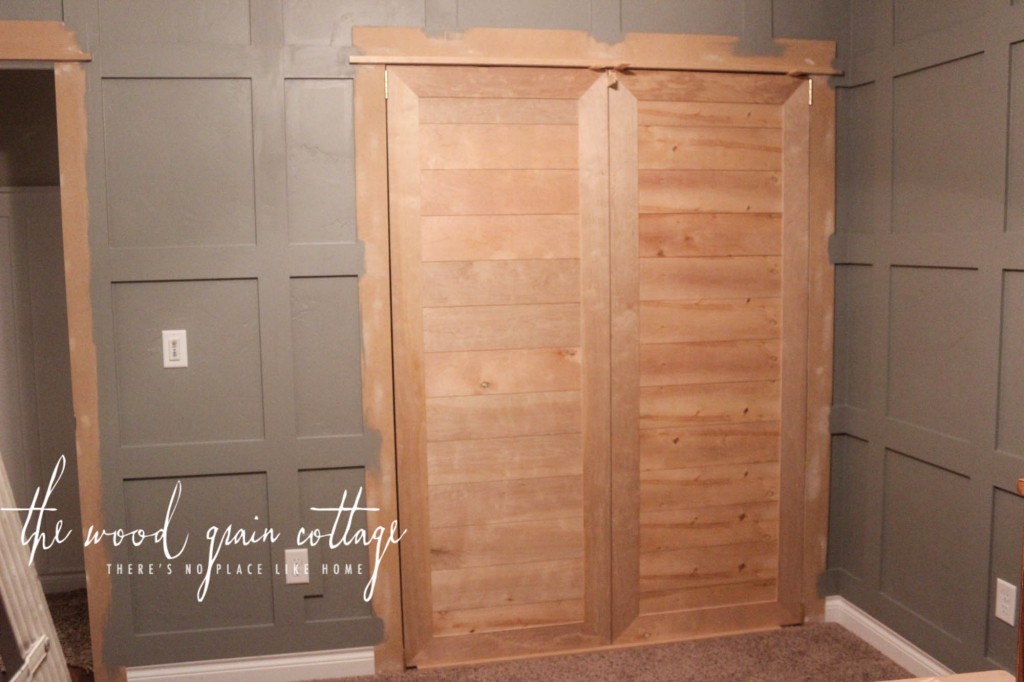
Once both doors were built, we brought them inside to fit into the door jam…
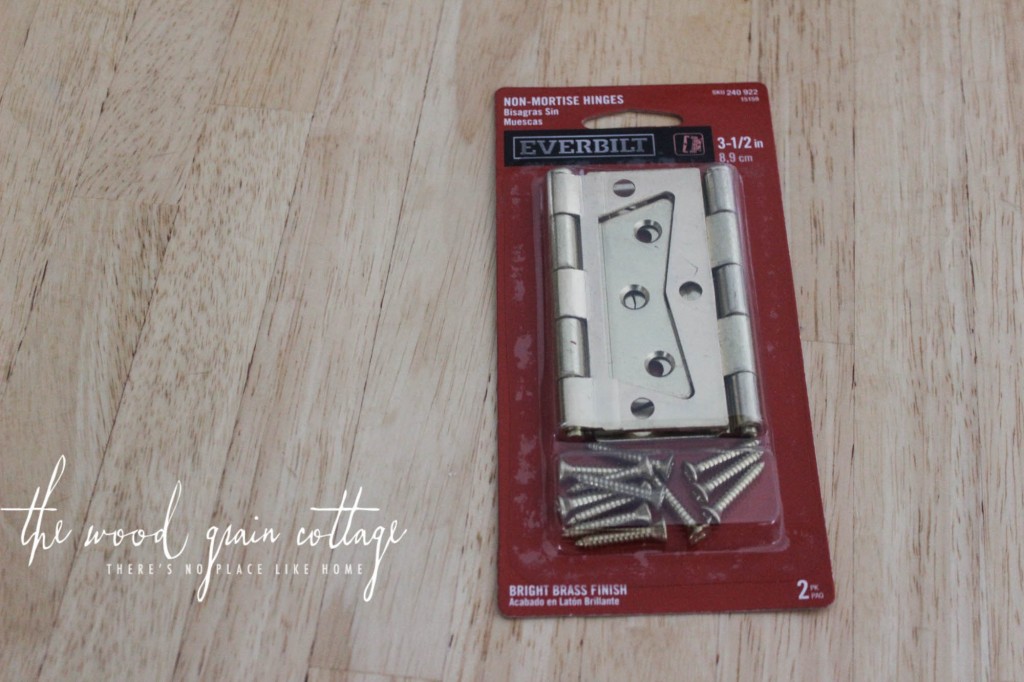
Step Three: Attach Hinges & Hang Doors
We added the hinges to make sure the space was accurate and that the doors would open and close properly without any rubbing or overlapping. They fit perfectly, so we went ahead and attached the hinges to the doors per the spacing recommendations on the package…
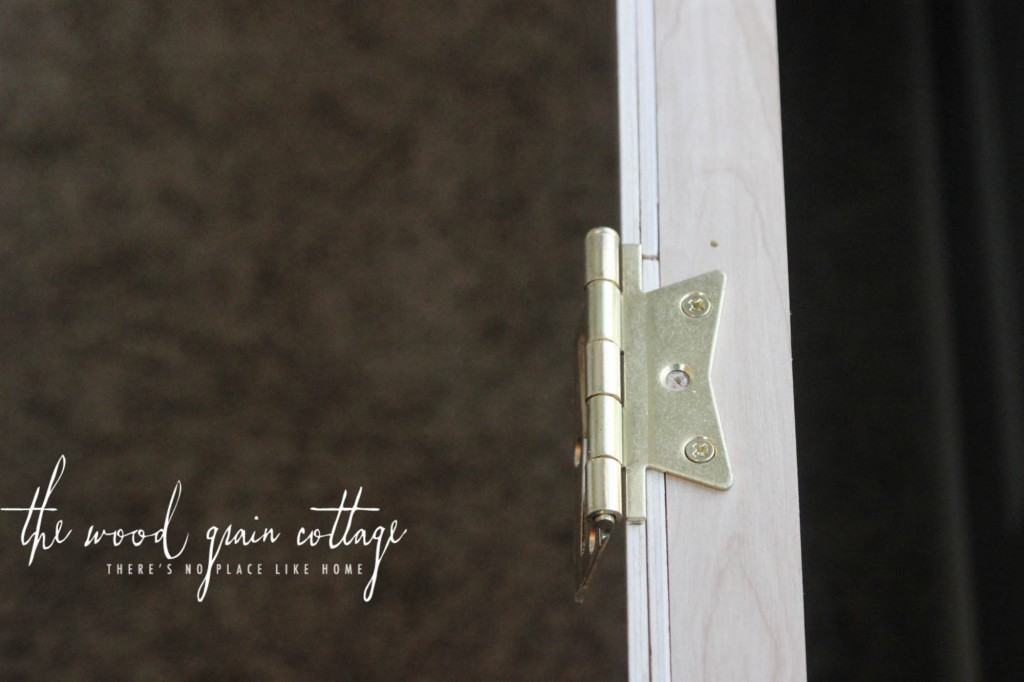
Once the hinges were installed, we started hanging the doors, although I wish I would have painted them before hand… :/. We were excited to get them hung!
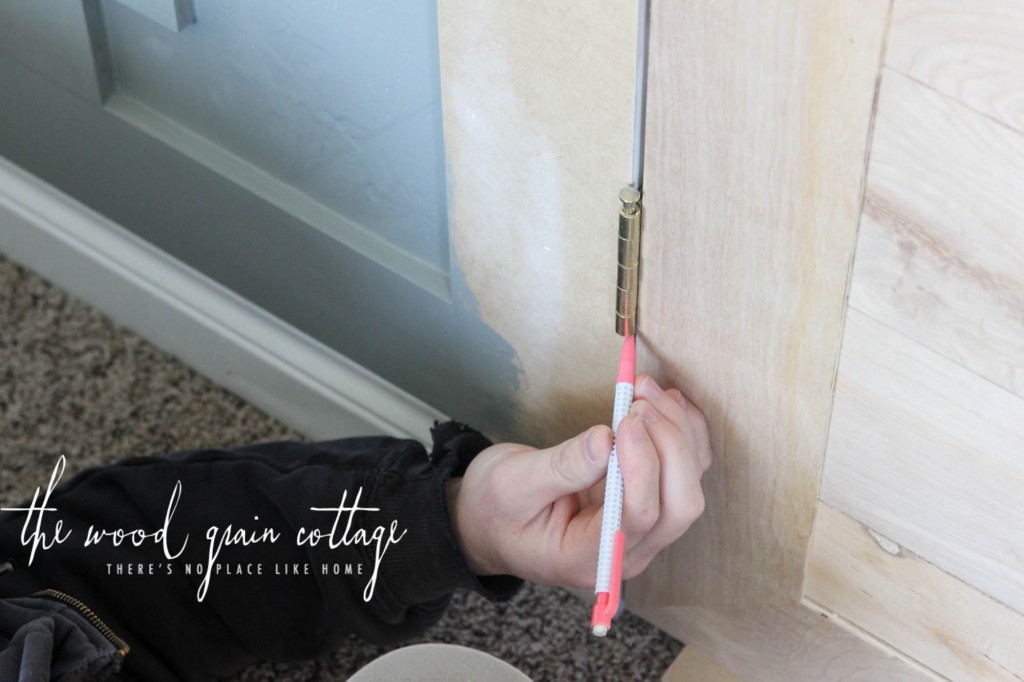
This was the trickier part of the installation, just because we needed to shim the doors exactly where we needed them to be in order to attach the hinges. Once we had the doors shimmed, Anthony used a pencil to mark the top and bottom of each hinge on each door as a guide…
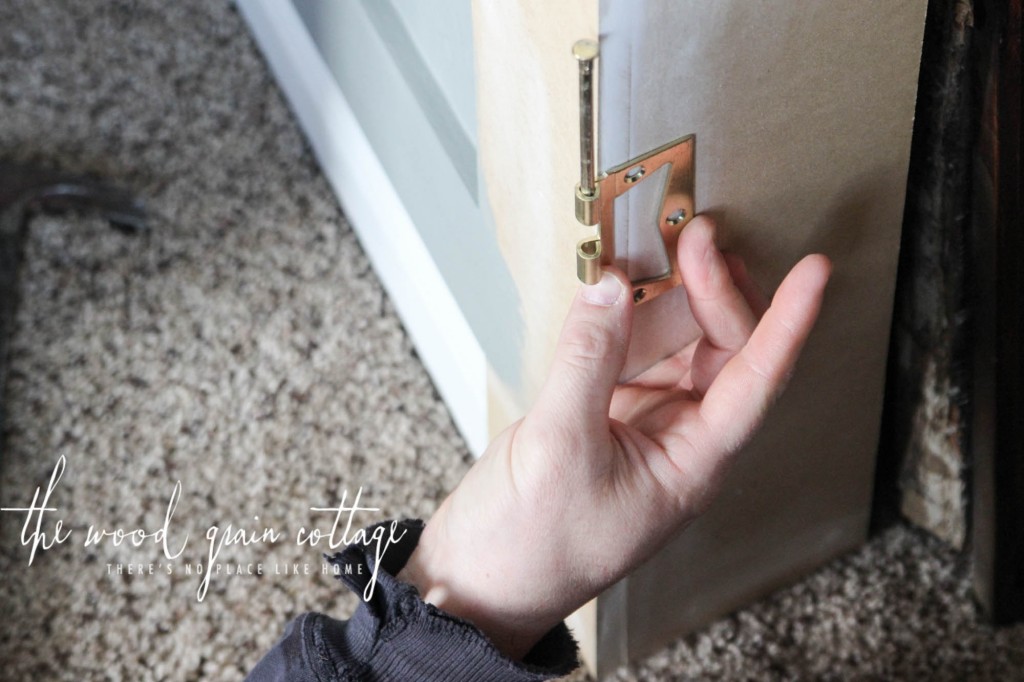
We then removed the part of the hinge that mounted to the trim, and he marked the holes on the hinges…
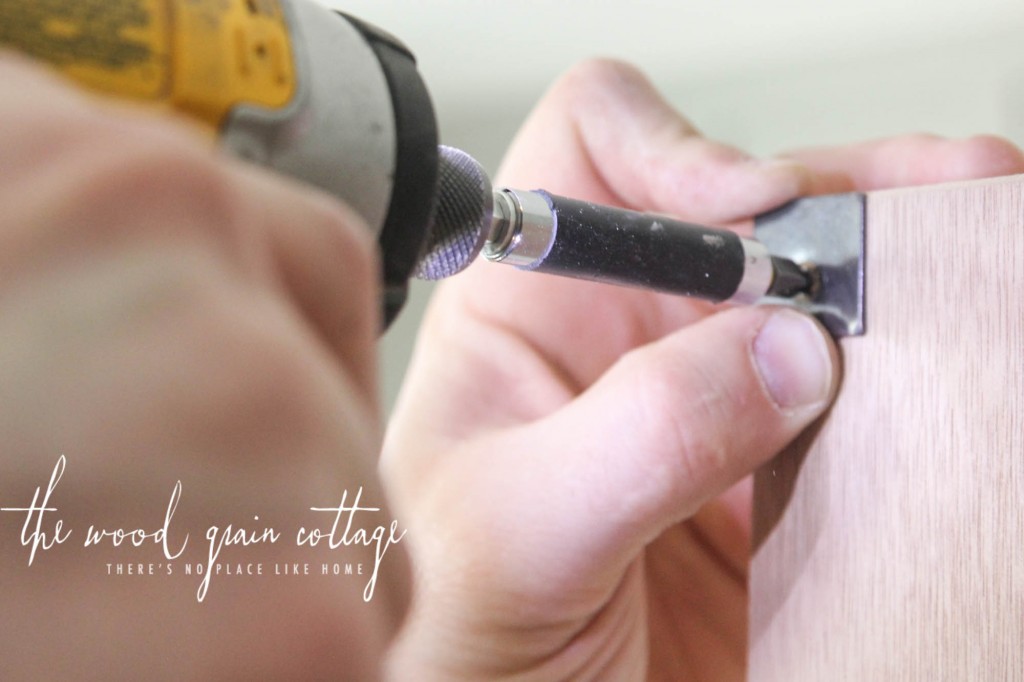
Now, for actually attaching the hinges… this is where things got a little bit complicated, just because we essentially covered up our round bull nose corners with the new closet trim…
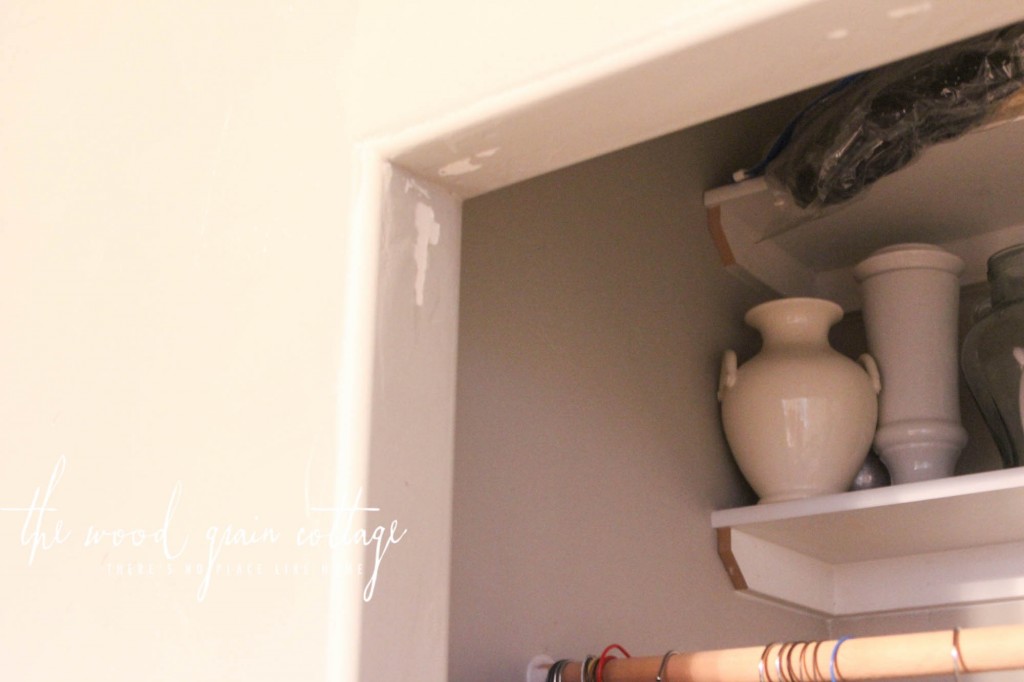
When we went to pre-drill our screw holes, we realized some of them would hit the metal bull nose, leaving minimal support for the doors. There was no way the screws that came with the hinges would work, or hold the door in place, so we opted for larger 3″ screws…
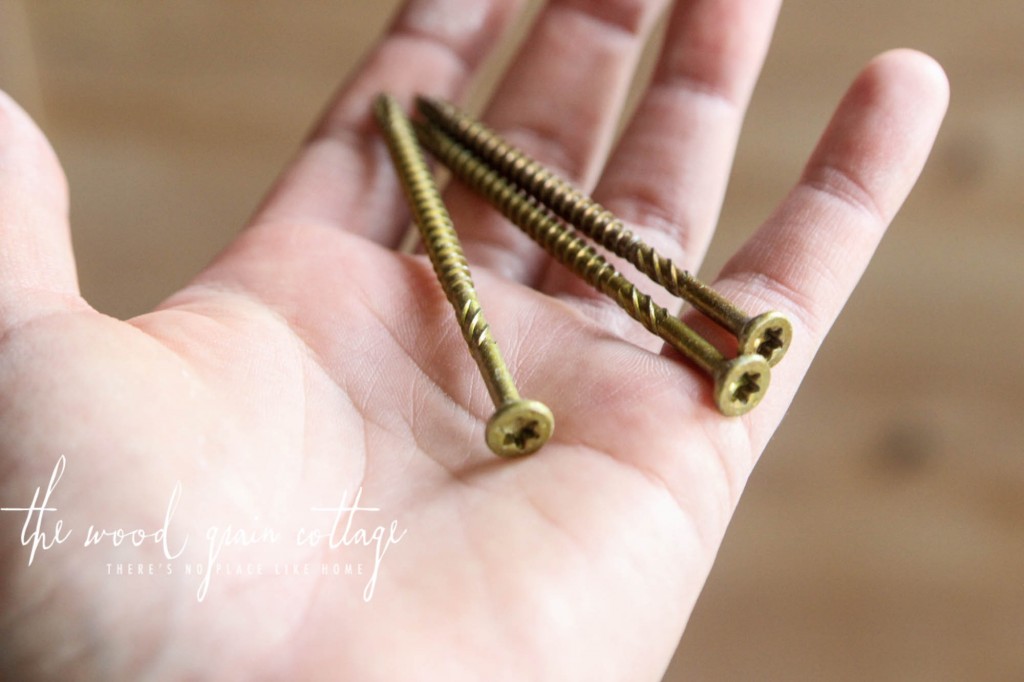
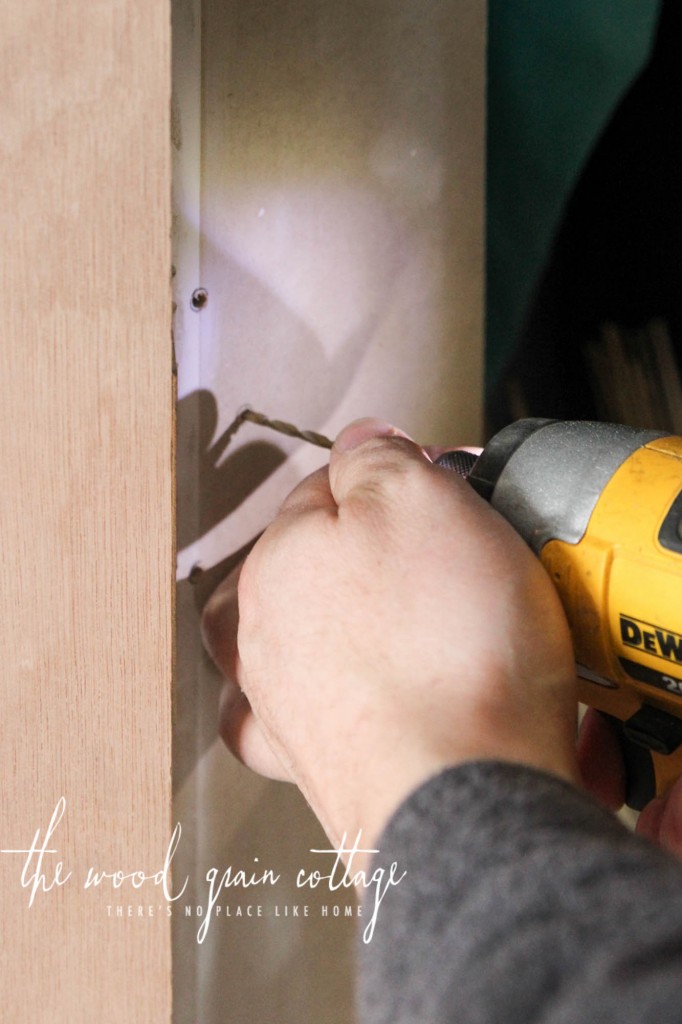
For the drill holes, Anthony found that he had to use two different sizes in order to drill into the metal bull nose beneath the new trim…

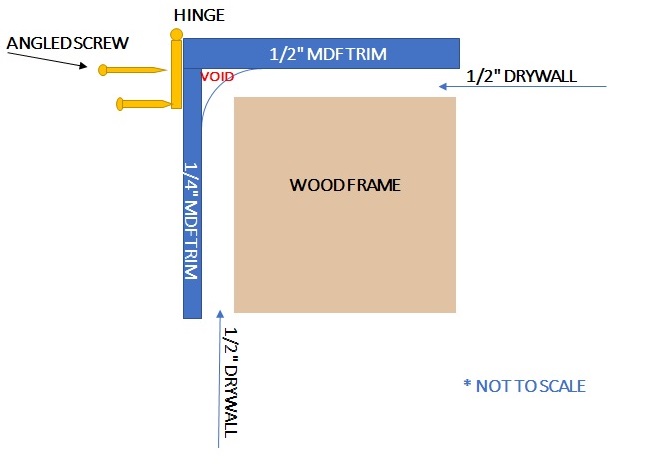
First, he drilled the hole with the 1/8″ bit for the pilot hole through the metal bull nose. He drilled that hole at angle hoping to hit the wood behind the bull nose. Drilling it straight would have only hit drywall, which wouldn’t have supported the weight of the doors. Next, he used the 1/4″ drill bit to create an over sized clearance hole for the screw to go in at an angle through the MDF. He drilled these straight for the screw.
It’s a bit tricky to completely understand, so here’s a drawing to make it a little bit easier:
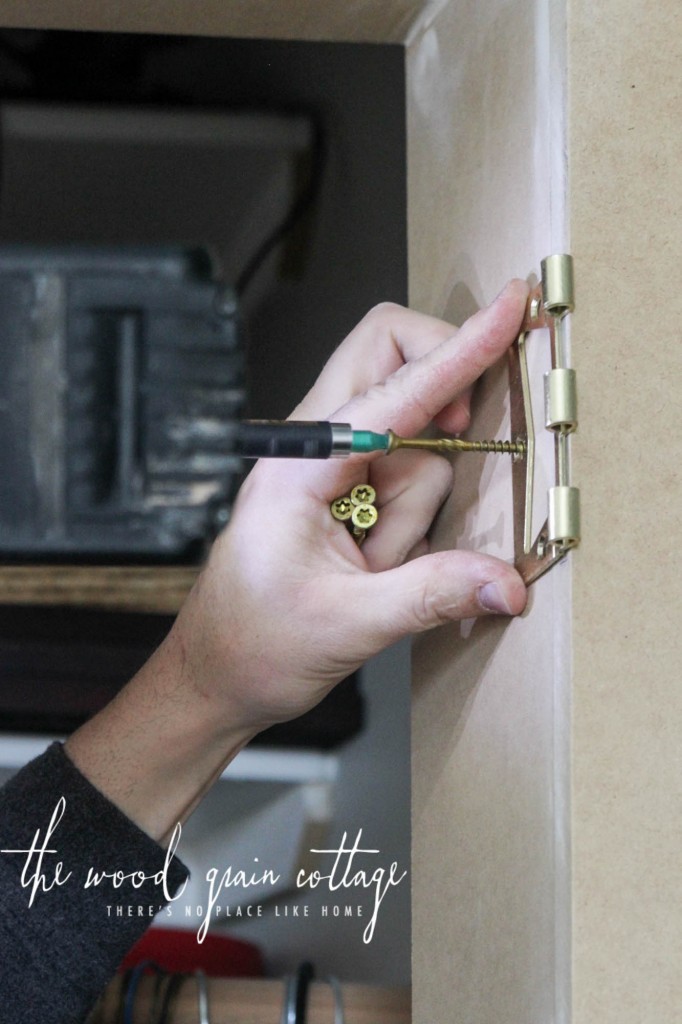
With the holes drilled, he installed the screws…

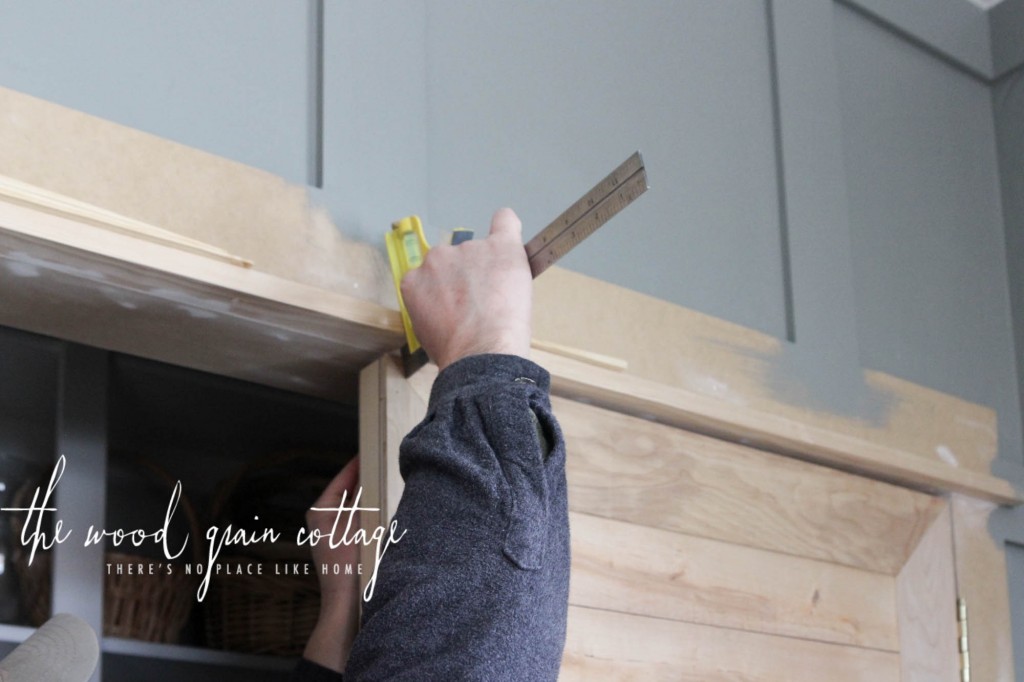
With the hinges installed on the doors, we installed a magnetic metal latch which would hold the doors in place. We wanted the doors to sit flush with the face of the trim, so we measured the overall thickness of the doors…

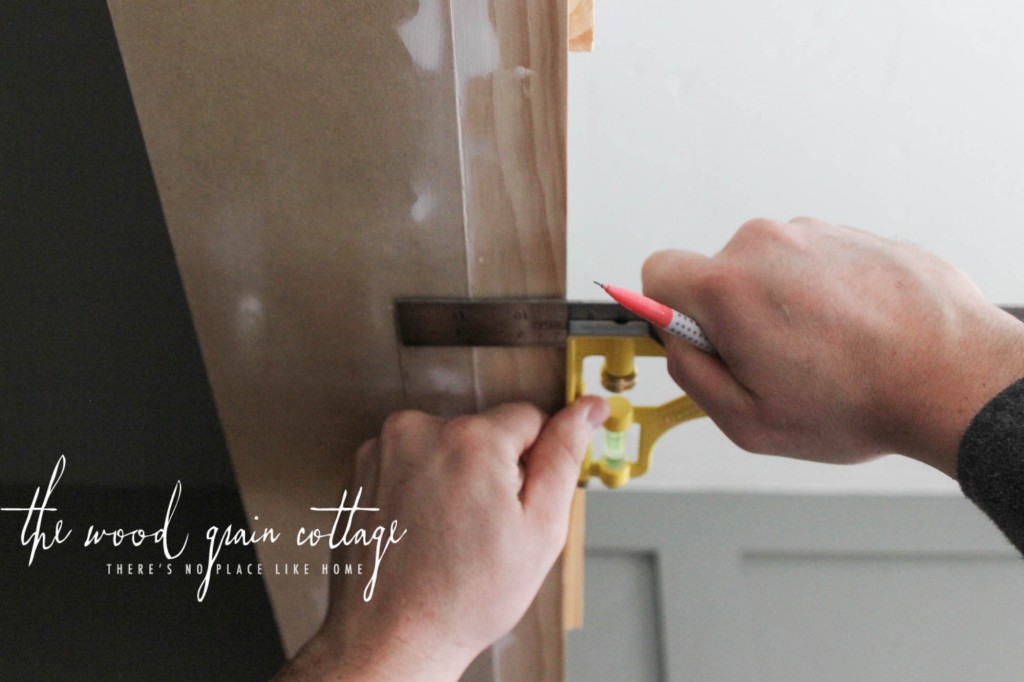
And used the tri-level to find the depth at which the doors sat flush…
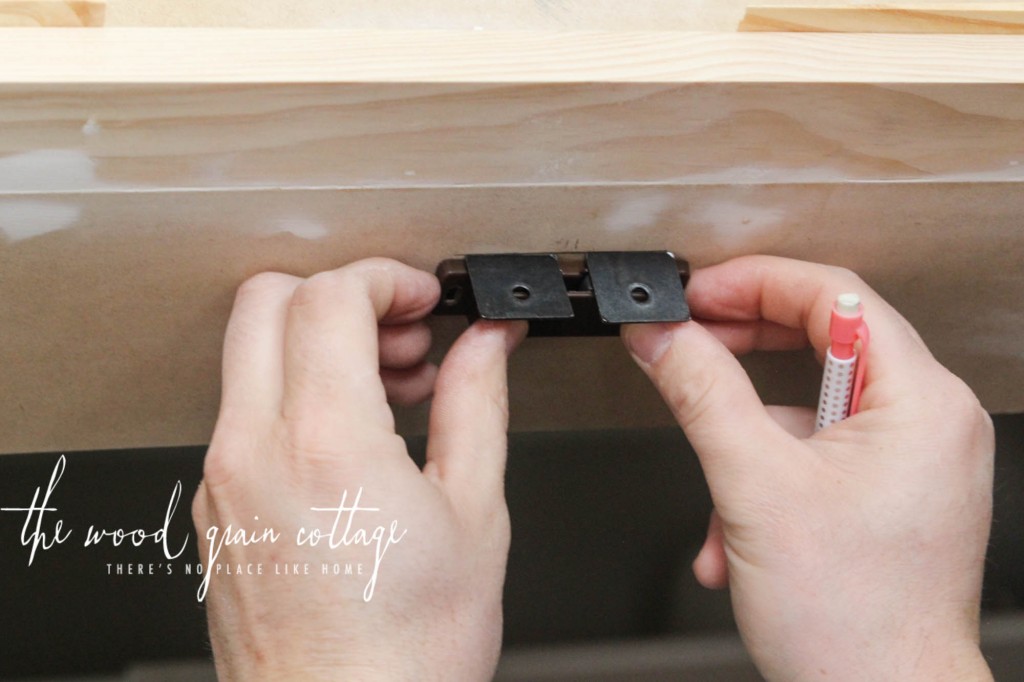
With the depth determined, we marked the spot…
And installed the base plate of the magnetic holder…
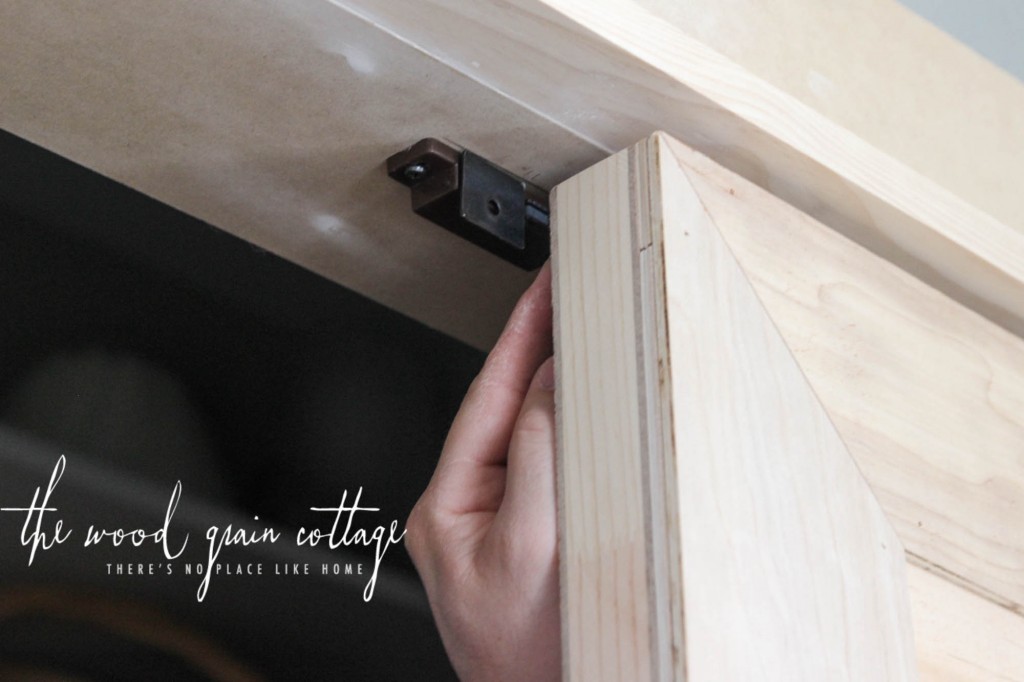

With the base in place, we attached the metal piece onto the doors…
Step Four: Paint Closet Doors
And with that the doors were ready for paint. I decided on Onyx by Benjamin Moore.
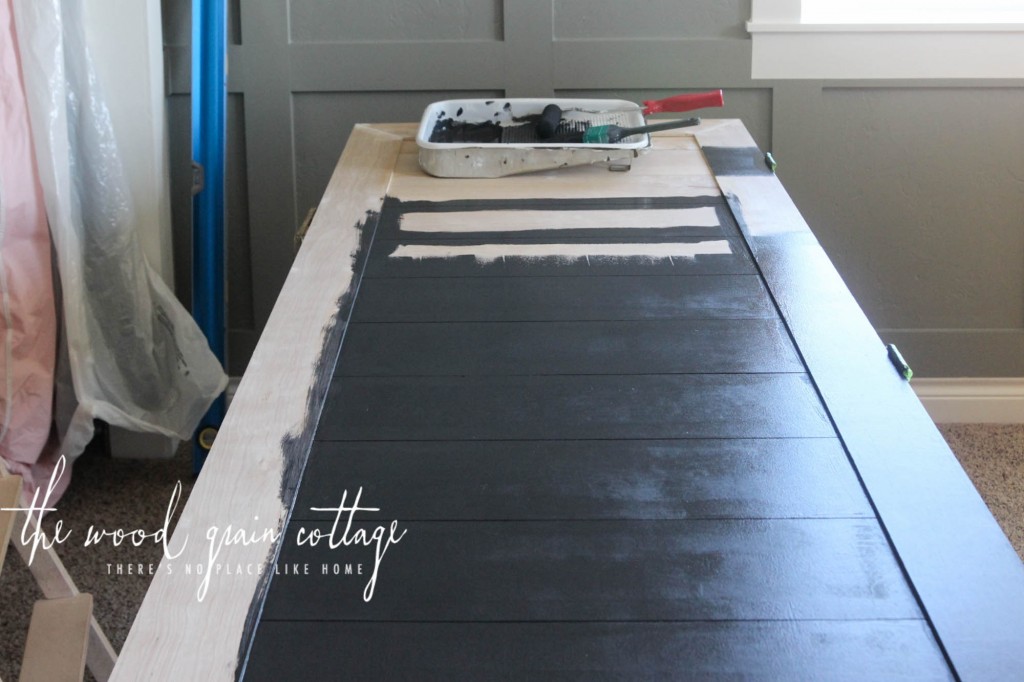
I painted the back side first…
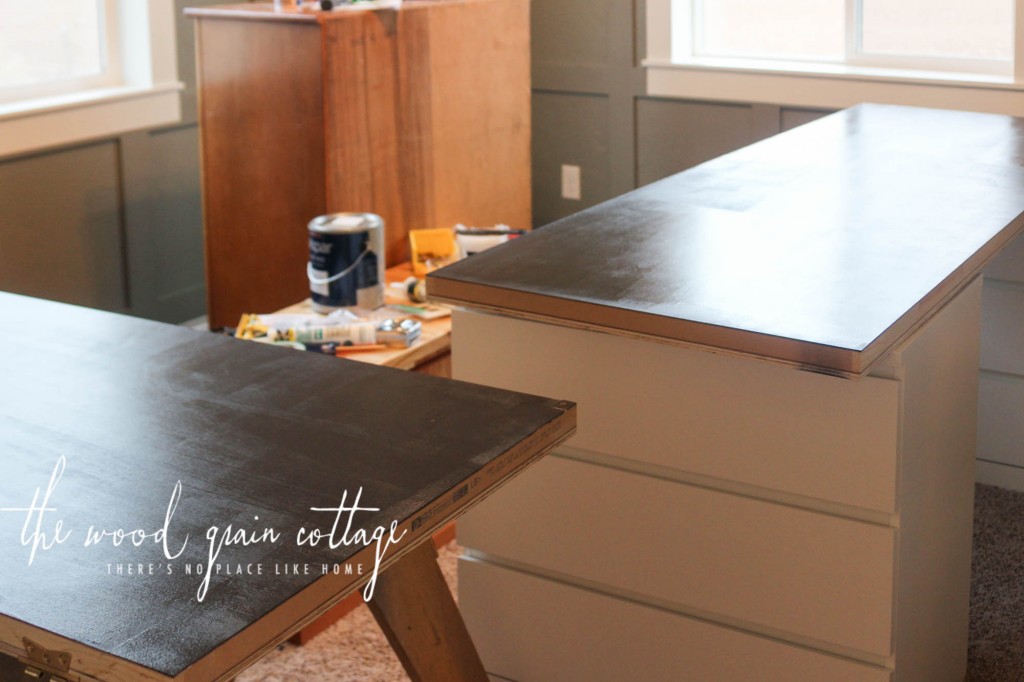
And then flipped them over to paint the face and the sides of the door…
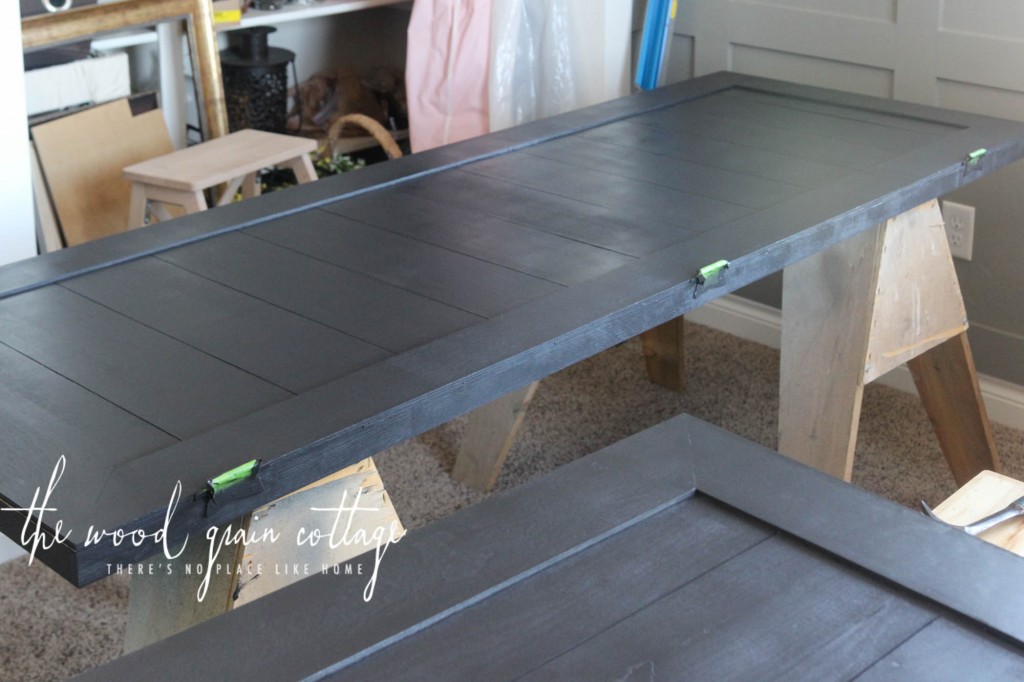
I used painters tape to tape off the hinges, which was easy and worth the time…
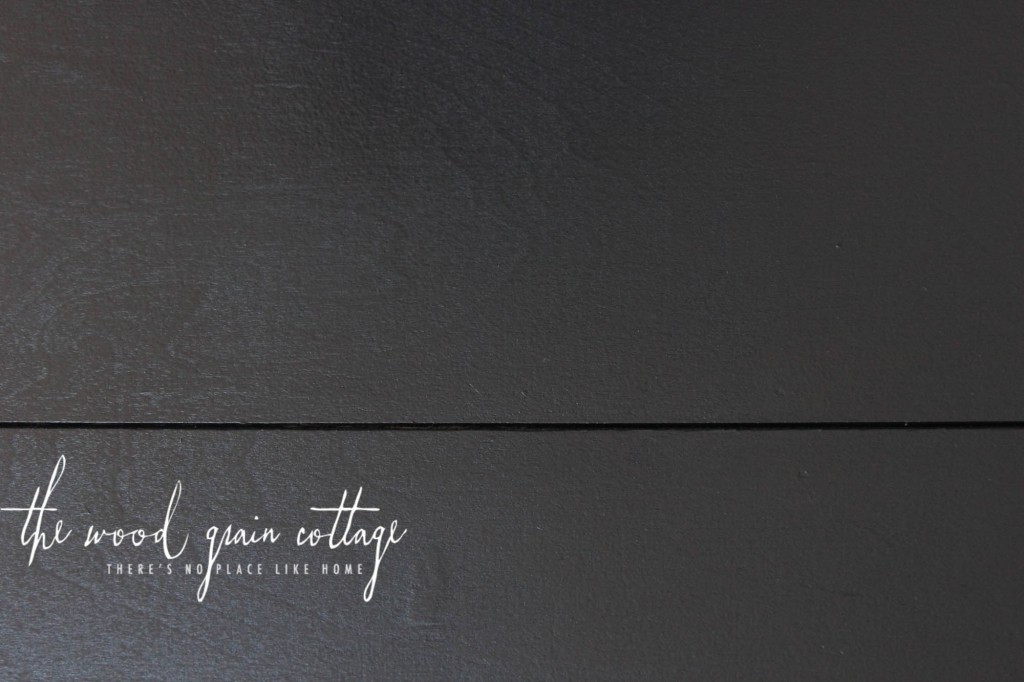
Because I didn’t paint the door before we added the planks, you could see the door through the planks…
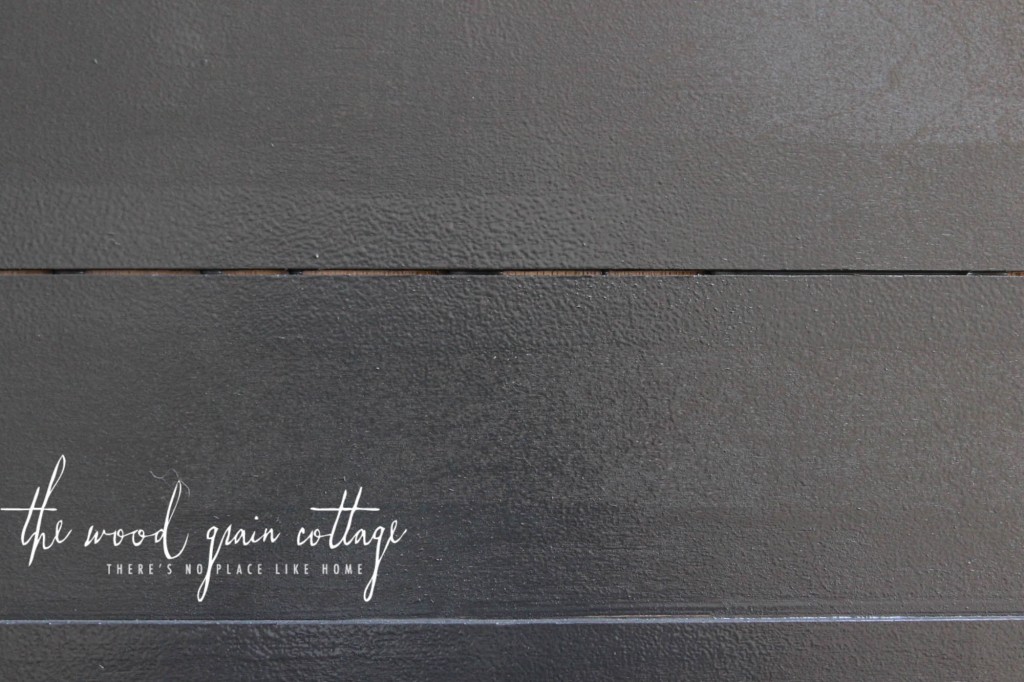
I used a small detail brush to brush the paint into the gaps…

Problem solved! (Although if I had it to do over again, I would have painted the door first!)
I pulled the tape off the hinges and let the doors completely dry.
Step Five: Enjoy
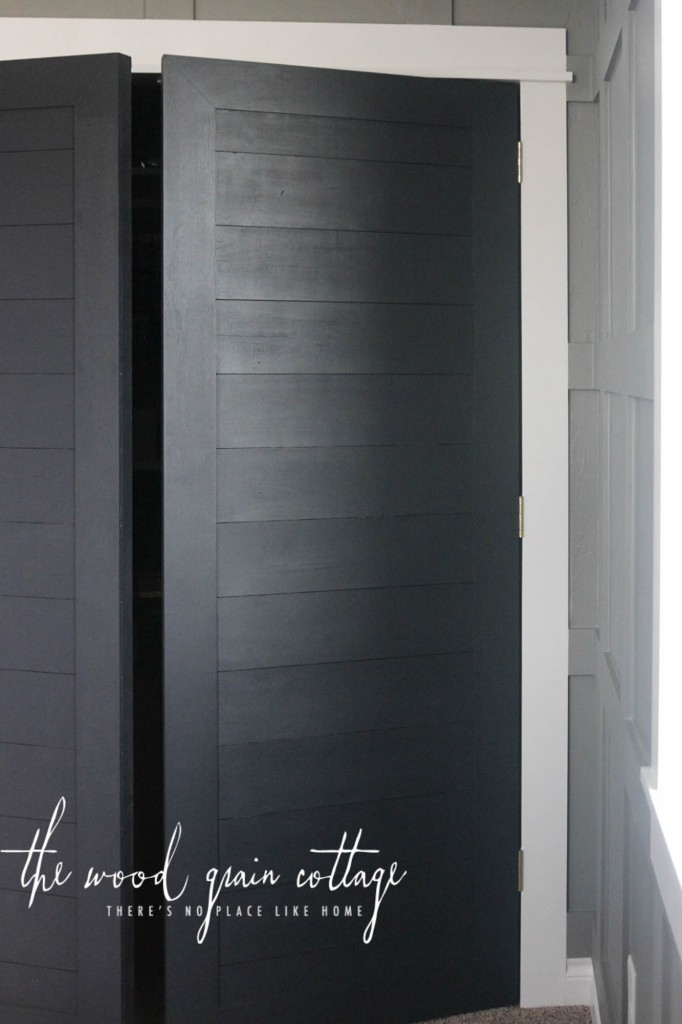
When they were dry, we hung them up and this project was done!
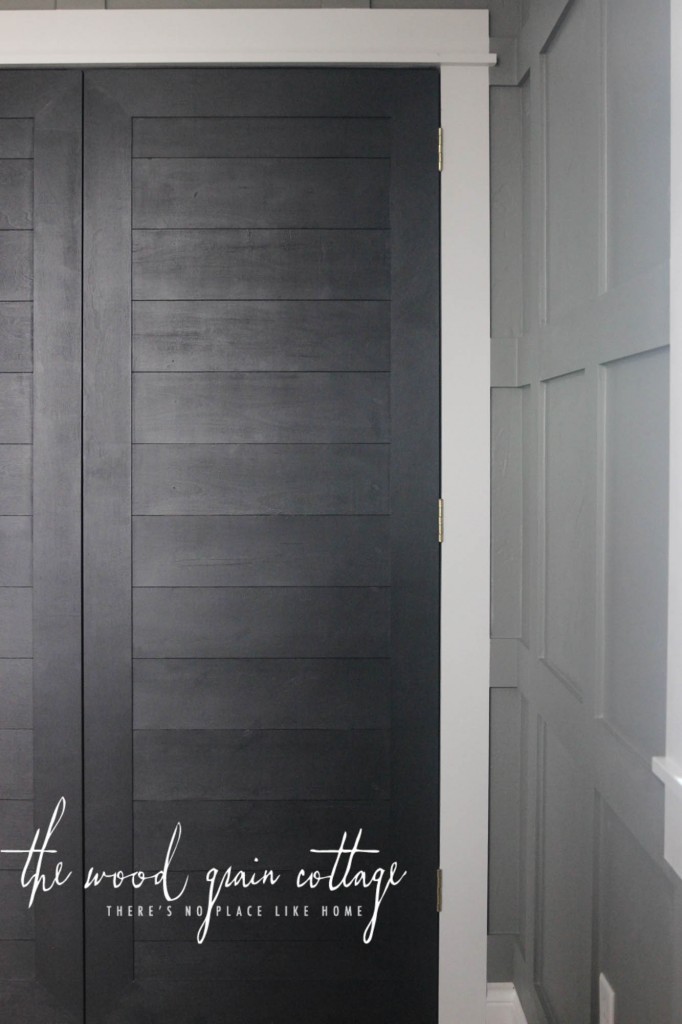
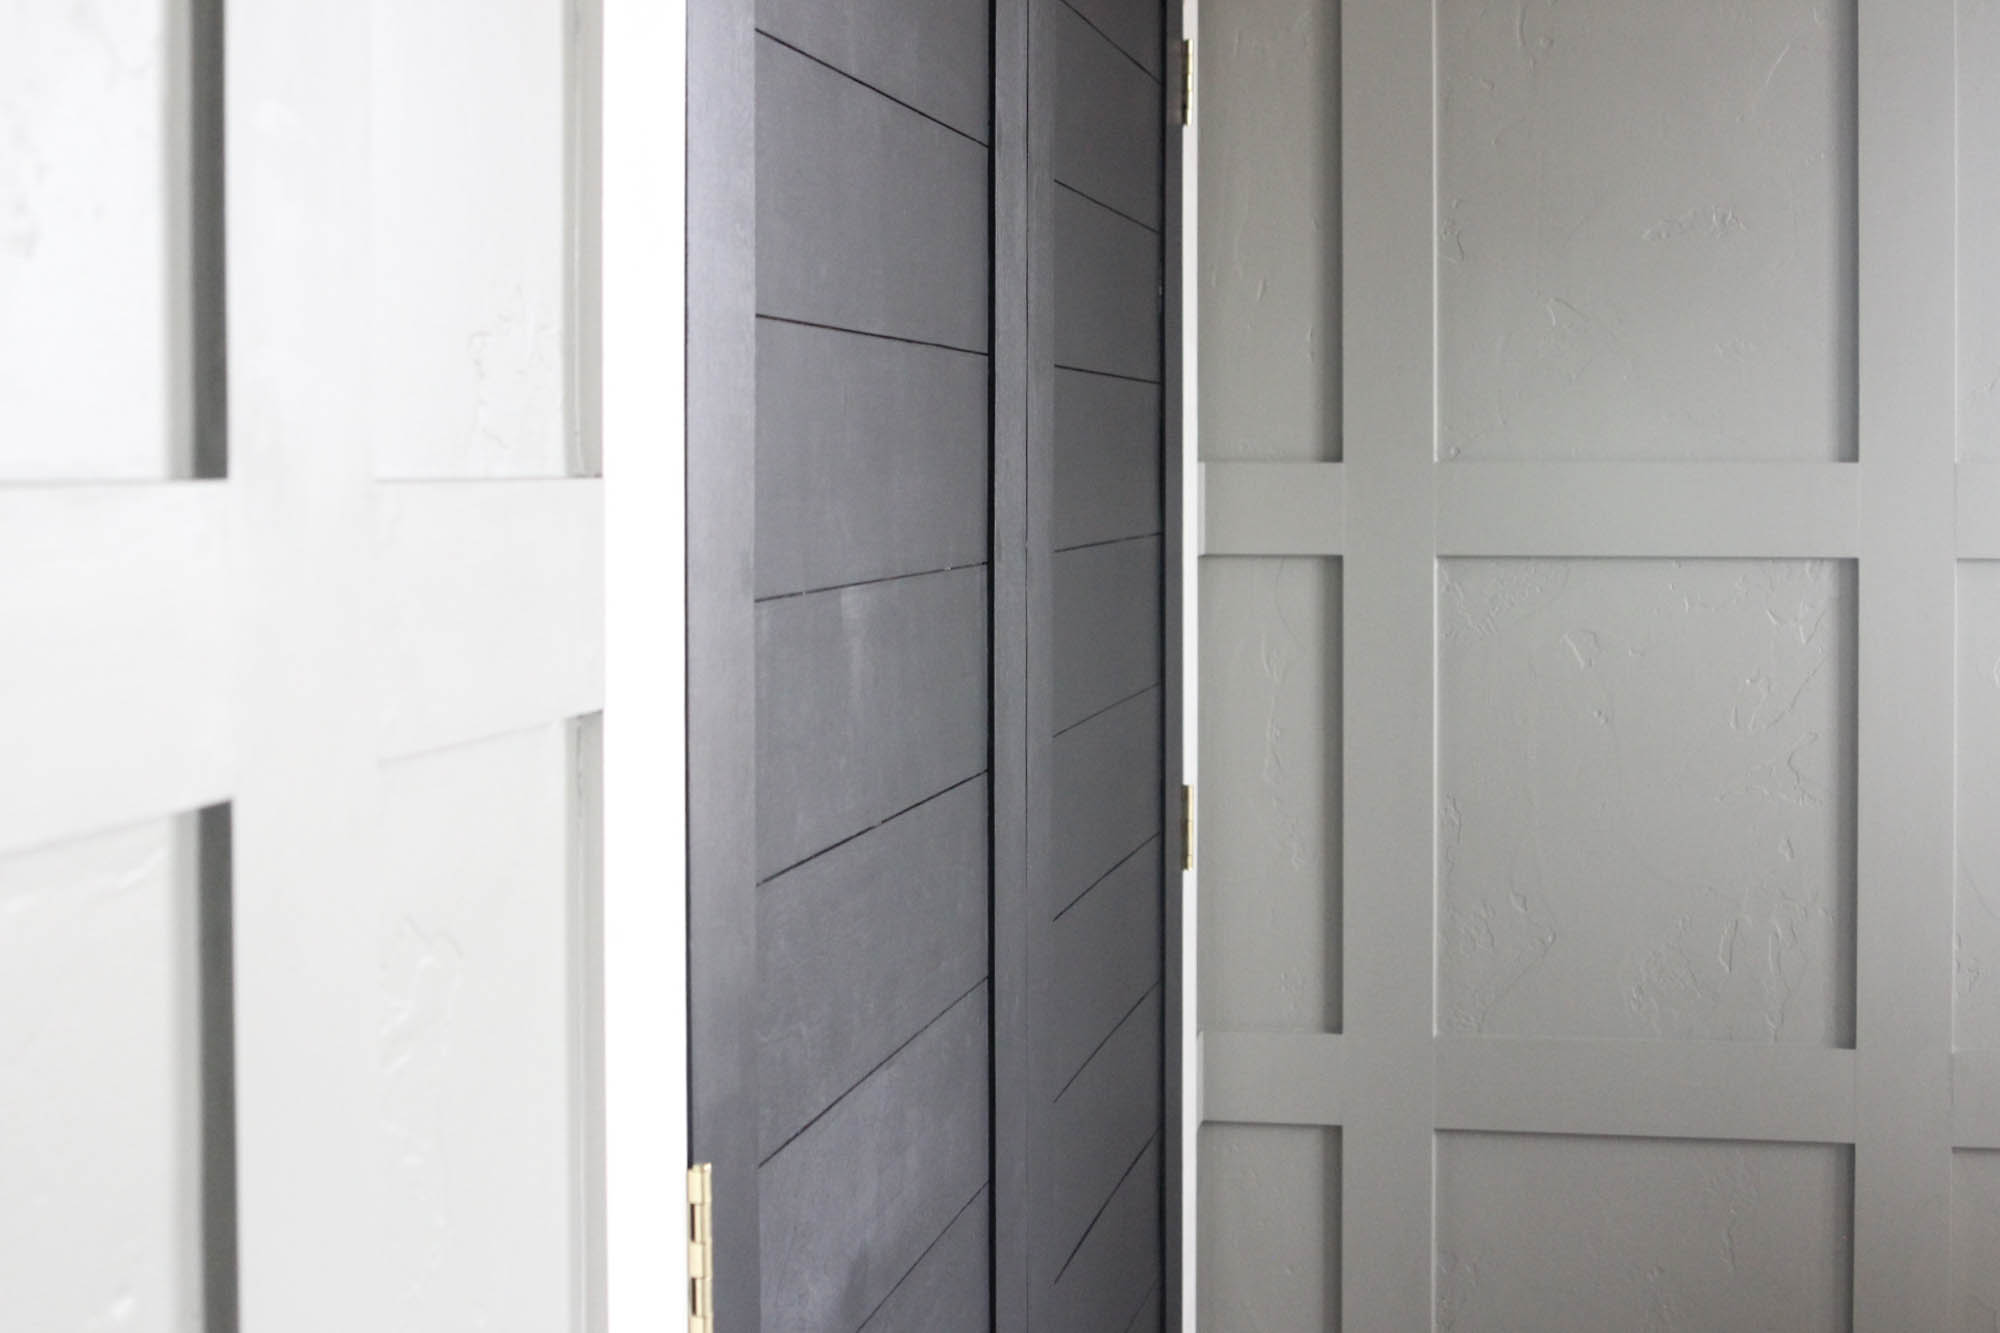
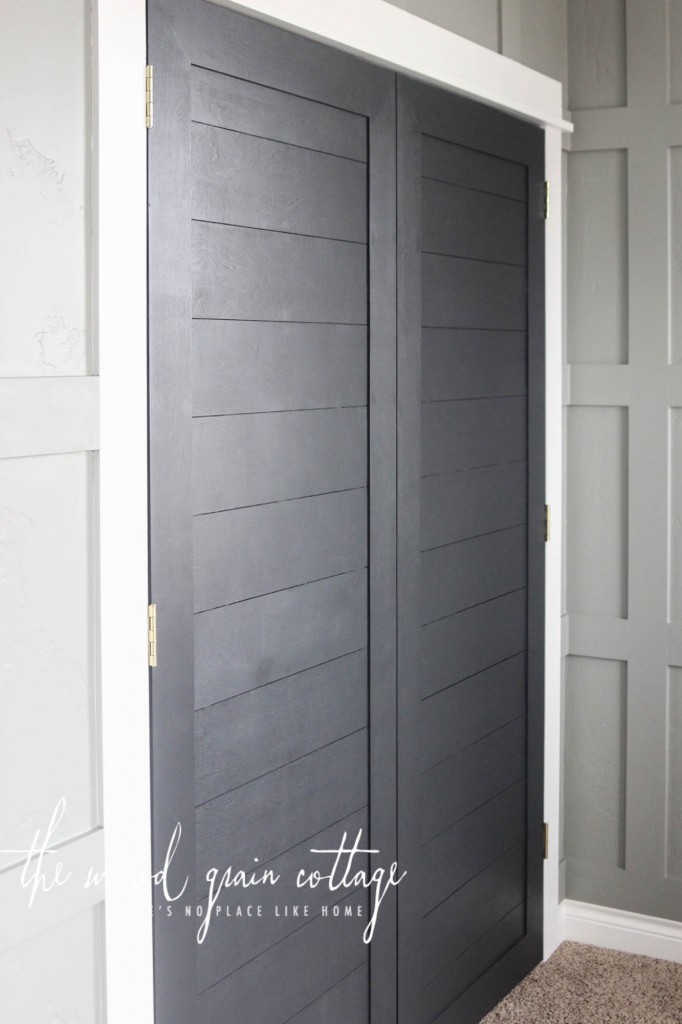
They’re beautiful, and just what the room needed!
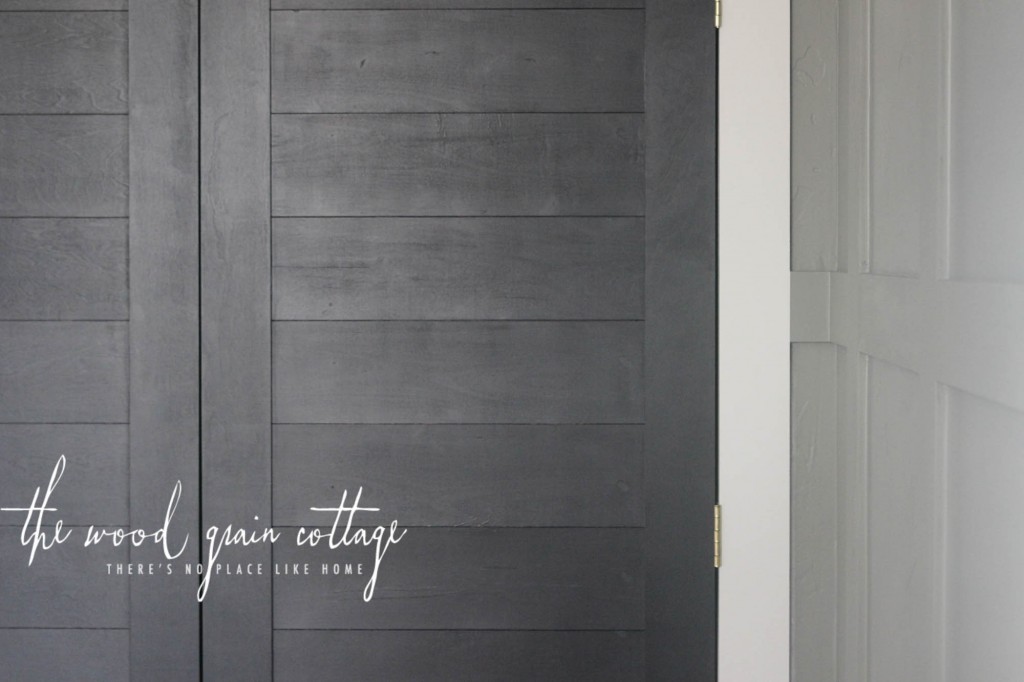
I love the sleek addition of the black to the room, and the way it looks with the walls…
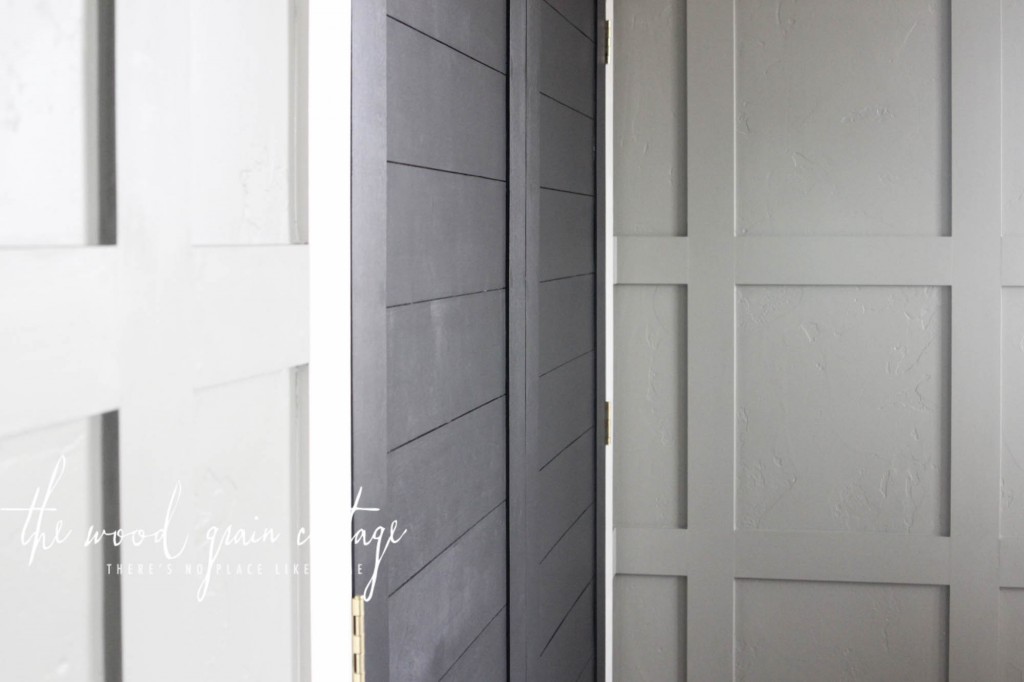
They open just like a regular door…
And as wide as I need them to…
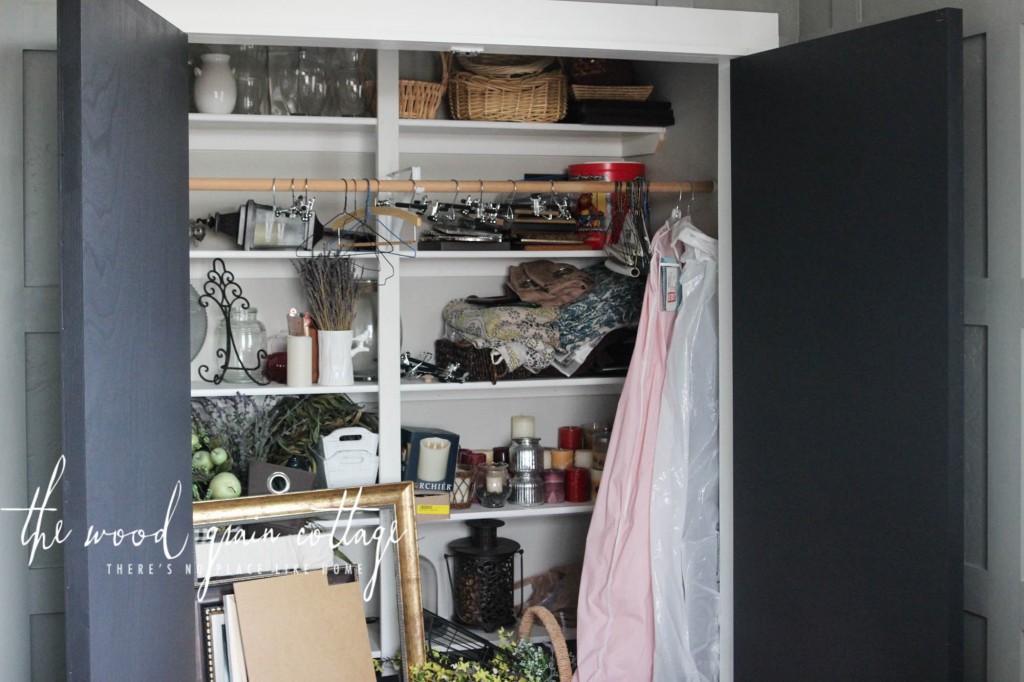
(I still need to clean out the closet….)
Next up, was making handles for these closet doors. We made our own leather pulls and they’re perfect. See how we made the pulls here.

This room is coming together, and the progress looks and feels amazing! 🙂
Those are beautiful! Nicely done!
Just Beautiful great job I will be trying this .what is the color on your walls
Thank you so much! The wall color is World’s Away by Valspar in eggshell! 🙂
What color are the doors?
Onyx by Benjamin Moore.
Very Awesome. Talented hubby you got there.
They are gorgeous!!
Oh Wow….these are truly awesome…Love them!!
I love what you did with these doors! They are beautiful. Thank you for your tutorial also. Great job!
Shayna, this project turned out beautiful! I cannot wait to see the entire project once it’s finished.
How beautiful! I cannot wait to see the entire project finished.
I wish we could have traded doors (before ones). I have flat doors. you do have fancy doors to me. I have no money to do anything to them.
Great job on the doors! Love the look. Cannot wait to see the hardware.
I absolutely love these doors. Thanks for sharing. I will be giving it a go!