
DIY Wood Framed Mirror
This DIY Wood Framed Mirror is the perfect accessory for any space! See our easy, step by step tutorial below.
Lately, I’ve found the need for a full length mirror in our bathroom, which inspired this DIY wood framed mirror. I’m always getting dressed, wondering how it all looks “put together”, so I finally decided it was time to change that thought process. Our master bathroom itself needs a bit of work… it’s still painted that bright blue, and I am so extremely sick of it. I think this may be the project that finally pushes me to take action and make changes as I’m inspired.
This DIY wood framed mirror was so easy to put together…

I love how it turned out, and it was inexpensive to boot!
Here’s How To Make The DIY Wood Framed Mirror:

Affiliate links are provided below. Full disclosure here.
Supplies:
- Mirror– Sold in Walmart Stores.
- Fence Picket Boards– We used 3- From Home Depot or Lowes.
- 1- 4’x8′ sheet of 1/4″ flooring underlayment– From Home Depot or Lowes.
- Chop Saw
- Table Saw
- Hand saw
- Hammer
- Nail Setter
- Wood Glue
- Clamps
- Brad Nailer
- 5/8″ long 18 gauge nails
- Silicone
- Stain- Early American by Minwax
- Dark Wax
Step One: Remove Existing Mirror Frame
I started with a basic cheap mirror from Walmart, this one is similar…
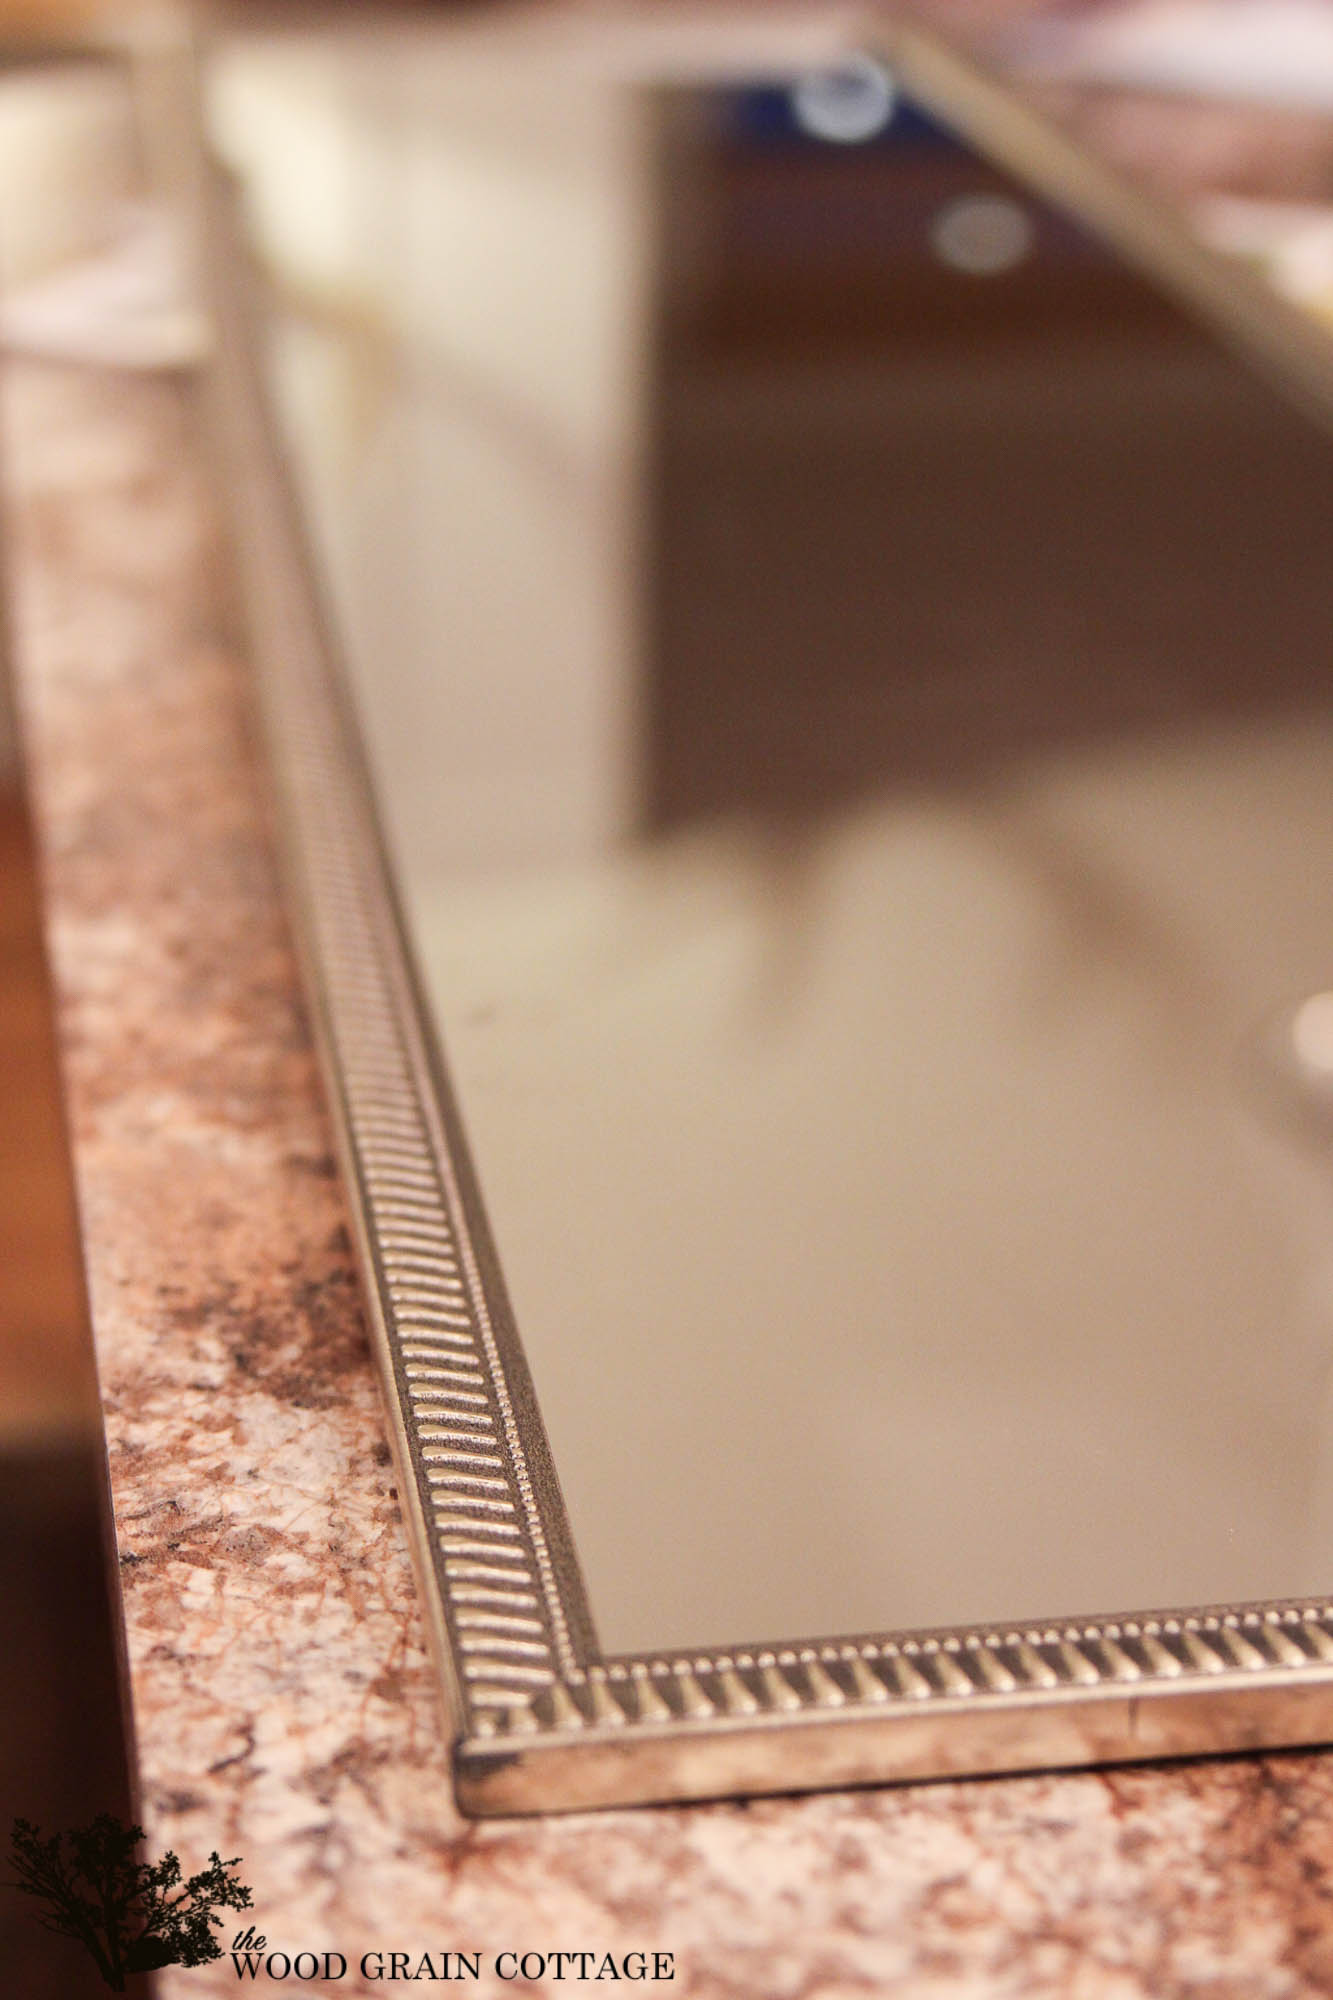
I removed the frame and backing, leaving just the mirror…

Step Two: Distress Fence Pickets
For the frame, I decided to use my stand by, cheap fence pickets…
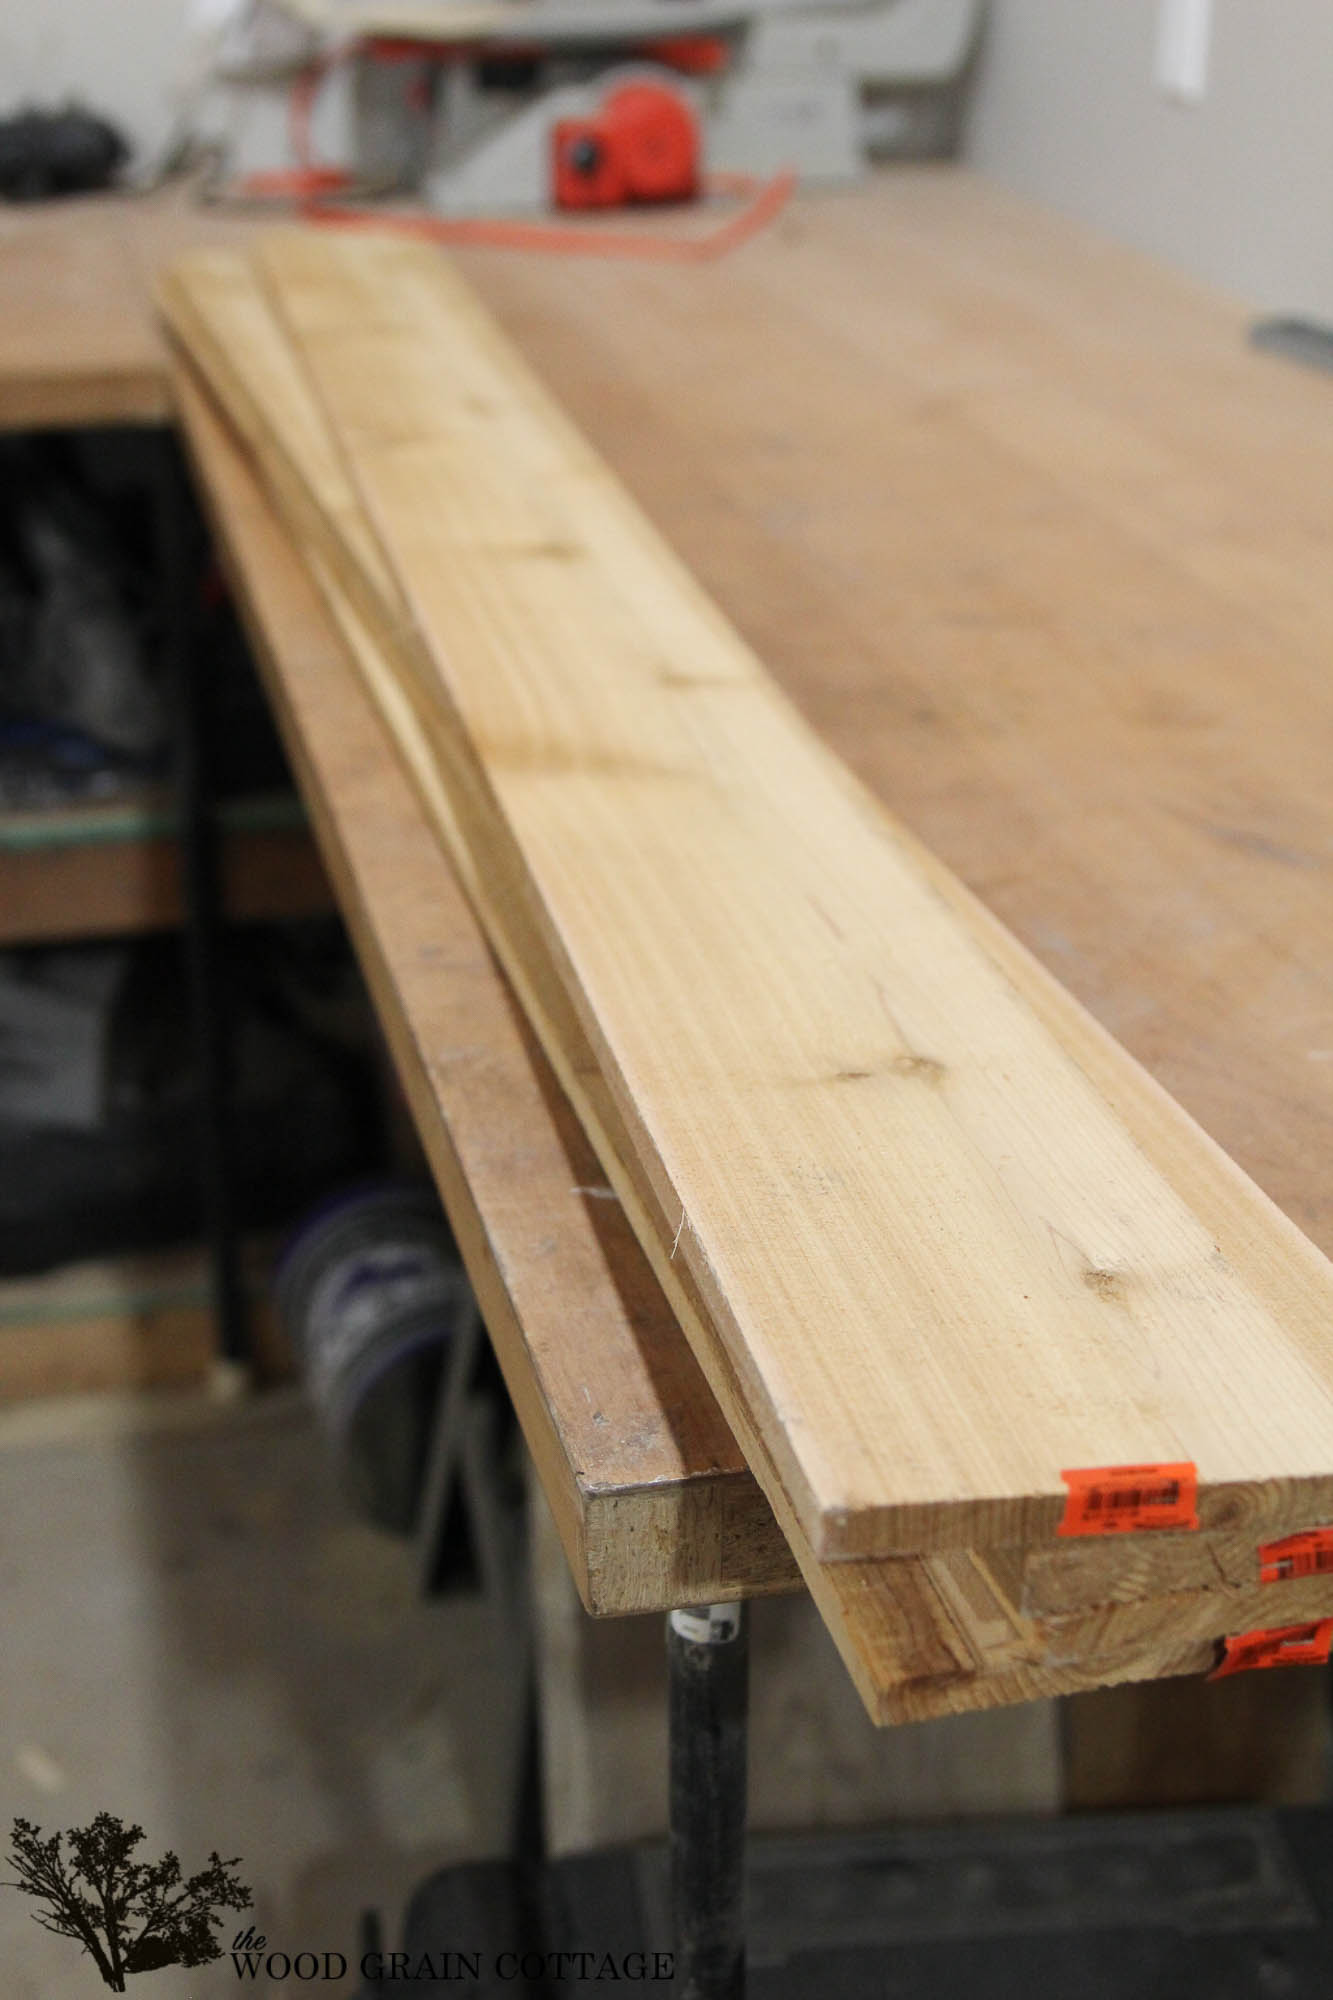
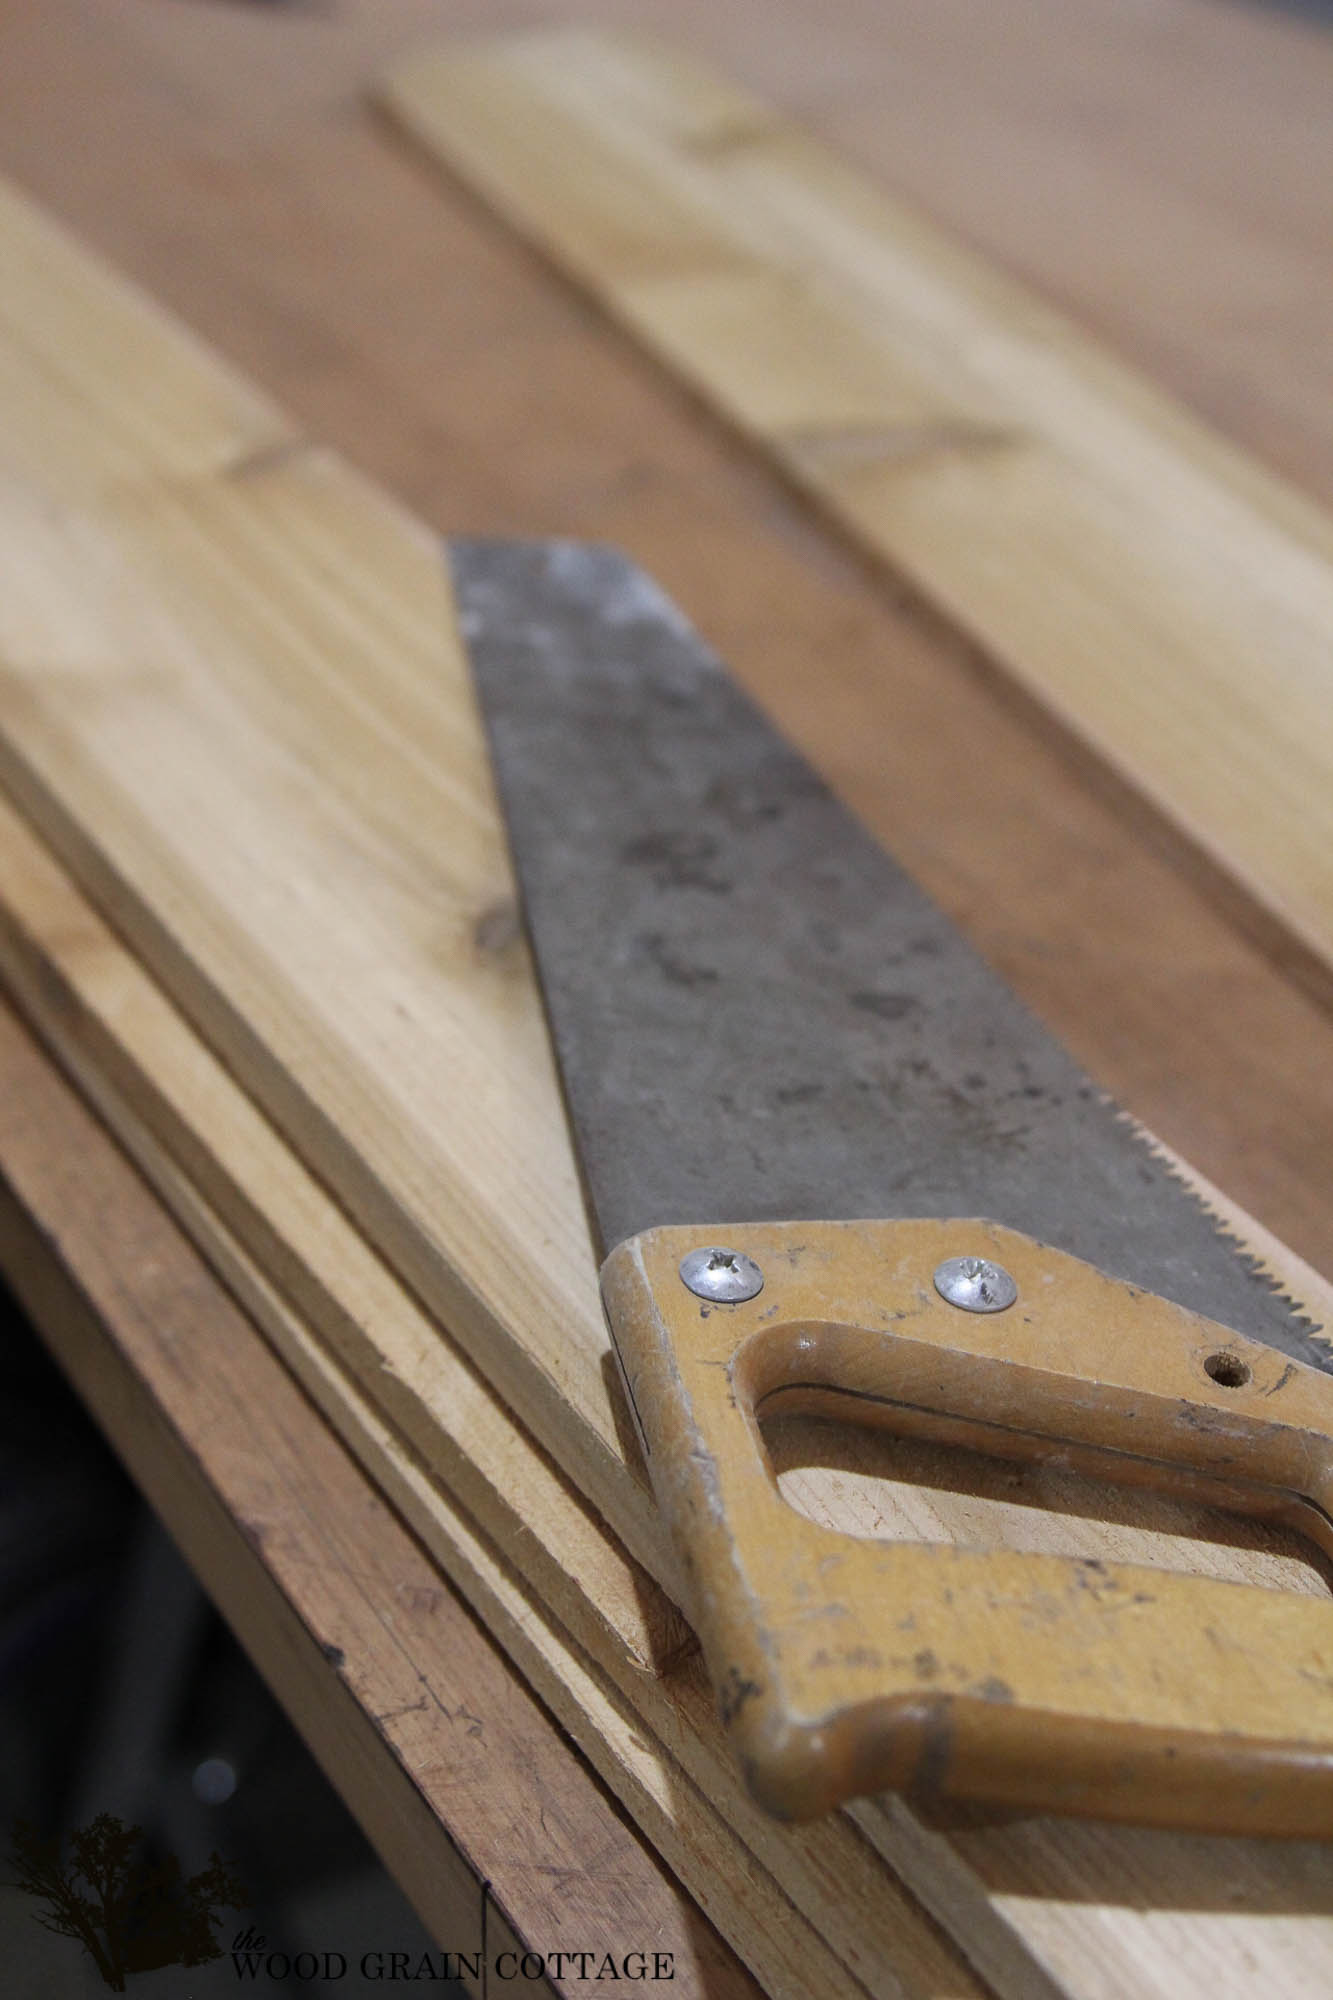
One of the reasons I love the fence pickets, is because they are rough cut. It gives them a bit more character, which I love. In this case, I wanted them to be a bit more distressed, so I used a combination of a hammer and nail setter to add random marks to the boards…

Then, I roughed them up a bit more by using our hand saw to make random cut marks in the wood…
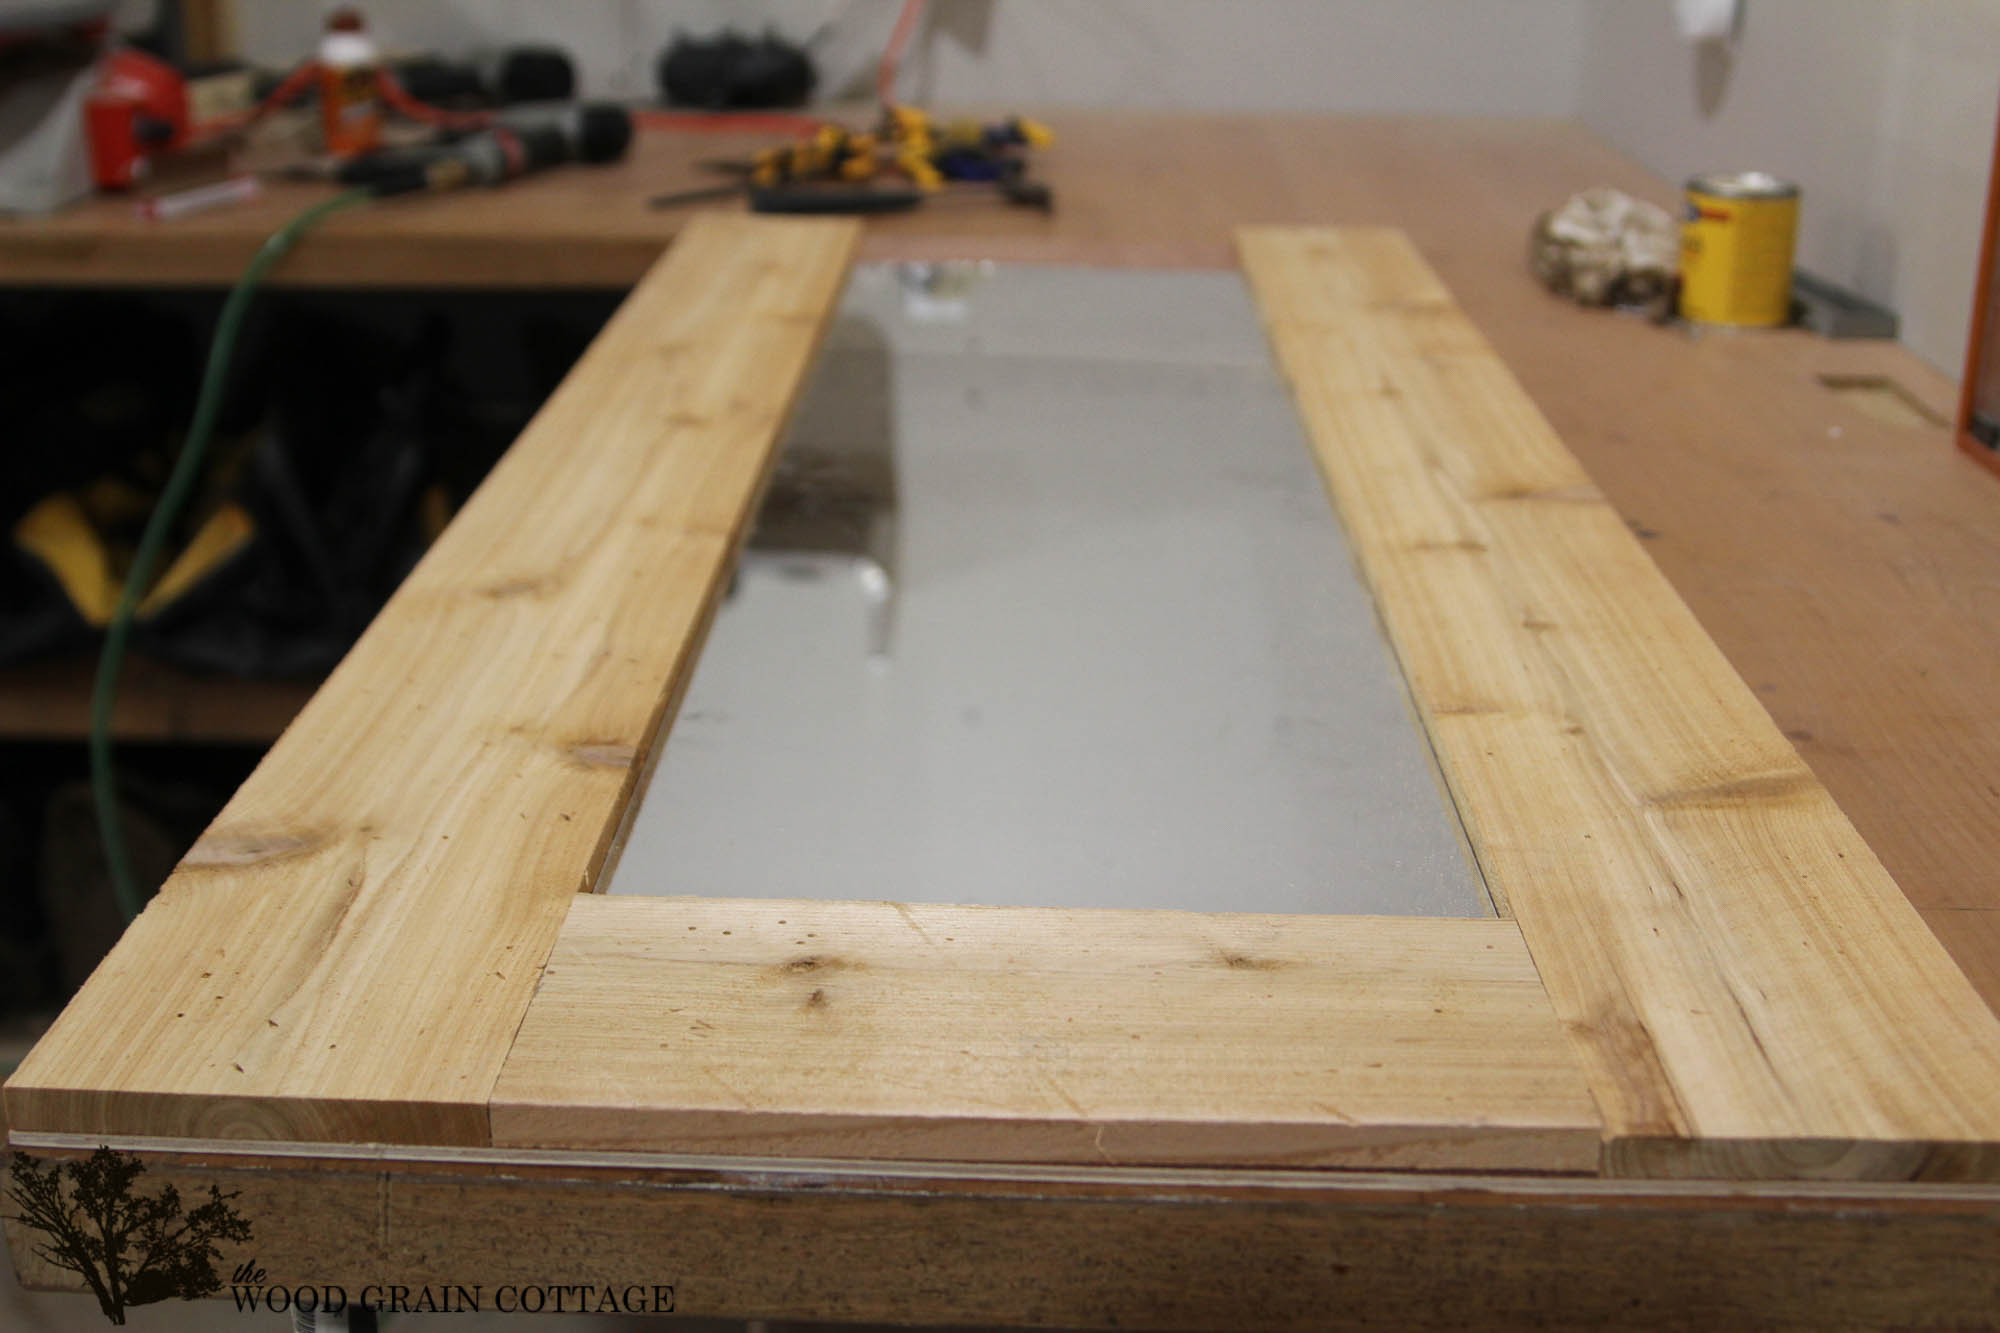
Step Three: Cut Mirror Backing Material & Build Frame
Once they looked right, we ripped down a piece of 1/4″ underlayment for the backing of the mirror on our table saw…

Then, we cut the fence pickets to length with our chop saw…

Once we knew all the edges were flush, we applied glue to the underlayment…

Then, we added the fence picket and clamped it down. With it clamped in place, Anthony used our nail gun to attach the two together…

We did the exact same thing to the other side…

With the sides done, we cut the end piece and made sure the mirror would sit tight on all sides…
Step Four: Stain Fence Pickets & Add Silicone
Once the end piece was attached, we lifted the mirror off and I stained the boards with Early American by Minwax…

Once the stain was dry, I used dark wax and buffed it over the wood frame.
Then, we applied silicone to the mirror area…
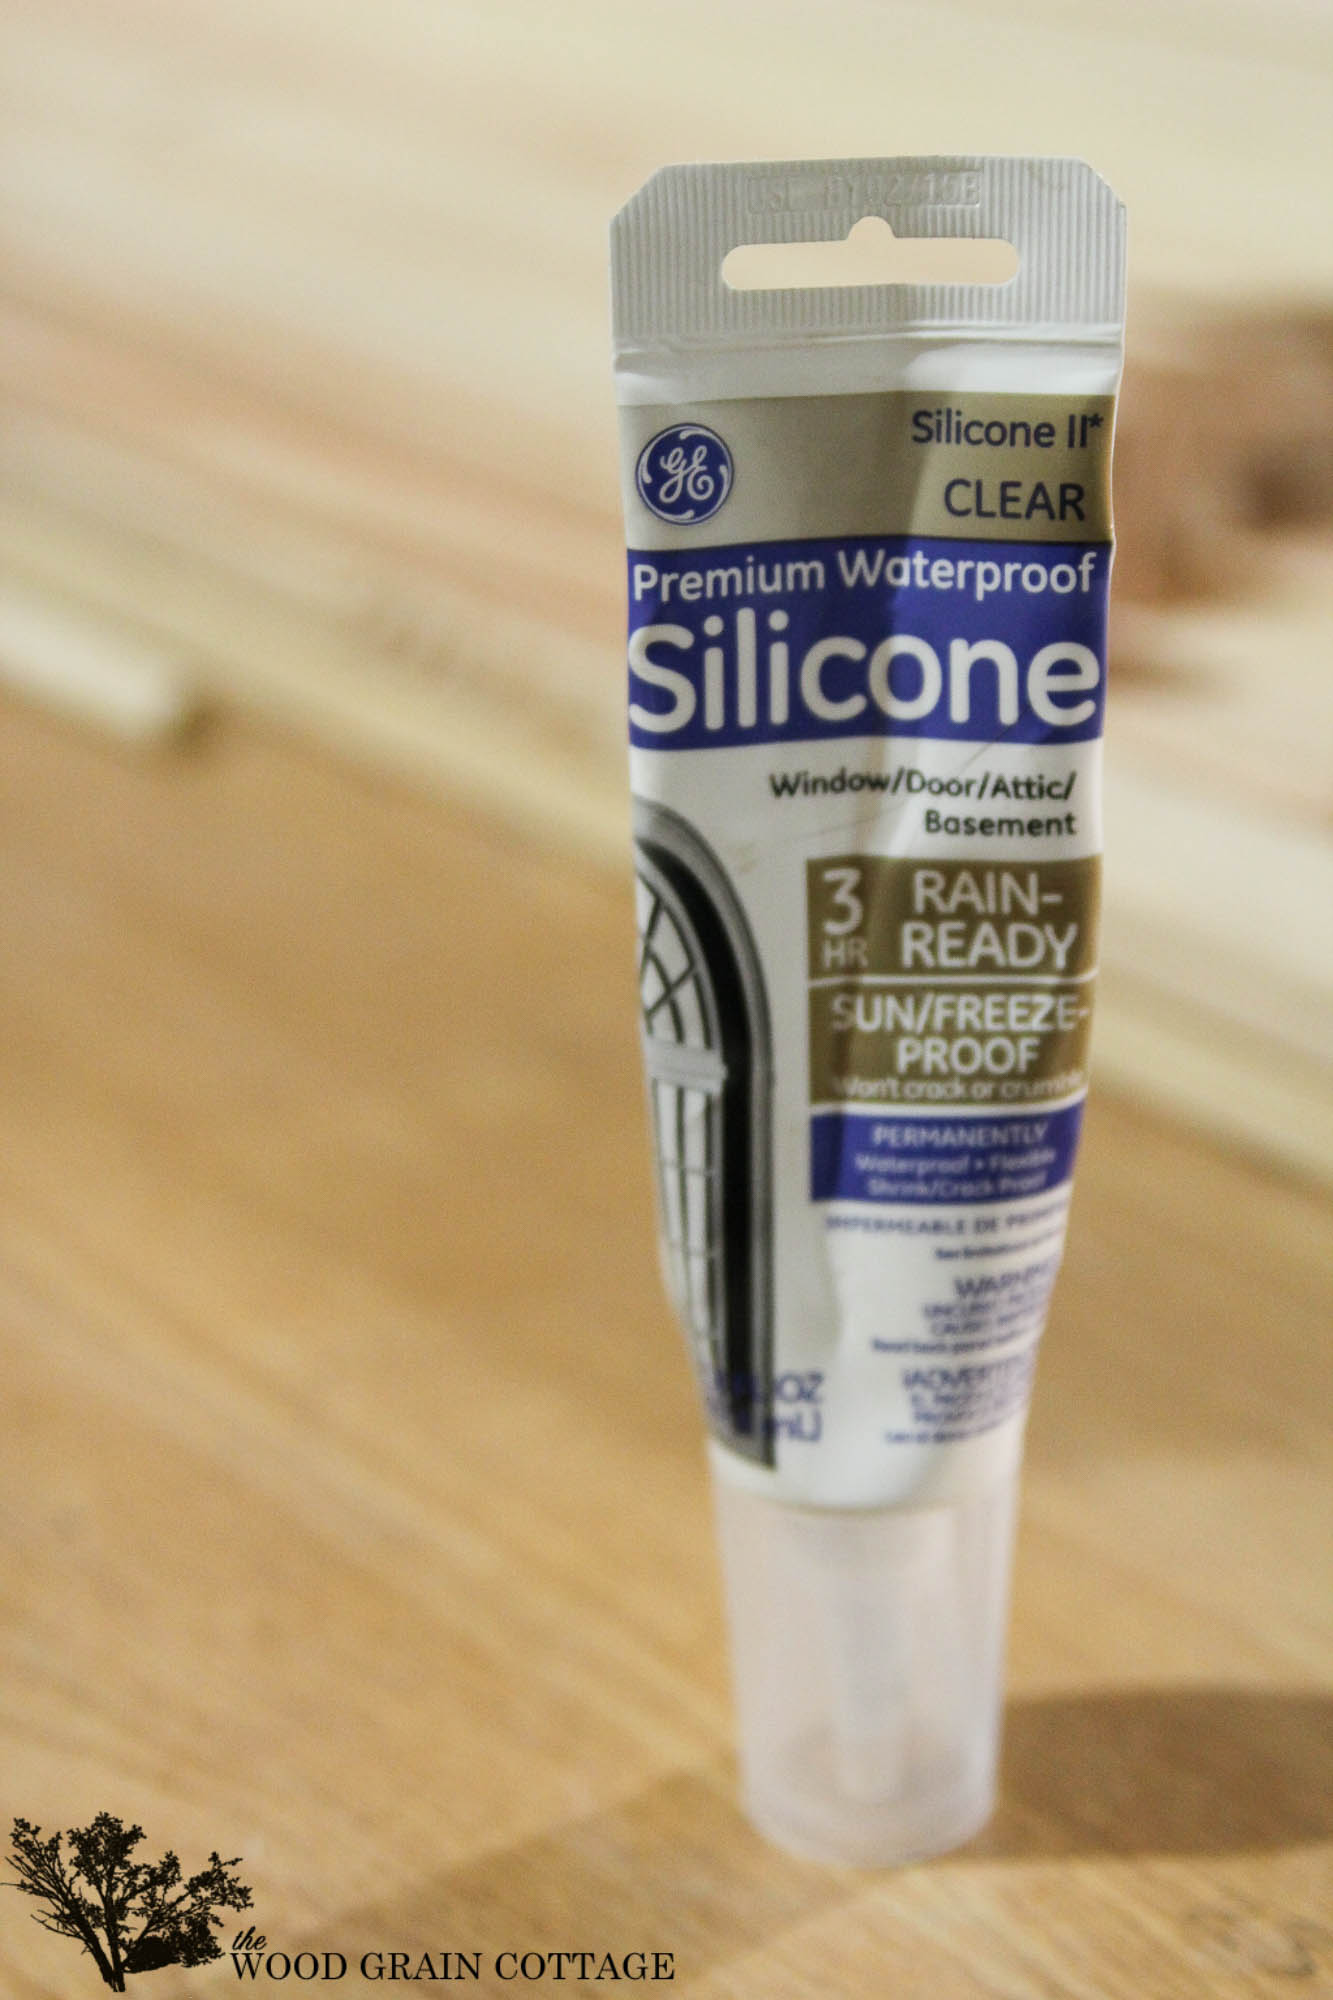

*Just as a warning, liquid nails is not for use on mirrors. It will bleed through the mirror backing, making spider web looking marks all over the mirror. The clear silicone works perfectly and adheres to wood and mirrors.
Step Five: Add Mirror
Once the silicone was in place, we carefully added the mirror and added equal, but firm pressure to the mirror…

Step Six: Install Last Frame Board
Then, once we knew the mirror was tightly fit against all the edges, we added the last end piece…

Step Seven: Add Pressure To Mirror
To make sure the mirror adhered well to the silicone, we applied equal wight and let it set overnight….

The next day I removed the boxes, waxed the frame, and it was ready to use…
Step Eight: Enjoy!
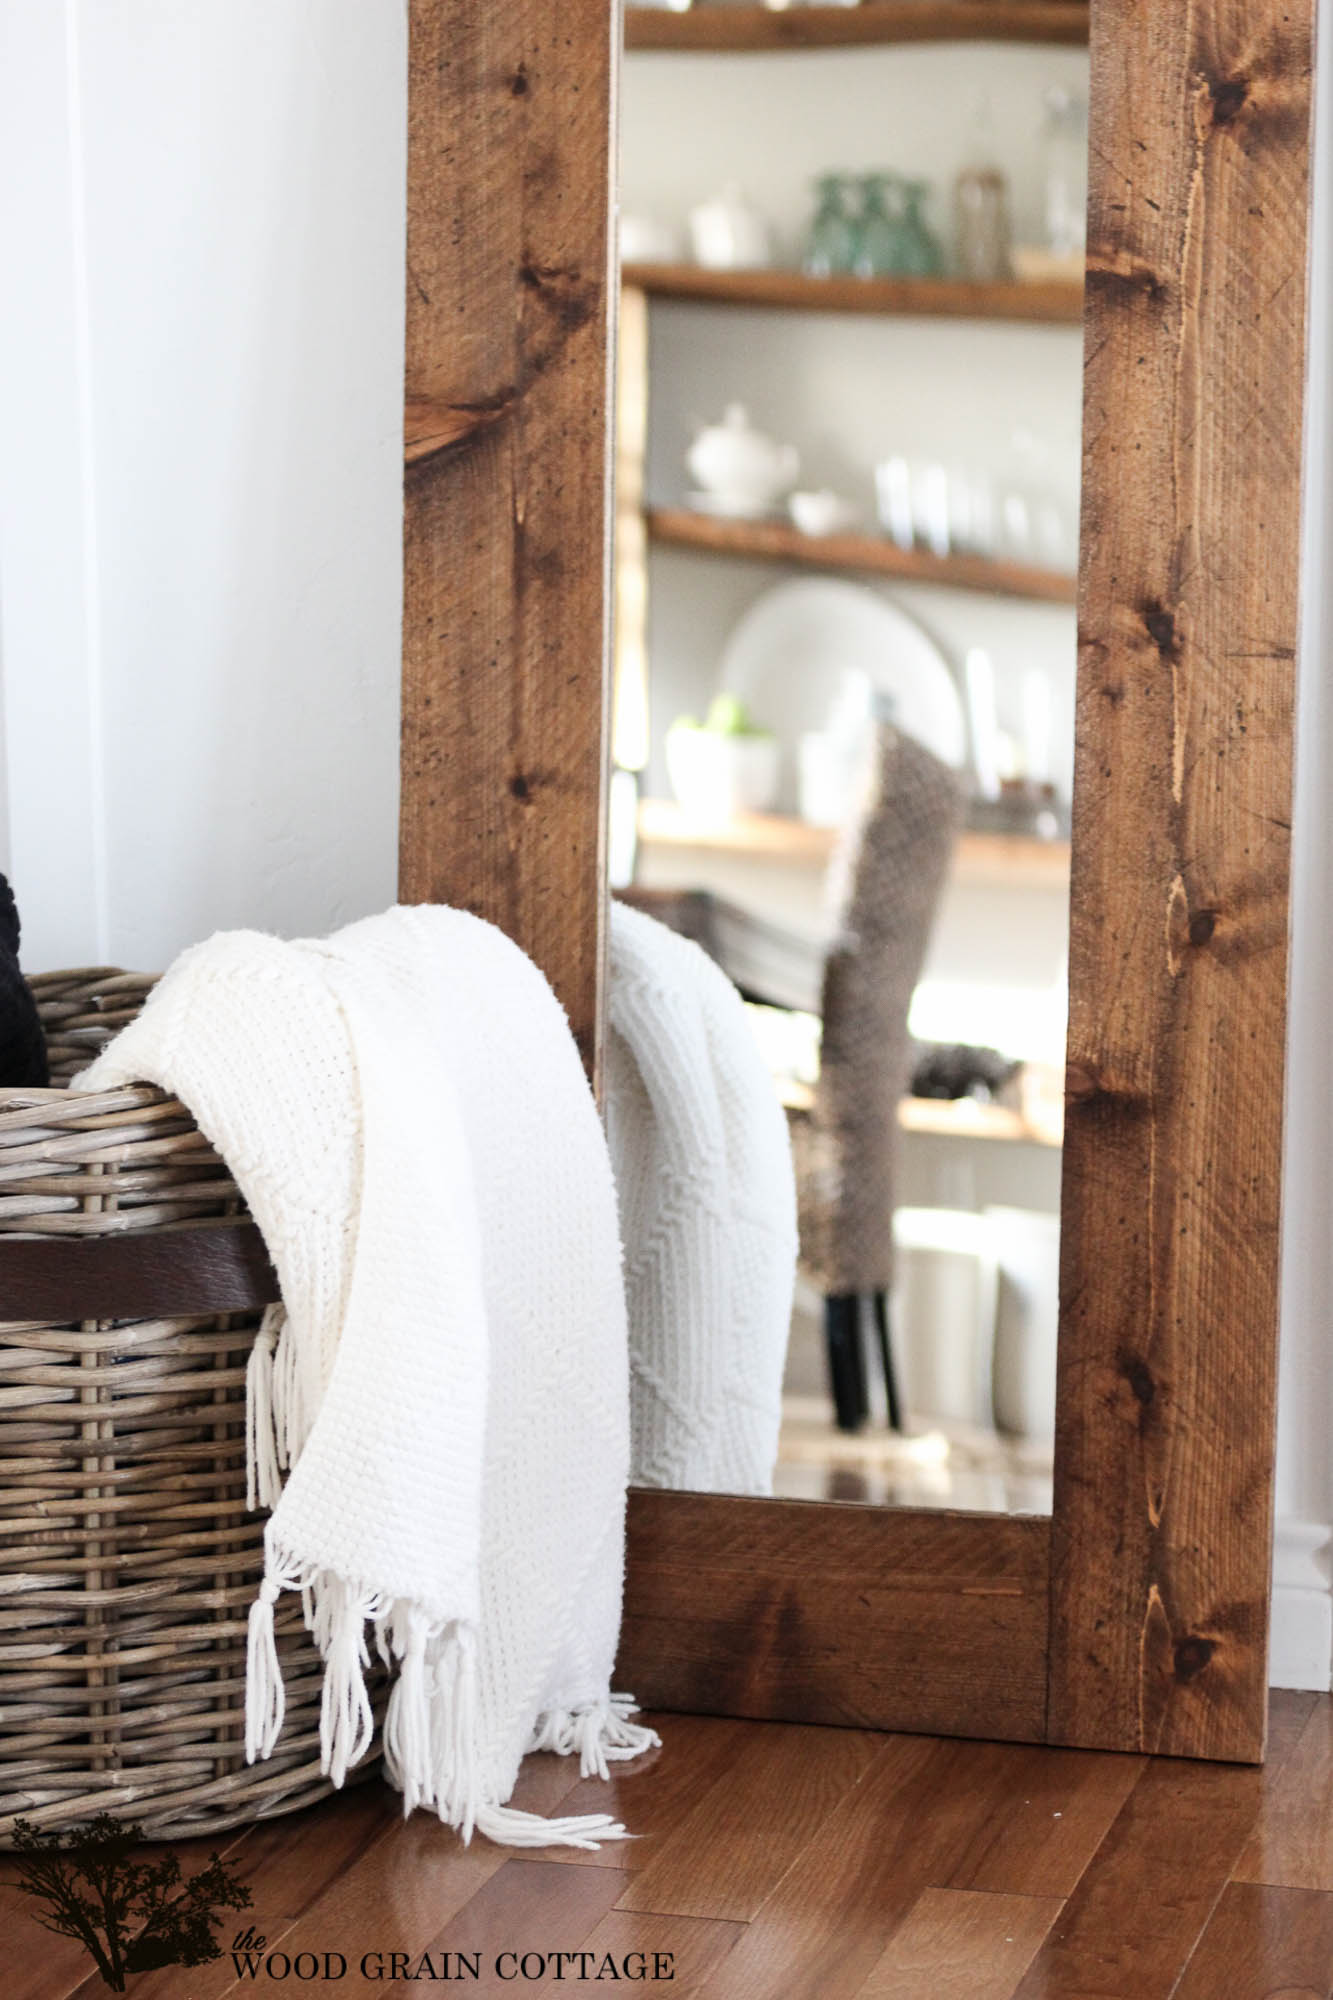
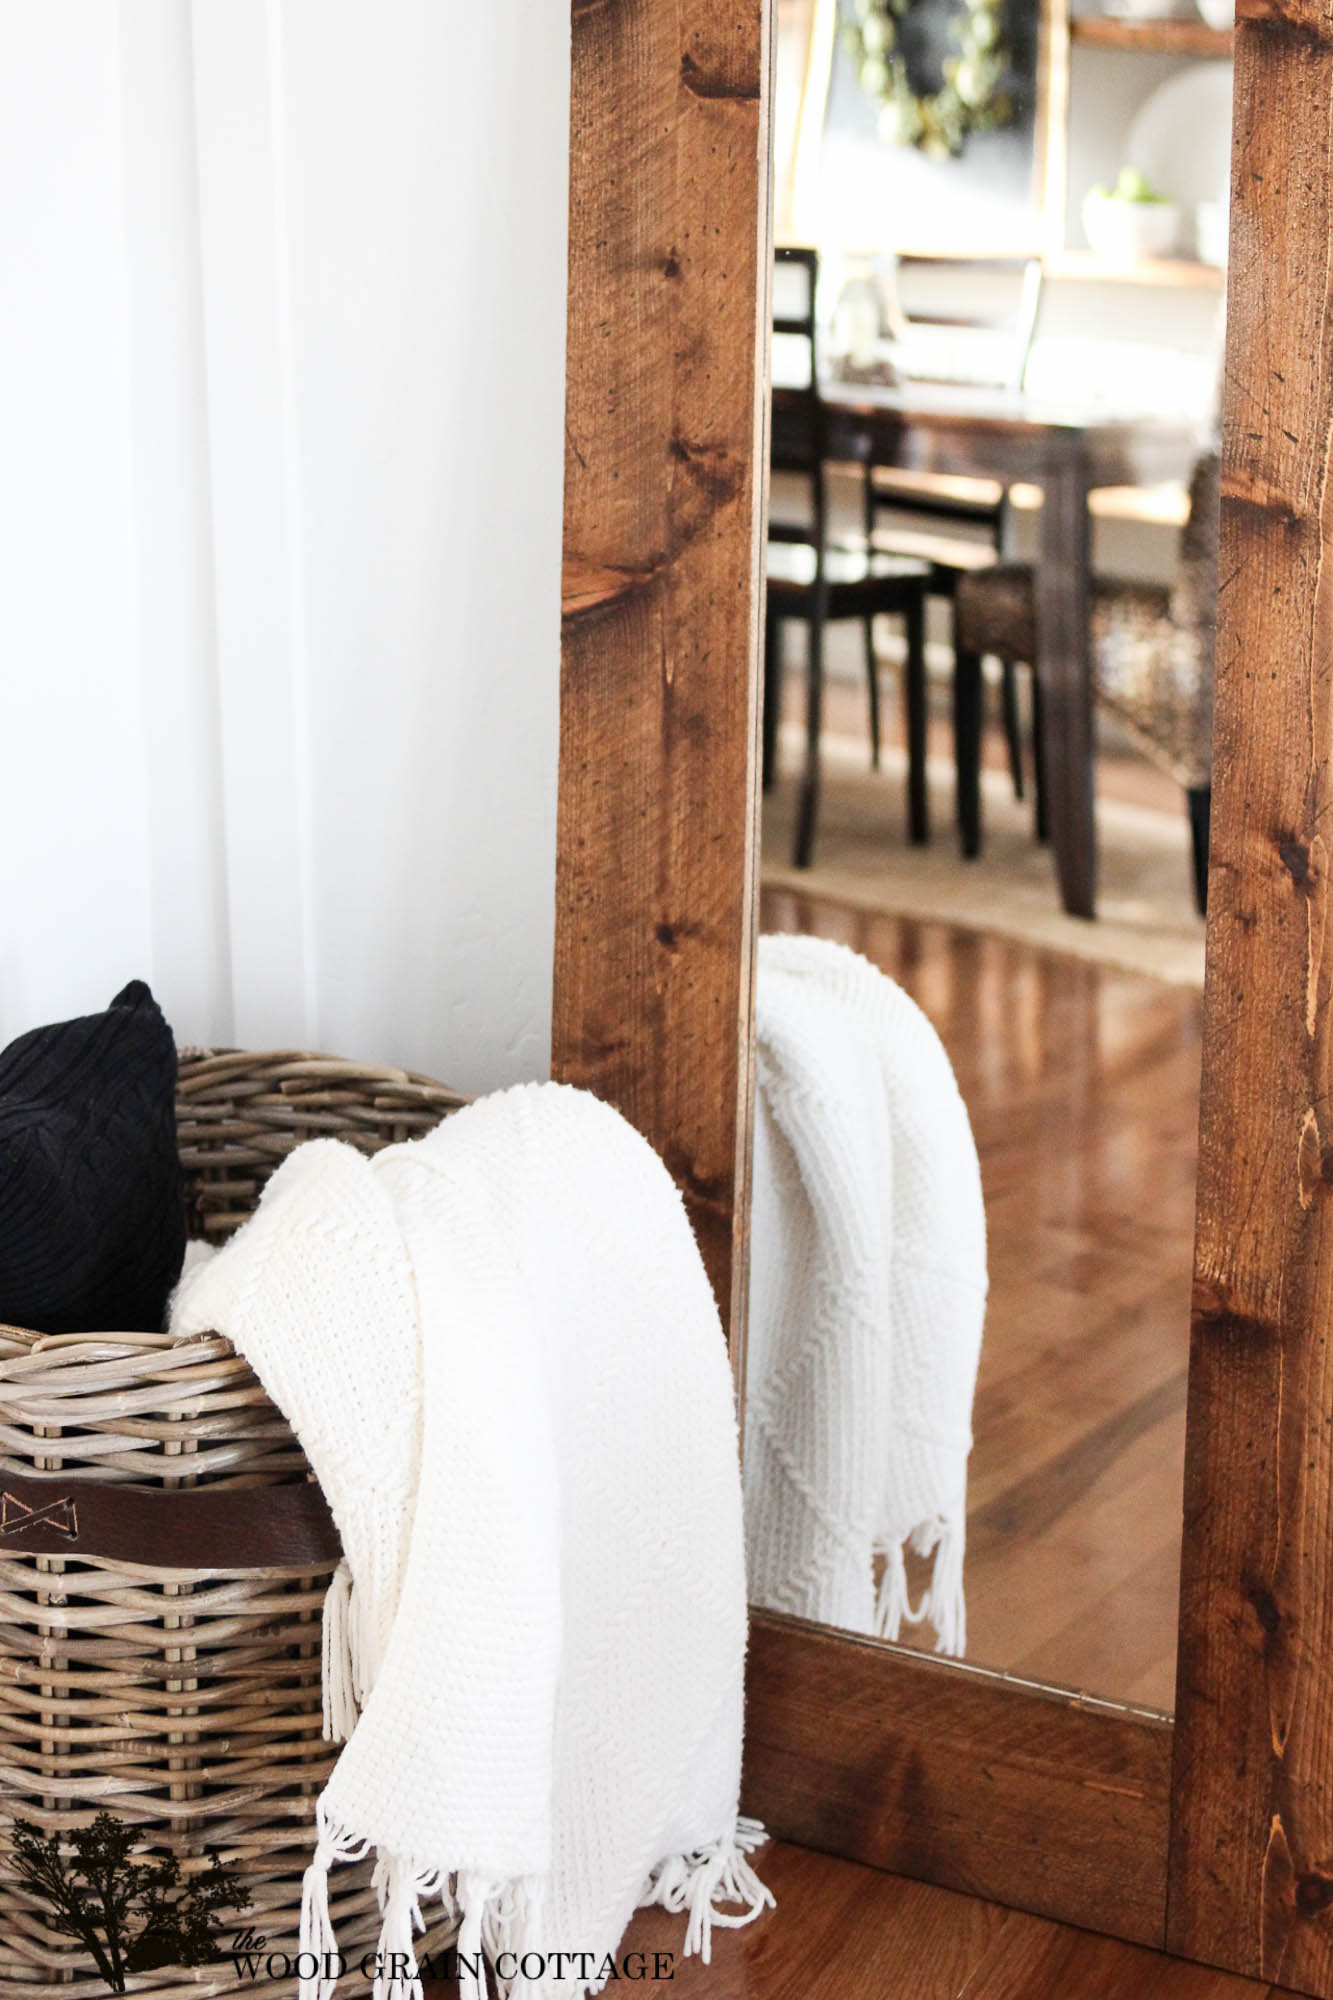
I love the thick frame. It totally makes the mirror, and so does the distressing, which is a bit easier to see in person…

I can’t wait to attach it to our bathroom door. It will be the perfect addition, and a great motivation to keep making progress…
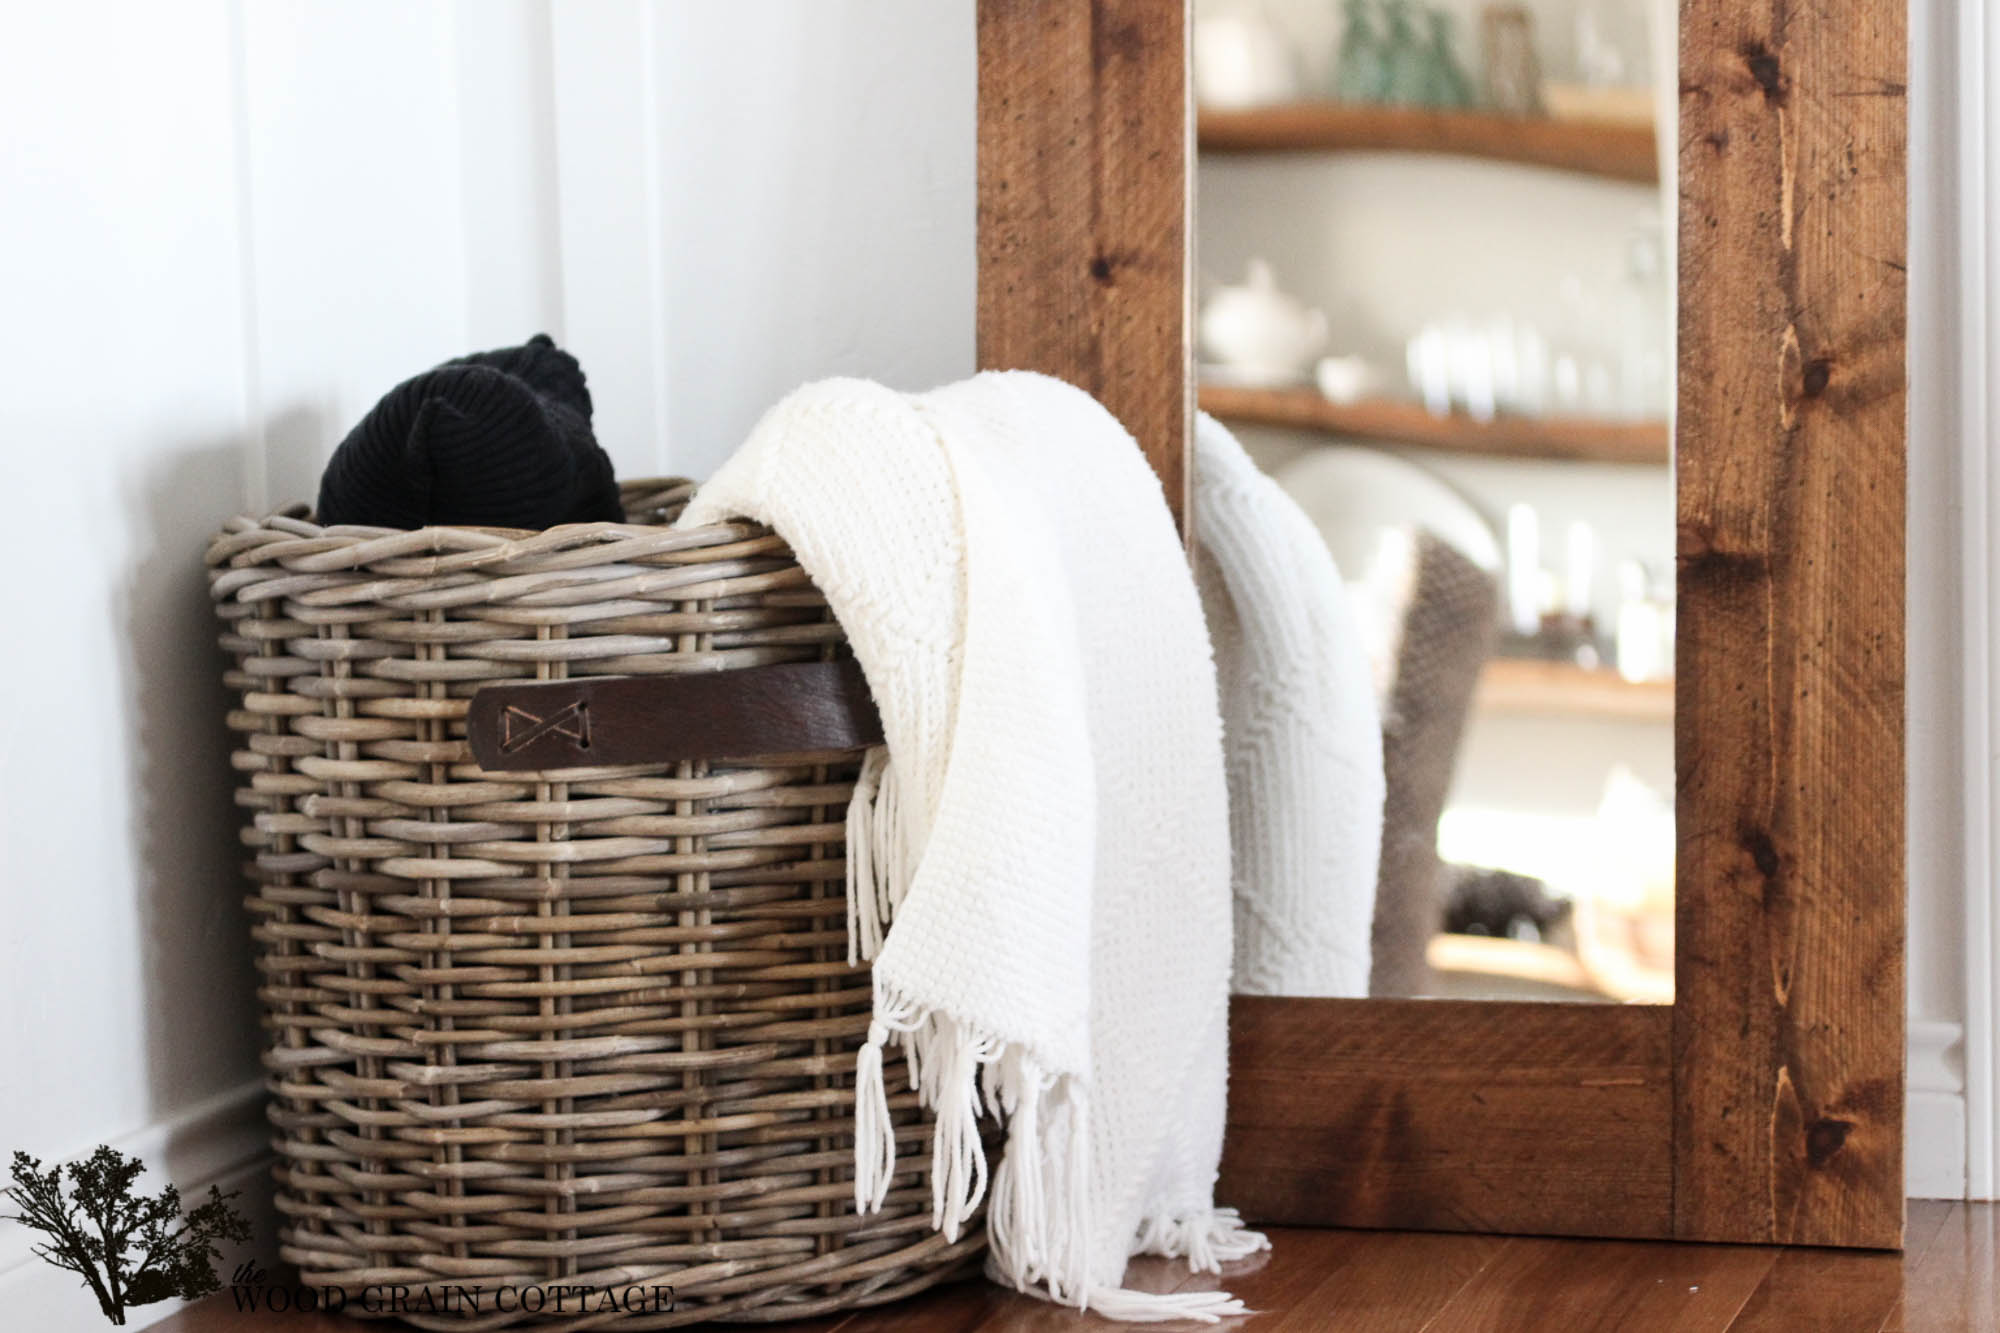
And, don’t worry about quality assurance, we have two little helpers who like to make sure they get the final say on things…

Luckily, they approved…

These type of DIY projects really are the best. They look great and serve a purpose. Now all I need to do is make one big change! A new paint color is in order… and it’s only been in the works for about 3 years now…
LOVE this! And your adorable kitties… they so remind me of a younger (slimmer) version of my Susie 😛
Nice way to deal with kitty. Thanks for sharing this nice project!
Yes, the kitties are really lovely and adorable and many thanks to Shayna for the DIY Mirror Frame concept.
Your big helper sure is handy… and the two little furry ones are adorable! Love the project sweetie. Happy weekend 🙂 Shan
Love the mirror, it looks fabulous.
Love it. This is exactly the mirror I’ve been wanting to make for the kids’ bathroom-in-progress, but in a different size for over the sink. Any pointers on that variation? Thanks for the tutorial! 🙂
This is gorgeous! I want to make one for my entry way, I love it!
Love the mirror! and the kitties!! Are they new? I don’t recall seeing them in any other post.
That mirror is amazing! Looks expensive, but you can smile knowing just how much you saved by doing it with your hubby.
I love seeing what you are up to. Your projects are not only so amazing but so doable! You have such a gift with design and know how. Can’t wait to see what’s next!!
this is such a wonderful idea! I absolutely adore the wood frame–the Home Depot by my house won’t have the fence pickets until spring–I can’t wait, I am going to buy a ton. Someone used them to plank a wall too.
Another wonderful project. You guys make it look so easy. I have home depot cut my plywood to size since we gave away our table saw. Hubby was afraid of it so all we have is a chop saw to work with.
I love all of your diy projects and this is no exception! The mirror is beautiful -well done!!
xo. Leslie
Segreto Finishes
wow easy cheap and gorgeous love it thanks xx
Another great diy from you. Keep them coming, you are always so inspiring. Love the kitties too.
Love your new mirror. I enjoy your DIY projects. Thanks for sharing. Will have to put this on the Husband to make wish list! Maybe there will be a few of these on hand for the lucky shoppers at your next market? Your photo shoot models are so cute.
I never thought about fence pickets!!! I have a coffee table I painted in all white I am wanting to put a thin layer of wood over the top to have the stained top look, I think this may be my solution! And the price is awesome!
I made one with 2 x 4 but now will use the picket fence tip for future projects! Brilliant… Love the mirror!
Love how the mirror turned out! So easy yet so nice. Keep up the good work. How is the fixer upper coming along?
I’m SO in love with this, Shayna! Thanks so so very much for the step by step details and tons of pictures.
This is beautiful, I love the stain color! I have had to get creative with adding weight to things when waiting for the glue to adhere. We do what we have to do to get the job done.
Love this! The stain color and the distressing really give it a lovely rustic feel.
Thanks for the inspiration,
Suzanne
Pieced Pastimes
where do you buy the picket fence.
We get them at Home Depot. I hope that helps! 🙂
Do you know which fence picket you bought? Like the size?
Love it! Can you explain how to hang it on the wall? Thanks!
Thank you! To hang it, you can either install hanging brackets on the back, or, if it’s light enough, use command strips. I hope that helps! 🙂
This is the perfect way to frame the full-length mirror I received for my 16th birthday–52 years ago! Now I don’t have to spend $350 for a new mirror for my hall. Thanks.
That looks fantastic. I love the rustic look.
This looks fantastic & I absolutely love it. I plan to make one for leaning in our bedroom. I just bought a PB one off CL and it does not look nearly as great. Thanks so much for sharing in such detail. I did not know about using the fence pickets or the silicone. I love learning from blogs.
It will be perfect in my bedroom!
What kind of wax did you use on this?
Thanks.
Hi Karen! I’m so glad you’re going to make your own. For the wax, you can either use the dark wax by Minwax, or any dark furniture wax. I’ve used them all, and they all work fabulous on wood! I hope that helps! 🙂
You’re photo’s and step by step details are a great help. NOW I’ll take it off the back of the closet door and do it right. THANKS!!
what did you wax it with?
Hi Sharon! For the wax, you can either use the dark wax by Minwax, or any dark furniture wax. I’ve used them all, and they all work fabulous on wood! I hope that helps! 🙂
LOVE LOVE LOVE IT !!! I have just the perfect place for this in my bedroom 🙂 Thank-you so much for the idea.
I love this frame! Do you have the measurements for the wood and underlay?
I absolutely love this!! Thank you for the inspiration and the detailed tutorial!!:) I’m having a hard time figuring out the piece of underlayment, and the size/dimensions needed. I was overwhelmed at Home Depot, so thought I’d ask you:) thanks!
Thank you so much, Melanie! For the underlayment, we buy an entire 4′ x 8′ sheet. I always find plenty of uses for the extra material! I hope that helps! 🙂
About what size did you end up cutting it down to? Making a cutting list for my husband! Thanks
The full size of the mirror is 23″ wide x 59″ tall. I hope that helps! 🙂
and is your mirror 12 x 47 3/4?.
Yes, that’s correct! 🙂
Absolutely love this mirror. I love that basket so much as well. Would you mind letting me know where you found it? I was hoping to get one too! Great work! Vanessa
Thank you so much, Vanessa! The basket is from Home Goods. I love it too! 🙂
I ripped off the back of one of my cheap doors. I’m going to see if I can make my “found” mirror work with that door frame. Looks like it would be the perfect size.
Love this!!! Well done.
Did you have to cut the underlayment project board? What size should I purchase?
Hi Julie! Yes, we did cut the underlayment material. We based it off of the size of our mirror, and frame. The full size of the mirror and frame is 23″ wide x 59″ tall.
I hope that helps. 🙂
Shayna
What size was the mirroe you started with and what size was the finish product.
What was the name of the stain you used?
It’s Early American by Minwax. 🙂
Hi Jon! The full size of the mirror is 23″ wide x 59″ tall. The mirror was 12″ wide x 47 3/4″ long when we started. I hope that helps! 🙂
What are the lengths of your frame boards? (2 longer sides & 2 shorter ones) I don’t have a saw so I have them cut for me at Home Depot.
Are you not concerned with the silicone eventually eating the back of the coating on the mirror? I would think that Mirror Mastic would have been a much better/safer choice to mount the mirror to the wood?
Looks great and I plan on doing something very similar but definitely going to use mirror mastic as recommended by the glass/mirror company. They say using silicone will eventually leave marks through the mirror.
Hi Nigel! Thanks for the comment. We haven’t had any issue with the silicone, and it’s been over a year since we made this mirror. Hope that helps.
When I saw this beauty I had to do it immediately! Just finished yesterday and it looks amazing! The only thing I had issues with was the fence boards not being completely flat. I also used special mirror adhesive to secure the mirror. To help cut cost even more, I used furniture backer board from Home Depot which I had the. Cut down for free. Thank you for sharing your beautiful cost friendly project! I enjoyed doing it with the hubby and it looks amazing in my living room!!! ?
Looks so easy and great! I am sharing this on Pinterest.
Hi! Can you please tell me the length of the four fence pickets after cutting them? Thanks!
awesome..! I going to make one with barn wood.
thanks.
I absolutely love this mirror. But I have to ask how did you separate the mirror from the frame without it cracking or breaking? I’ve gone through 2 mirrors. 🙁
Hi Kathy! I am so sorry to hear about your struggle! When I bought the mirror for this project, the frame was already coming off. Since then, we’ve completed this project several other times with success. We just break the cheap, plastic frame and pull it off. I hope that helps! Good luck! 🙂
Hello, may I ask how much did it cost in materials to make this mirror? Thank you
This project would be around $40 to $45, depending on the size of the mirror. We had several wood scraps left over, so I just had to purchase the mirror.
Looks great! How did you hang it on the wall? We are making one but are struggling with the best way to hang something so heavy. TIA!
Thank you so much Jenny! To hang the mirror, I would install D-Ring Hooks on the back, such as these (affiliate link): http://rstyle.me/n/b55t9hbfpt7. They’re great for this type of project! I hope that helps! 🙂
What a cute mirror! I am sharing this on Pinterest.
Did your picket fence pieces overlap on the mirror any?
No, we didn’t have the fence pickets overlap the mirror. The wood frame of the mirror sits right up next to the mirror edge.
Thank you so much for this DIY! We’re in the midst of it and I’m afraid I’ve made a mistake. I bought the $1.64 cheapest fence pickets that I’ve now realized are wet treated wood (and they are damp) and I’m realizing now after reading online that they have to dry out before staining. Have I ruined this project? I see now that you linked to the cedar which I should have gotten. Have you ever worked with the cheap ones?
You’re very welcome! I’m happy you’re going to make your own! If I were you, I would use the regular fence pickets. The damp wood will warp, causing your mirror to bend/ bow. You can also use a 1″ x 4″ board, or a 1″ x 6″ too. Just make the necessary adjustments! Good luck! 🙂
What an awesome wooden mirror frame. All of the products are just fabulous!!!Thanks for sharing.
This looks amazing… but is there any way to do this without all of those saws? That’s like $1,000+ for equipment. I love the rustic homemade look of this but I could probably buy a framed mirror like this at Target or HomeGoods and rough it up a little. 🙁 I’d love to know if you thought it was possible for us to make it work without such expensive equipment!
Totally understandable! We do have quite the collection of tools, but you could absolutely make this without all the tools! A jigsaw would go a long way with this project!
Yipee!!! That looks awesome and Finally solves my issue! I’m making a barn door for my walk in and wanted it to be mirrored…So excited!!!!!
Love this ?!
So glad the cuts are straight and not mitred. This is just what we need and right at my skill level. Can’t wait to get started!
Thanks so much for this diy project! I actually just finished following it and am so incredibly happy with the end result!
A nice DIY project, like your project very much.
Very Nice Wood Framed Mirror
Really Amazing Resource. Thank you. This is gorgeous! I want to make one for my entryway, I love it!
Really Amazing Resource. Thank you. This is gorgeous! I want to make one for my entryway, I love it!
What a great guide, that mirror looks wonderful. Thank you very much for doing it.
That’s great information. I did a search and found your blog. It’s been a big help! Thanks for sharing this blog.
Wow. Awesome…I am just wondering what will be the cost of materials to make this mirror? Looks like $80~100… Am I right? Or is it more? Thanks 🙂
Thank you! That price point is probably accurate… it depends on the cost and size of your mirror. 🙂
Love the idea! Thanks for the tips 🙂
Wonderful Post. Excellent Designs in your Wood Framed Mirror
Which tools you are using to make this wood frames? I also want to know.
I have updated the list of supplies! 🙂
Do u think there’s anyway to don this project w/o having a chop saw & table saw? I’m a single mom and don’t have tools like that, but would LOVE to make this for my daughter’s 17th bday (since her sweet 16th got screwed ny covid). She would absolutely love this. Not sure if u have answer to this – but if I bought wood materials from Home Depot or other local hardware store, do u think if I had all measurements exactly right, they would be able to cut that rype of material for me at the hardware store??
U did such a beautiful job!! I’ve been looking to buy similar one and the are well over $200-300.
Thx for any help u might provide.
Angie
Thank you Angie! Yes, I do think Home Depot will cut the material to length for you if you know your measurements. Our local Home Depot offers this as an option, so I imagine yours would as well. I hope that helps! 🙂
Looking nice, Thanks for sharing. <3
wow wonderful post, really the mirror frame design is outstanding. I love your DIY projects. good job
The method of making a mirror frame is gorgeous, this is a very informative article for me. because I do a little bit of woodworking in my free time.. thanks for sharing your valuable ideas…
great