HUGE DIY Chalkboard
You may have noticed that I like chalkboards. We have several of them floating around our home, but I still felt like we needed one more. And I’ve wanted a really big one for a really long time. Every time I see one, I get all excited. And then I wonder why we haven’t made one. But a few weeks ago, I decided it was finally time. Plus, we had a whole bunch of scrap pieces laying around the garage, and we all know how much I like to build things out of scrap wood. It’s a hobby.
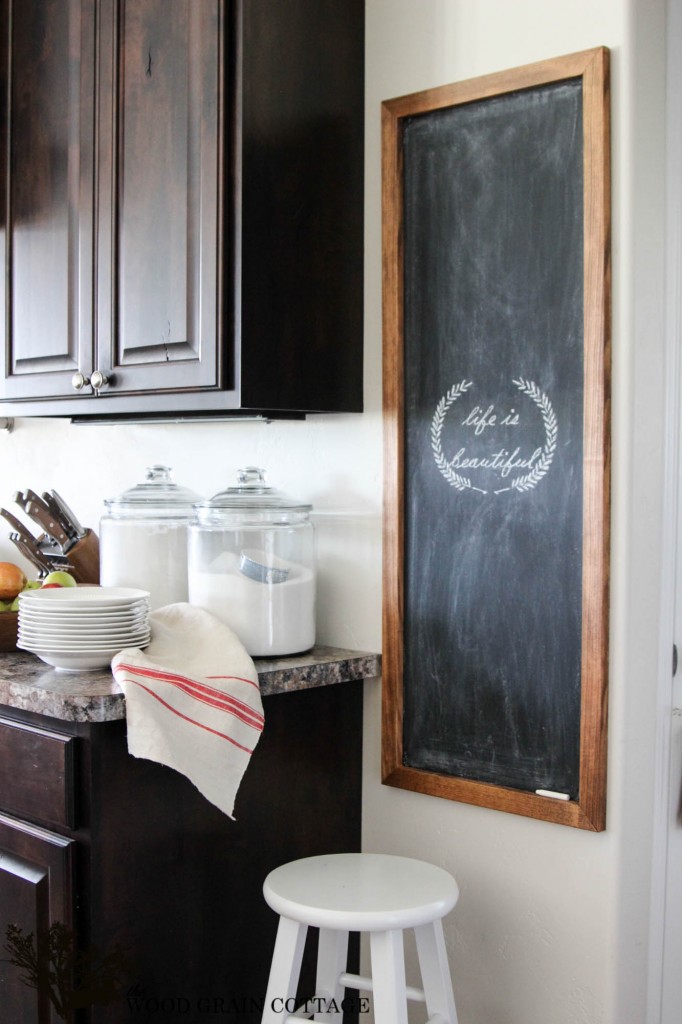
And now, we have a huge DIY chalkboard…
I’m completely in love with the size, which we made to fit several different spots around the house. I like to move things around pretty regularly, so whenever possible, I take measurements of different areas around the house. You know, just in case…
Here’s how we made it…
We started with pine 1″ x 2″ boards. Handy little boards these are… We cut them down to 18″ wide x 4 ft long, then we started making the frame…
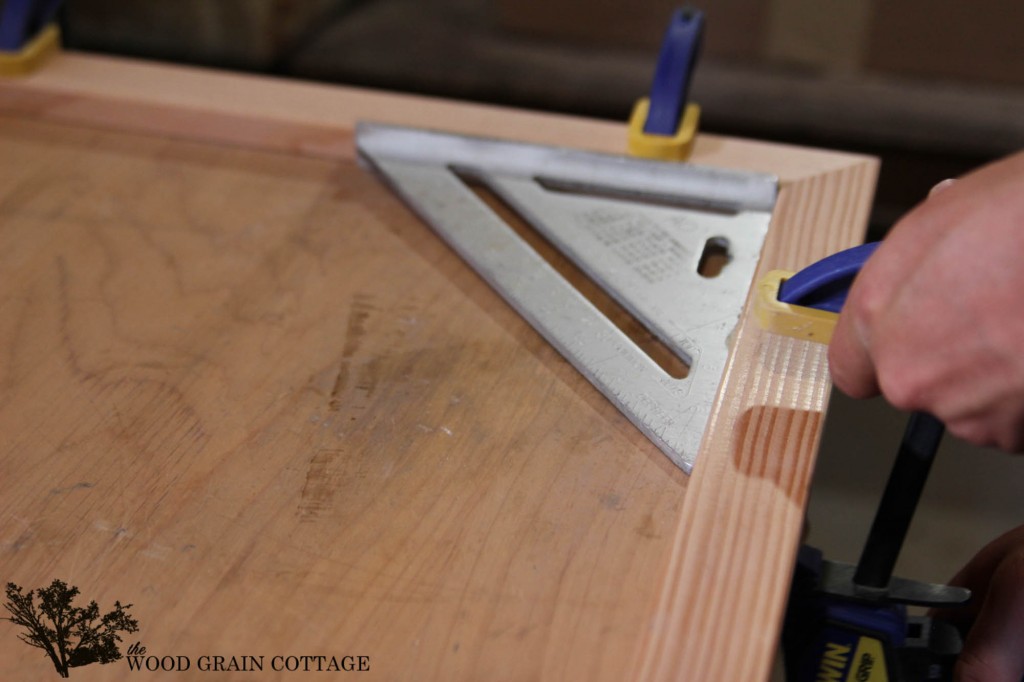
We used clamps to hold everything together…
And a square to make sure the corners were… square. 😀
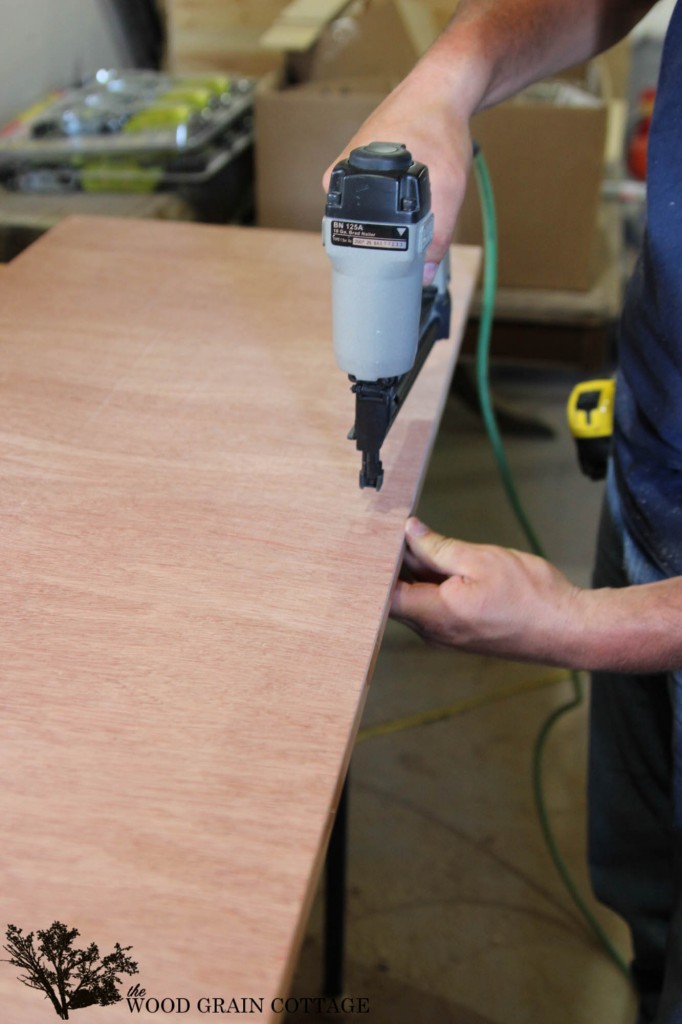
Then we started nailing it together with the nail gun…
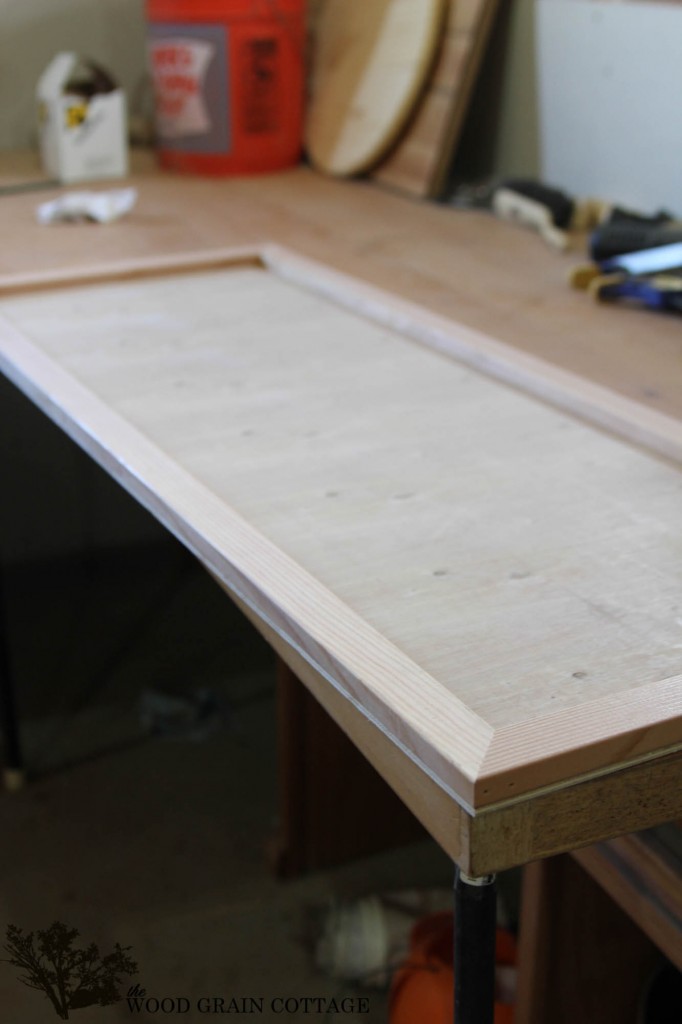
We added a piece of 1/4″ flooring underlayment, cut to size, for the back. It’s the same material we use for our planks walls…
And with the backing attached, I flipped it over…
And started staining the frame with Early American by Minwax…
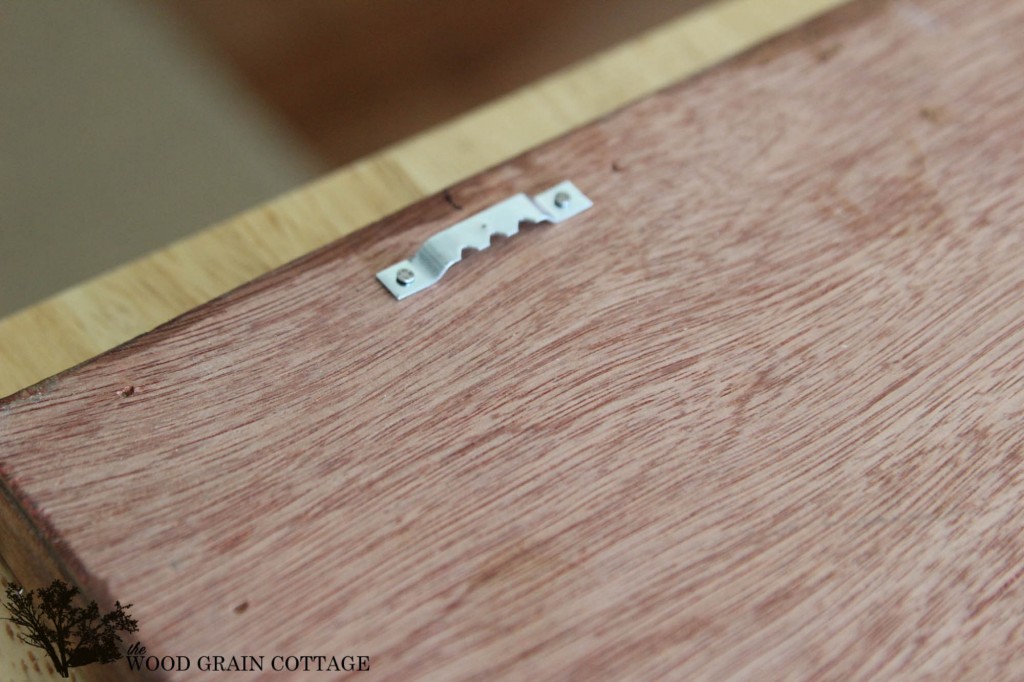
I let it dry, gave it a good coat of Minwax’s dark finishing wax, then added two sawtooth hangers to the back…
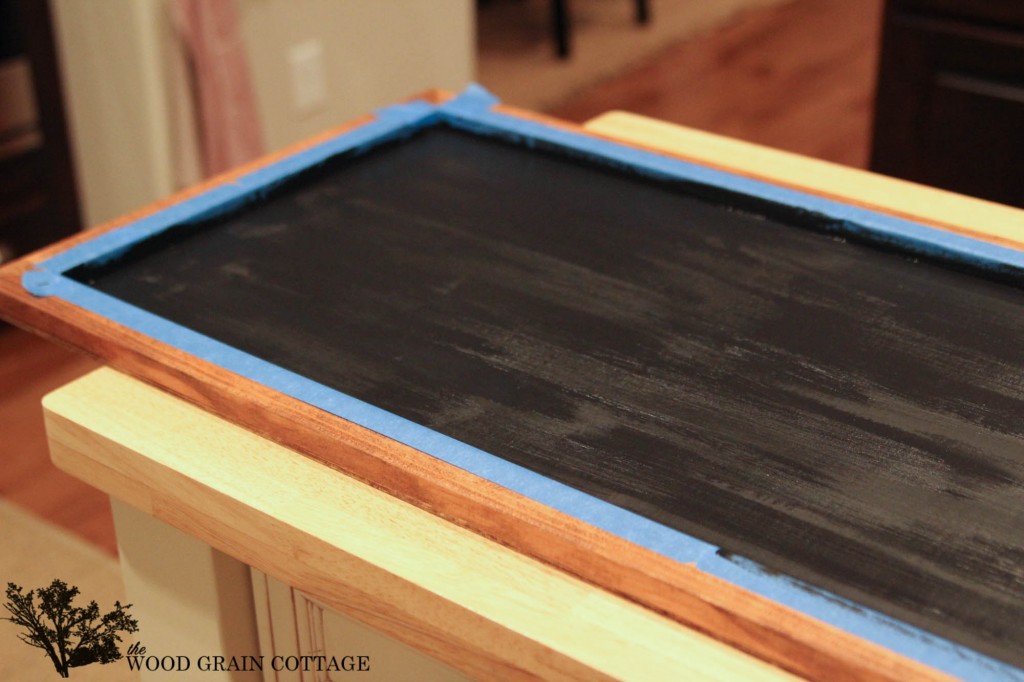
Then, I taped off the frame…
And applied three coats of chalkboard paint… Yes, I totally realize I could have pre-painted the chalkboard before nailing it in place, but the chalkboard paint was in the house and we were working in the detached garage, which is a little bit away from the house. So out of pure laziness, I decided to tape it off and paint it later. 😀
After the last coat of paint, I pulled off the tape and let it dry overnight. The next day, I seasoned the new chalkboard by rubbing chalk all over the surface…
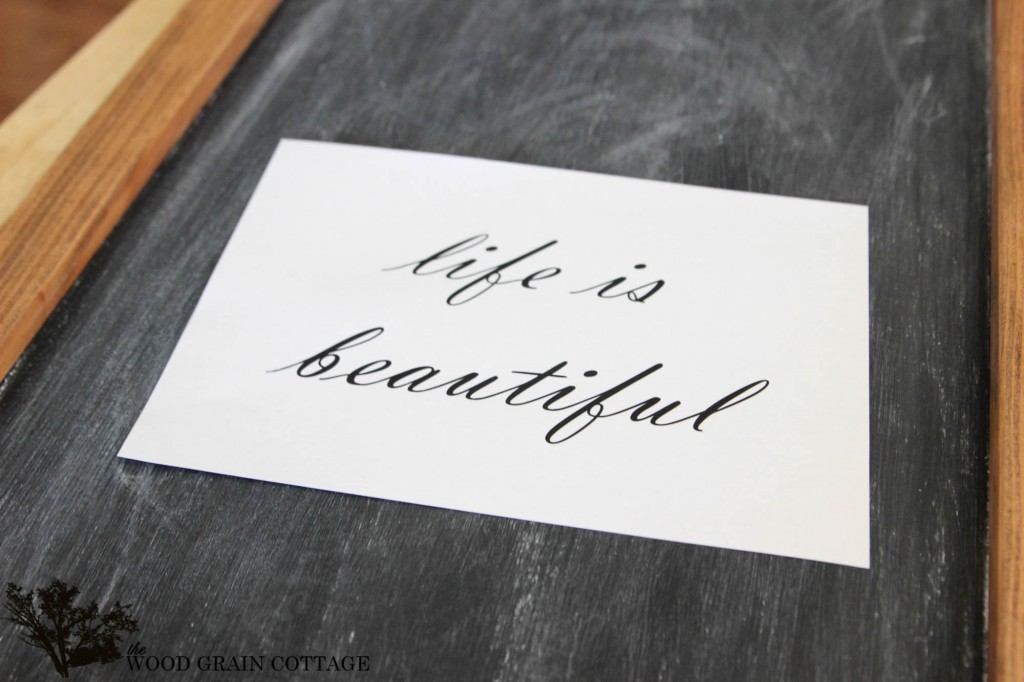
I used a slightly damp rag and wiped off the chalk, then started adding my wording…
To see how I transfer words or saying onto the chalkboard, see here.
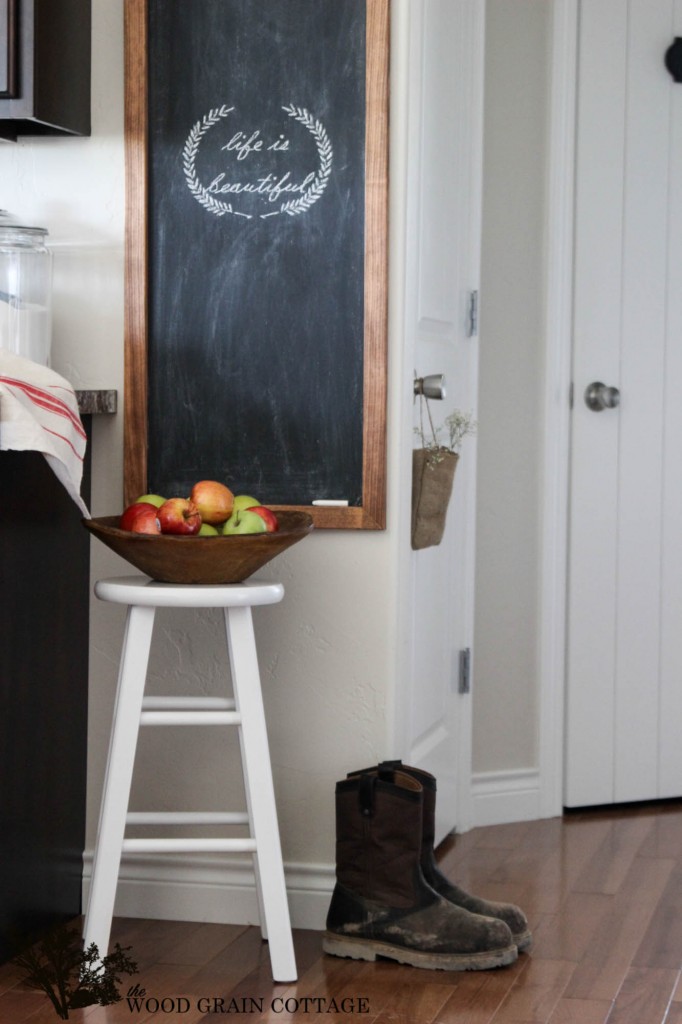
With that, it was ready to hang…
And the kitchen was calling its name!
I love that the frame has enough of an edge so we can keep a piece of chalk on hand…
And I am absolutely in love with the size of this guy… Did I already mention that?
Overall, it measures: 18″ wide x 4 ft tall… And it’s awesome!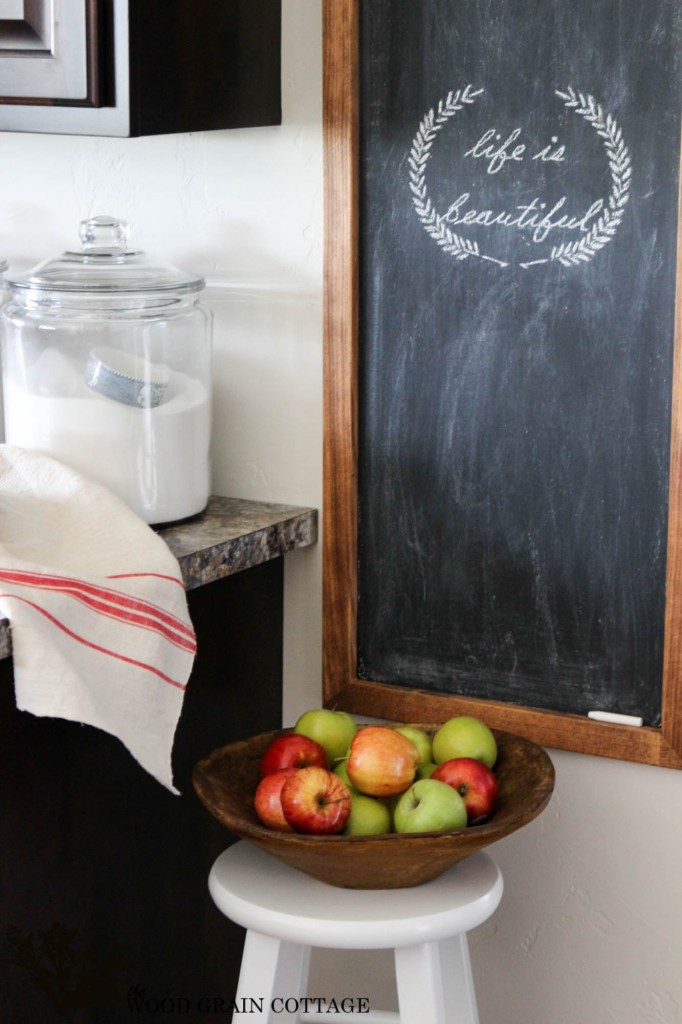
I also pretty much love the combination of the stained wood and the chalkboard…
Life really is beautiful and I wanted us to have that as a frequent reminder…
And even though I’m absolutely loving the way it looks, I’m pretty excited to see it marked up with some new artwork from time to time… maybe something fall related?
The wheels are spinning…










As always, I love your newest project Shayna! I have an old vintage chalkboard that my grandfather bought for me at a yard sale almost 30 years ago. It was made to hang horizontally with a little chalk ledge at the bottom, but I turned it vertically to fit on my wall. Your newly constructed one looks so much like what I have filling up that empty wall space! I am in awe of your ability to continually come up with projects that turn out so well! 🙂
Have a great weekend!
Your wonderful chalkboard is perfect in your beautiful kitchen, Shayna…you can never have enough chalkboards!
I have been looking for a vintage school chalkboard, no luck. This looks like a great compromise.
Love all your projects!
love it and love the bowl of apples.
Life is beautiful!!! So is the chalkboard you made. We were so separated @ birth, cause I LOVE chalkboard signs!!! They are all over my house, to! Love it, Shayna:)
Blessings & ♡
M
OMG, how I love this chalkboard, and I agree, the wood trim makes it that much more special. Not sure how I didn’t come across your blog before today, but I’m in love and I’m probably “moving in” for the weekend. Virtually, of course. 😉
What a great idea, Shayna! I’ve been following your blog for a few years now and I just love everything you’ve done with your home! My name is Grace and I just started blogging over at http://[email protected]
I love it! The size is perfect!
Looks great! Amazing how those pieces and parts of scraps can be turned into something so useful and pretty. I like raiding the scrap pile too! LOL
Hi. I was just wondering, do you need to sand down the plywood that eventually becomes the chalkboard, so as to reduce as pits that are naturally part of the wood texture/grain?
I’ve just made my own board, but after applying 3 coats of paint and seasoning the board, I find that there are some minor pits/holes in the chalkboard due to the texture of the plywood, and they will be permanently filled with chalk dust unless u wipe with a wet cloth. (Is it meant to be this way?)
If you want a perfectly smooth chalkboard, you might want to fill in the different areas and sand them smooth. Ours isn’t perfectly smooth, and there are small areas where the chalk dust does settle or collect. I don’t mind it though, I like the way it looks! 🙂