DIY Office Shelving
I’m back to share another office update! It’s almost like I’m on a roll or something… especially since I just shared our new office plank wall– THANK YOU all so much for the lovely comments. You seriously ROCK!
As I’ve mentioned from time to time, our office has been in the disaster stage for far too long now. If ever there was a time that I was completely embarrassed of a room in our house, the office has definitely made the top of the list. Some day, when I actually getting around to “revealing” the room, I might just show you how bad it looked. Furniture stacked on top of each other, piles of paper everywhere, magazines with pages ripped out, bills and receipts and crap filling the desk, random projects that were started but never finished, and piles of fabric covering the floor. It wasn’t a pretty site, and definitely not something that I wanted to spend very much time in.
And let’s not even mention how fast I would sprint across the house to slam the door shut if a visitor was approaching… thank goodness I didn’t fall flat on my face, or break something. That would’ve only topped it off, kind of like the cherry on top of the sundae. Only in this case, the office was definitely not worthy of being called a sundae. Far from.
Hence, the first thing on my list, was organization! So after giving Anthony a little tour of the “disaster zone” office, he fully agreed to help build my DIY office shelving….
Here’s how we made them… and saved part of my sanity…
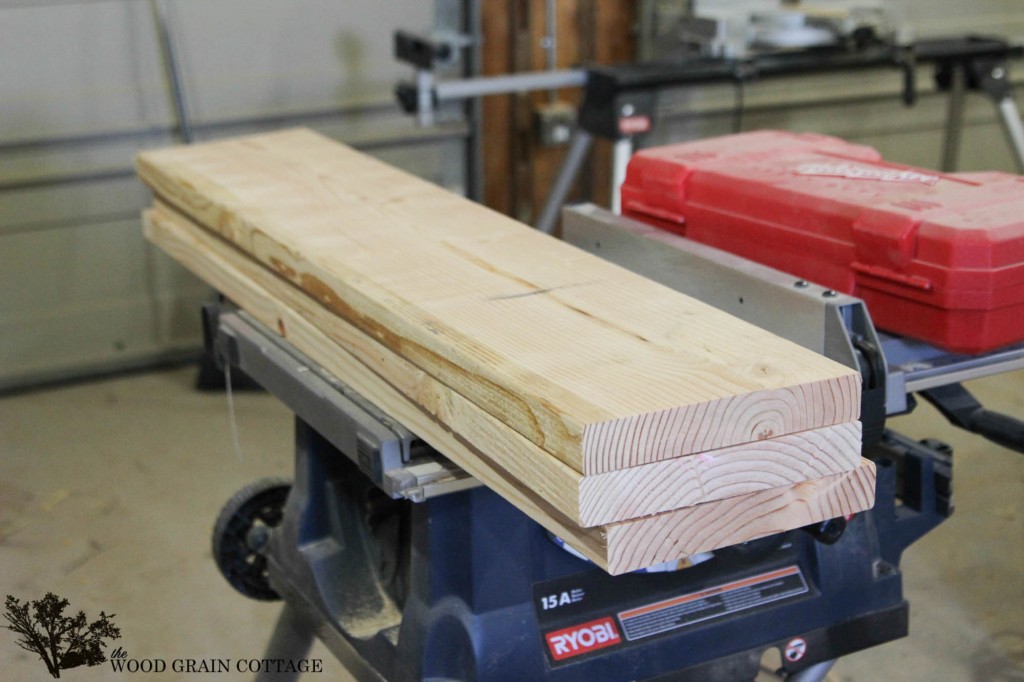
First, I bought two 2″ x 10″ x 8 ft boards at Home Depot. We cut them in half and I decided to use three of them…
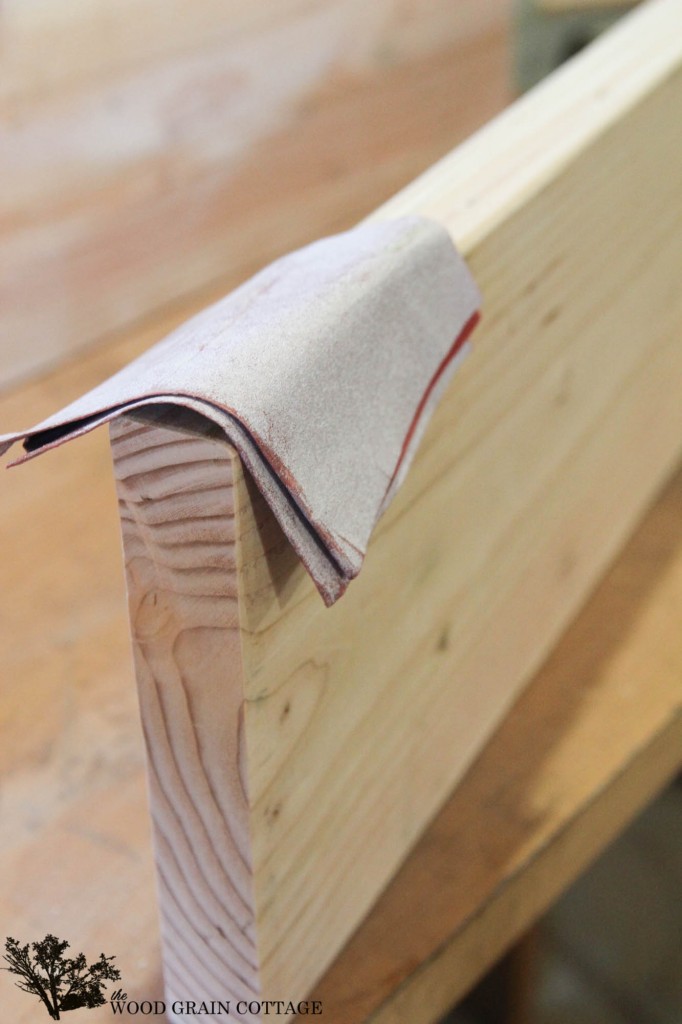
I sanded down the rough edges…
Wiped them clean and stained them all with Dark Walnut by Minwax…
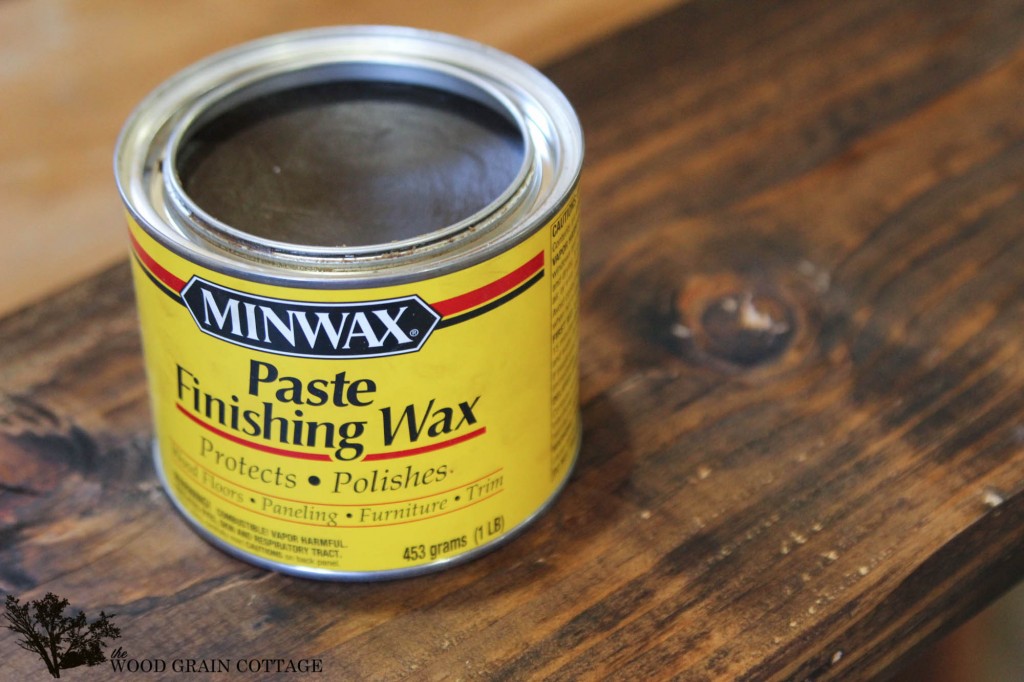
Once the stain was dry, I used the wax paste to finish the wood…
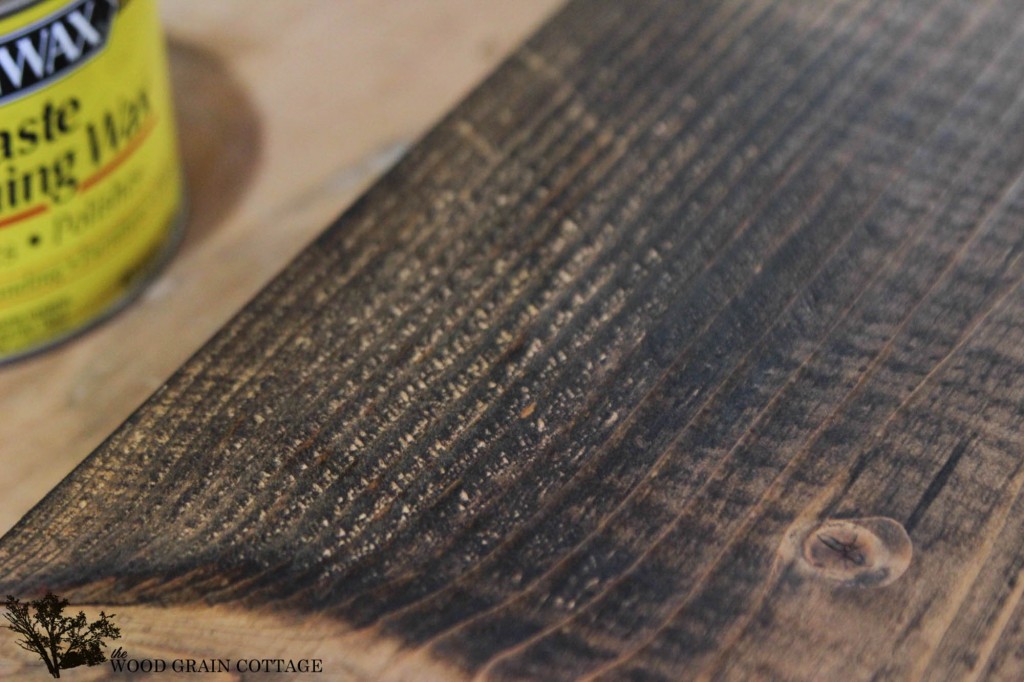
It’s fabulous for filling in all of those little holes the stain has a hard time sinking into…
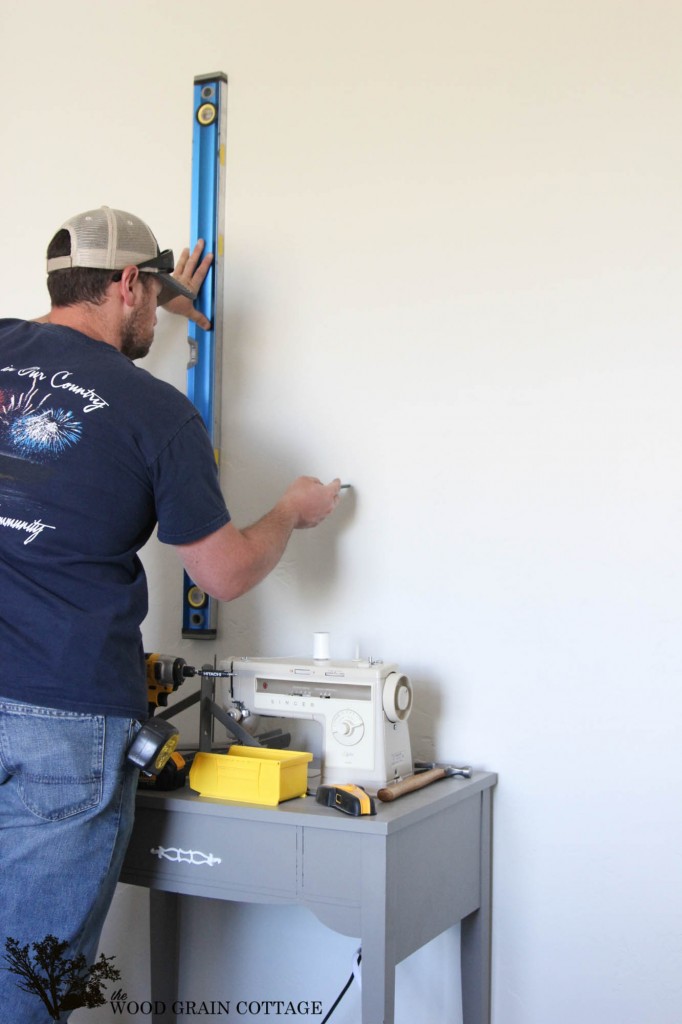
Once I buffed the wax smooth, the shelves were ready to be installed. Anthony started by locating the studs in the wall…
Then, he used the level, made sure it was straight, and drew a line on the wall…
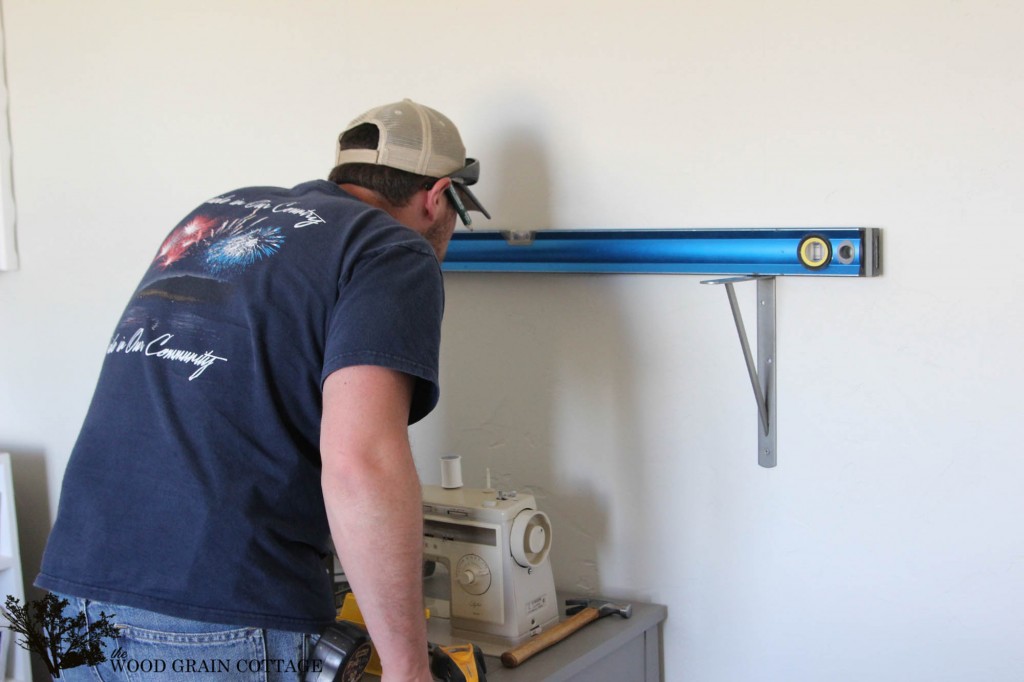
 Then he started installing the brackets, which I also bought at Home Depot…
He used the level as he installed them to make sure they were straight…
Then we made sure the shelf was evenly spaced and screwed it on…
From the board, he measured up 13″ for the next bracket and made a few new marks to keep his place…
Once we had the second one in place, Anthony added the third and final shelf…
And just as soon as he moved his tools, I got busy putting them to good use!
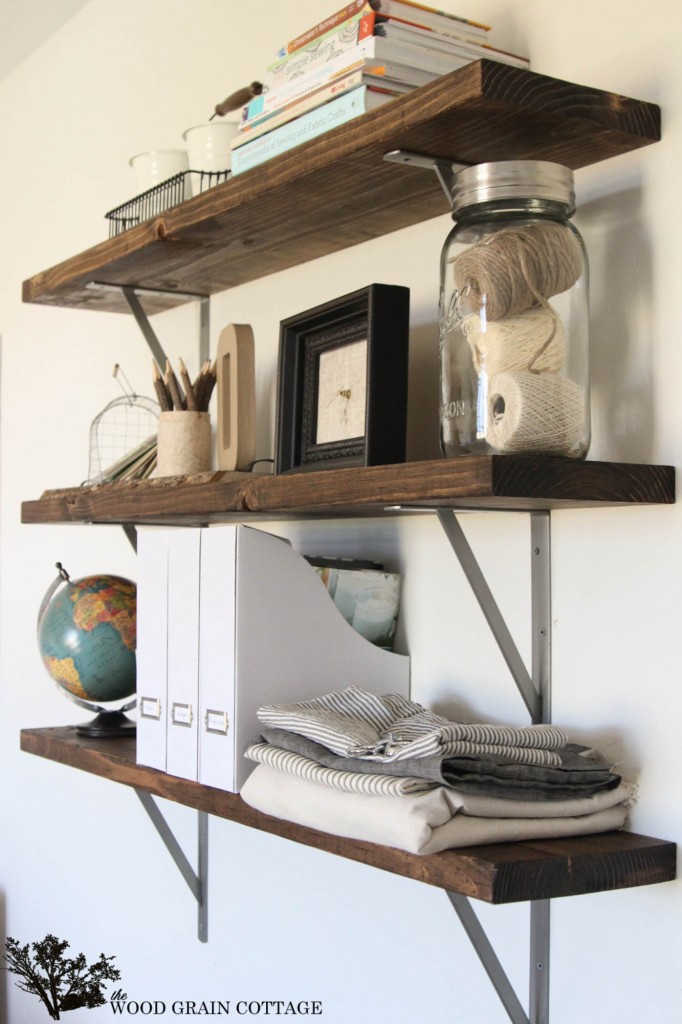
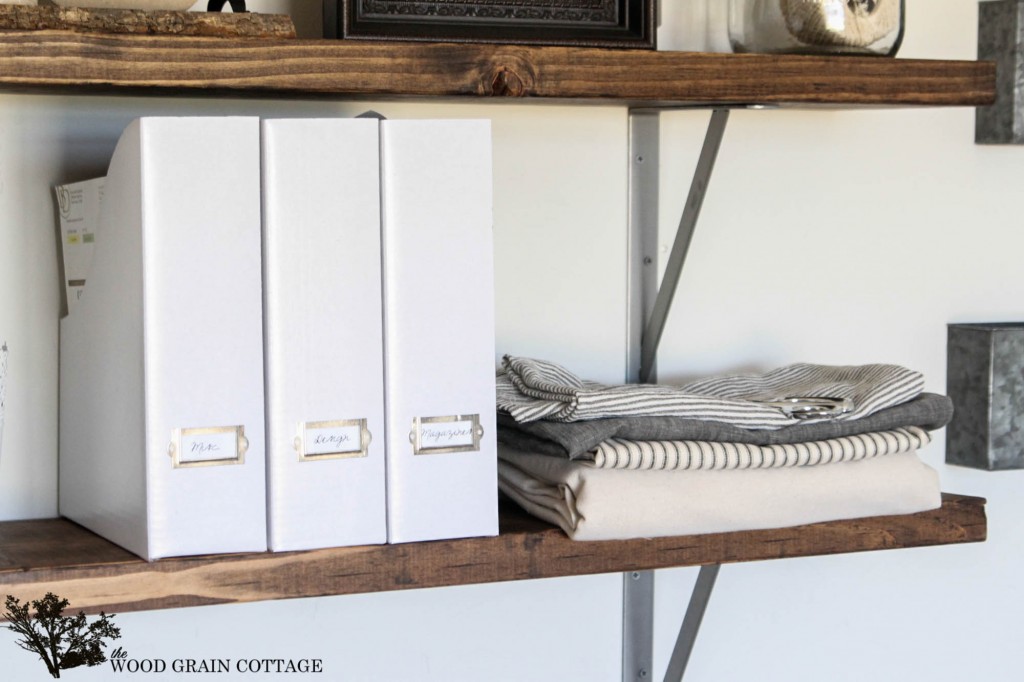
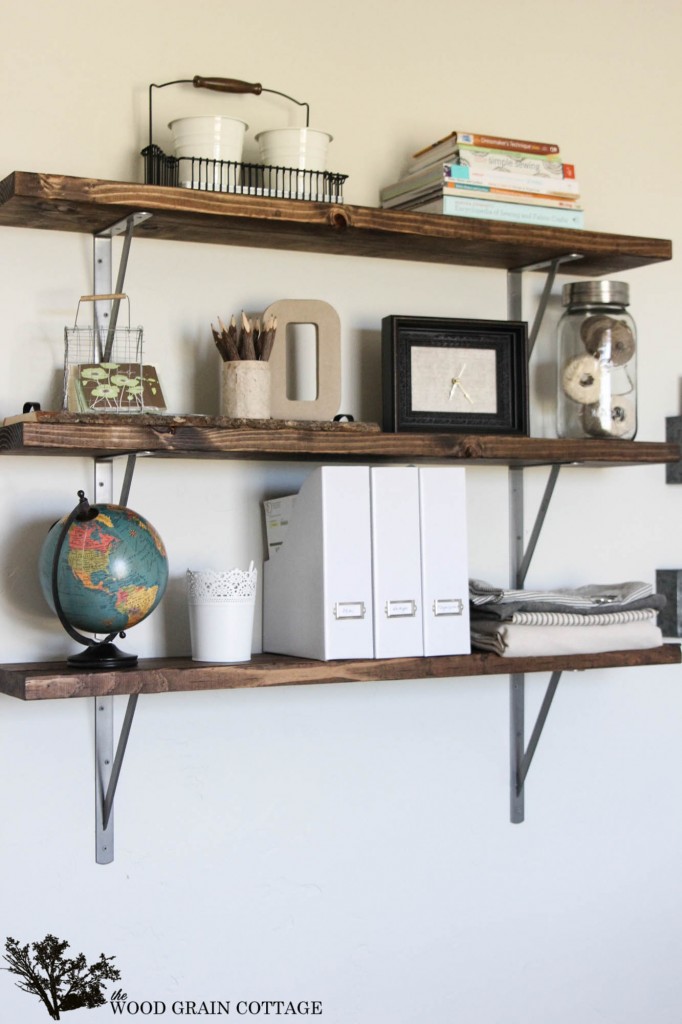
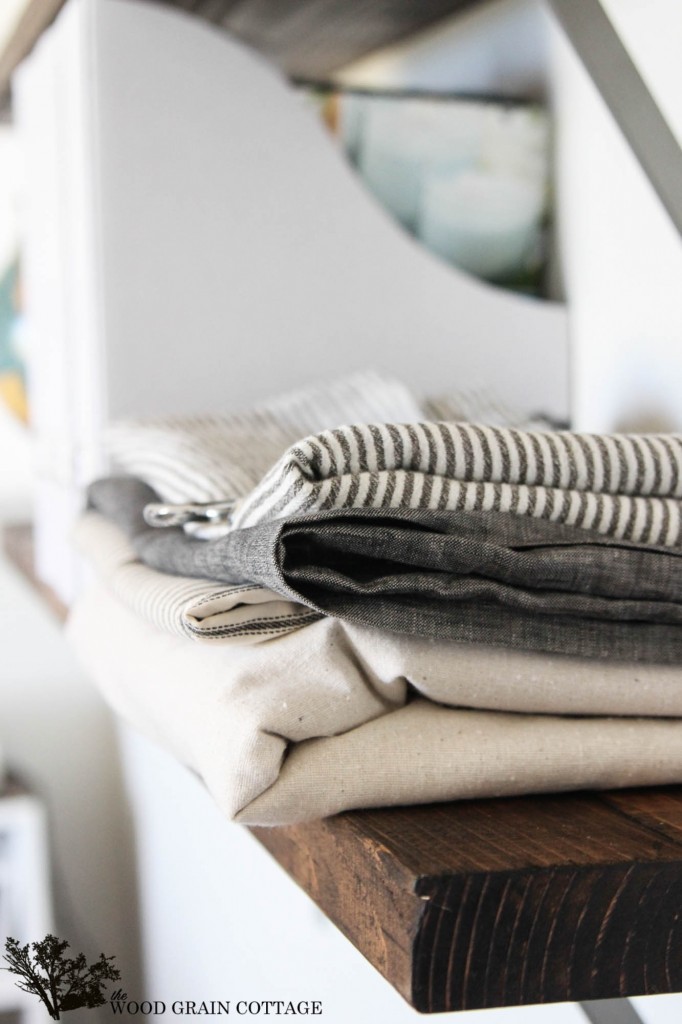
I haven’t cleaned out the craft closet yet, I might get buried beneath the pile of crap, er stuff, when I do, but I did grab a few of the things that have been laying around aimlessly…
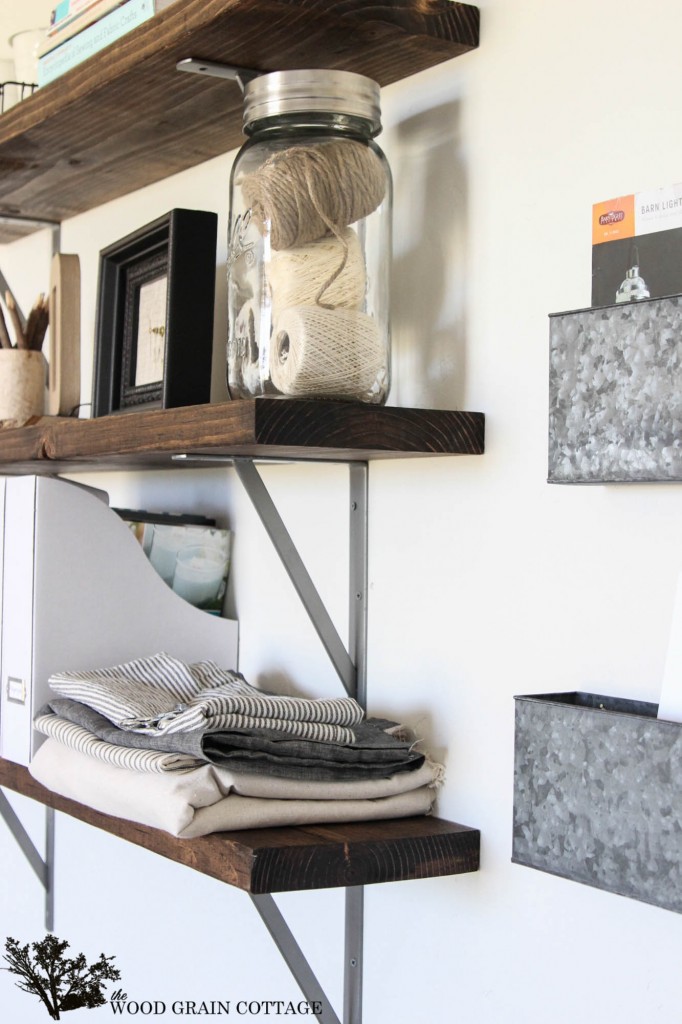
And I’m totally loving the brackets and the walnut stain… yummy!
They fit perfectly with everything else I have and plan to do…
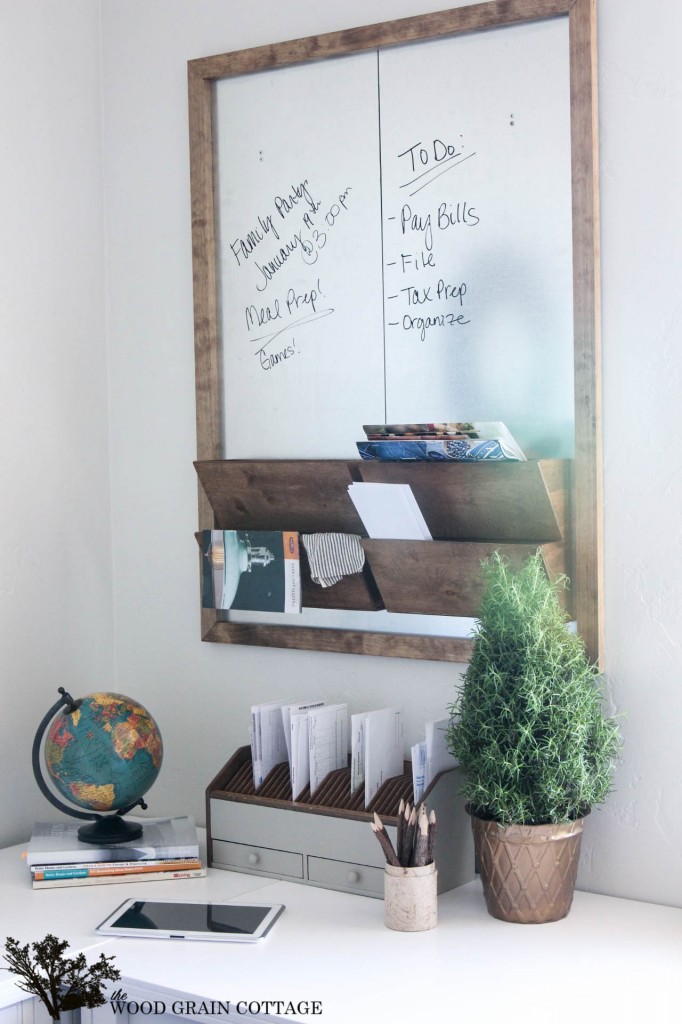
And they tie in nicely with the DIY galvanized metal and wood wall organizer we made a while back.
Things are lookin’ up! One could say that I even see a bit of light at the end of the long, dark tunnel! But one thing I’m definitely not going to say, is that we’re getting close to being finished. Now that’s one thing I might actually laugh at… loudly.
One project at a time…
P.S. I did receive free product from Minwax, but all opinions and ideas are my own. For my complete disclosure policy, click here.








Beautiful! I was just thinking about putting either a bookcase or shelving in my home office, and now that i’ve seen yours, i’m going with shelving for sure! Love them!!
Love the shelves, Shayna!!!! I am itching to get more organized but my plans unfortunately are a little more pricey… I’m working drawing up some plans for built-in cabinets / drawers in the master closet.
So lovely! I think I need a wall to do this project in my house…
Deb
Seeking Lavender Lane
Love the shelves. Looks fabulous.
Hi Shayna! Your shelves look great! Question….where did you get the cute galvanized magazine holders hanging next to your shelves?
THANK YOU so much, Gracie! I bought the galvanized wall holders from Pick Your Plum deal of the day. I hope that helps! 😀
I love this look! Great job. Now I’m inspired to make these for my house!
Amazing!!! Love how it all comes together, Shayna:)
So much eye candy in one space, how do you get any work done? Lol;)
Gorgeous… blessings & <3 M
Love this look! Where did you find the shelf brackets? Thanks!!
Never mind. I re-read your post again. I must have overlooked it the first time. 🙂