

DIY Framed Tree Print
See how I made this DIY framed tree print! It’s the perfect, budget friendly way to add artwork to your home and it’s a festive touch for Christmas!
Well, I think it’s safe to say you all like the DIY framed tree print in the dining room as much as I do! I’ve been getting a bunch of questions on how I made it, where I got the print, what size it is, and more!
It was incredibly easy to do, and the longest part of making this was waiting in the line at Office Depot while it printed!

DIY Framed Tree Print
Here’s what you’ll need:
- Digital Tree Print (Asked to be sized to 24″ x 36″)
- 24″ x 36″ Frame
To start, I found the amazing tree print from this Etsy shop. (Remember I shared a sneak peek of it in my first TGI-Friday post?)
This was a digital file only, and I asked the shop owner to send an even bigger file than what’s originally sent with the purchase. Since I wanted the print to be quite large, I sent a message with my purchase order requesting a digital file that would support a 24″ x 36″ print. She sent it over within the hour… for free.
Digital Artwork
Once I had the file, I chose to have it printed on regular non-glossy paper (this is important for best results) from Office Depot. They have a same day, two hour print window, and while I didn’t order it online, I went in store and chose to wait while they printed it.
They were busy with several other print customers, but because the closest store is 45 minutes away, I waited the 30 minutes while they took my order and then printed it. (If you choose to order online, that will save time.)
Framing My Artwork
For the frame, I decided on this simple, but classic, black 24″ x 36″ frame. It didn’t come with a matte, which was perfect because I didn’t need one. I chose to go with a slightly more expensive frame than some of the others in store (although they were all listed as 50% off in store) because not only was it a nicer, more streamlined frame, but down the road I could see creating a gallery wall with a grouping of them.
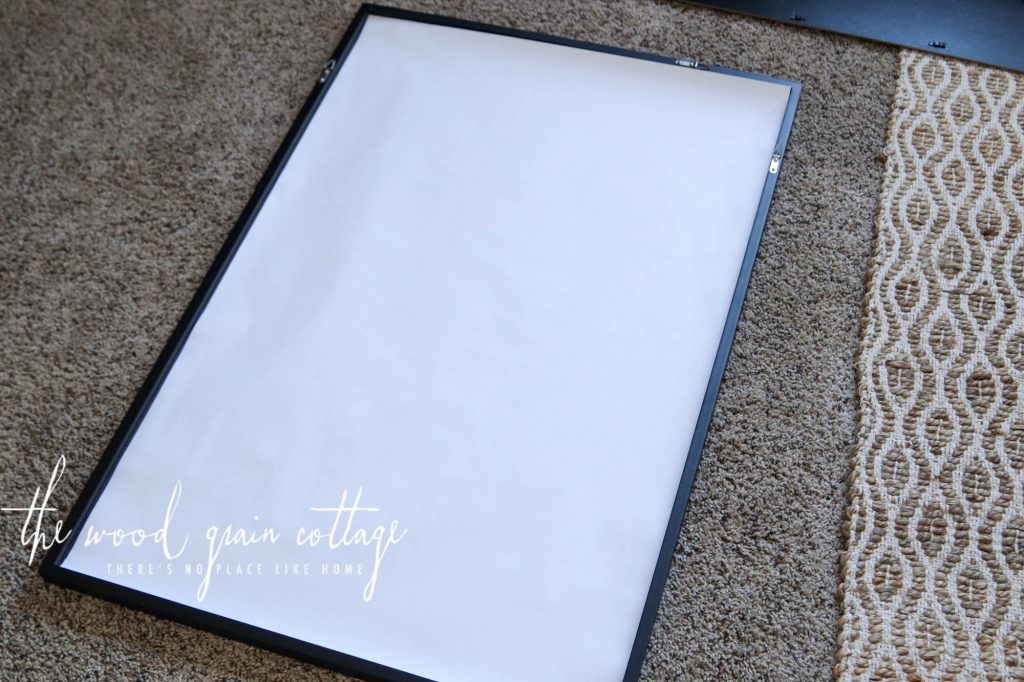
Back home with the frame and print, I originally just placed the print in the frame with the glass in place as well. I was worried the glass might produce too much glare, and I was right…

It didn’t look very good in pictures, and while it wasn’t quite that noticeable in person, there was still a glare. Could be from the angle of the frame resting on the shelf, or that the light from the dining room window is a direct shot into the room. Either way, I decided to remove the glass from the frame.
Here’s how it went into the frame…

With the glass removed from the frame, I placed the print face down into the frame (carefully, not to wrinkle or tear the paper)…
To give the paper a little bit of stability, I used the cardboard that came with the frame as an extra layer…
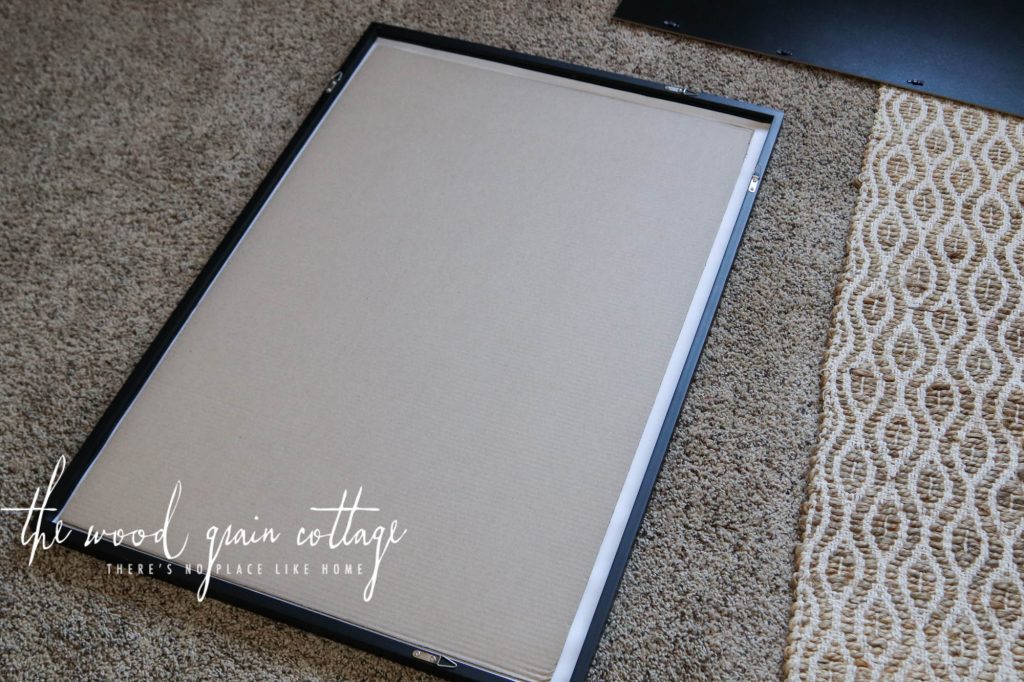
Then, the back of the frame went on in place. The paper print fit really well inside the frame, with only a minimal amount of overhang…
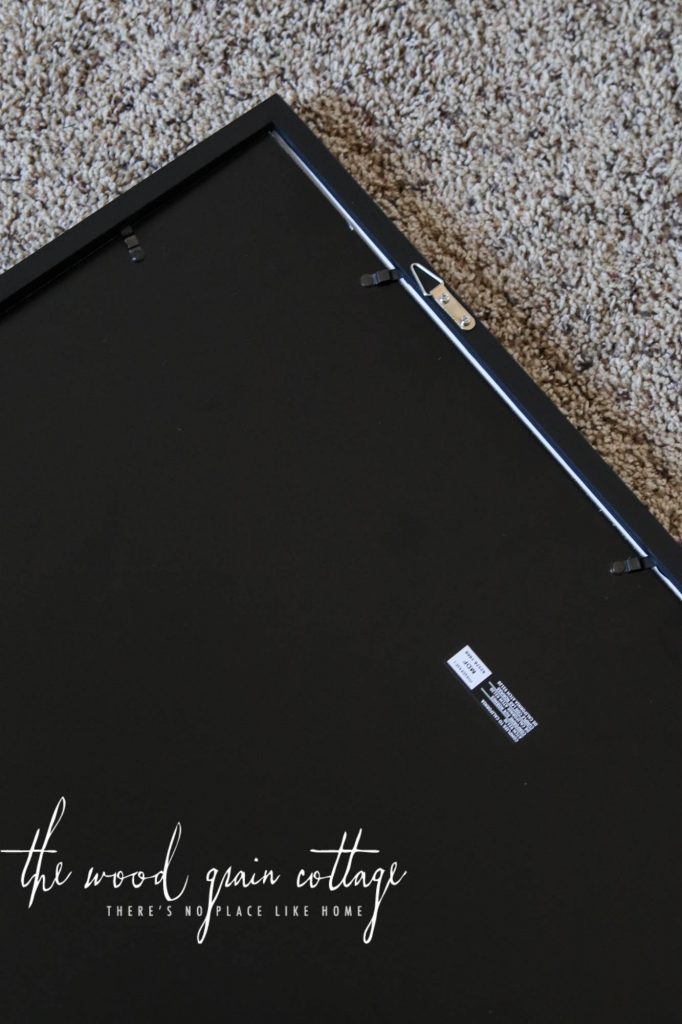
And just like that, it was framed and ready to use…

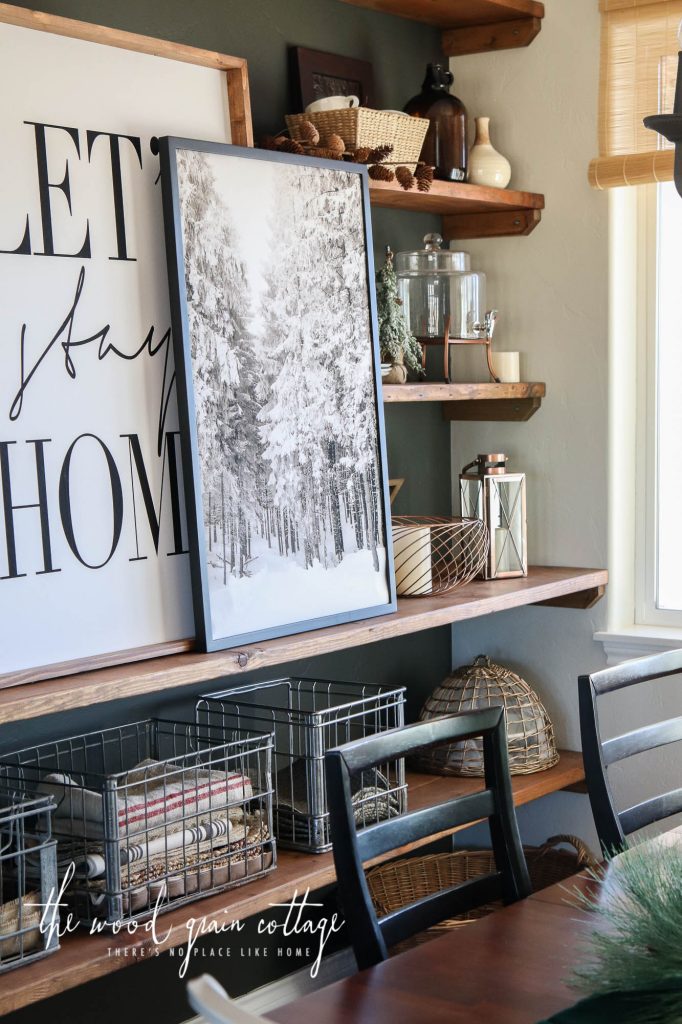
It’s such a beautiful print on the shelves…

My original plan wasn’t to layer the frames. I finished framing the print later in the evening and just sat it on the shelf to see how it looked.
I ended up really liking the stacked look of the two prints, and decided to keep them both. The tree adds just enough texture and interest, without overwhelming the shelves…

I also love that it isn’t specifically “Christmas”, so I can keep it up over the winter months as well.
It also ties in nicely with my Christmas tree this year, and that was intentional… especially since I switched up my normal fresh tree for a beautiful flocked tree!

I found so many other great nature/ tree scenes, so I’ve shared them below.
My Favorite Christmas Digital Artwork
[show_shopthepost_widget id=”4882625″]
And if you have the frame already, and don’t do such a large print, this is an easy, and cheap, way to switch things up each season, or to add a definite focal point!
Whose woods these are I think I know……..
This picture so reminds me of Robert Frost. Thanks for sharing it!!!
Love this print! Thanks for sharing. I”m definitely going to get this for winter.
Love this print! Thanks for sharing. 🙂
Thank you for the detailed instruction, I will give it a try.
I love it with the “let’s stay home” picture. Where did you get that one from?
What a beautiful Tree Print! I have fallen in love with it!!! Will try to make get such one! 🙂