

Customizing Our Ikea Pax Dining Room Cabinet
Today I’m sharing how we customized our Ikea Pax dining room cabinet. It’s the perfect way to add character to Ikea cabinets while staying on budget.
Our kitchen is small. We don’t have a ton of storage, and that’s something our entire house lacks as well. Getting creative and adding places to store our items has been on my project list since we moved in. In order to help add storage space to our kitchen, we added an Ikea Pax cabinet to our dining room. It instantly solved the problem of adding more storage space to our kitchen, but it also stuck out like a sore thumb, not really blending into our kitchen.
With our kitchen and dining room essentially one space, I really wanted the dining room cabinet to feel like an extension of our kitchen cabinets. Here’s how we went about customizing our Ikea Pax dining room cabinet to better fit in with the rest of the house!

When we initially installed the cabinet, we put it together, mounted it to the wall, and then left it as it was for a little while.

I knew in order to make it feel more custom, and to fit in better with the kitchen, we’d need to also trim out the top, side and give it a fresh coat of black paint.

Here’s How We Customized Our Ikea Pax Cabinet:

Affiliate links are provided below. Full disclosure here.
Supplies:
- Ikea Pax Cabinet, We used this one
- Ikea Pax Door, We used this one
- Zinsser Shellac Based Primer
- Paint, We used Onyx by Benjamin Moore in Satin
- Skinny Foam Roller
- Paint Brush
- Painters Tape
- Table Saw
- Chop Saw
- Brad Nailer
- 1″ Brad Nails
- Measuring Tape
- Caulking
- Spackling
- Fine Grit Sandpaper
Step One: Prime & Paint
First, I started by painting the cabinet. Ikea furniture is well known to be difficult to paint, and then to have the paint actually stick, and this Pax wardrobe wasn’t any different. After doing a bunch of research, I started by priming it with this Zinsser primer…

I used my favorite skinny foam rollers and did two coats, letting it fully dry in between coats. This stuff is rather smelly, so I had the sliding door open to help.

It didn’t take long for the primer to dry, and then I started painting the cabinet Onyx by Benjamin Moore in satin. I had leftover paint from when we painted our kitchen cabinets, making this a really cheap upgrade!

Once the cabinet was painted, we let the paint cure for a few weeks before messing with it too much. I really tried to baby this cabinet so the paint had the time it needed to fully cure.
Step Two: Add Custom Trim Work
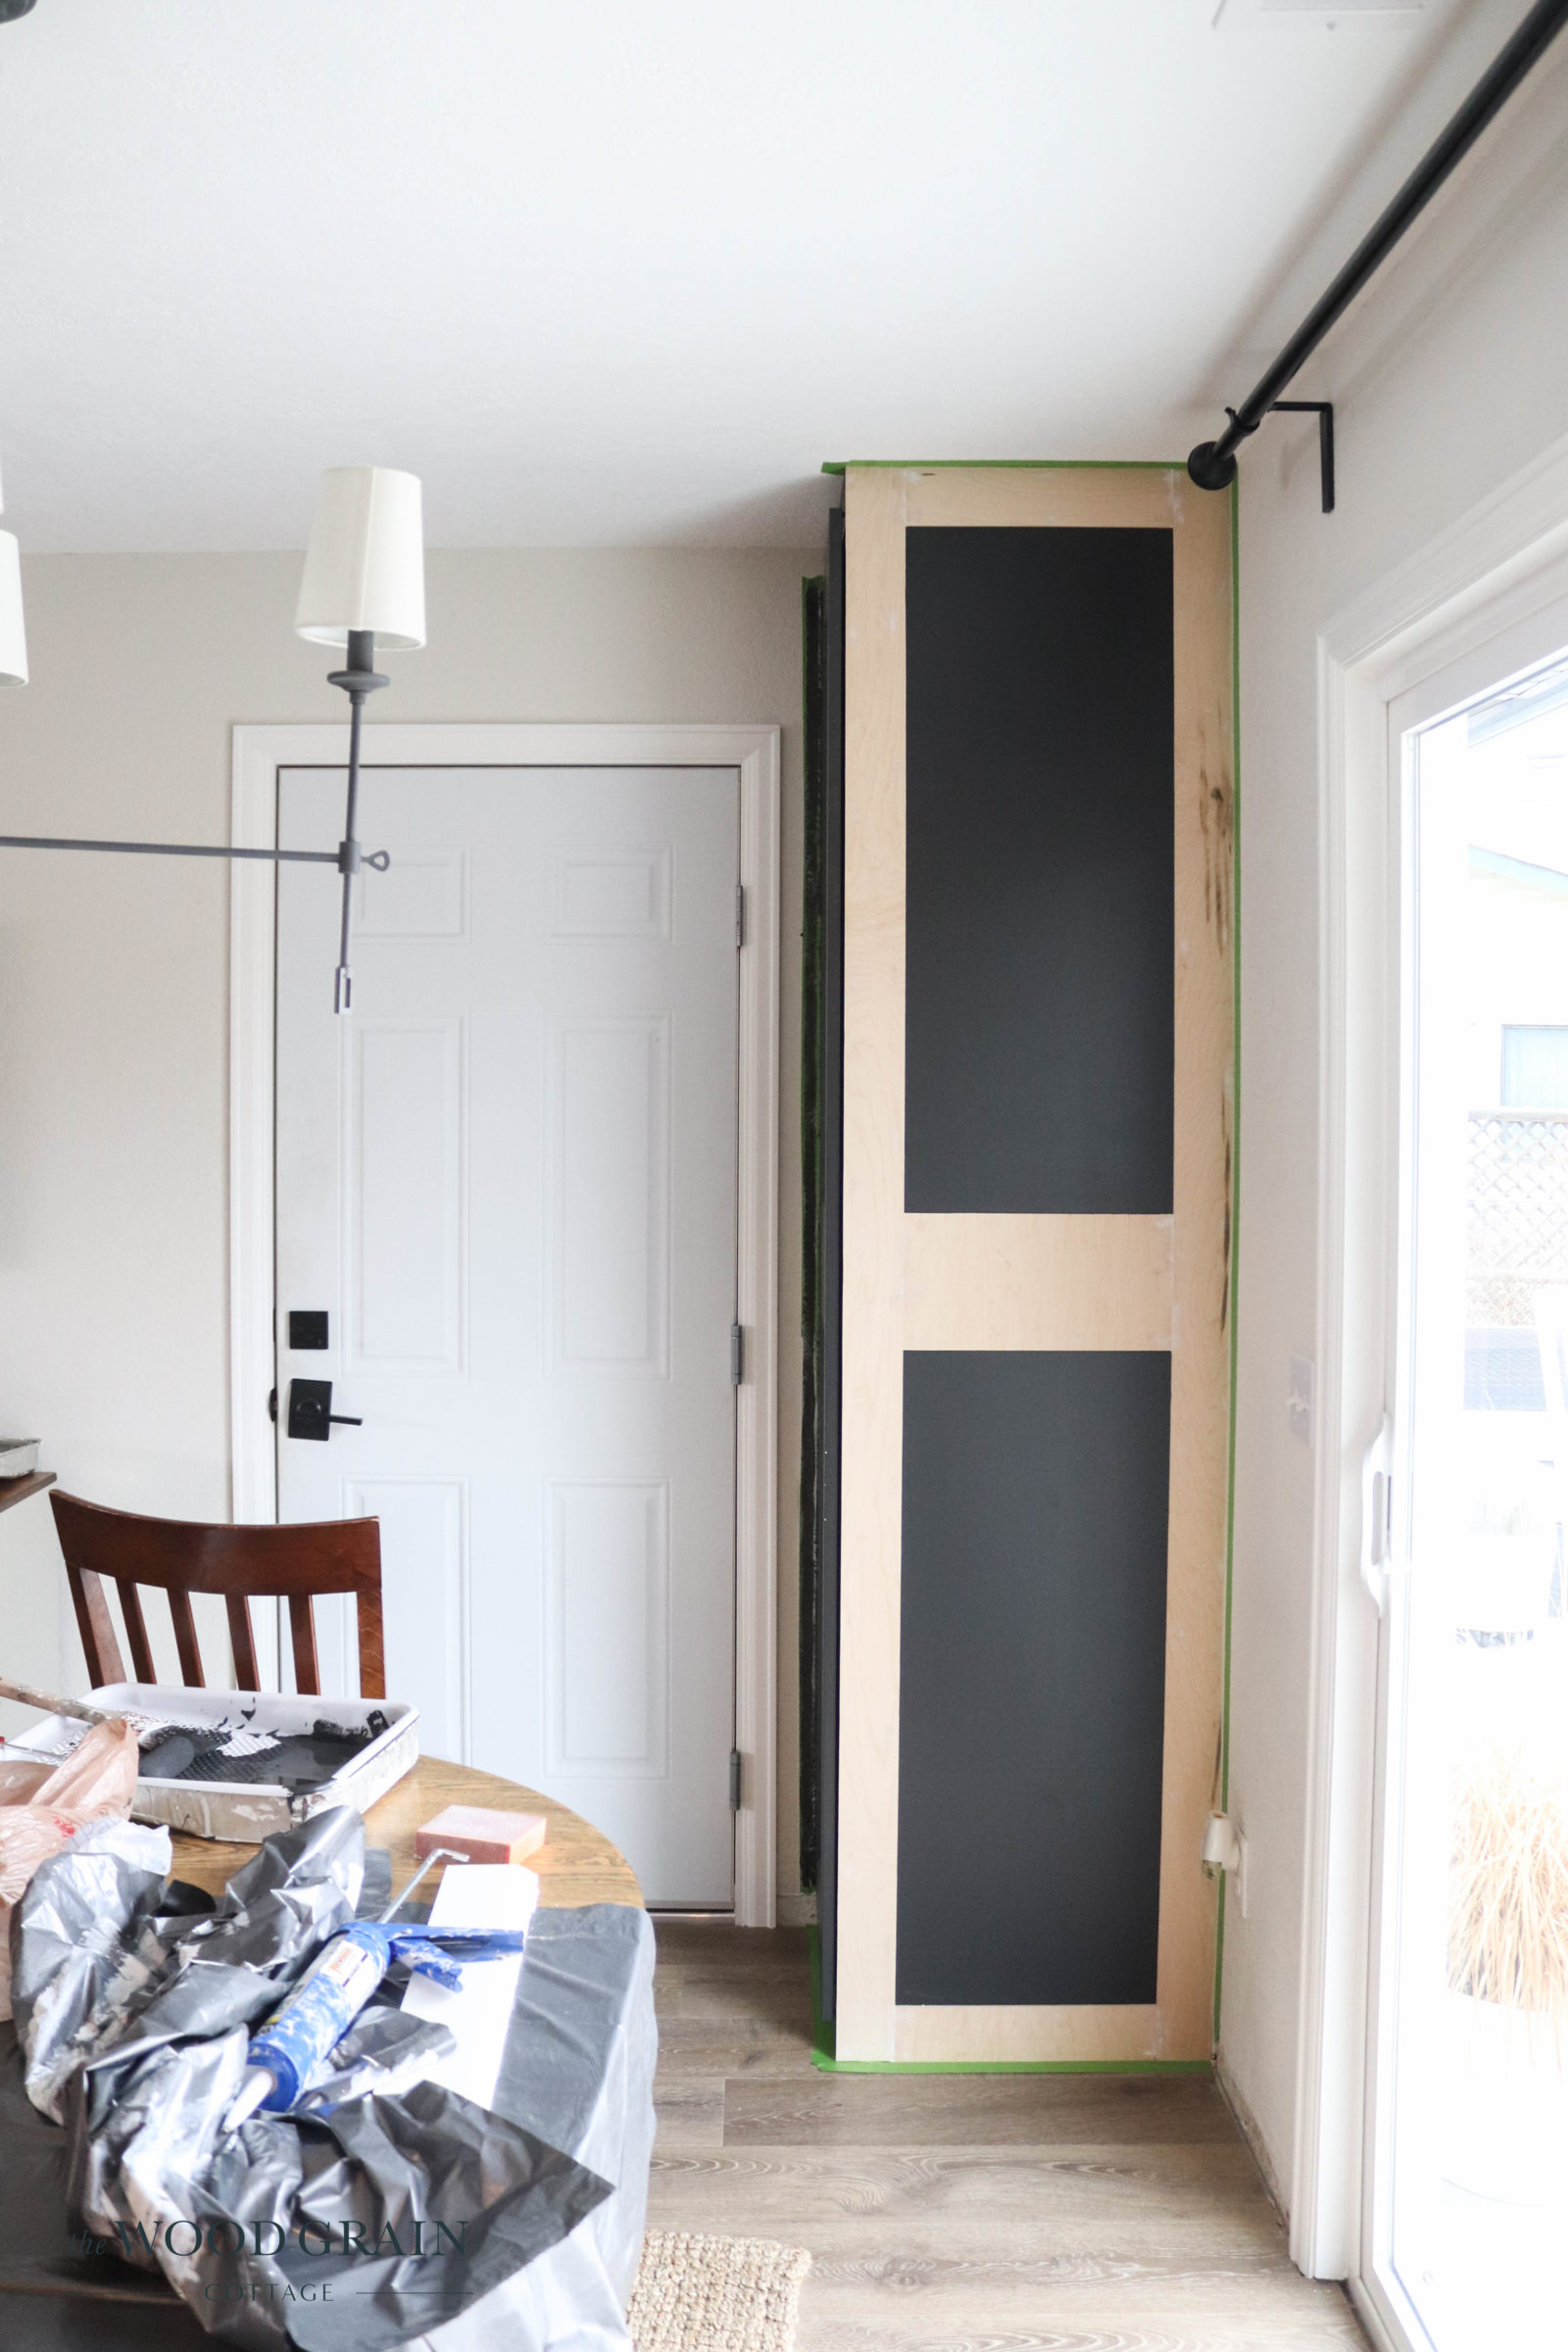
To make it feel more custom, and like part of our kitchen cabinets, we started trimming out the top and side of the cabinet. Todd ripped down some mdf we had leftover from the kitchen, and I gave it two coats of the same black paint. Once it was dry, he nailed it in place through the top of the cabinet.

Then, to really make the cabinet pop, we started adding the trim work to the side of the cabinet. We used 1/4″ underlayment, the same material we use for planking walls, and it worked perfectly!
First, we used our table saw to rip down the two side pieces, as well as the top and bottom pieces. For those, we chose to rip them down to a 3.5 inch width…

Todd used our brad nailer to attach the side pieces first…


Then he cut the top and bottom piece to size and nailed them in as well…

For the middle trim piece, I wanted the design to mimic the door, so we cut an 8 inch wide piece and lined it up with the door trim panel. Then, he nailed it in place…

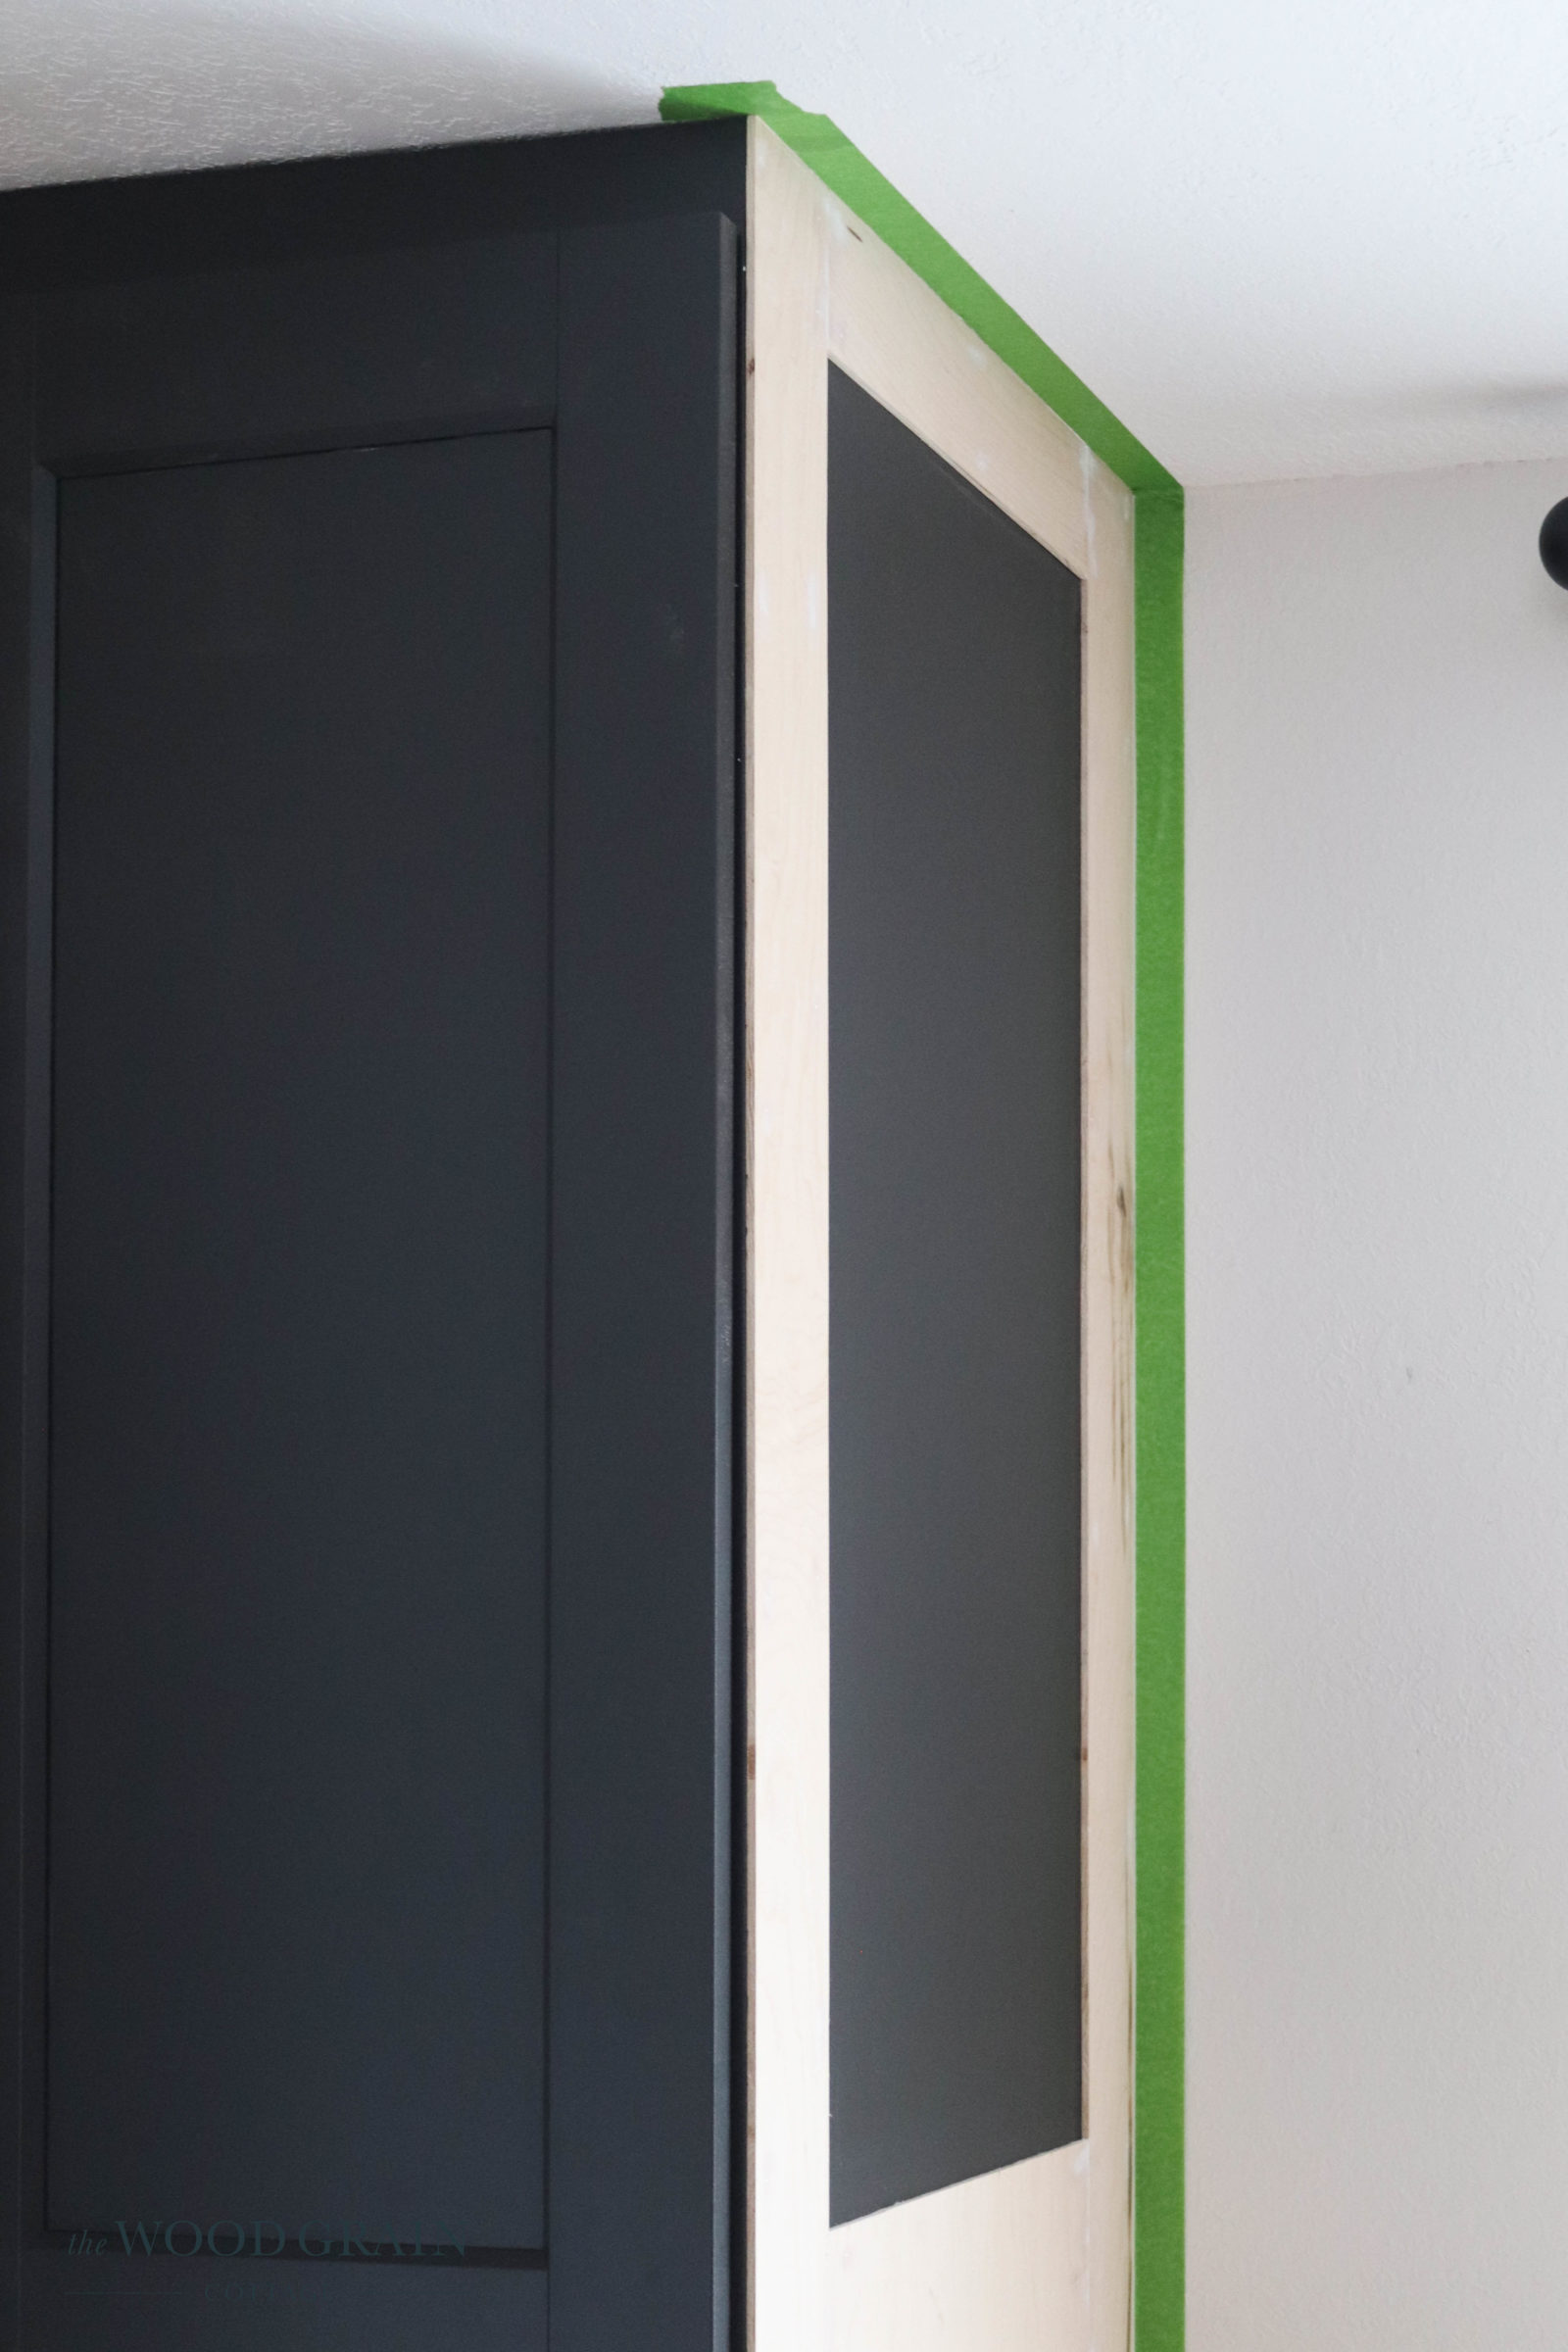
Step Three: Caulk & Fill Nail Holes
To make it look really seamless, I went through and filled all the nail holes and wood seams with spackling. Then, I used fine grit sandpaper and went over everything really well. The result was a smooth and seamless transition from one piece to another. I also caulked along all the edges filling in any gaps…
Step Four: Paint The New Trim Work
The next day, I came back to paint the new trim we’d added. I taped off the walls and ceiling, then went to work with my skinny foam roller.

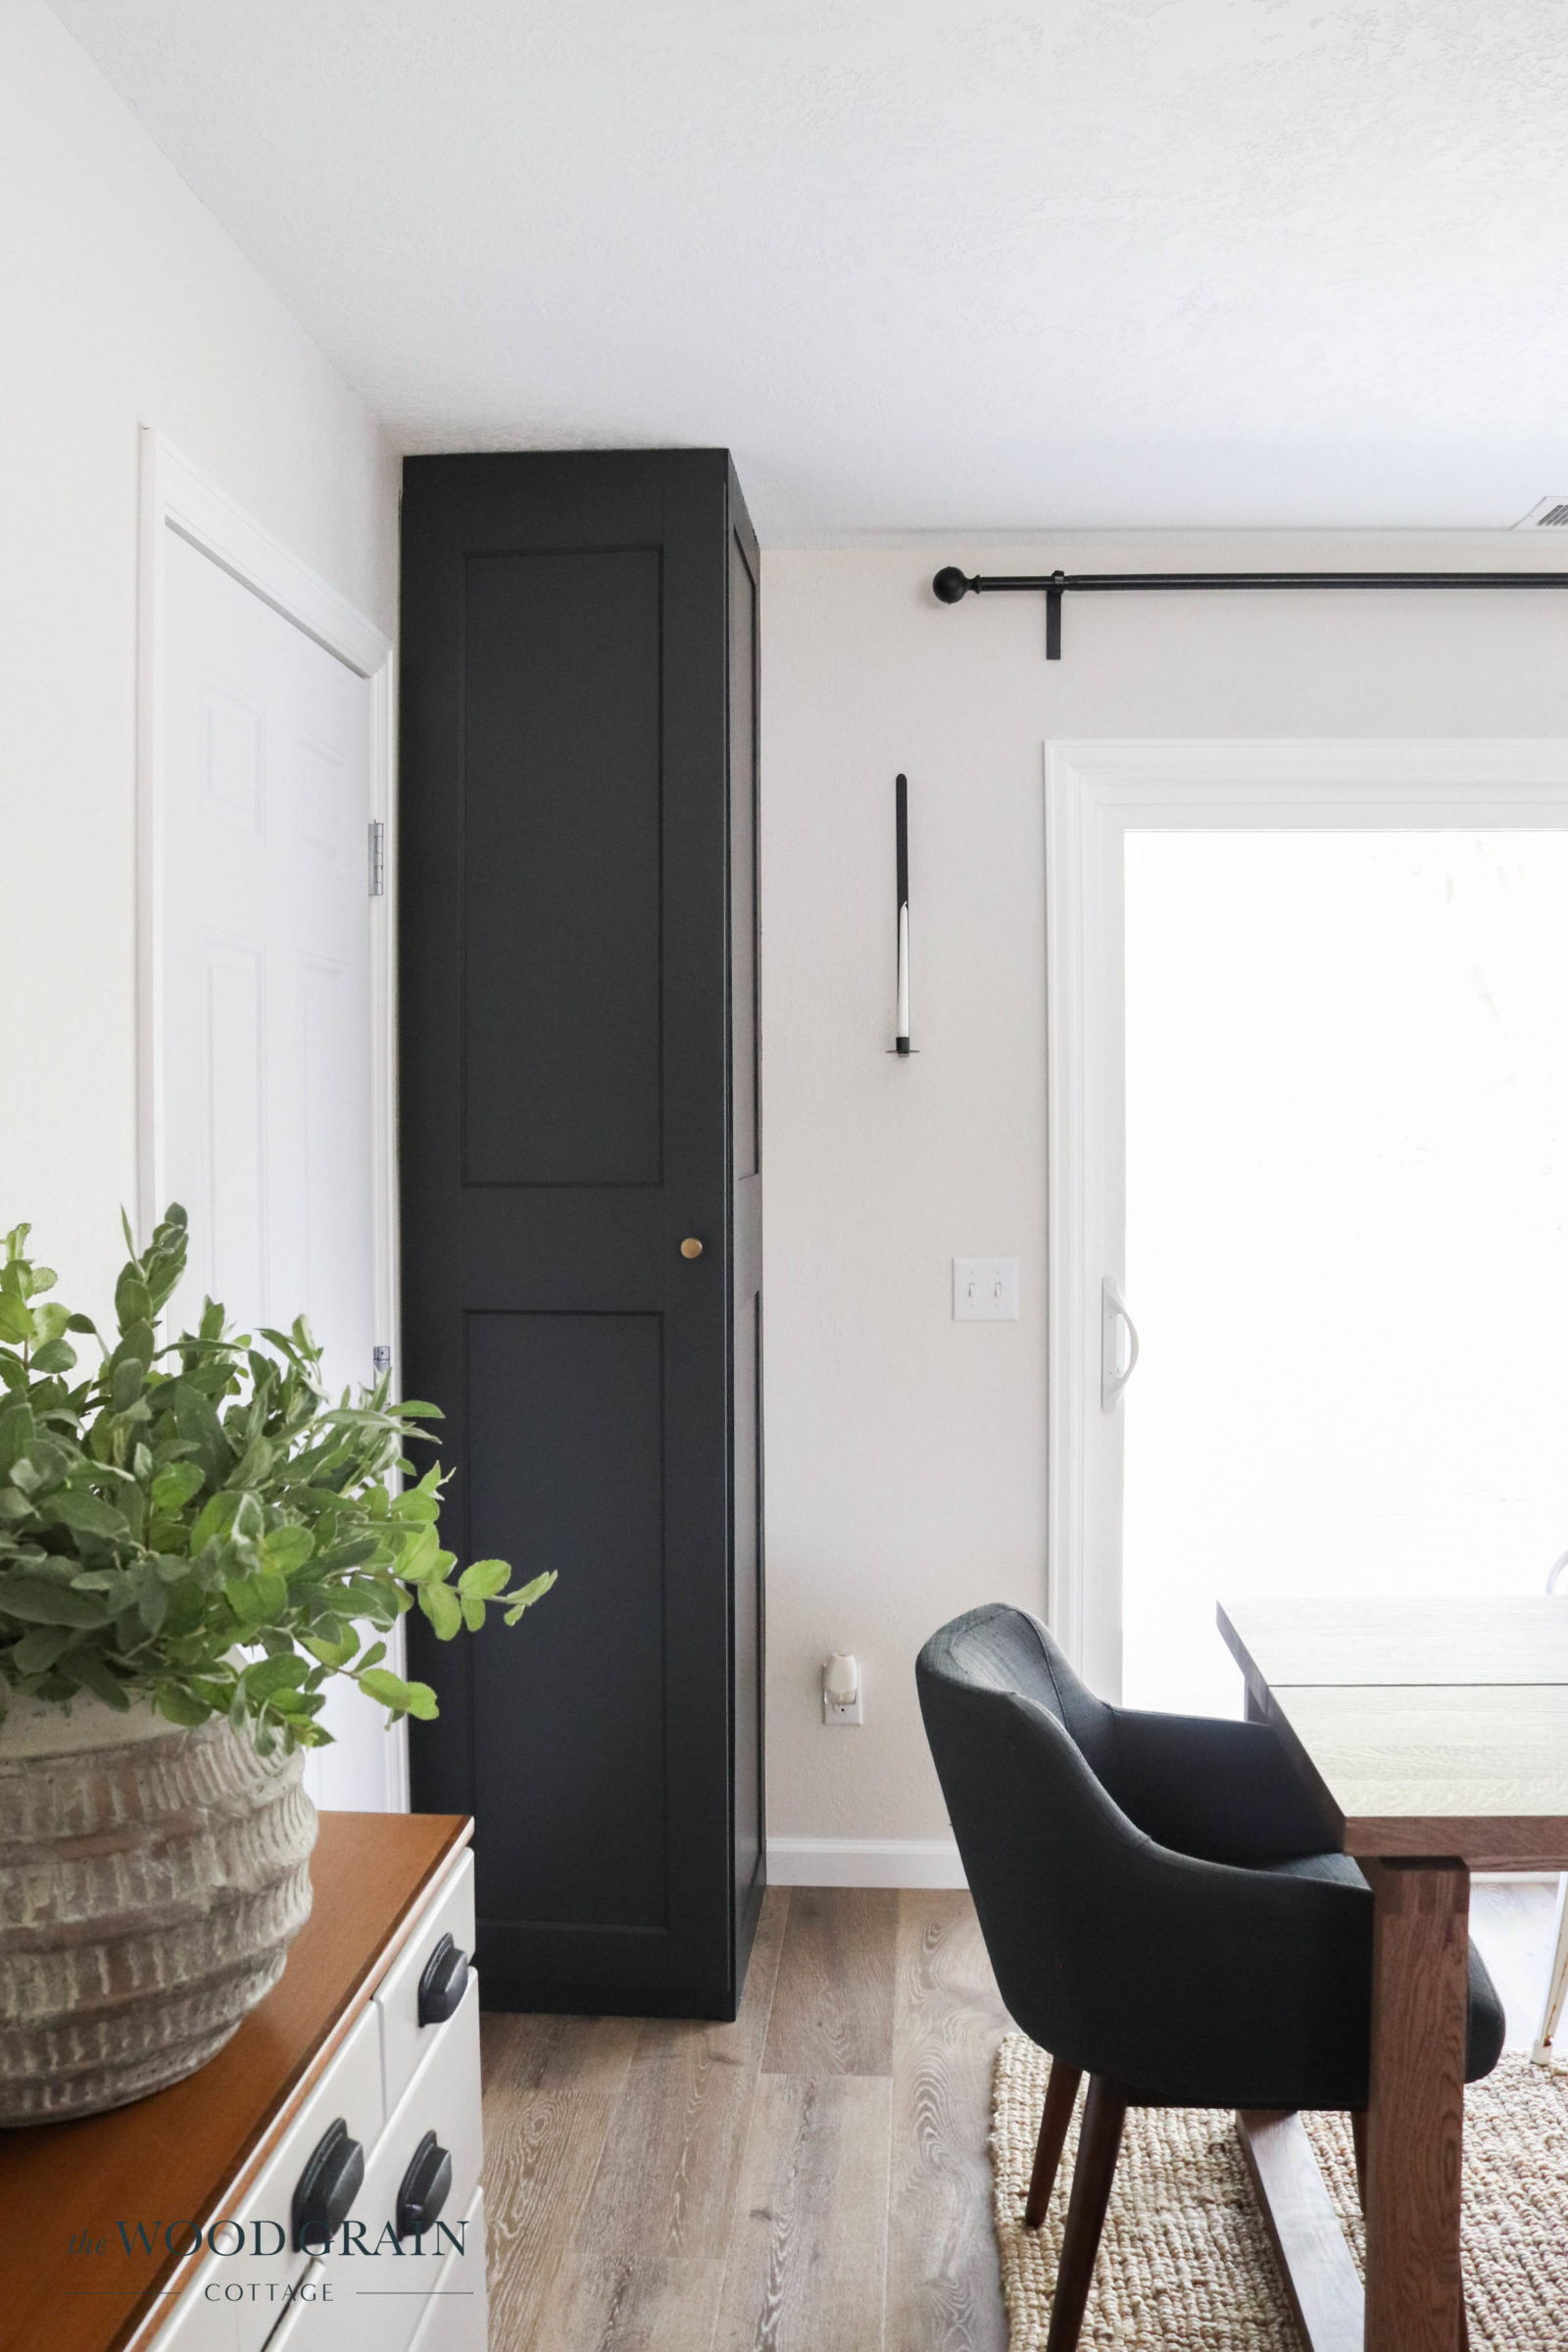
Step Five: Install Cabinet Hardware
Once the paint had some time to cure, we installed a cabinet knob to match the ones we have in our kitchen…

Step Six: Enjoy!
I can’t tell you how much of a difference this project has made to the look of the cabinet, and to the overall feel of our kitchen and dining space. Now, the cabinet feels like it belongs right there, and it really did create a joined space between the kitchen and dining room, which was my goal…
To add an extra dose of character, I plan on adding in some artwork to really finish off this little area. I have the picture frames ordered, so as soon as they get here, I’ll share more about how I’ll be adding the artwork.

It’s so fun to see this part of the house come together. The living and dining room is the first thing you see when you walk into the house, and now that the cabinet looks built in, and we have the new table in place, things are looking so much more finished!

We’re getting there. With this off the list, we only have a few more projects to finish before we can (hopefully) call the kitchen and dining room done!

[show_shopthepost_widget id=”4701930″]
Your cabinet looks great!
Do you use your mini roller with primer and paint? How do you clean it?
Thank you! Yes, I did use my skinny foam roller for both the primer and paint. It gives the smoothest finish by far. For this application, I actually used two different rollers. The primer is harder to clean out of the roller completely, but normally, I do use new rollers. With that said, I have rinsed them out in the sink without issue. 🙂
Amazing how your attention to detail made such a huge difference in the appearance of this cabinet. You did a great job!
Thank you! This was such a fun project to finish! 🙂
Do you have any issue opening the door of the cupboard with it being so close to the doorway and its architrave? I’m looking to install a pax cupboard in a similar position and was thinking about leaving a gap between the cupboard and wall and then boxing it in similar to what you have done.
Thanks
We don’t have any issue with the door opening or rubbing against the wall. No gap needed! 🙂
Nice job. Am I the only one going ape over the crooked door hardware? >8-J
Thank you! And, how funny! Yes, our knob was loose in these picture. It’s since been fixed. 🙂