
Organizing Under The Kitchen Sink
I’ve mentioned before how little storage space our home has, and how it’s one of my major house goals this year to get our house better organized to make everyday life less stressful. The first project I decided to tackle, was organizing under the kitchen sink. Not only was it super easy, but just having this small space cleaned up, with everything having a place, has already made this cabinet of our kitchen more enjoyable.
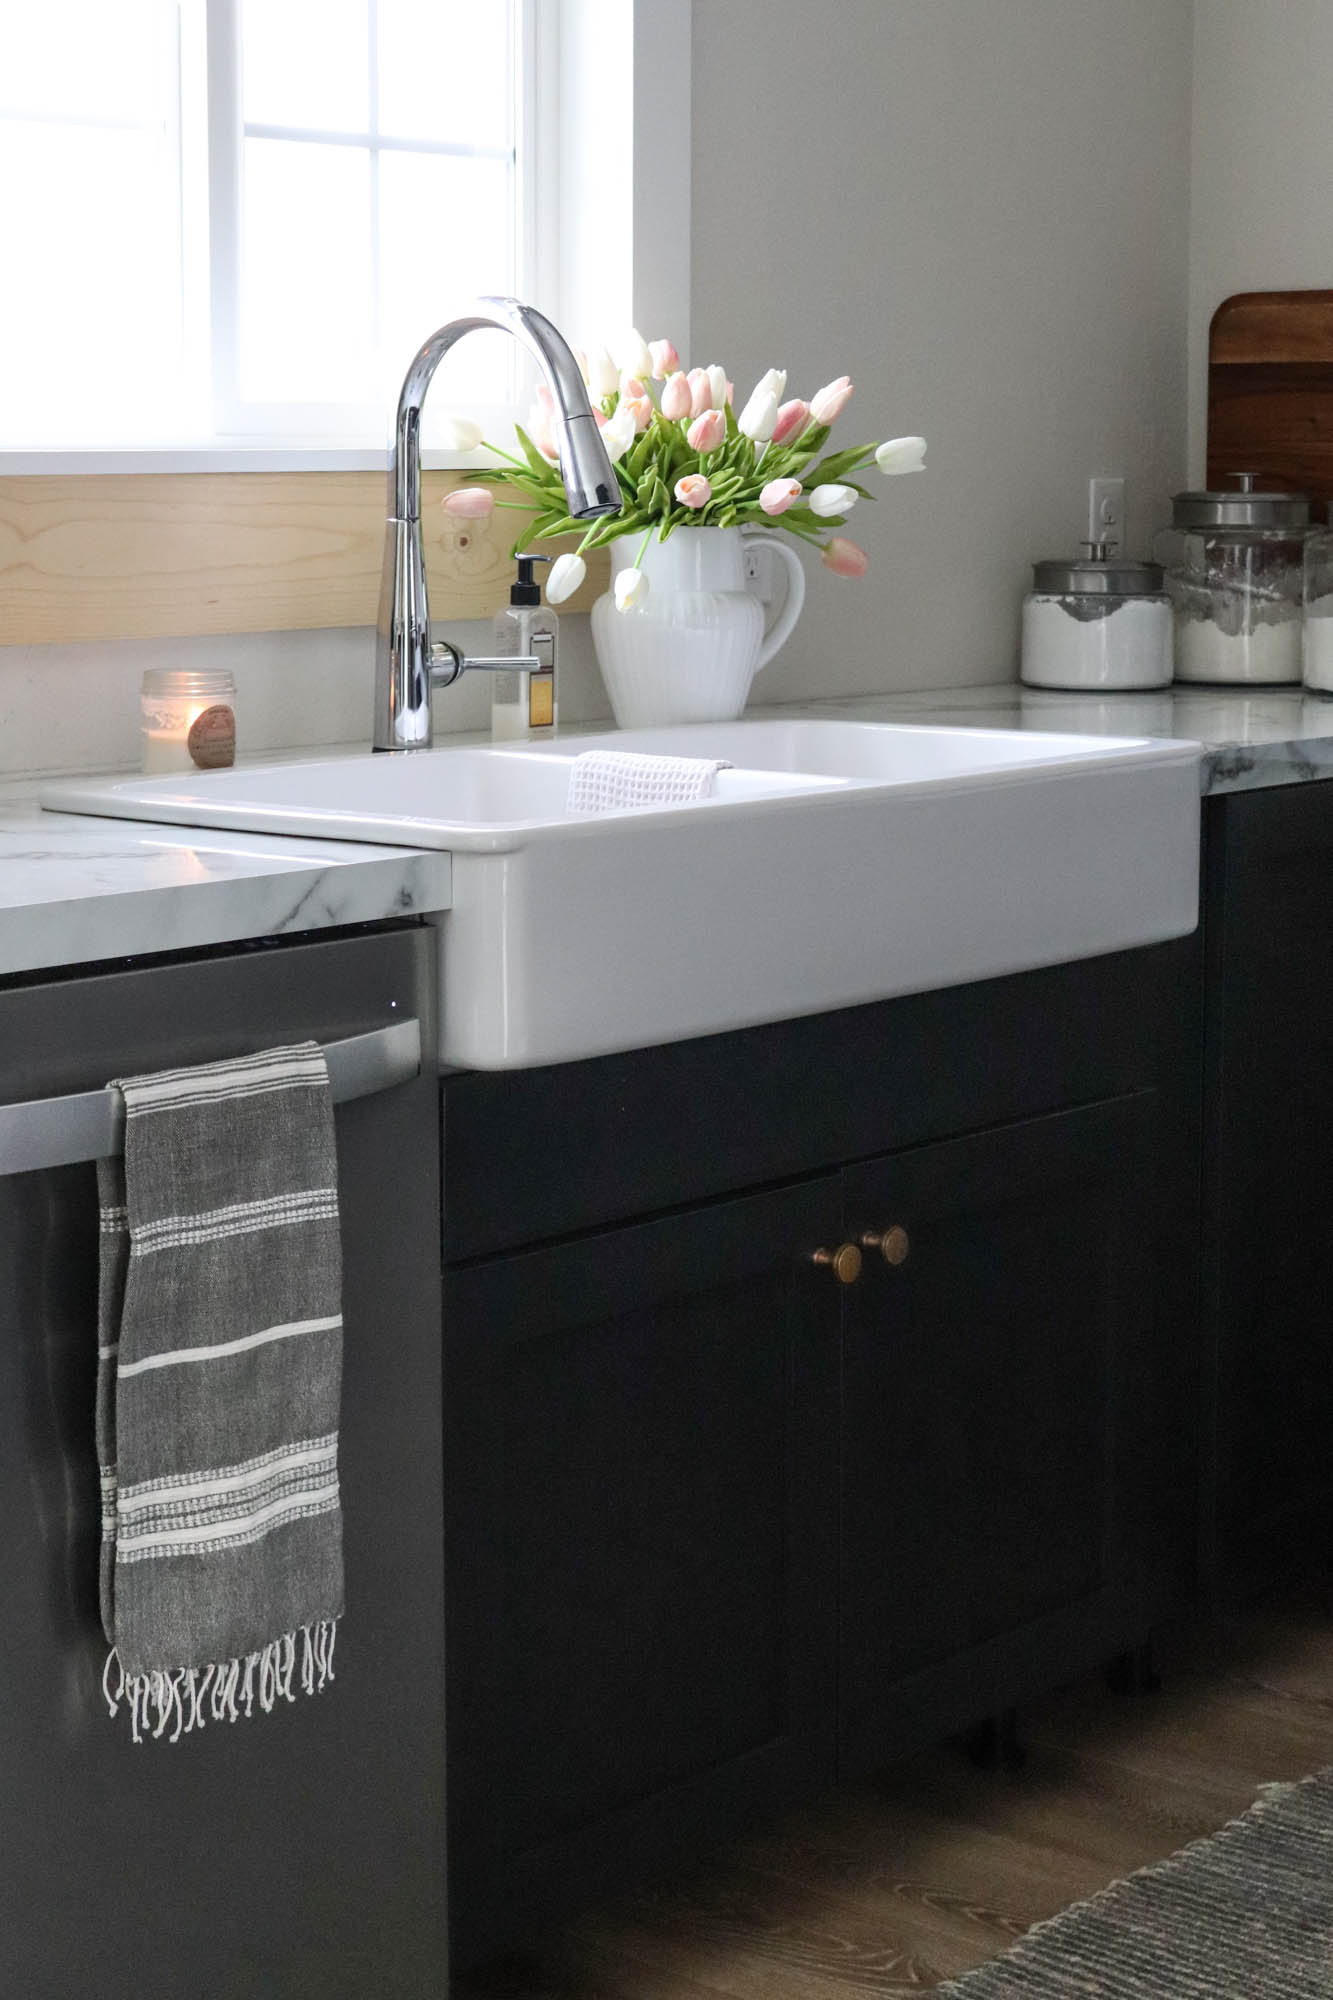
But can a cabinet under the kitchen sink really make my kitchen more enjoyable? You bet! It’s so nice knowing exactly where everything is, goes and where I can easily direct Todd to, as he searches for something. We have a running joke in the house that he can’t find something if it’s staring right at him. Funny, but so true. A little organizing goes a long way! Haha!
I’d like to preface this post by saying there are certain areas in my home where I am willing to splurge financially, and put extensive effort into making it look beautifully organized and pulled together. And then there are other areas, like under the kitchen sink, when I don’t want to spend money on designer bins, baskets, etc., for it to be just as functional as keeping it simple and using things I already have on hand. I fully believe we can have an organized kitchen cabinet, without having to spend hundreds of dollars on “pretty” things that will do the exact same job.
Now, does that mean I don’t want it to be ascetically pleasing? No… it just means I choose to limit my spending budget in those areas where I don’t feel like my money goes as far, or will be noticed and appreciated as much as other areas. Under the kitchen sink, is just that space.
Organizing Under The Kitchen Sink:
Here’s what I started with. There really wasn’t much organization going on…

Step One: Remove & Clean!
First thing I did, was remove everything from the cabinet and give the area a good cleaning. It’s amazing how quickly dust and small debris can collect in a cabinet.

Step Two: Purge Supplies
Next, I went through all the items I’d pulled out from the cabinet. I tossed out any cleaning supplies I no longer used (I definitely have my favorites) and removed several items that really didn’t belong under the kitchen sink. It seems so many random items had found a home there. Funny how that happens.
Step Three: Start Organizing
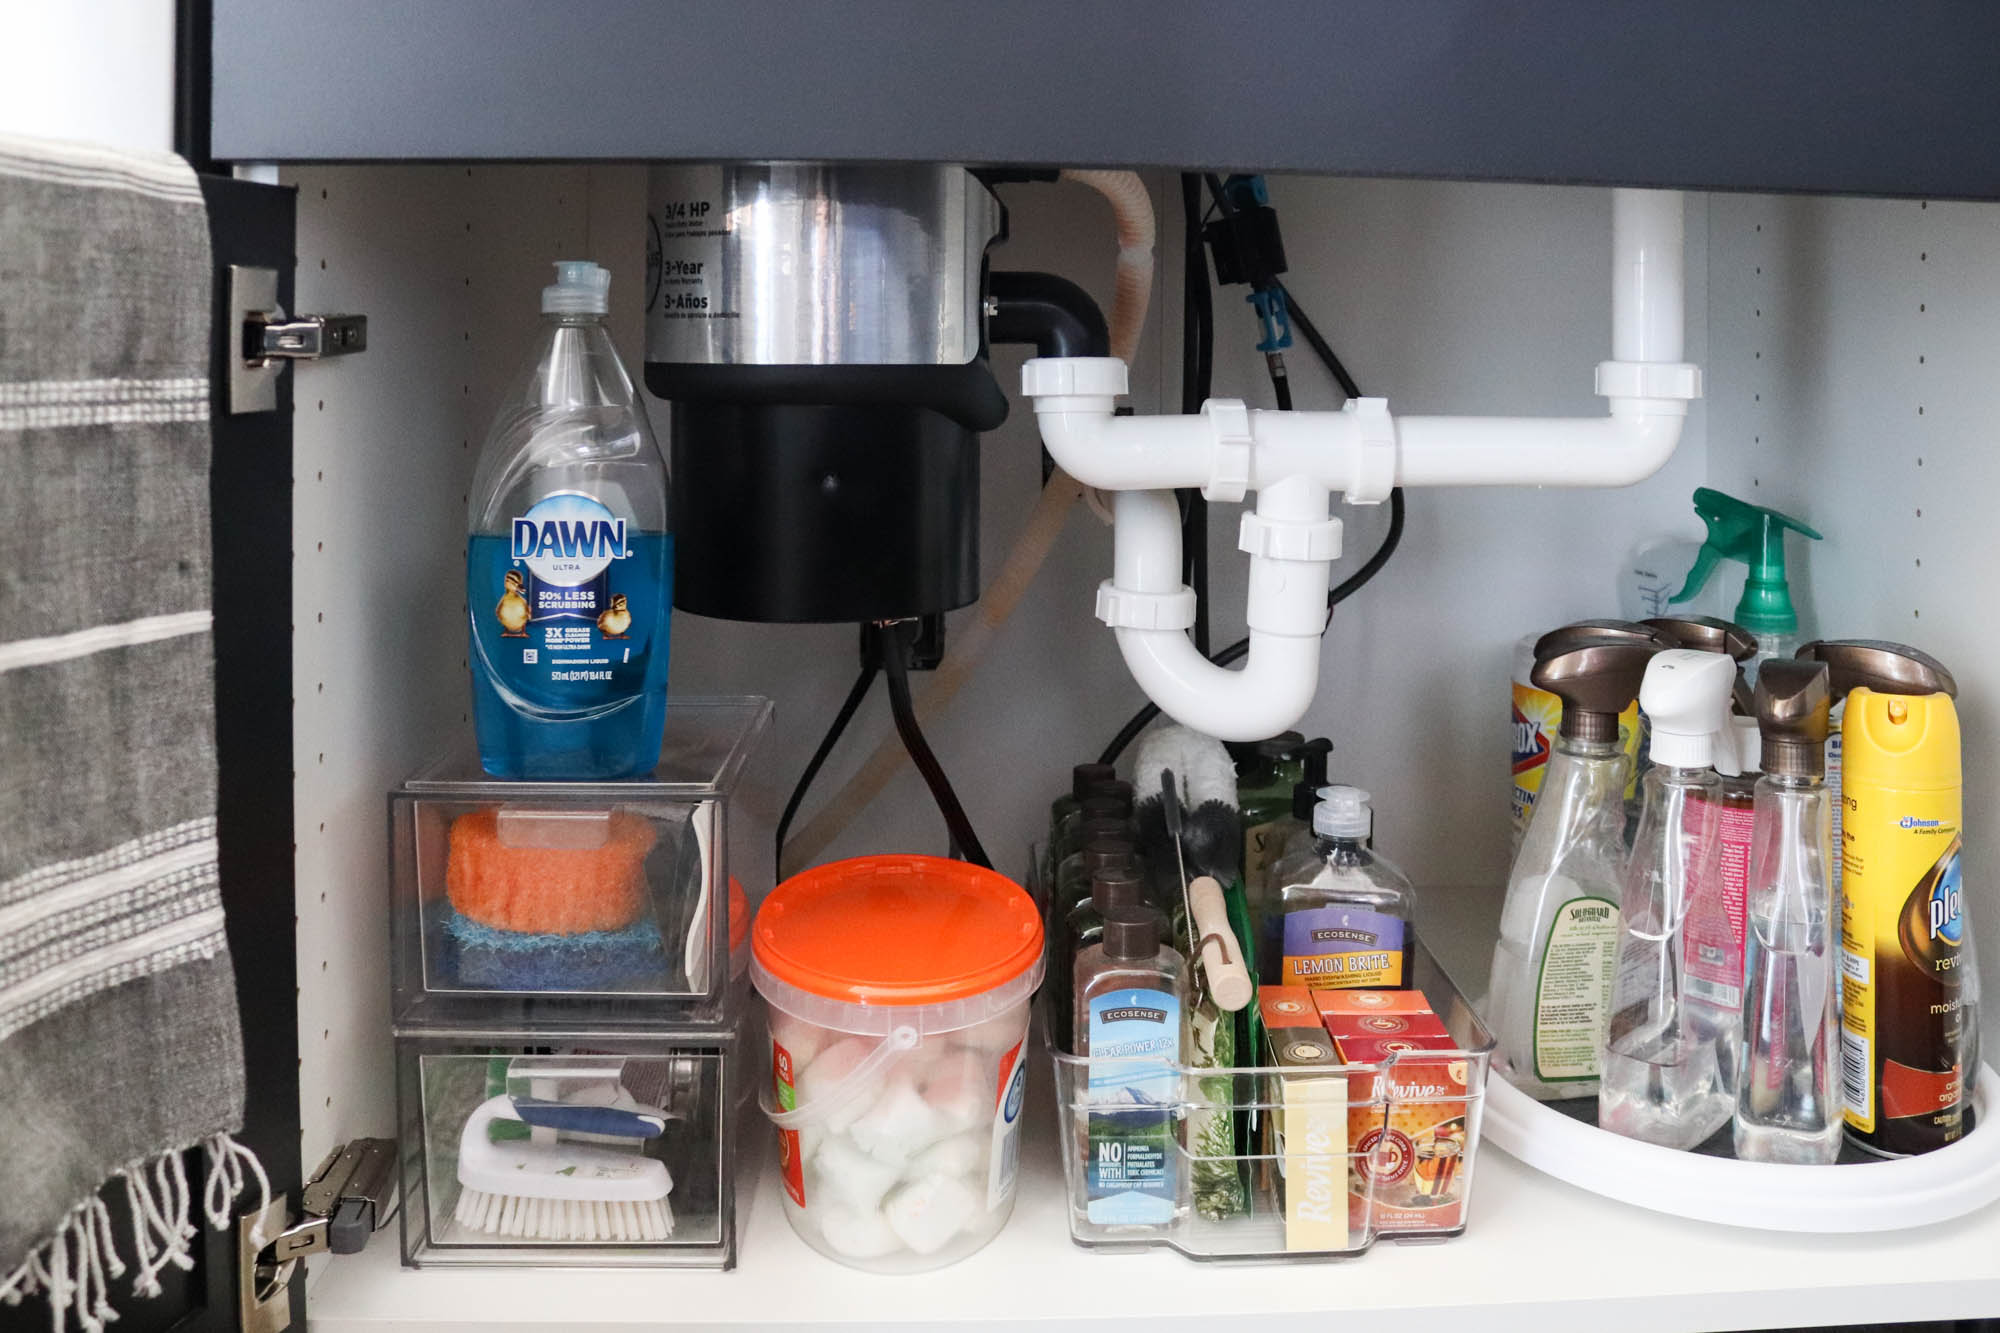
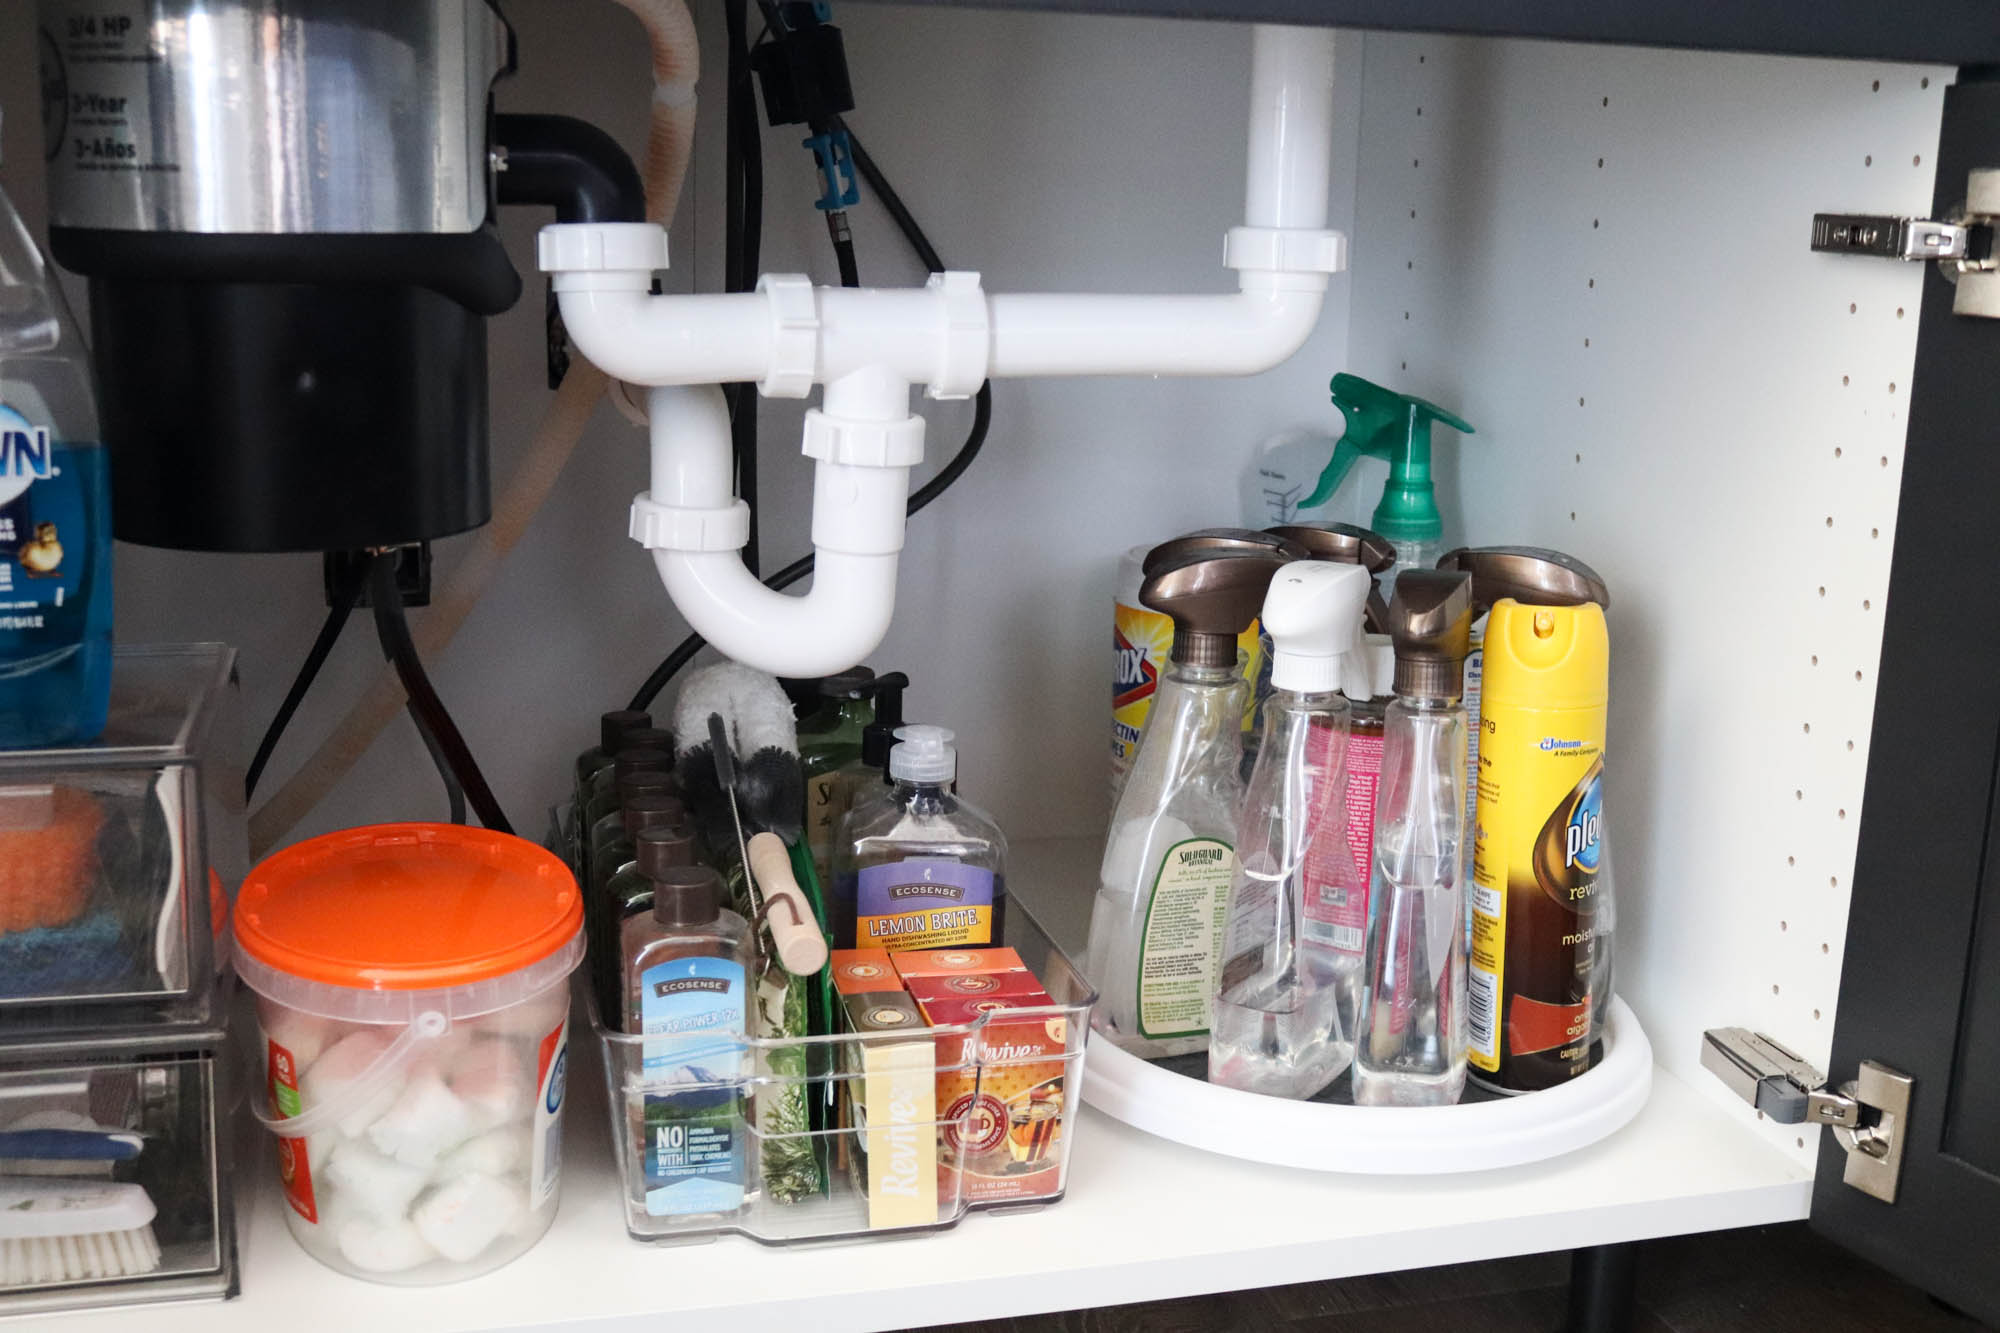
Now that I had a better idea of what needed to go back under the sink, I used some clear acrylic bins I had on hand to start organizing everything. I had previously used clear stackable drawer bins under the sink, and they worked really well for organizing our sponges, dish scrapers, sink stoppers, etc., so I kept those, but added another bin to store extra concentrate for our cleaners.

A lazy suzan was my only purchase for this project, and it’s honestly made all the difference. Instead of just setting all of our cleaners back on the cabinet and digging through them, which is what we did before, I placed them on the lazy suzan instead. The turntable makes it so much easier to find what I’m looking for. It also takes up way less space than when the bottles were randomly setting in the cabinet, and it keeps a natural order to things, making it easier to keep the cabinet organized as time goes on.

Another big thing I considered as I was putting everything back in the cabinet, was the natural order of how we use things. Originally, we had the dishwashing tabs, cleaners, etc., on the right side of the cabinet, but the dishwasher is on the left. When putting things back, I moved all of the dishwashing items to the left side, making it that much closer to the dishwasher. A small change, but in my mind it makes sense.
Step Four: Enjoy Your Organized Cabinet
With everything in place, it was time to step back and take a peek at our newly organized sink cabinet. It may sound silly, but just having this little section of the kitchen cleaned out and organized has really made doing dishes and cleaning more enjoyable. I know where everything is, and everything has a place. Todd can even find things now! 🙂


Affiliate links are provided below. Full disclosure here.
Here’s the supplies I used!
Want even more organizing supplies? Check out my Amazon Storefront! I’ve rounded up several of my favorite things!
Now that we have this cabinet done, I’m motivated to keep working my way through our kitchen cabinets and drawers. There’s a few drawers that are just plain scary, and I’m anxious to find a better system for our small kitchen. More on that soon… but in the meantime, I’m enjoying the outcome of this simple little organizing job!
The organizing is great but your black cabinet refinishing is stunning!
Hey Shayna
When things are organize it does make you feel better about cleaning the kitchen or any room
It looks great! You did a great job.
A little here and little there and before long it will all be done and organize ??
so many ads covering the photo’s I just gave up!
Thank you for the feedback, Carolyn! Reader experience is important to me. I’ll take a look into the advertising side of the website.
I agree with you, I feel if a cabinet is organized and things are easy to find, I’m happy. And…I see, I use the same cleaning products as you, Melaleuca!