Painting The Laundry Room And Installing Cabinets
The last time I shared a laundry room update, we had just installed the new black slate tile, and the room was officially ready for paint and cabinets! You may remember from when I introduced the house, but the original laundry room was actually just a little section in the garage. There wasn’t a room, or barely even a designated space. With the tiny fourth bedroom downstairs that was hardly big enough for a twin sized bed, and a serious lack of storage in this house, we decided to move the laundry downstairs and put the fourth bedroom to good use.
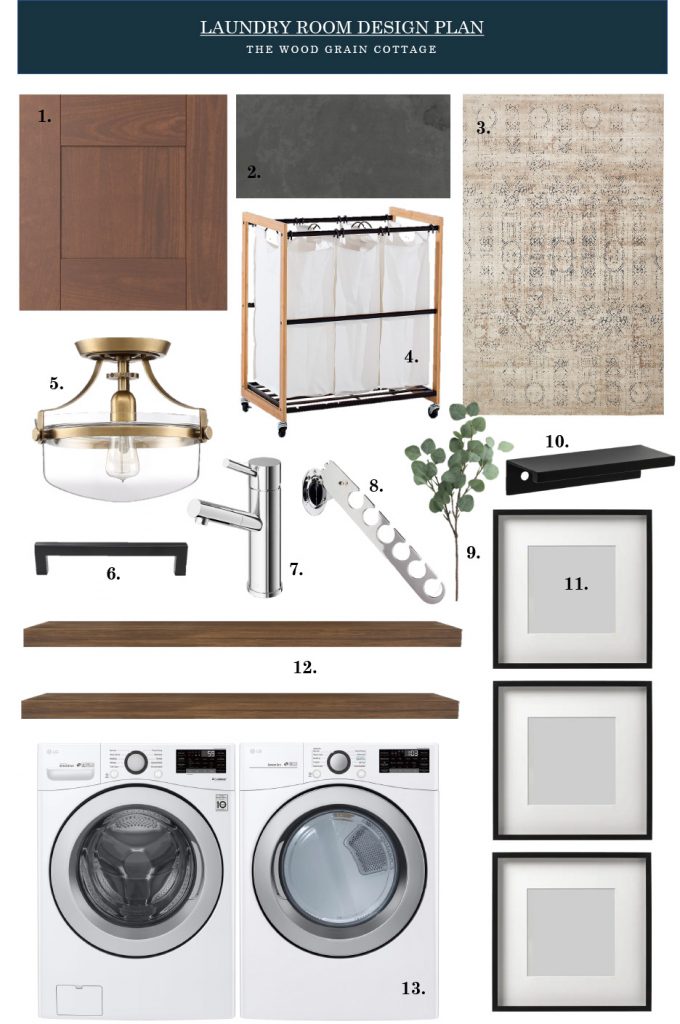
I shared our original design plan here, but as things normally do when you’re knee deep in fixing up a fixer upper, the plan will often change.
With a few other large cost projects coming our way, we decided to save some money on the cabinet fronts and go with doors from Ikea rather than Semi-Handmade. That meant things would change a little bit and would look more like this:
I will say, that picture of the door is way more red than what they actually are in person. We made a trip to Ikea last weekend to see our options in person and to make the final decision. More about that in a minute, first let’s talk about painting.
I wanted a soft color for the room, so after painting a few samples on the walls, we decided to go with the main house color, Gray Mist by Benjamin Moore. It’s such a fabulous color.
Since the tile had just been installed, we painted this room by hand. I laid down plastic, and started working on the ceilings first, and then the walls.
I used a flat ceiling paint for the ceilings, straight out the can from Clark & Kensington.
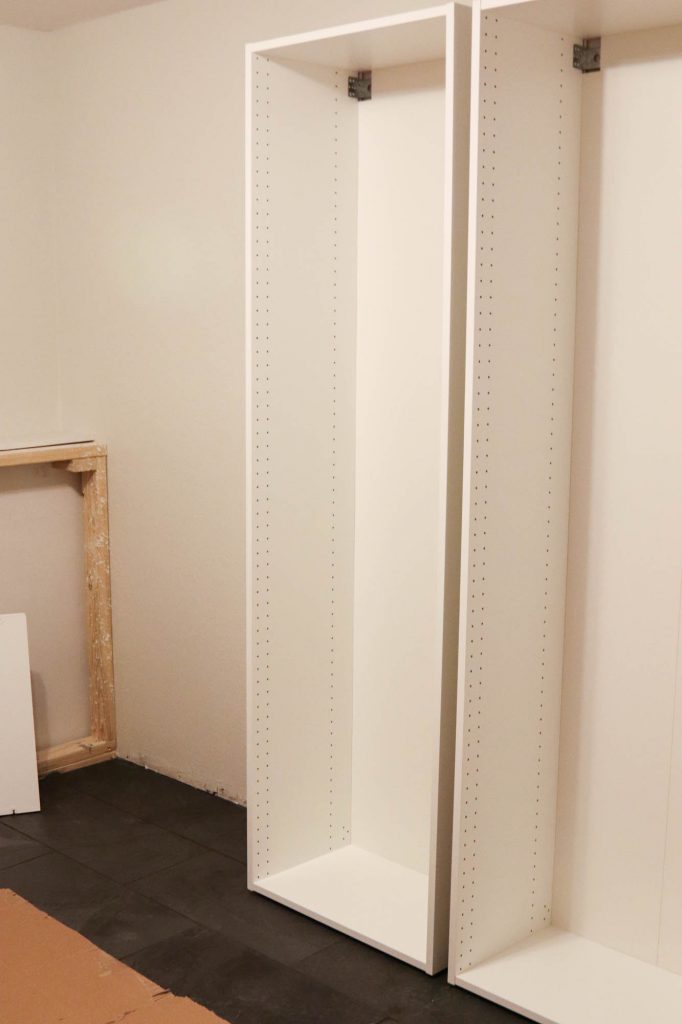
Once the walls were dry, it was time to install the cabinets. Since we went the Ikea route, we had to put everything together ourselves. I’m planning on doing a more in depth tutorial when we talk about the kitchen.
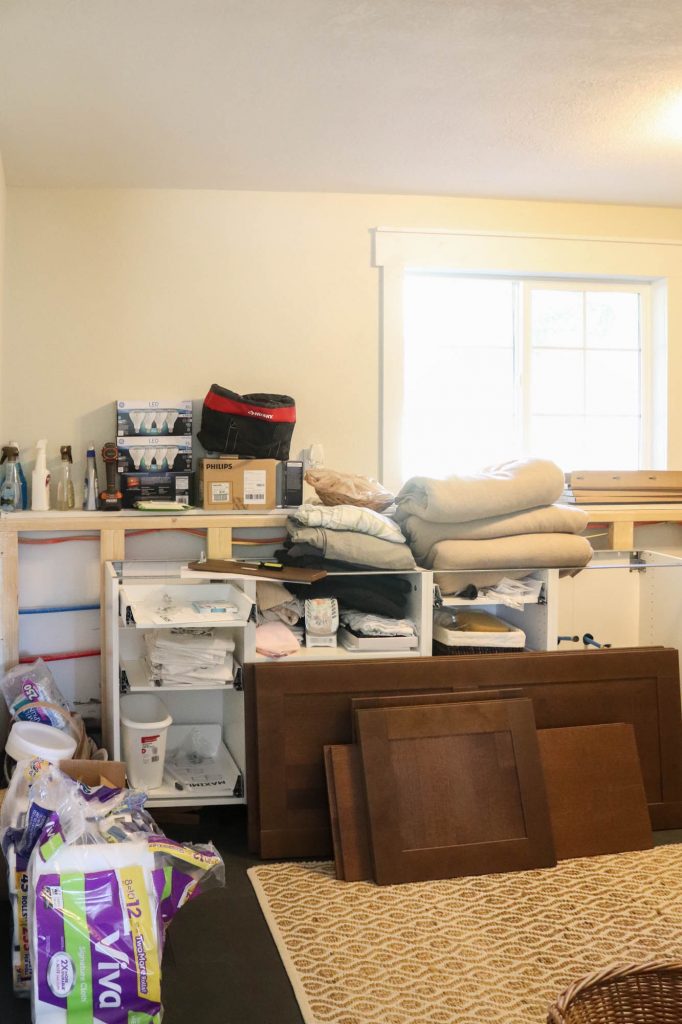
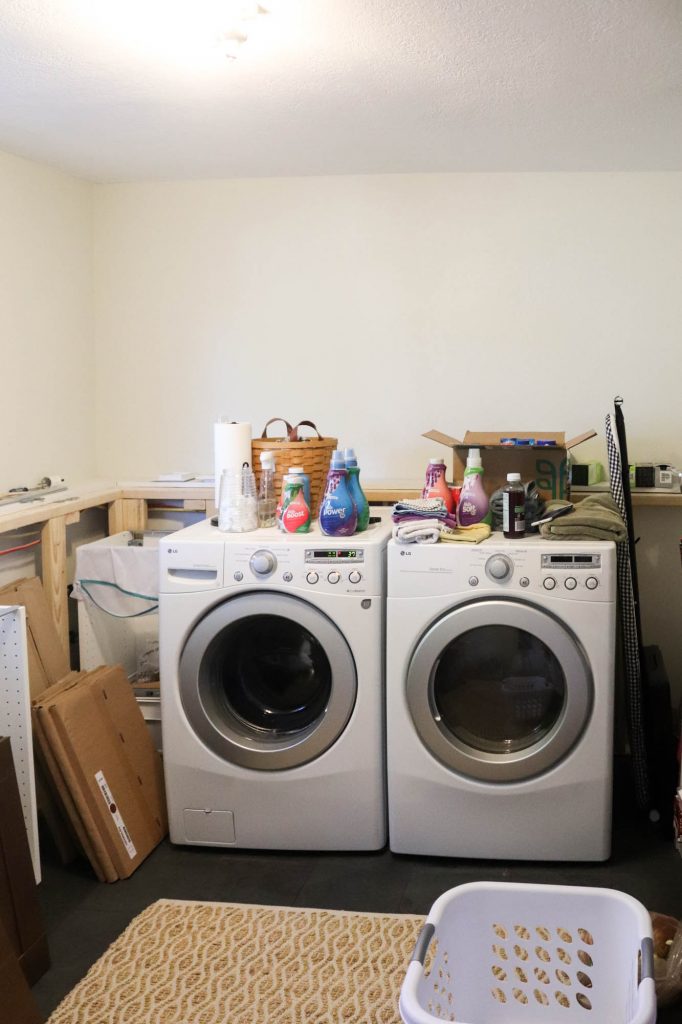
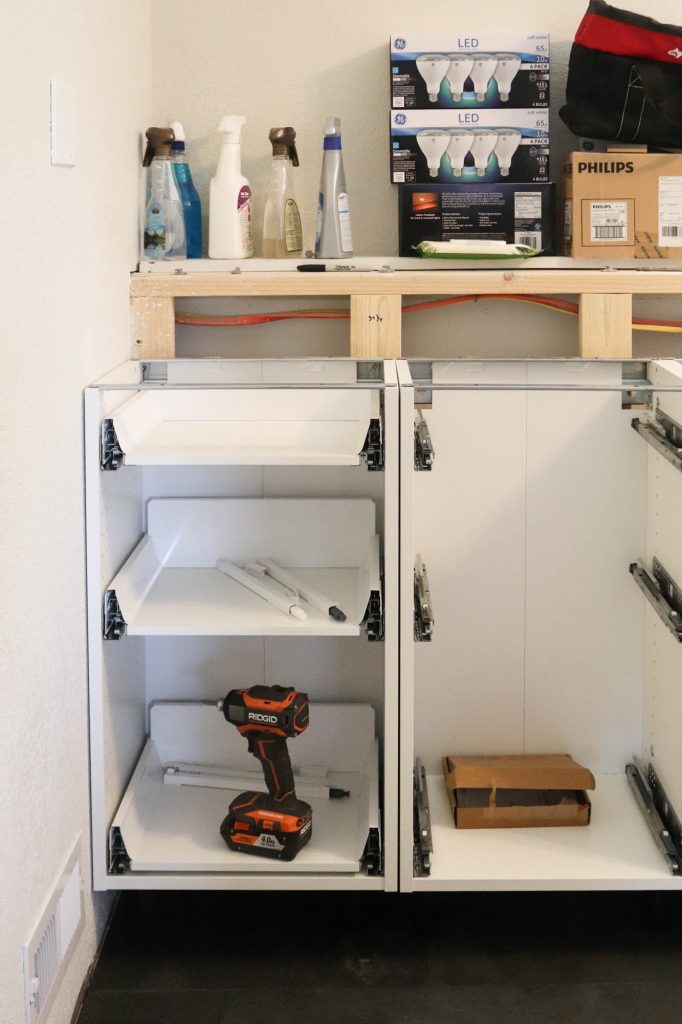
Once we had the cabinet frames built and installed, the room sat like this for about three months. You may remember when I shared it in our very first home tour…
To say it was making me crazy was a huge understatement. We needed the doors to be installed, badly. Without them, most of the cabinets weren’t functional, especially the drawers.
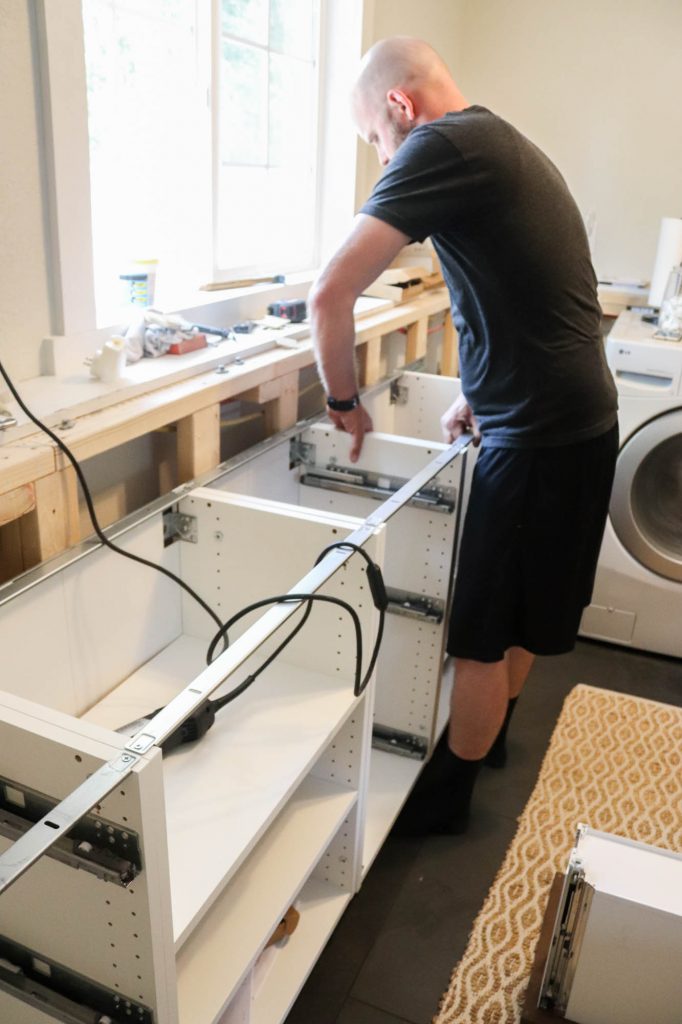
I did decided to slightly change the layout of the cabinets to squeeze in one more cabinet, so that meant even though we had the cabinets installed, we had to take them off of the rail…
We moved the rail down and altered things to fit the new cabinet…
And then we started reinstalling the cabinets…
At least it went faster this time since we knew what we were doing, but the biggest tip I can give you is to have fun and not take yourself, or the process too seriously. Smile. Laugh. It helps.
We had to re-notch the back of the cabinet where the sink will eventually go, and shout out to Todd for handling all of my changes like a champ.
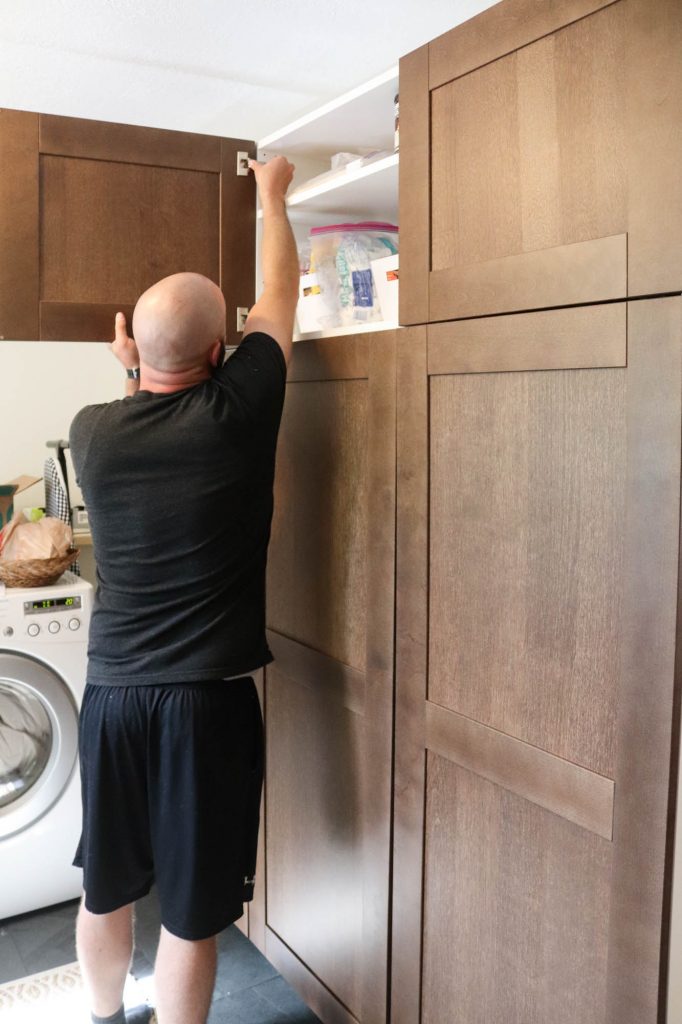
While he did that, I started working on installing the hardware for the new doors and drawer fronts! Praise God, we finally made it to this point!!!
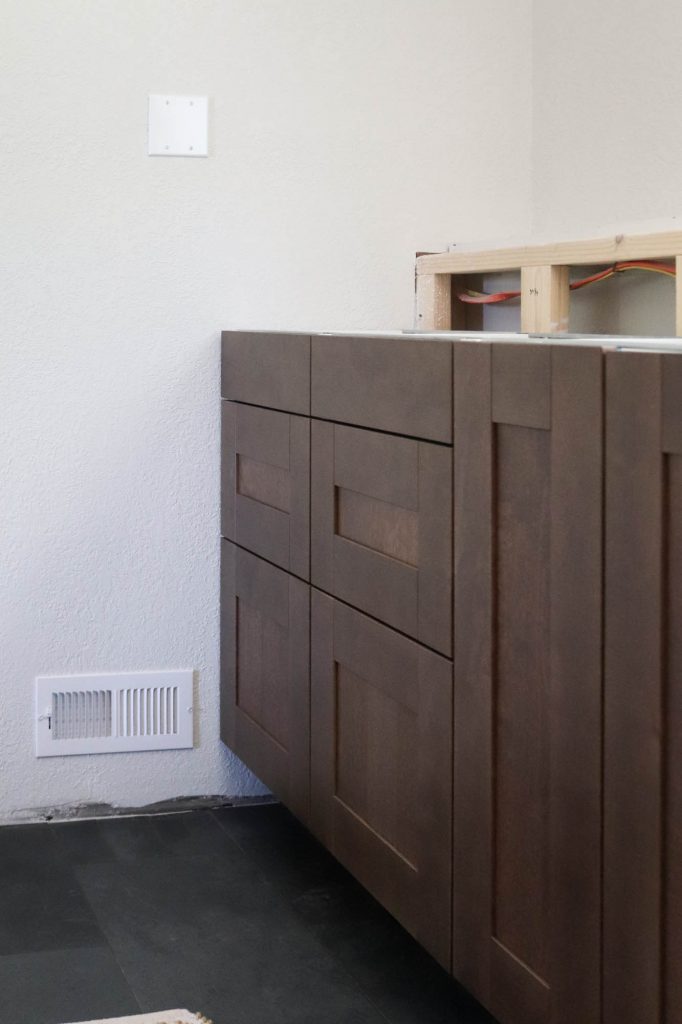
Here’s the new end cabinet, in all her glory. In the long run of things, it was totally worth redoing it all so we have more storage space. Sometimes I wonder what I’m thinking when I start planning out a space. I mean, why not just have the cabinets go all the way to the wall?
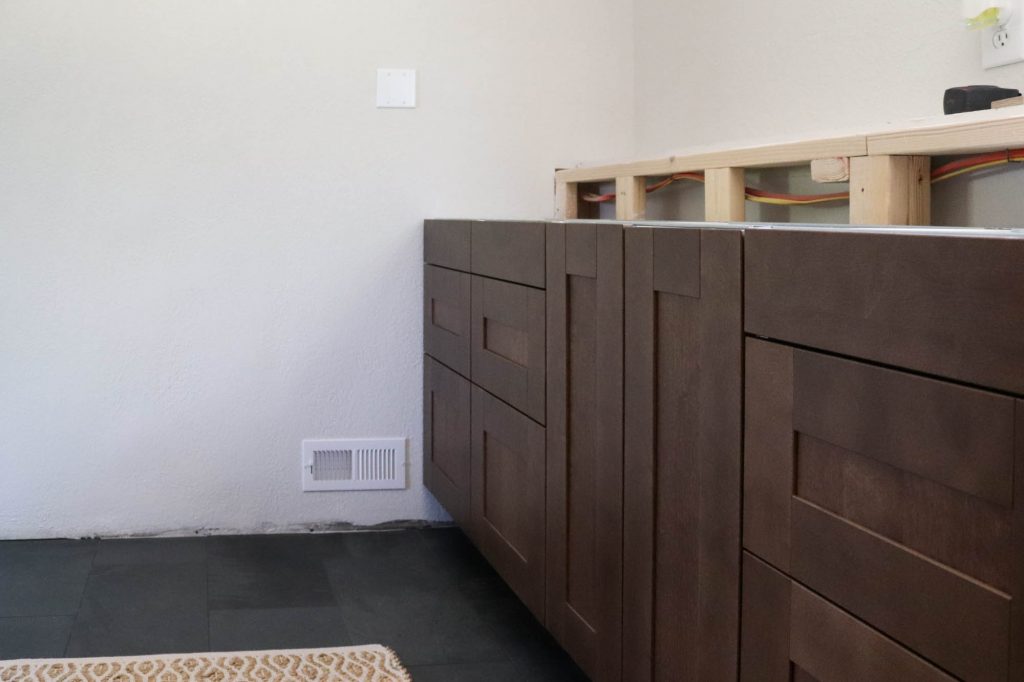
We did need to leave a slight gap against the wall and the cabinet to make sure the door would open past the vent cover (mainly the screw holding it in place).
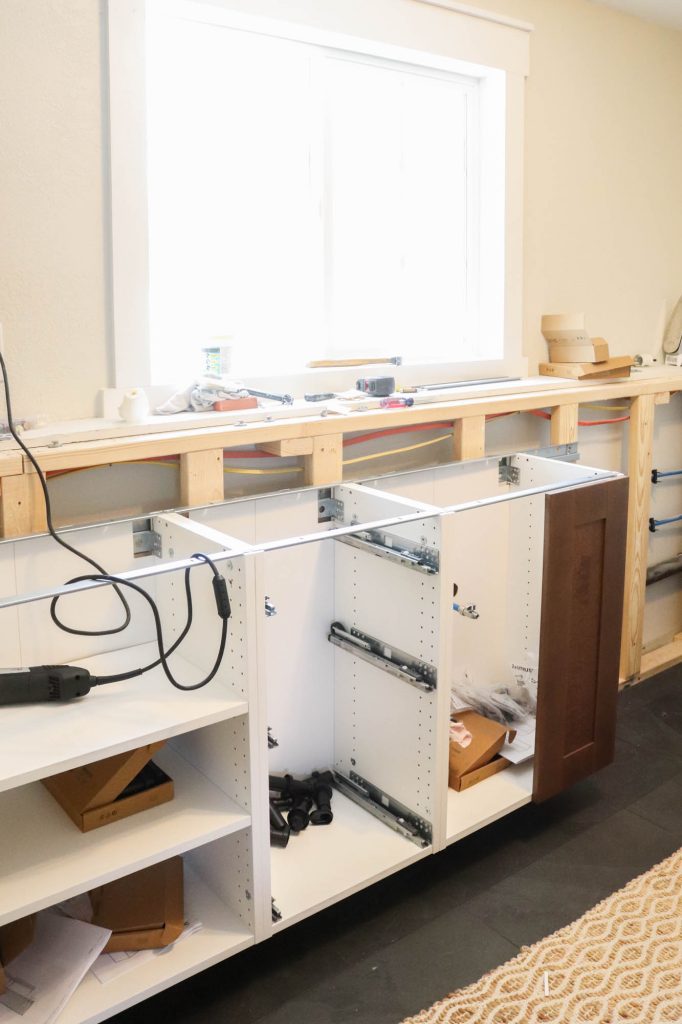
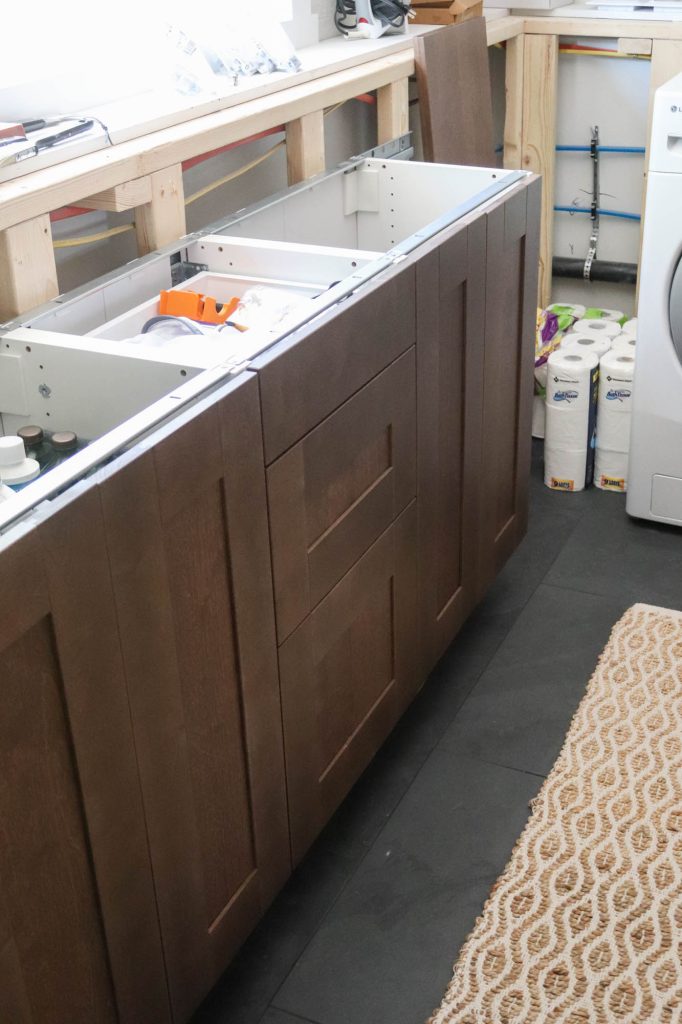
We added the other cabinets, then started screwing them together to remove any extra gaps…
Then, it was time to start adding the doors and drawers…
I didn’t get very many pictures of this process because I was too busy celebrating the fact that we could now actually use the cabinets. This was a long time coming.
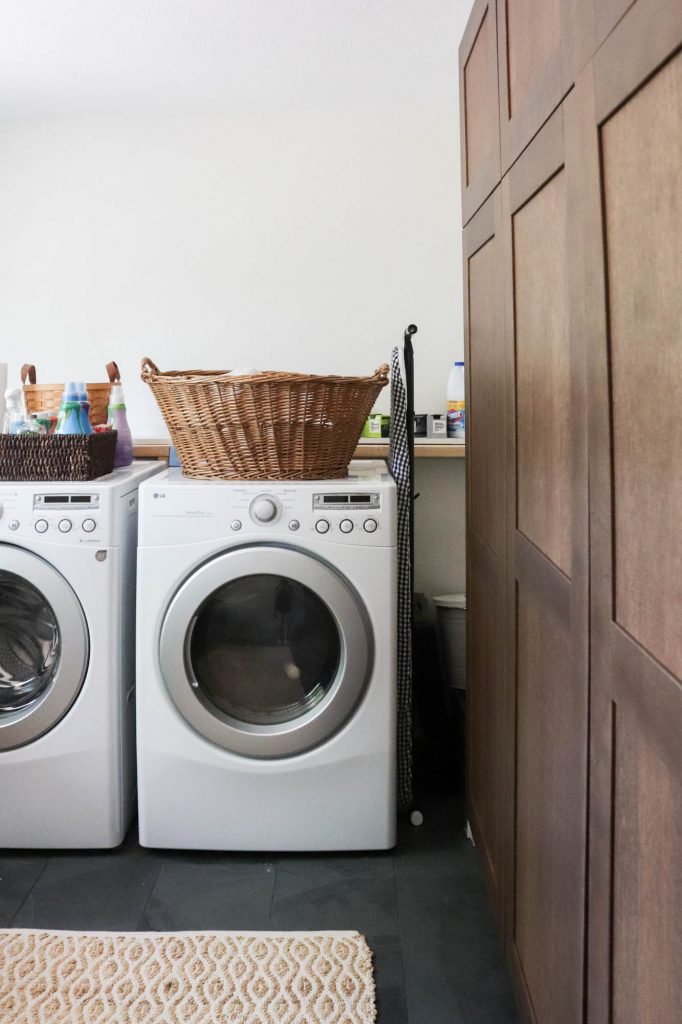
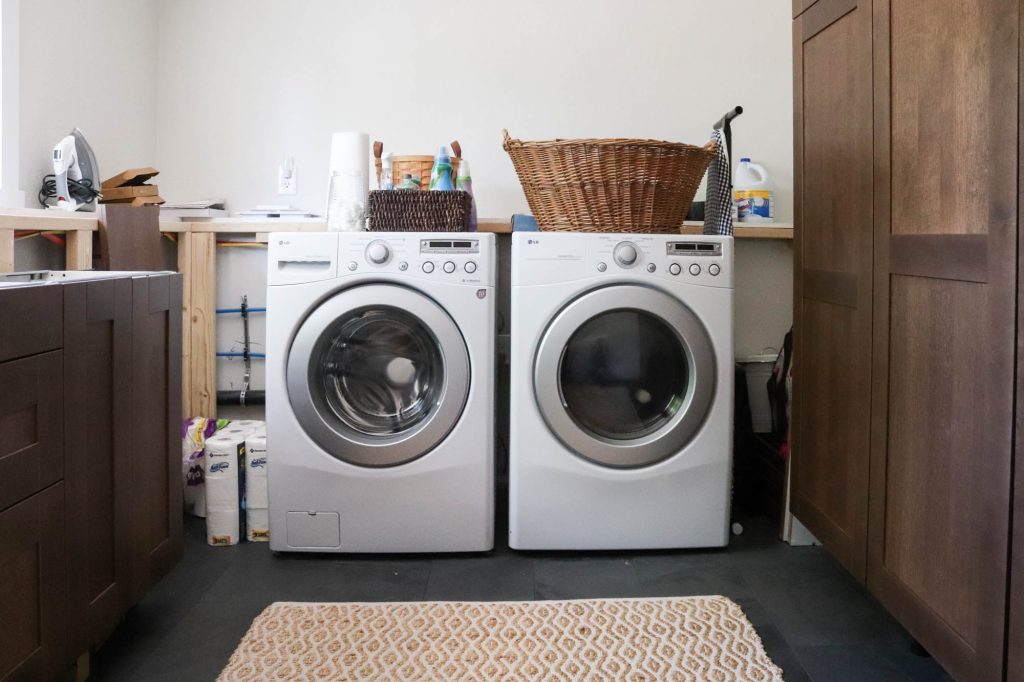
We still have sooooooo much to finish, but seeing the laundry room with doors gave us both a huge rush of excitement and motivation.
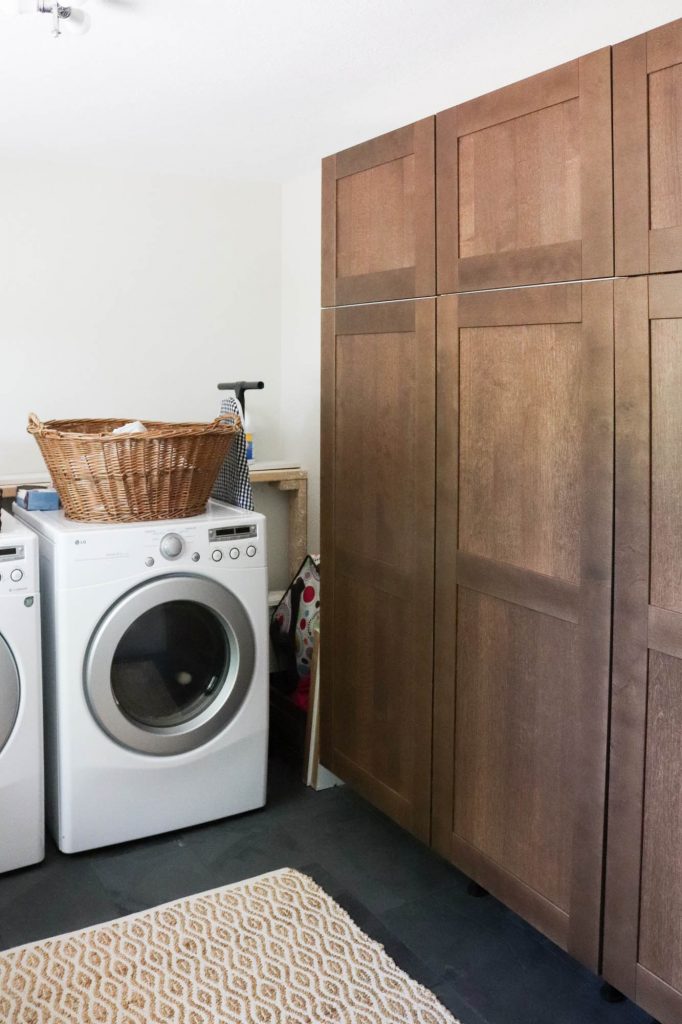
Here’s a little back story on the cabinet doors… we went to Ikea with the intention of buying the doors, but since it’s 4 hours away, we really didn’t have the option of getting sample doors to see in the space and make a final decision. I was honestly leaning on black doors, but Todd really liked the wood doors. Knowing we had black in all of the other rooms, I let him have the final vote. It was so fun seeing how excited he was, even if he doesn’t do the laundry.
And with the black tile, they do look really sharp…
We still need to add the toe kick, end panels, trim everything out and add countertops and hardware, but I can’t even tell you how major it is to have the doors on.
If we’re honest, this is a quirky room with the half walls built out for framing and plumbing. We still have a few other decisions to make, but it’s so much easier to make them now that we have things more set and in place. I can’t wait to see it all come together. I’m just praying it’s not another three months before I’m sharing the countertop installation… especially considering it’s in the living room waiting to be installed.
Hello progress, meet the new laundry room!








Y’all are so darn cute! So glad hubby was happy with the brown cabinets! They look great! Hope the counter gets installed very soon, they doesn’t have too far to go! ?
So excited! Can’t wait to see it all done. Looking good so far.
It looks great! And the Ikea doors look just perfect, plus you saved money. Also nice to see a smiling husband working on things. Blessings and can’t wait to see more of your house! Oh, almost forgot. The outside is simply stunning! Your home has come so far!
Nice job, lookin’ good!
Looks great! I can’t remember why you are putting the lower cabinets in front of that bump out. How will you do your countertops? Can’t wait to see the finished product!