How To Make A Floral Letter
Today I’m sharing how to make this easy, gorgeous floral letter! This makes the perfect addition to your décor for any party or gathering, or can simply bring a pop of color and texture into your home.
Happy Thursday friends! I hope you’ve had a great week. Sorry about the radio silence on the blog this week. I’ve been working hard to get everything finished up for my e-book launch, which takes place on Monday, May 30th! It’s coming fast! If you want to read more about it, click here.
For today’s project, I’m focusing on one of the décor items I made for the baby shower I hosted for my cousin a few weeks ago. When deciding on the theme for the baby shower, I kept going back to florals… and that worked especially well since my cousin is having a baby girl.
Since they already had a name picked out, I decided to combine the floral theme I loved, with the baby name. As a result, I had this adorable floral letter. O is for Olivia! 🙂

Please note: Some of the links in this post are affiliate links, which allows us to make a small commission from your purchase, but your purchase price stays the same. Thank you for helping support our blog! We greatly appreciate it!
It was really quite easy to make, took minimal time, but looked amazing. Here’s how I made it…

I started by gathering my supplies:
Cardboard Letter: Mine was about 22″ tall. This one is similar. (Unfortunately, they don’t carry all of the letters.)
Faux Florals: I bought mine at our local craft store, but check craft stores. I used a variety of floral stems and bushes.
Dry Floral Foam Blocks: I had several laying around from past projects. These are similar.
Razor Blade or Knife
Optional: Hot Glue Gun
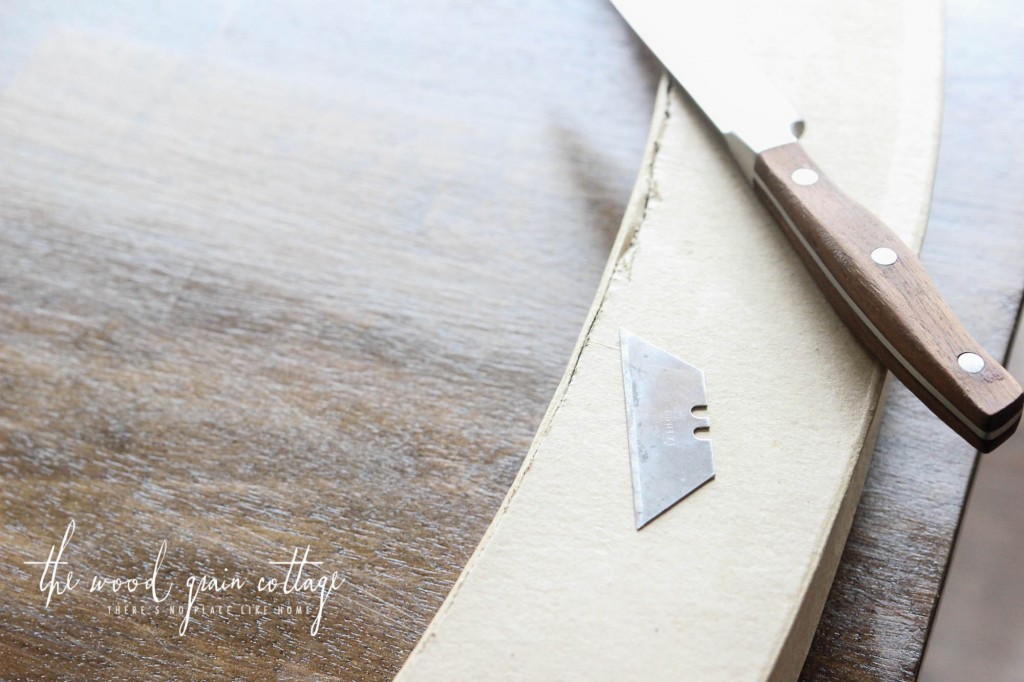
To start, I began cutting open the cardboard letter. This is where the razor blade came in, and I did find both the razor blade and the knife useful. I think it depends on what you feel more comfortable with.

I ran the blade right along the edge of the cardboard letter (see above image), and I could feel where I needed to cut based on the slight gap between the side wall and top wall of the cardboard. I followed my way around the entire O.

Once the top was cut from the frame, I was left with this…

The cardboard piece in the middle just lifted out, so once it was removed, I had a perfect opening in the O….

Next, I started using the dry foam to fill in the gap…

To get the right height of the foam so that it fit into the O, I just stuck the foam block inside the frame…

And used the razor blade to cut it at the right height…

It’s really easy to cut, and once you score it, you can basically break it apart. I followed that same pattern until the entire frame was full…

I filled the frame as full as I could, breaking off small pieces of the foam to stick in any slight gaps. I was left with this…

Next, I started preparing the flowers…

It worked best to trim the flowers, so I left about 2 to 3 inches of the stem…

Then I just stuck the flowers into the foam. You could also hot glue them in place as well, but I had a tight fit, so I didn’t think it was necessary. However, if you plan on using it more than one, or want to hang it outside, I would highly suggest using the hot glue. It will be more stable.

To fill in with flowers, I just randomly stuck them in place throughout the letter…

I mainly used pinks, blushes, and some peachy colors for the flowers, but I did add several white flowers for a pretty variance. I didn’t use any rhyme or reason, but just made sure to spread them throughout the letter, making them vary in size, shape and texture.

There were a few small gaps throughout the frame, so I filled them with smaller flowers…

Adding the flowers took minimal time, and before I knew it, the letter was filled with beautiful flowers…

I had it ready a few days before the shower, and I thoroughly enjoyed it. When it came time for the actual baby shower, I just simply sat it on the shelving in our dining room…

It added the perfect pop of color and texture, and I loved that it really made the house look feminine…

Perfect for a baby shower….

The colors were perfect too, which made it easy to add other decorations…


It also served as a lovely addition to my baby shower gift. I let my cousin take it home, and I love that I was able to give her such a personalized decoration for the nursery…

There you have it… My simple take on baby shower décor. I did do a few other things too, and I’ll be sharing more tomorrow, but this beauty was center stage. 🙂


Ah I love this! Great idea 🙂
Too cute and so pretty!
Adorable! Clever to cut open letter O…I would have bent a wire frame into an O.. Shape. I like your style!
Super darling!! Really couldn’t be any prettier.
This is so pretty. I invite you to share at my Thursday link party ( you can link up until midnight on Saturday) Hugs p.S. pinned!