
Easy Double Sided Pillow
Living in a small town can sometimes create a challenge for shopping. Luckily, we have a really nice craft store that eases my frustration from time to time.
And that craft store just happens to have a great selection of fabric. I always check the remnant bin when I’m there. It’s a great way to score fabric at a really decent price. The only problem is, the fabric pieces aren’t overly large, which can really limit the type of projects they can be used for.
The other day I found a darling piece of fabric. It was only a $1.00 and I loved the pattern the second I saw it. I knew that I wouldn’t be able to do too much with it since it wasn’t very big, but it was big enough to create a double sided pillow.
🙂
I picked a neutral fabric that was chock full of texture for the back side and decided to use my new fabric for the front. I love the way that it turned out, and it was sew easy to make!
Here’s how I did it:
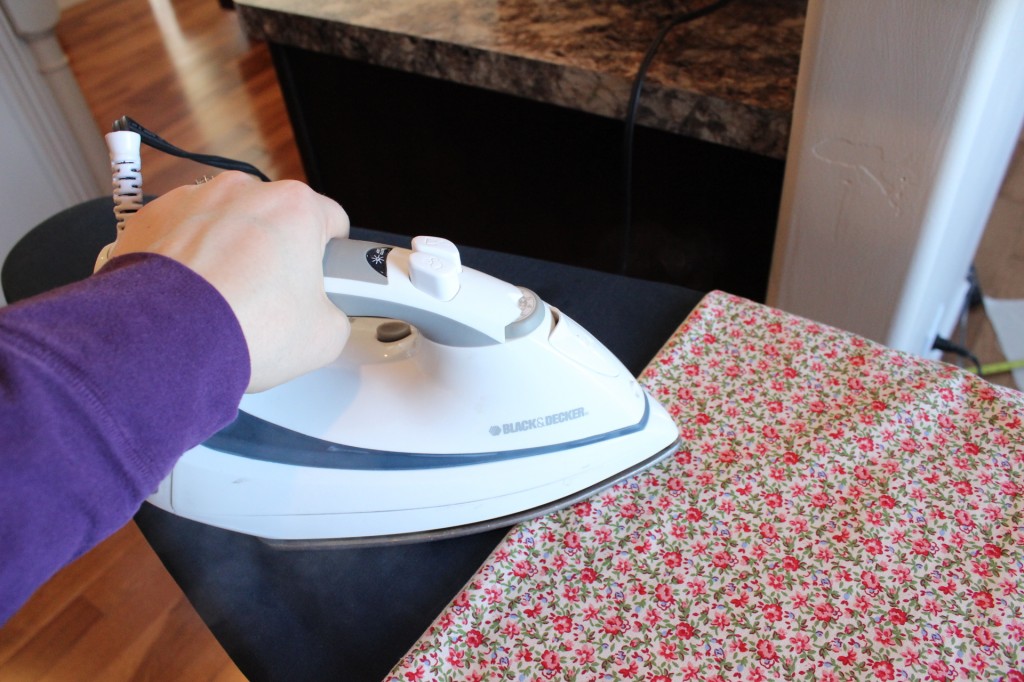
First, I ironed my fabric making sure to remove all wrinkles. If you plan on washing your pillow cover frequently, I would suggest that you pre-wash your fabric. But if you don’t plan on it, skip it. Which is what I did. 🙂

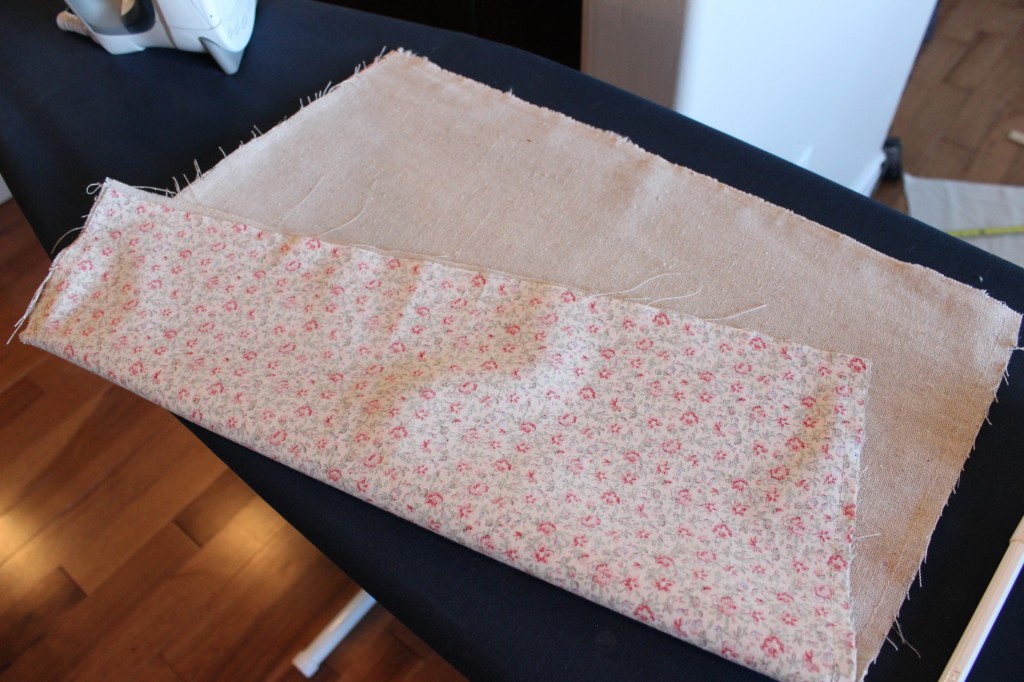
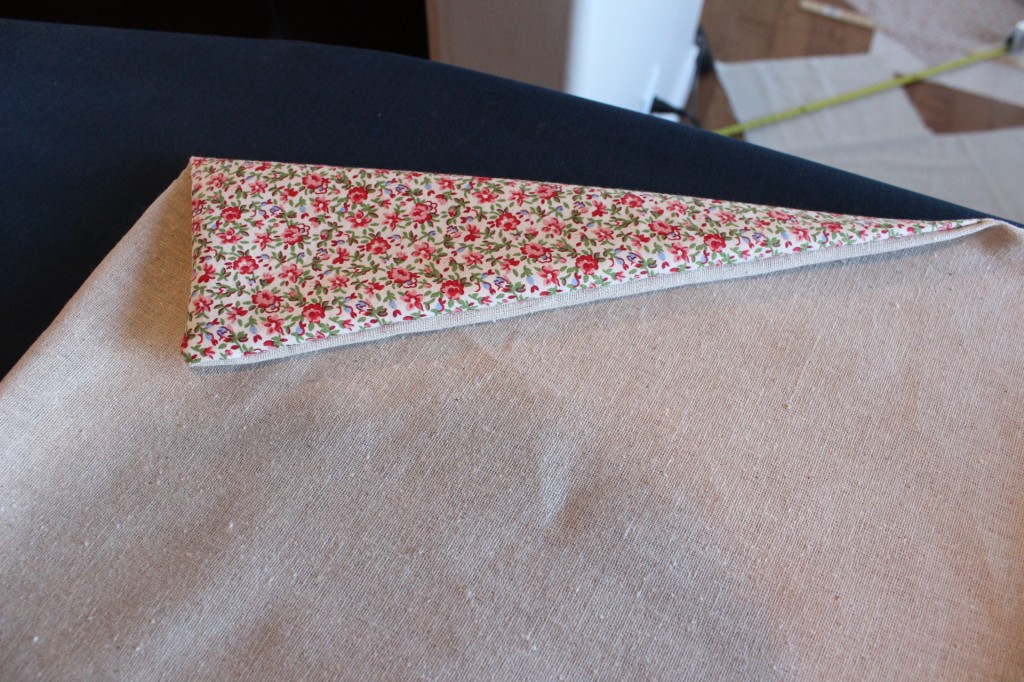
Then, I measured my pillow form, which was a 14″ x 16″ insert. I added an extra inch to the length and width for a seam allowance. Because I wanted my pillow cover to be double sided, I measured the entire piece of fabric the full length that I needed. Then I divided it in half. From there I knew that each piece of fabric would need to be 15″ long x 17″ wide. I measured and cut my floral fabric first.

Once that was done, I measured and cut the second side using my floral fabric as a template.


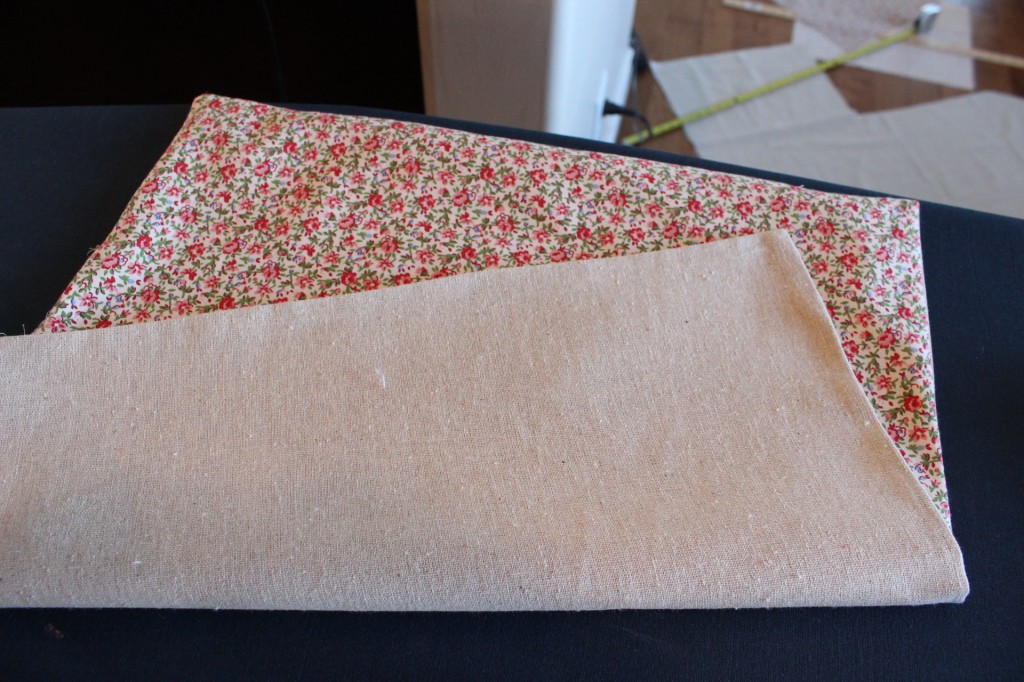
I pinned both of the fabric pieces together with the right sides of the fabric placed together. Then I picked the bottom side for my pillow cover.

On the bottom of the pillow cover, I measured 3 inches from the outside of each side and pinned it to mark the spot. With both sides pinned at three inches, that left a large gap in the middle which would later be used to stuff the pillow.

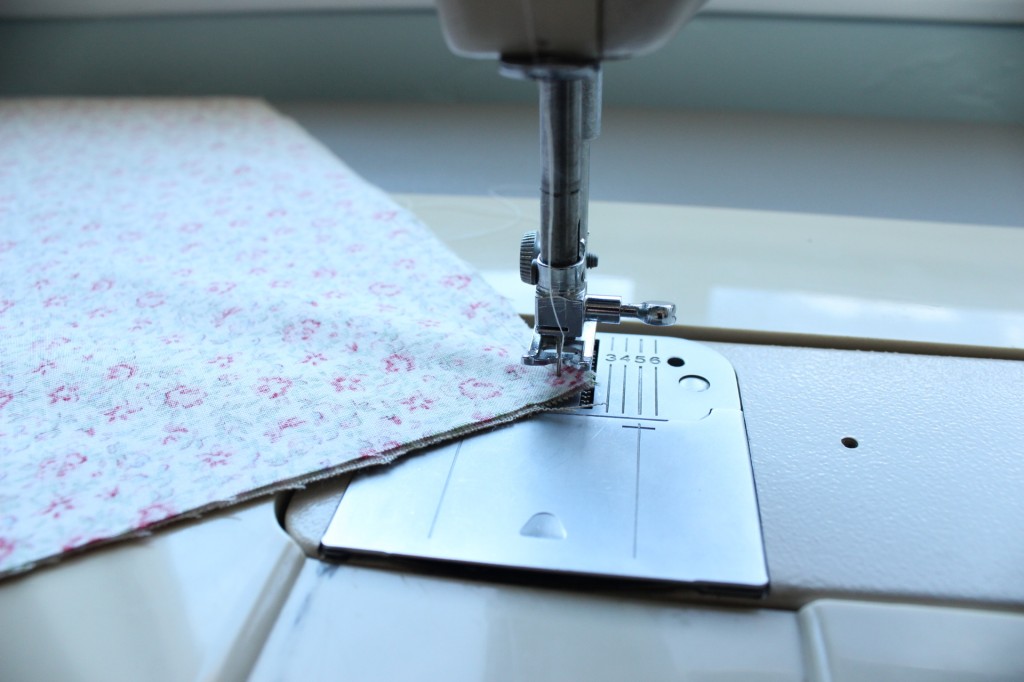
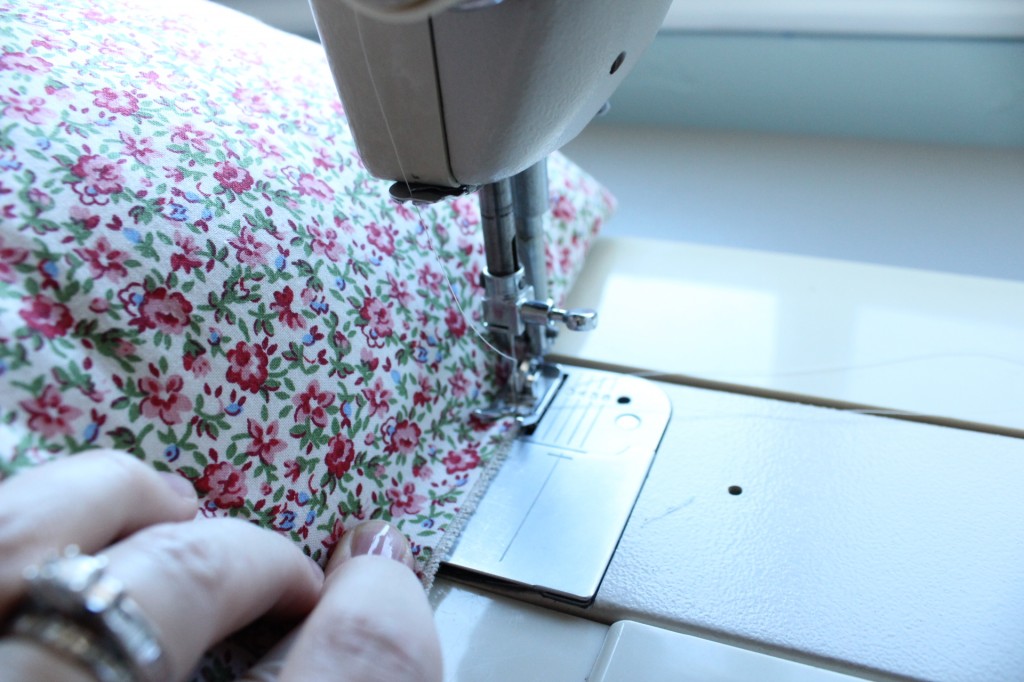
Next, it was on to sewing! I started on the bottom right corner and used a continuous stitch for the whole thing.

Once I had stitched along the first part of the bottom and reached the corner, I lifted up the foot of the sewing machine, leaving the needle in place, and turned the fabric to sew the next side.

Then, I did the exact same thing on that side. Once I reached the end, I lifted the foot, leaving the needle in place, and turned the fabric to start the next side.
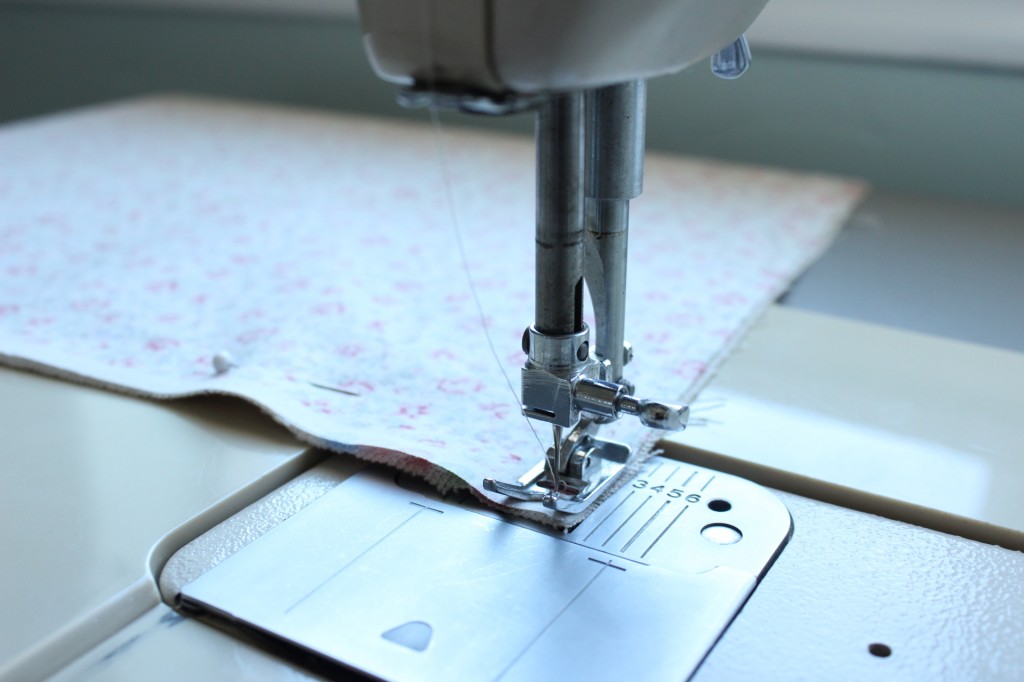
As I started on the last side (the bottom), I reached the pin marking my stopping point. I lifted up the foot and needle, which gave me one continuous stitch for the whole pillow.

I cut each corner, above the seam, to make a nice square corner when turned right side out.

Next, I turned the cover inside out and used a pencil to gently push the corners square.
With the cover turned right side out, I grabbed my iron and pressed each side flat.
From there, I grabbed my pillow form and started stuffing it inside the small section I left open.
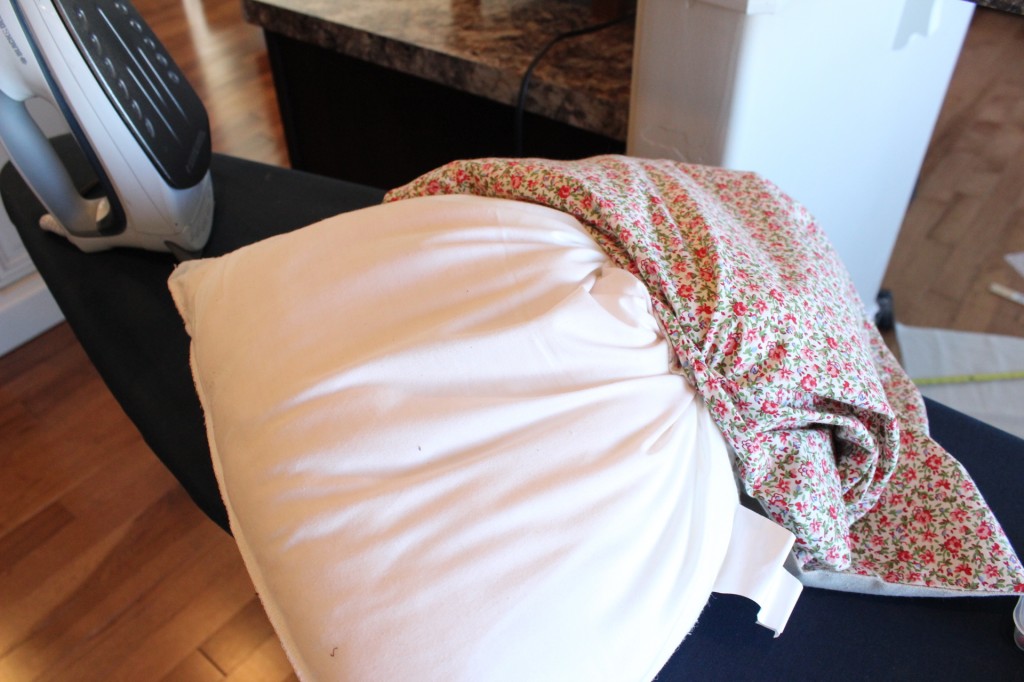
I promise, it will fit!

With the pillow form inside the new cover, I made sure the pillow insert was even throughout the cover and headed back to the sewing machine to sew the gap closed.
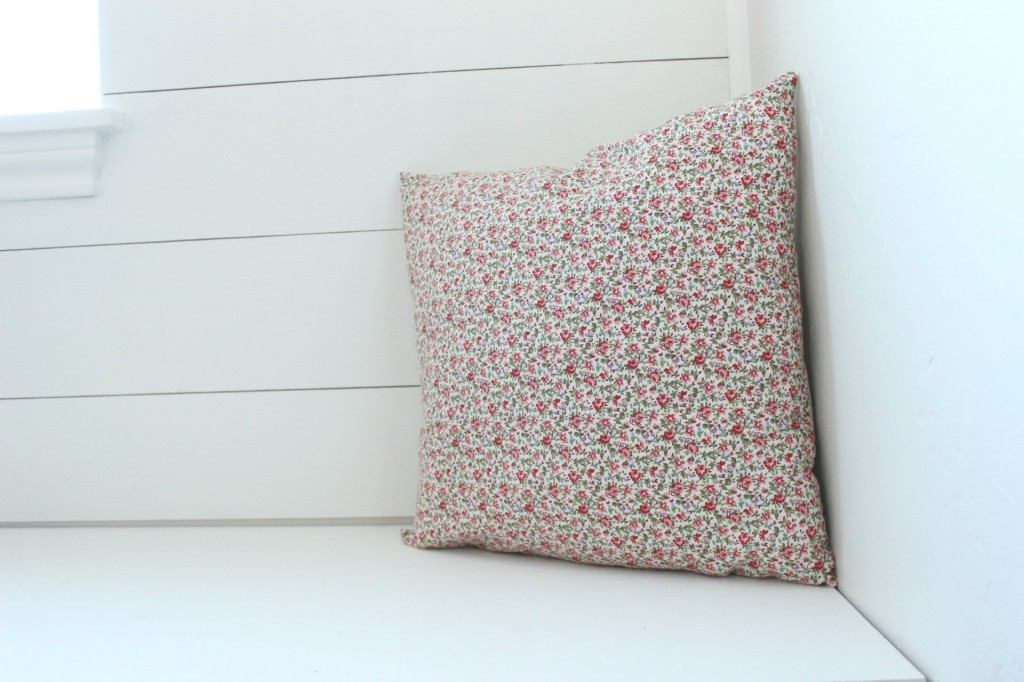
Once I had that finished, I fluffed my pillow a bit more and called it done!

I love how it turned out and it’s found a new home in our breakfast nook.
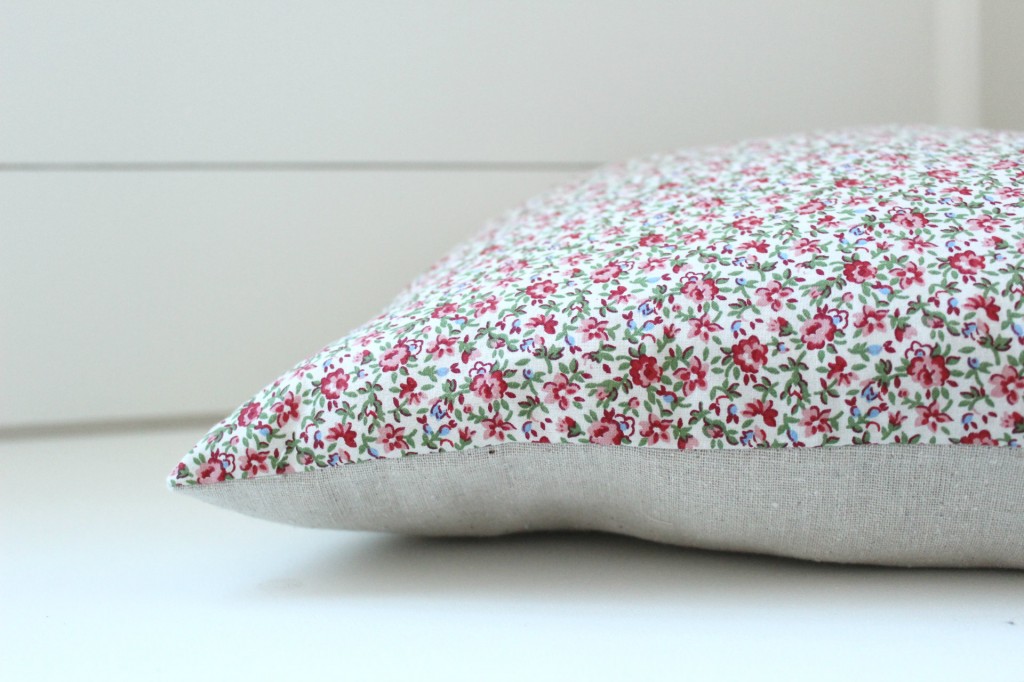
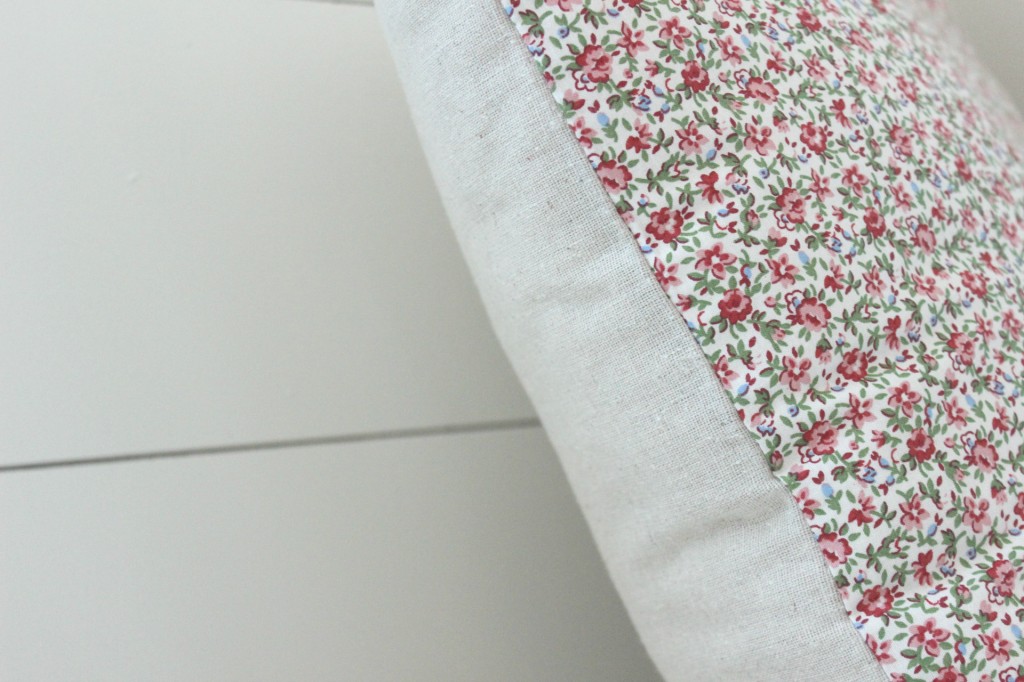
Look at that texture. Yummy!
It’s such a happy surprise with the two sides.
And I must admit, I’m pretty proud of that straight seam. My sewing skills are getting better. Happy dance.
And that, my friends, it how you make a two sided pillow!
Not as difficult as you thought, right? Easy peasy.
And that’s one pillow cover that’s left me smiling big time!

Psst- You might have noticed that the breakfast nook cushion is missing- and for good reason. It’s getting a new cover. More on that later.
🙂
Linking up to:
beautiful, it looks great as always!
Awe, Thank you Ingrid! Big smiles to you! 🙂
-Shayna
Beautiful pillow! I love the fabric!
Thank you Maria! I love the pillow- and the fabric too! 🙂
-Shayna
Great tutorial for your sweet pillow! If you haven’t already had a chance, I’d love for you to stop by and share it at the 100th Tuesday To Do Party over at The Blackberry Vine! http://blackberryvine.blogspot.com/2013/02/tuesday-to-do-party-100-99-list-makers.html
Smiles!
Jami
The Blackberry Vine
http://www.blackberryvine.blogspot.com
Thank you Jami! I’m glad you liked the tutorial! I am headed over to your blog right now! 🙂
-Shayna
Your pillow turned out lovely. The fabric is so sweet. Very nice job.
Have a Wonderful Day,
Suzanne
Awe, thank you Suzanne! Such a sweet comment!
I hope you have a wonderful day too! 🙂
-Shayna
Very pretty! Love it to freshen up a space. Stopping by from TT&J
Thank you Carrie! So glad you stopped by! 🙂
-Shayna
So pretty!
I have a weekend Link party if you’d care to join:
http://www.bobijensen.com
Thank you Bobi! I’m off to look at you blog… 🙂
-Shayna
Darling as usual! I haven’t wandered over here in a bit, and I’ve miessd so much! Your blog always makes me smile! The colors,and the wonderful creative life you live 🙂 I need to sit with a cup or tea and read up some more 🙂
Thank you! I hope you enjoy! 🙂
-Shayna