• Home
  • Blog
  • About Me
    • Contact Me
      • Advertise
      • Privacy Policy
  • Shop

The Wood Grain Cottage

  • Seasonal
    • Spring
    • Summer
    • Fall
    • Winter
  • Project Gallery
    • Remodeling
    • DIY Projects
    • Decorating Ideas
    • Furniture Makeovers
    • Sewing
    • Gardening
    • Recipes
    • Organizing
  • Home Tour
    • Our Current House
    • The Original Wood Grain Cottage
Breakfast Nook· Sewing

Easy Double Sided Pillow

February 18, 2013

Living in a small town can sometimes create a challenge for shopping. Luckily, we have a really nice craft store that eases my frustration from time to time.

And that craft store just happens to have a great selection of fabric. I always check the remnant bin when I’m there. It’s a great way to score fabric at a really decent price. The only problem is, the fabric pieces aren’t overly large, which can really limit the type of projects they can be used for.

The other day I found a darling piece of fabric. It was only a $1.00 and I loved the pattern the second I saw it. I knew that I wouldn’t be able to do too much with it since it wasn’t very big, but it was big enough to create a double sided pillow.

🙂

I picked a neutral fabric that was chock full of texture for the back side and decided to use my new fabric for the front. I love the way that it turned out, and it was sew easy to make!

Two Sided Pillow Tutorial I The Wood Grain Cottage

Here’s how I did it:

First, I ironed my fabric making sure to remove all wrinkles. If you plan on washing your pillow cover frequently, I would suggest that you pre-wash your fabric. But if you don’t plan on it, skip it. Which is what I did. 🙂

Iron Fabric

Then, I measured my pillow form, which was a 14″ x 16″ insert. I added an extra inch to the length and width for a seam allowance. Because I wanted my pillow cover to be double sided, I measured the entire piece of fabric the full length that I needed. Then I divided it in half. From there I knew that each piece of fabric would need to be 15″ long x 17″ wide. I measured and cut my floral fabric first.

Step 1

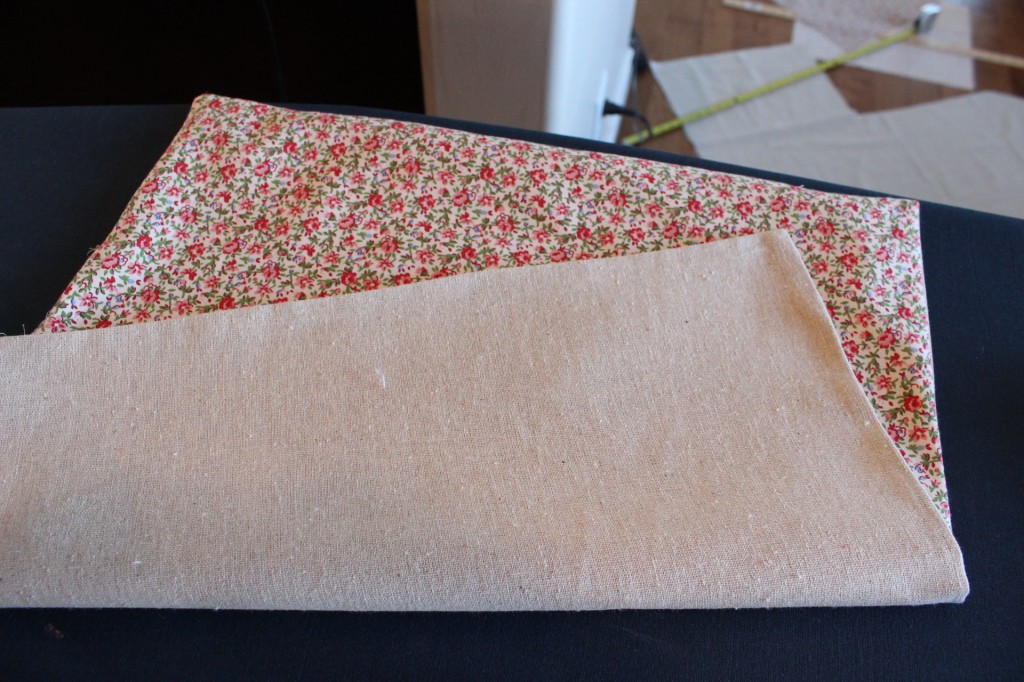
Once that was done, I measured and cut the second side using my floral fabric as a template.

Step 2

Step 3

I pinned both of the fabric pieces together with the right sides of the fabric placed together.  Then I picked the bottom side for my pillow cover.

step 4

On the bottom of the pillow cover, I measured 3 inches from the outside of each side and pinned it to mark the spot. With both sides pinned at three inches, that left a large gap in the middle which would later be used to stuff the pillow.

Step 5

Next, it was on to sewing! I started on the bottom right corner and used a continuous stitch for the whole thing.

Step 6

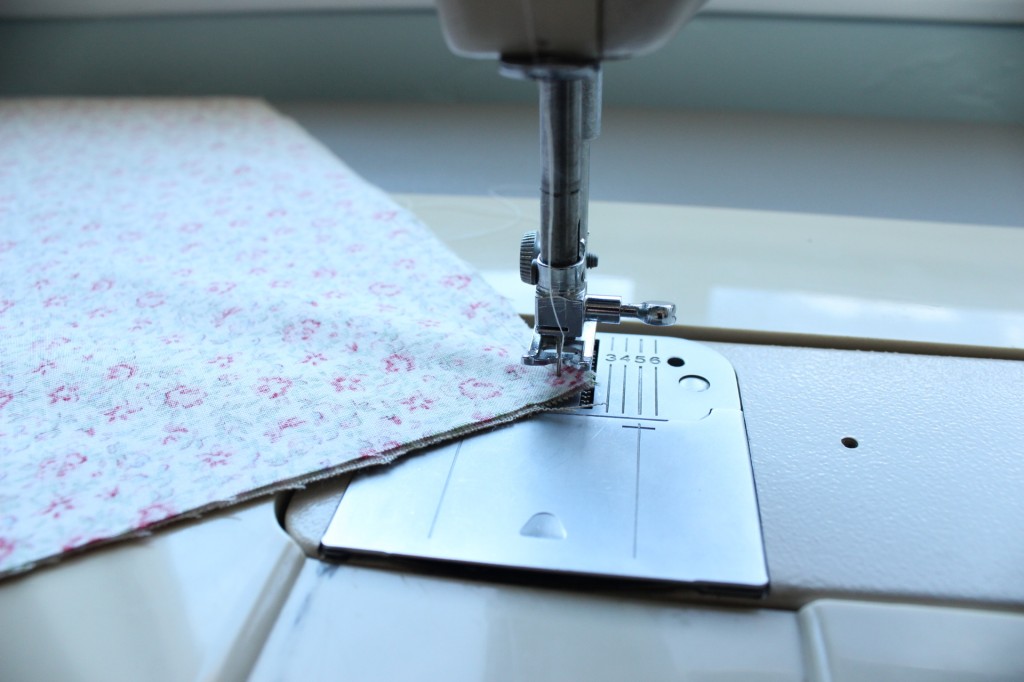
Once I had stitched along the first part of the bottom and reached the corner, I lifted up the foot of the sewing machine, leaving the needle in place, and turned the fabric to sew the next side.

Step 7

Step 8

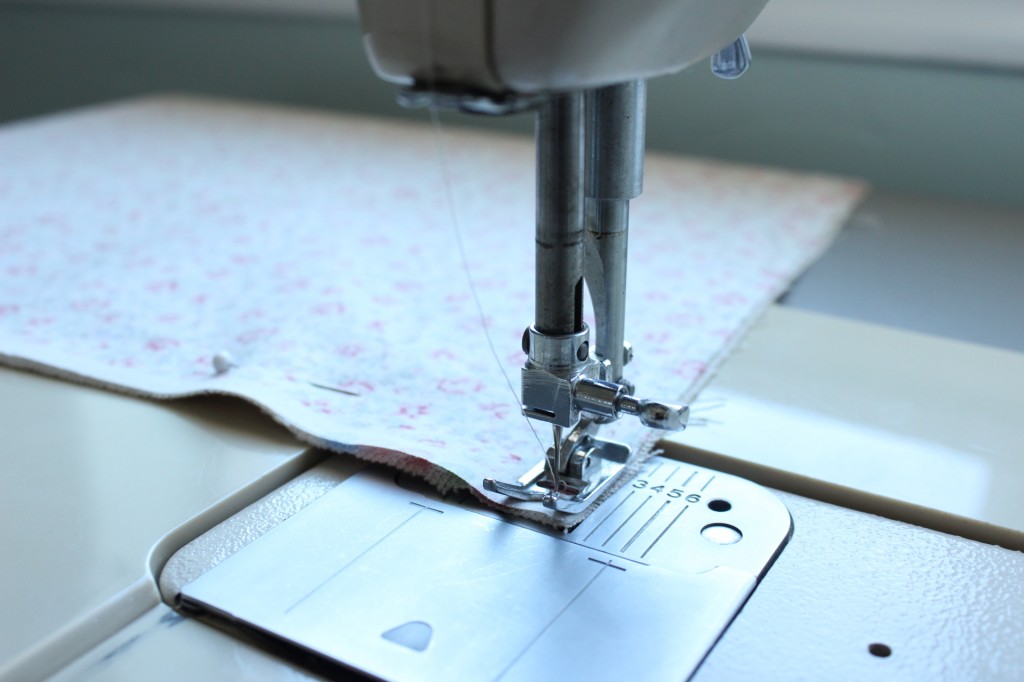
Then, I did the exact same thing on that side. Once I reached the end, I lifted the foot, leaving the needle in place, and turned the fabric to start the next side.
Step 9

As I started on the last side (the bottom), I reached the pin marking my stopping point. I lifted up the foot and needle, which gave me one continuous stitch for the whole pillow.

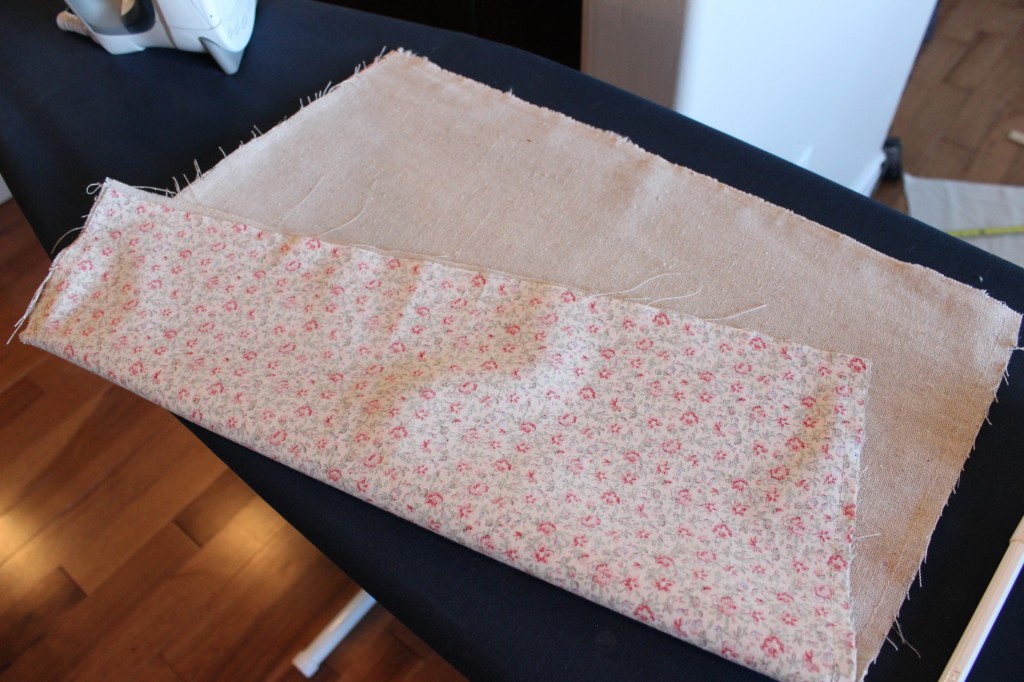
Step 10

step 11

I cut each corner, above the seam, to make a nice square corner when turned right side out.

step 12

Next, I turned the cover inside out and used a pencil to gently push the corners square.
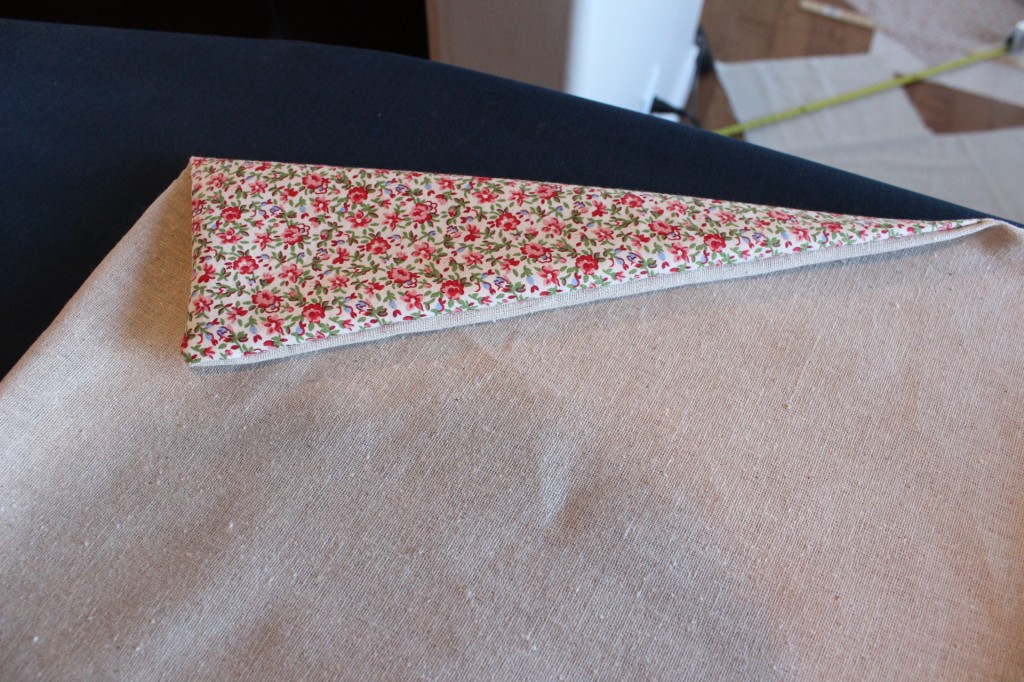
step 13

With the cover turned right side out, I grabbed my iron and pressed each side flat.
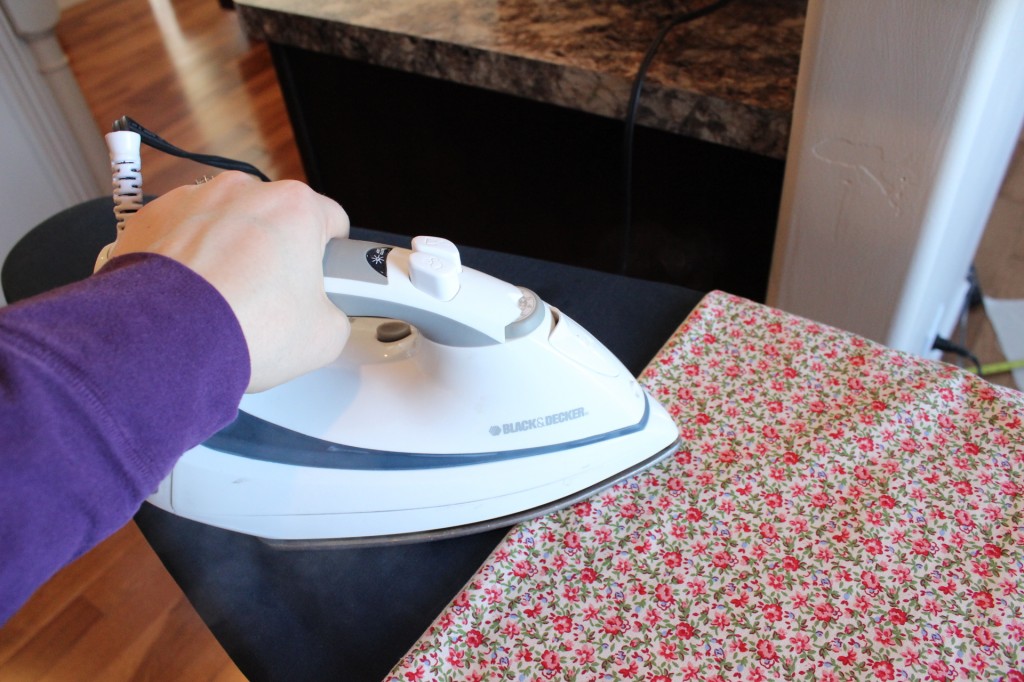
step 14

step 15

From there, I grabbed my pillow form and started stuffing it inside the small section I left open.
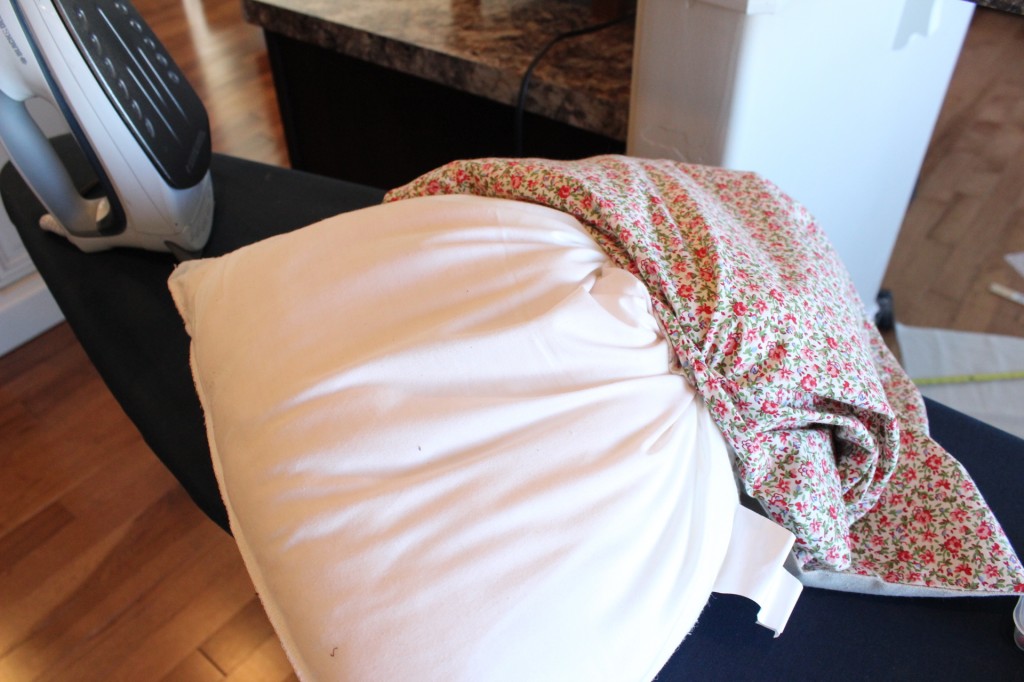
step 16

I promise, it will fit!

Step 17

With the pillow form inside the new cover, I made sure the pillow insert was even throughout the cover and headed back to the sewing machine to sew the gap closed.
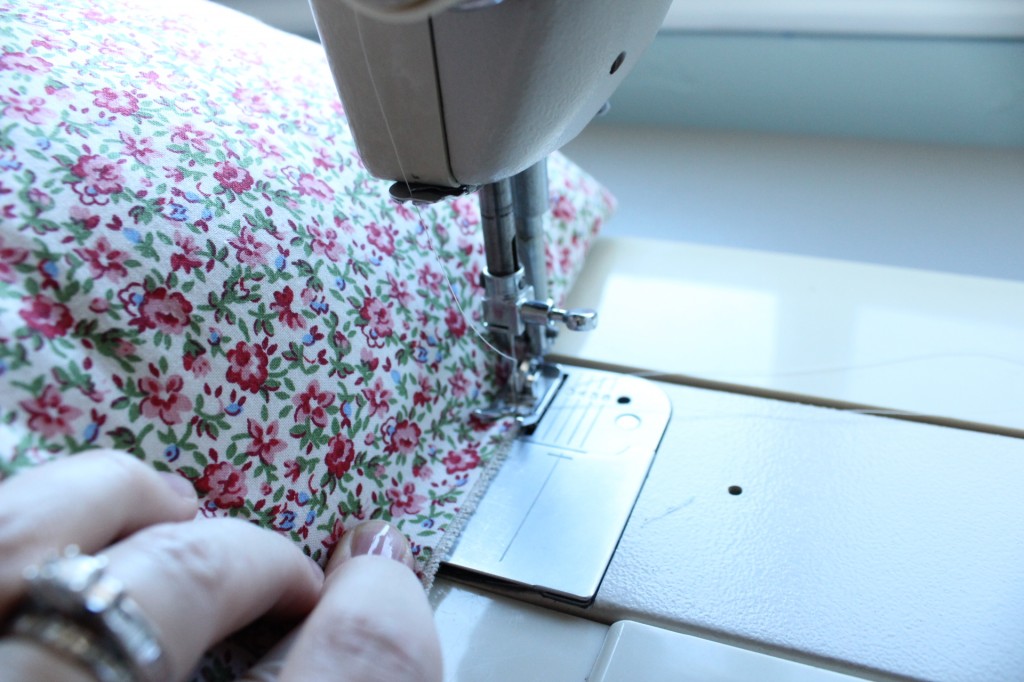
Step 18

Once I had that finished, I fluffed my pillow a bit more and called it done!

Step 19

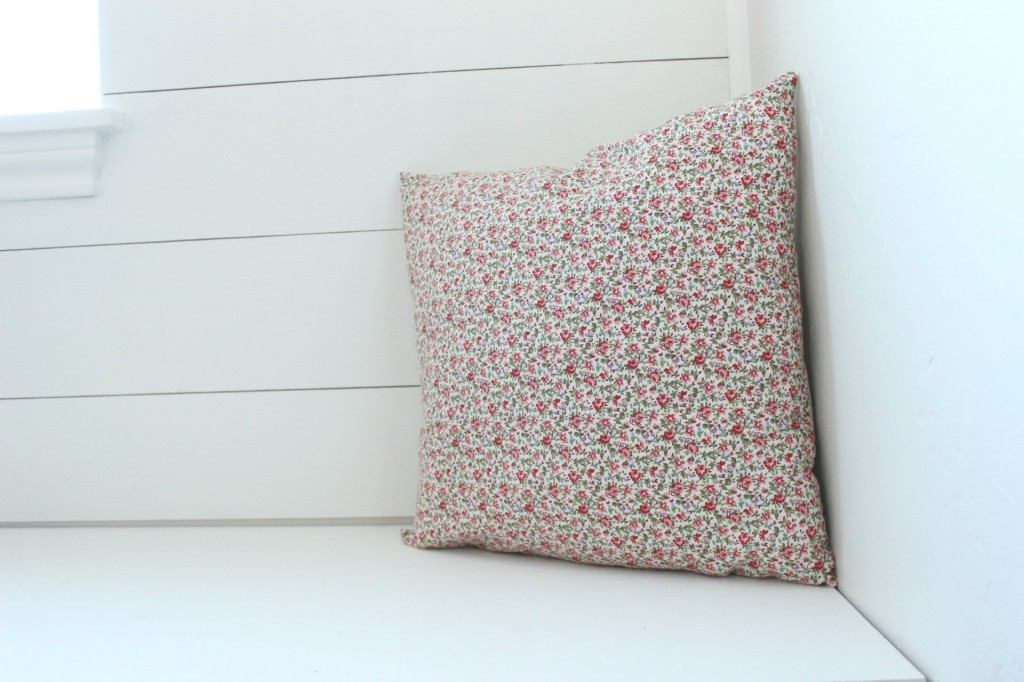
I love how it turned out and it’s found a new home in our breakfast nook.
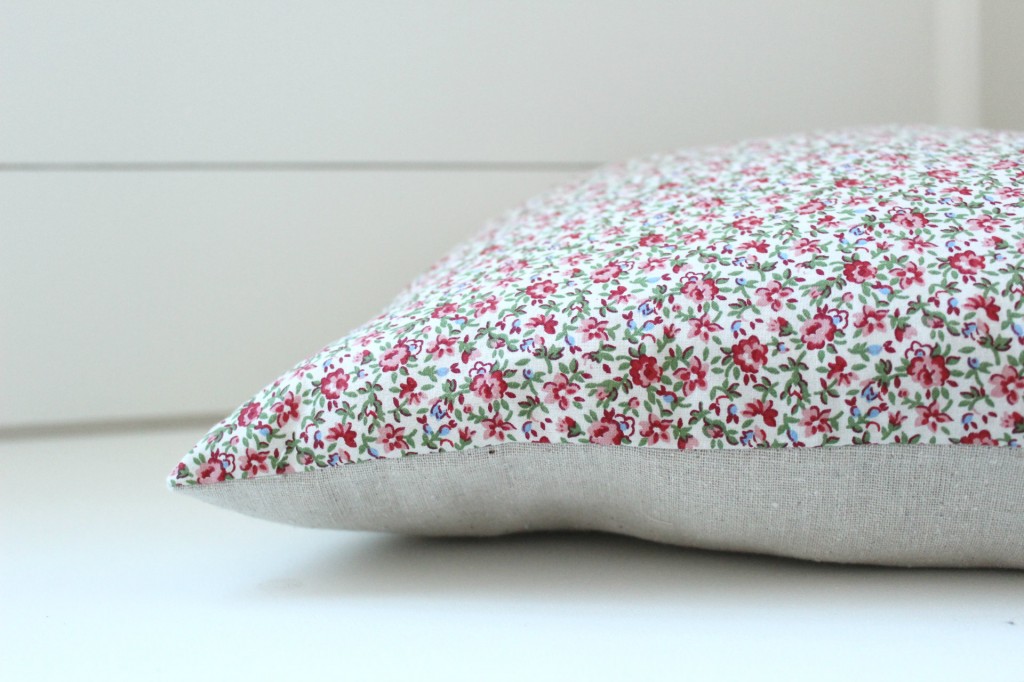
Two Sided Pillow I The Wood Grain Cottage

2

Look at that texture. Yummy!3

It’s such a happy surprise with the two sides.4 1

And I must admit, I’m pretty proud of that straight seam. My sewing skills are getting better. Happy dance.
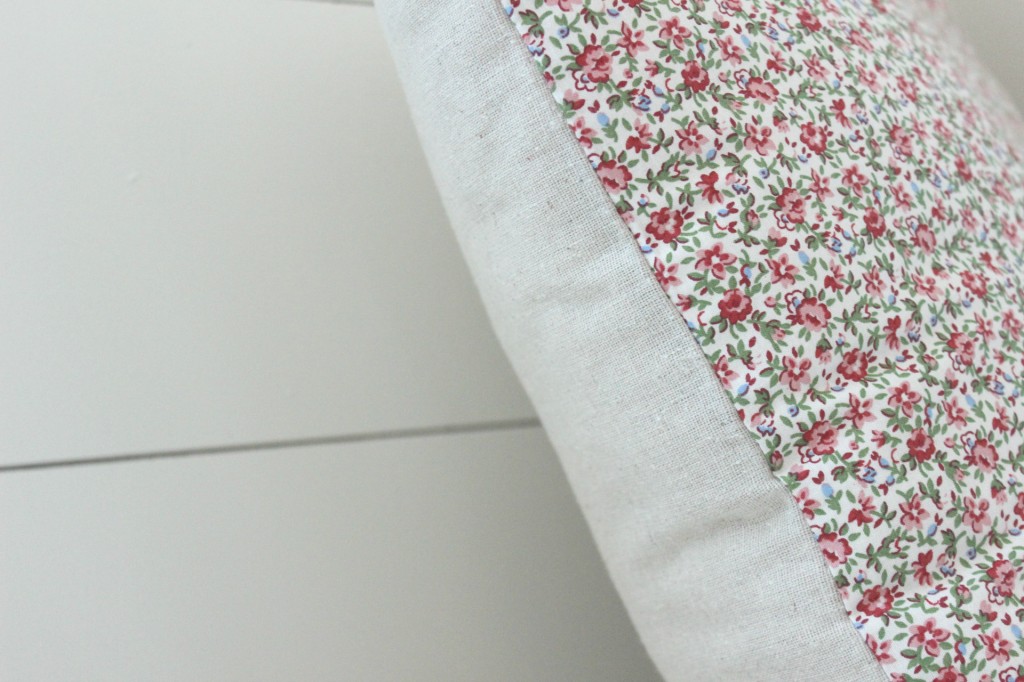
5

And that, my friends, it how you make a two sided pillow!

Two Sided Pillow Tutorial I The Wood Grain Cottage

Not as difficult as you thought, right? Easy peasy.

And that’s one pillow cover that’s left me smiling big time!

Main Signature

Psst- You might have noticed that the breakfast nook cushion is missing- and for good reason. It’s getting a new cover. More on that later.

🙂

Linking up to:

Craft-O-Maniac

Skip to My Lou

DIY Show Off

A Bowl Full Of Lemons

Home Stories A to Z

Reasons To Skip The Housework

 Sugar Bee Crafts

 The Blackberry Vine

The 36th Avenue

 House of Hepworths

Tatertots & Jello

I Heart Naptime

I’m Shayna… The small town Colorado girl who’s obsessed with home and everything that entails! I’m a creative, a decorator, a day dreamer, a huge fan of scones and I’m passionate about loving where I live and making a home.

Tagged with: Breakfast Nook, DIY, Pillows, sewing18 Comments

Comments

  1. nowathomemom says

    February 18, 2013 at 4:35 PM

    beautiful, it looks great as always!

    Reply
    • Shayna says

      February 18, 2013 at 5:51 PM

      Awe, Thank you Ingrid! Big smiles to you! 🙂
      -Shayna

      Reply
  2. Maria says

    February 18, 2013 at 5:59 PM

    Beautiful pillow! I love the fabric!

    Reply
    • Shayna says

      February 18, 2013 at 6:52 PM

      Thank you Maria! I love the pillow- and the fabric too! 🙂
      -Shayna

      Reply
  3. Jami says

    February 19, 2013 at 5:46 PM

    Great tutorial for your sweet pillow! If you haven’t already had a chance, I’d love for you to stop by and share it at the 100th Tuesday To Do Party over at The Blackberry Vine! http://blackberryvine.blogspot.com/2013/02/tuesday-to-do-party-100-99-list-makers.html

    Smiles!
    Jami
    The Blackberry Vine
    http://www.blackberryvine.blogspot.com

    Reply
    • Shayna says

      February 19, 2013 at 7:44 PM

      Thank you Jami! I’m glad you liked the tutorial! I am headed over to your blog right now! 🙂
      -Shayna

      Reply
  4. Suzanne says

    February 21, 2013 at 11:27 AM

    Your pillow turned out lovely. The fabric is so sweet. Very nice job.
    Have a Wonderful Day,
    Suzanne

    Reply
    • Shayna says

      February 21, 2013 at 12:28 PM

      Awe, thank you Suzanne! Such a sweet comment!
      I hope you have a wonderful day too! 🙂
      -Shayna

      Reply
  5. Carrie @ My Favorite Finds says

    February 23, 2013 at 2:46 PM

    Very pretty! Love it to freshen up a space. Stopping by from TT&J

    Reply
    • Shayna says

      February 23, 2013 at 4:30 PM

      Thank you Carrie! So glad you stopped by! 🙂
      -Shayna

      Reply
  6. Bobi Jensen says

    March 1, 2013 at 10:23 AM

    So pretty!

    I have a weekend Link party if you’d care to join:
    http://www.bobijensen.com

    Reply
    • Shayna says

      March 1, 2013 at 10:35 AM

      Thank you Bobi! I’m off to look at you blog… 🙂
      -Shayna

      Reply
  7. Mahesh says

    March 12, 2013 at 5:38 AM

    Darling as usual! I haven’t wandered over here in a bit, and I’ve miessd so much! Your blog always makes me smile! The colors,and the wonderful creative life you live 🙂 I need to sit with a cup or tea and read up some more 🙂

    Reply
    • Shayna says

      March 15, 2013 at 3:15 PM

      Thank you! I hope you enjoy! 🙂
      -Shayna

      Reply

Trackbacks

  1. February In Review | The Wood Grain Cottage says:
    March 4, 2013 at 12:03 PM

    […] decided to try my hand at a double sided pillow and I’m still smiling at the […]

    Reply
  2. Breakfast Nook Pillows | The Wood Grain Cottage says:
    March 22, 2013 at 12:37 PM

    […] been using the same type of sewing method as this pillow, and they turned out […]

    Reply
  3. Make a Pallet Wood Wall Rack {with stamped spoon hooks} - Fox Hollow Cottage says:
    April 17, 2013 at 10:30 AM

    […] Easy Two Sided Pillow: […]

    Reply
  4. Comforter Blog says:
    September 30, 2016 at 11:07 AM

    Breakfast Pillow 12 X 16 Is Made

    […] of the pillow cover, I measured 3 inches from the outside of each side and pinne […]

    Reply

Leave a Reply Cancel reply

Your email address will not be published. Required fields are marked *

This site uses Akismet to reduce spam. Learn how your comment data is processed.

I’m Shayna… The small town Colorado girl who’s obsessed with home and everything that entails! I’m a creative, a decorator, a day dreamer, a huge fan of scones and I’m passionate about loving where I live and making a home.

Join our newsletter

Search the blog

Join our newsletter

Instagram post 17877687346486071 We are loving the evening glow from our Christmas tree! Today on the blog, I’m sharing all the details on our tree and the different steps and layers I used to create it. It’s such a beautiful addition to our living room. 🎄

#thewoodgraincottage #thewgc #christmastreedecorating #christmas #christmastree #flockedchristmastree
Instagram post 17855703316617271 Happy Saturday! We’re installing more interior doors and trim today! What a big difference it makes! This fixer upper of ours has been making some big progress lately. 😍 
Throwback to my last house... but our new doors will look similar to these! 
#thewoodgraincottage #thewgc #interiordoors #christmasdecor #christmasentryway
Instagram post 17856780565609483 Our new flocked Christmas tree arrived and I spent the afternoon setting it up and fluffing the branches. It’s such a tedious job, especially on a new tree, but it’s worth it! 
I’ve been trying to decide how I wanted to decorate this year, and while I was “fluffing”, I think I finally decided. And now I’m excited. 😬🎄 This lovely picture is from my last house, all decorated for Christmas. 😍

#thewoodgraincottage #thewgc #christmasdecor #christmasinterior #christmasshelfie
Instagram post 17842824415781814 On the blog, I’m talking all about designing and purchasing our IKEA cabinets. We still have a little ways to go before we “officially” have the cabinets completely installed and finished... and then we have all the other things we need to add, like a custom vent hood, backsplash and open shelves, just to name a few, but if you’re wanting to use IKEA cabinets, today’s post will give you a good idea of what to expect! 
#thewoodgraincottage #thewgc #ikeakitchen #ikeacabinets #kitchenremodel #ontheblog
📷: @patriceandeverett
Instagram post 17881252693452397 I’ve been updating the home tour of my old house on the blog, and I ran into this gem of a picture. This breakfast nook was such a beautiful space. 
#thewoodgraincottage #thewgc #breakfastnook #homedesignideas #kitchendesign
Instagram post 17859897157563074 I’ve been on the hunt for a new flocked Christmas tree since this beautiful tree is waay too tall for our 8’ ceilings... and I don’t want to look like Clark Griswold with my tree stuffed in the corner about to burst through the window. 💁🏼‍♀️ Sooo... I searched high and low to find the best flocked Christmas trees. There are some seriously beautiful trees... and after getting our tape measure out, we finally picked our new tree and it should be here this week! 🎄

If you’re looking for a new tree, be sure to head to the blog... I’ve organized them by size to make it easy! 👍🏻 #thewoodgraincottage #thewgc #christmasdecor #christmastree #flockedchristmastree #ontheblog
  • Facebook
  • Instagram
  • Pinterest
  • Twitter
  • Shop
  • Email

Copyright © 2019 The Wood Grain Cottage · Site by Moonsteam Design · Privacy Policy