
Bedroom Night Stand Makeover
Before I gave this bedroom night stand a makeover, it was dark, dated and a little depressed. See how the power of paint and a little bit of hard work transformed this beautiful night stand!
I’m slowly working on our master bedroom. It’s always been the room that “collects” things. If I don’t know where to put something, it usually ends up in our bedroom. But, times, they are a changing, and I have big plans for our bedroom.
For one, it would be nice to actually feel relaxed in there. Instead, I always catch myself looking around at all the things laying around. It’s definitely not the prettiest room in the house, that is a fact. And two, we had a little mishap in our master bathroom (I’ll share more soon), which has led me to focus a bit more time to that direction of the house.
So, when I found this little night stand at an estate sale for $15, I was all over it. Plus, it was in great condition, didn’t smell funny, and was sturdy with great lines. Those are all things I look for in a piece of furniture! Sold!
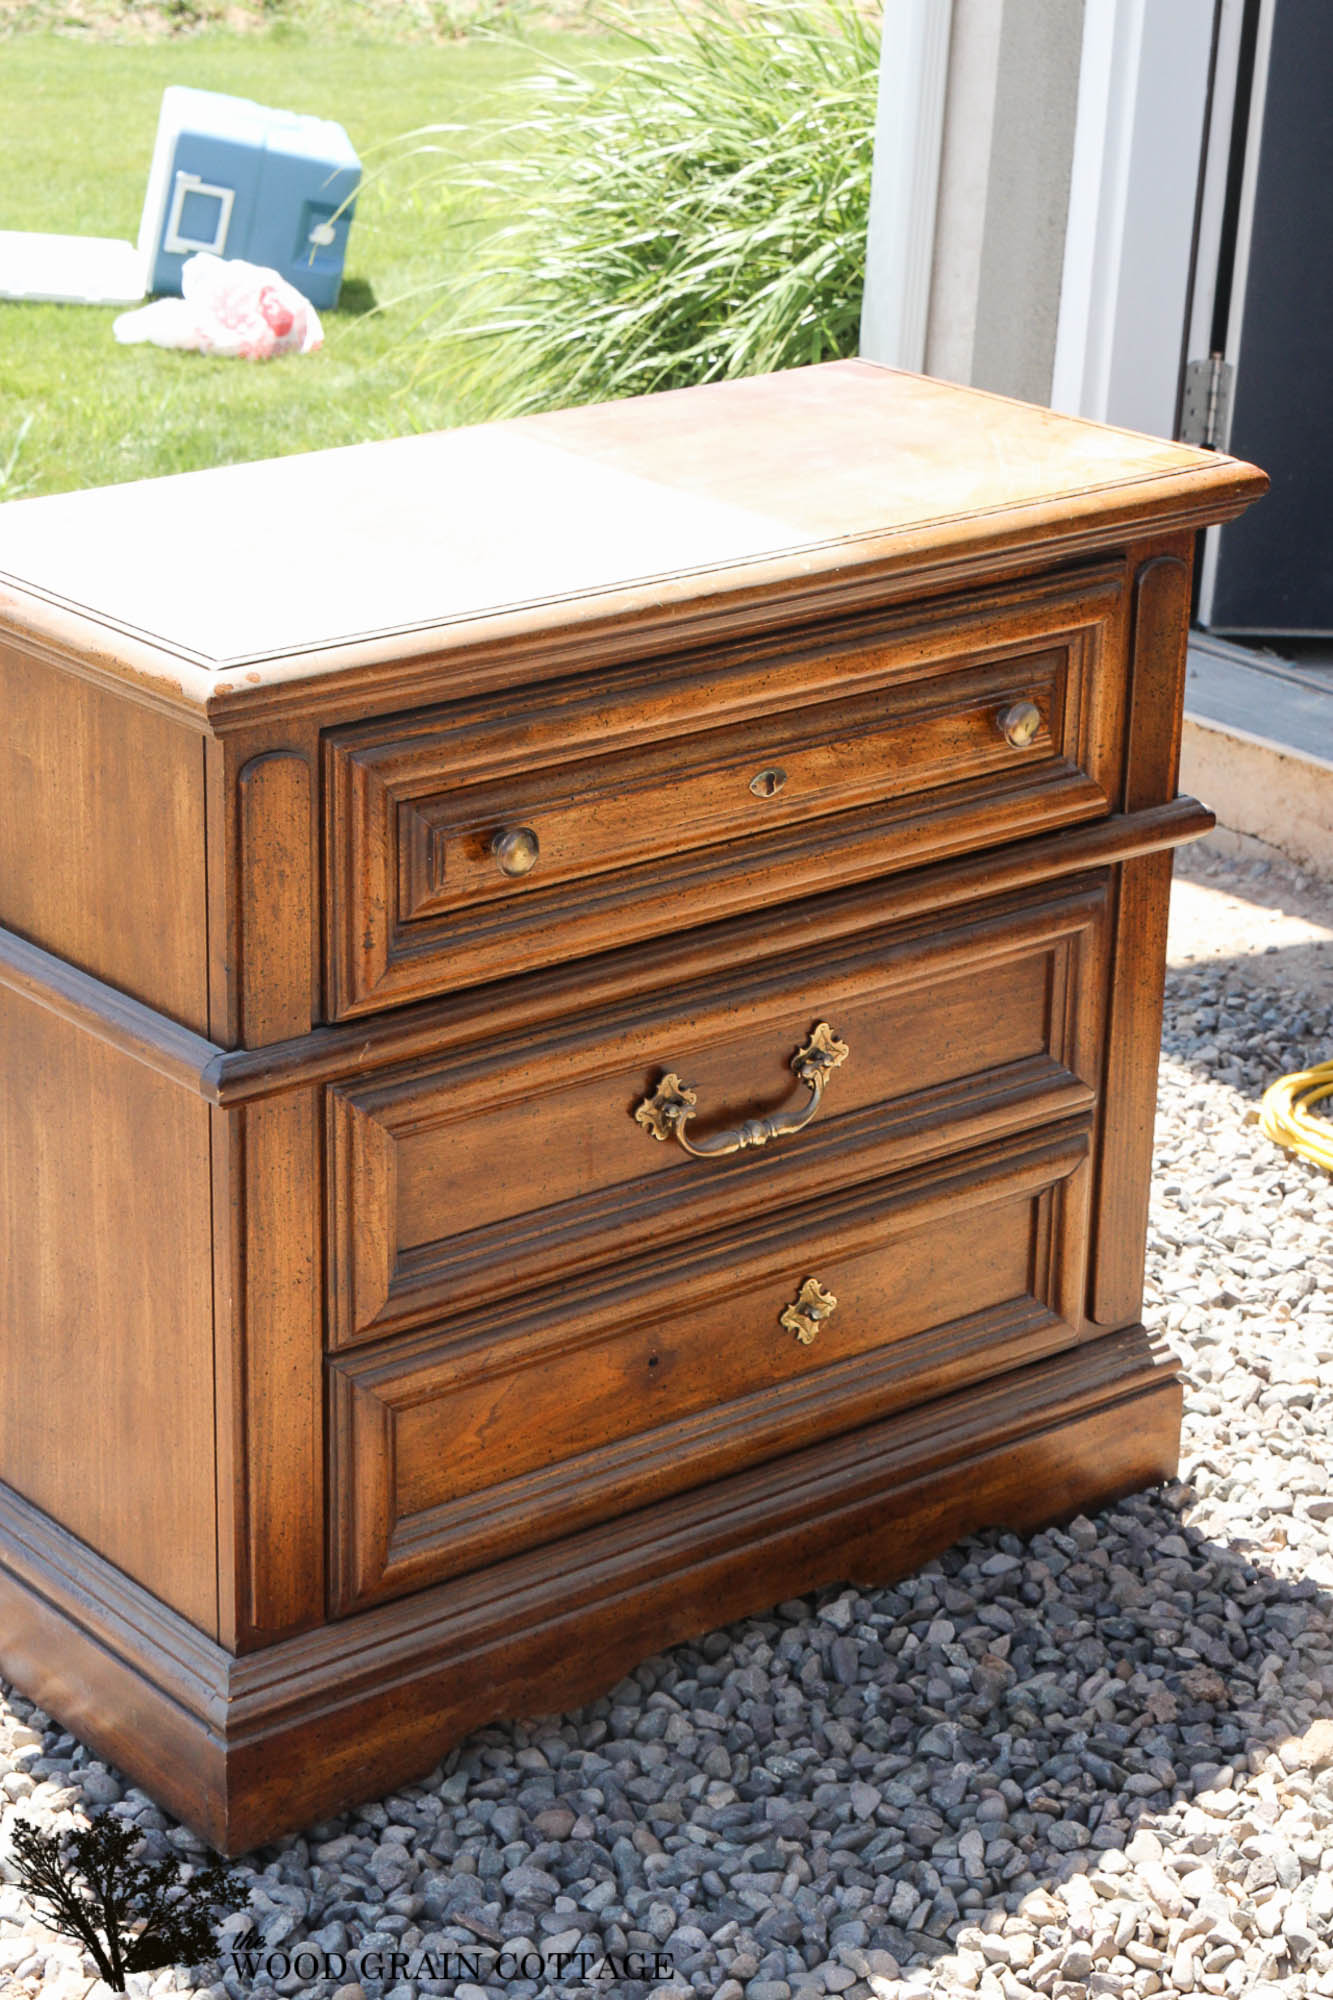
The transformation was actually really simple. I started by sanding the top free from the existing stain and poly…

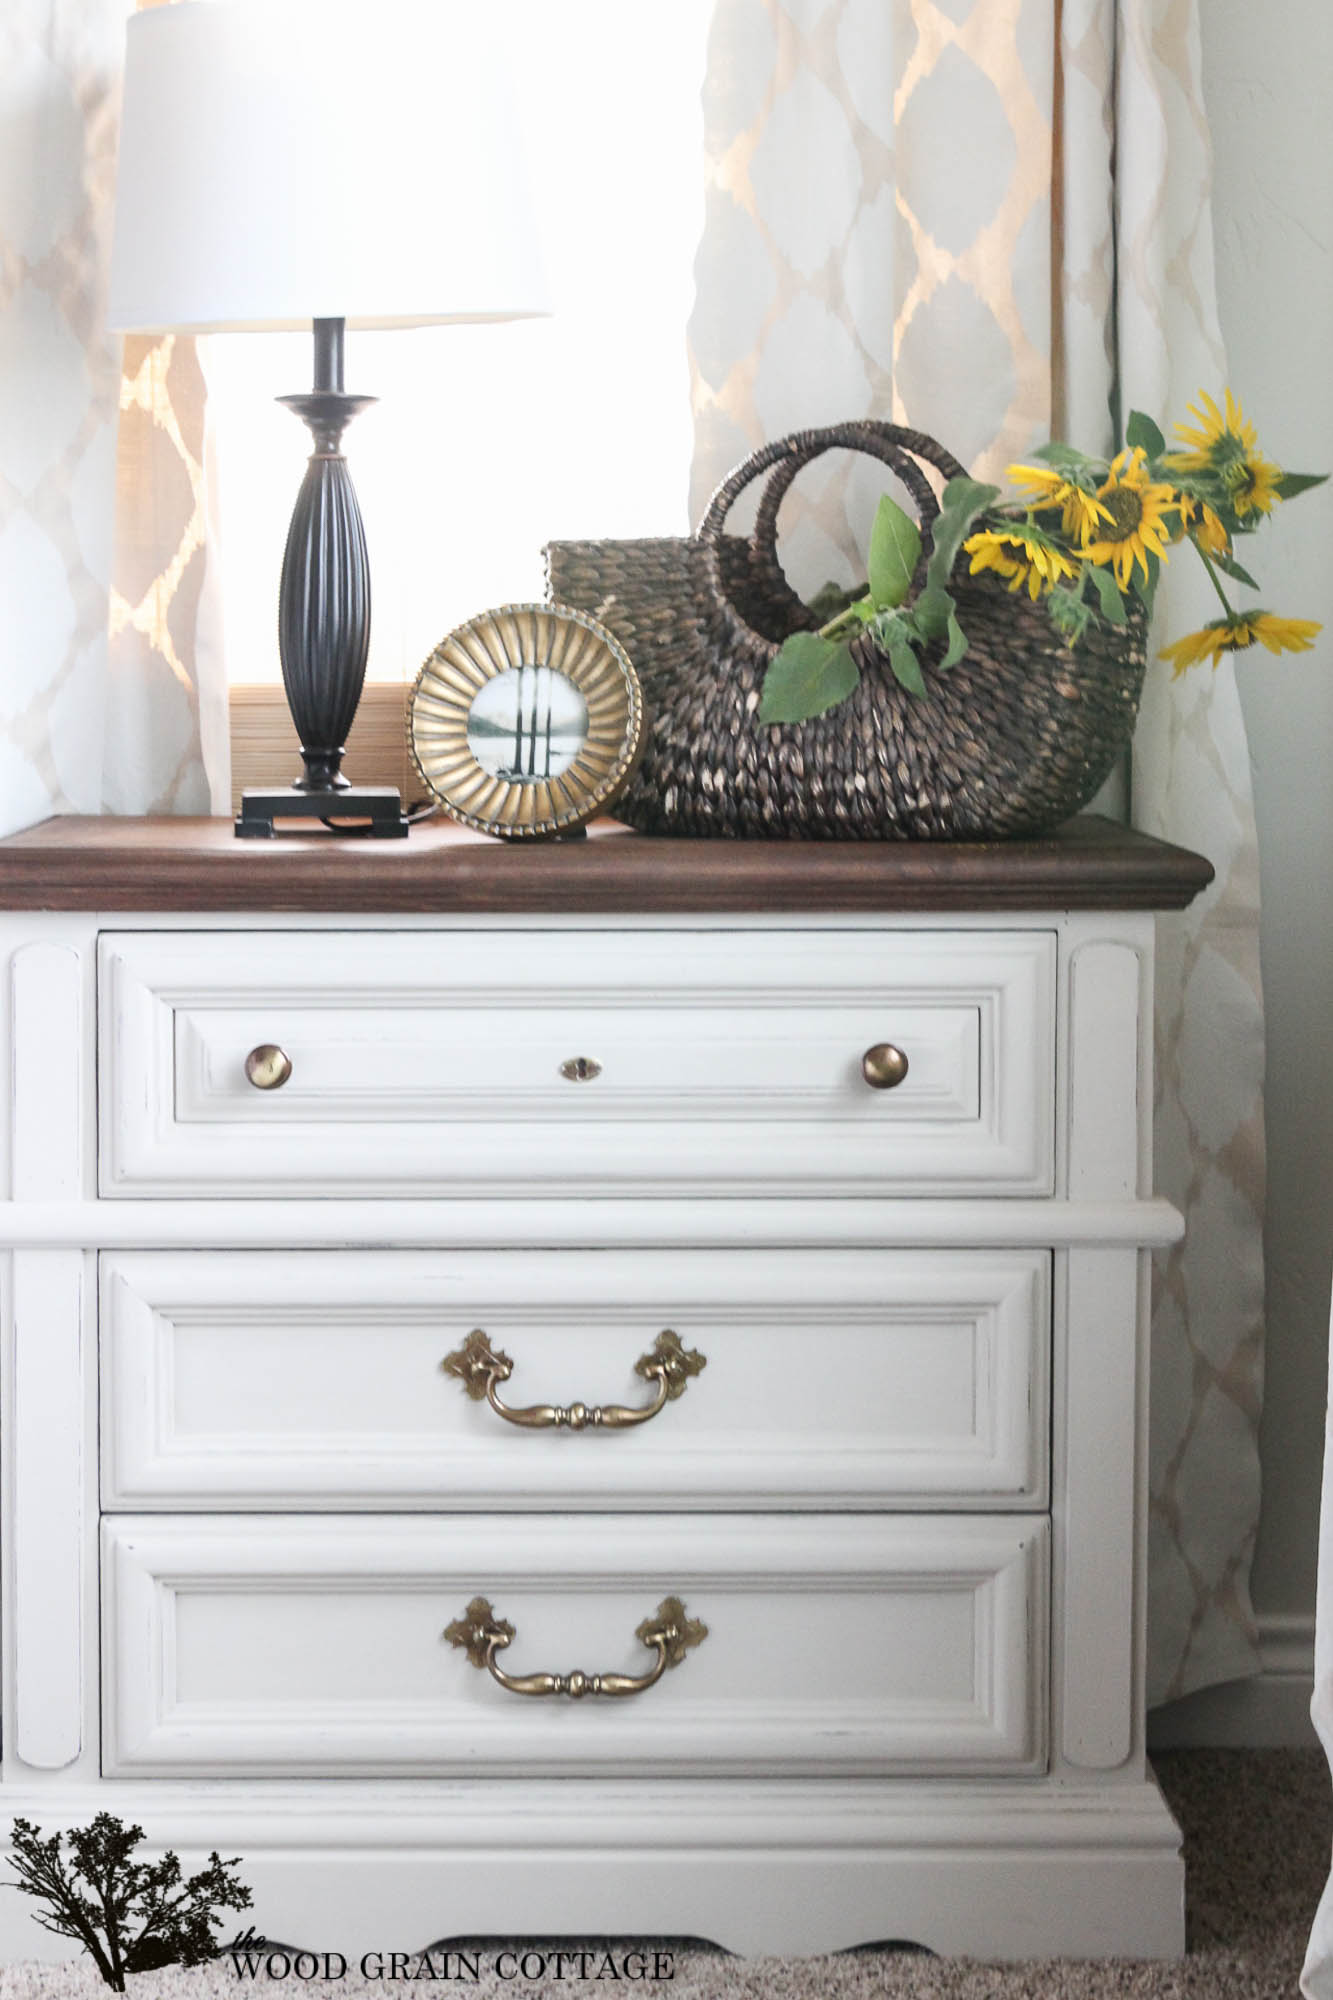
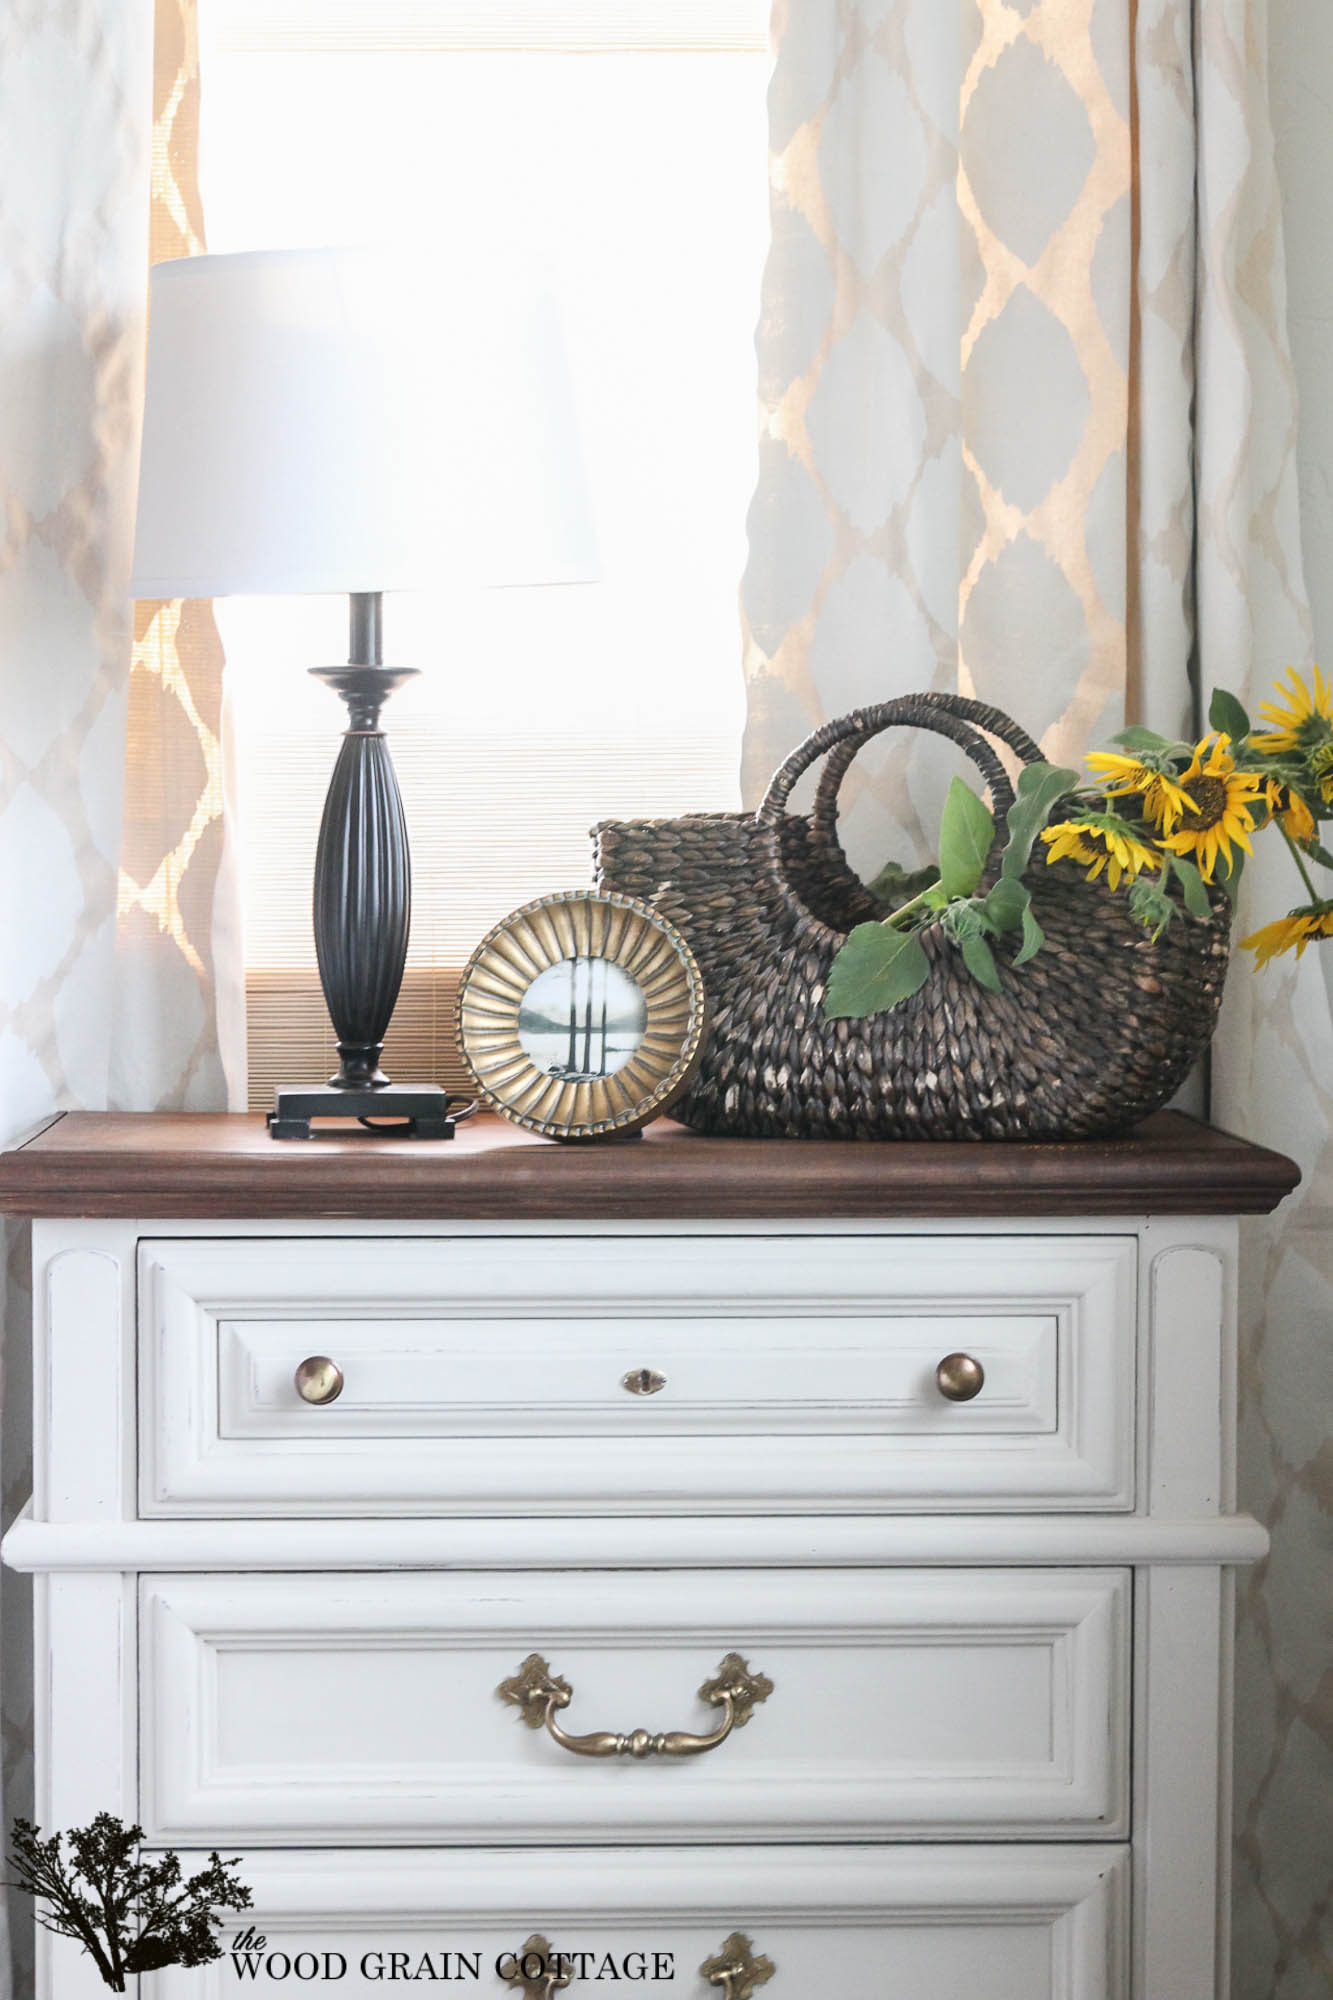
Then, I stained the top with Provincial by Minwax. Once that was done, I started painting the drawers and frame of the dresser in Mushroom by Maison Blanche.

It ended up taking two coats, which I was thrilled with. Once the paint was dry, I used a piece of sandpaper to lightly distress the drawers, dresser frame, and sides…

With the distressing finished, I wiped it down with a damp cloth, then used the clear wax to finish and seal the dresser…

The wax does darken the color a little bit, and it’s something I always anticipate, but I honestly love, love, love this color. It’s so pretty!

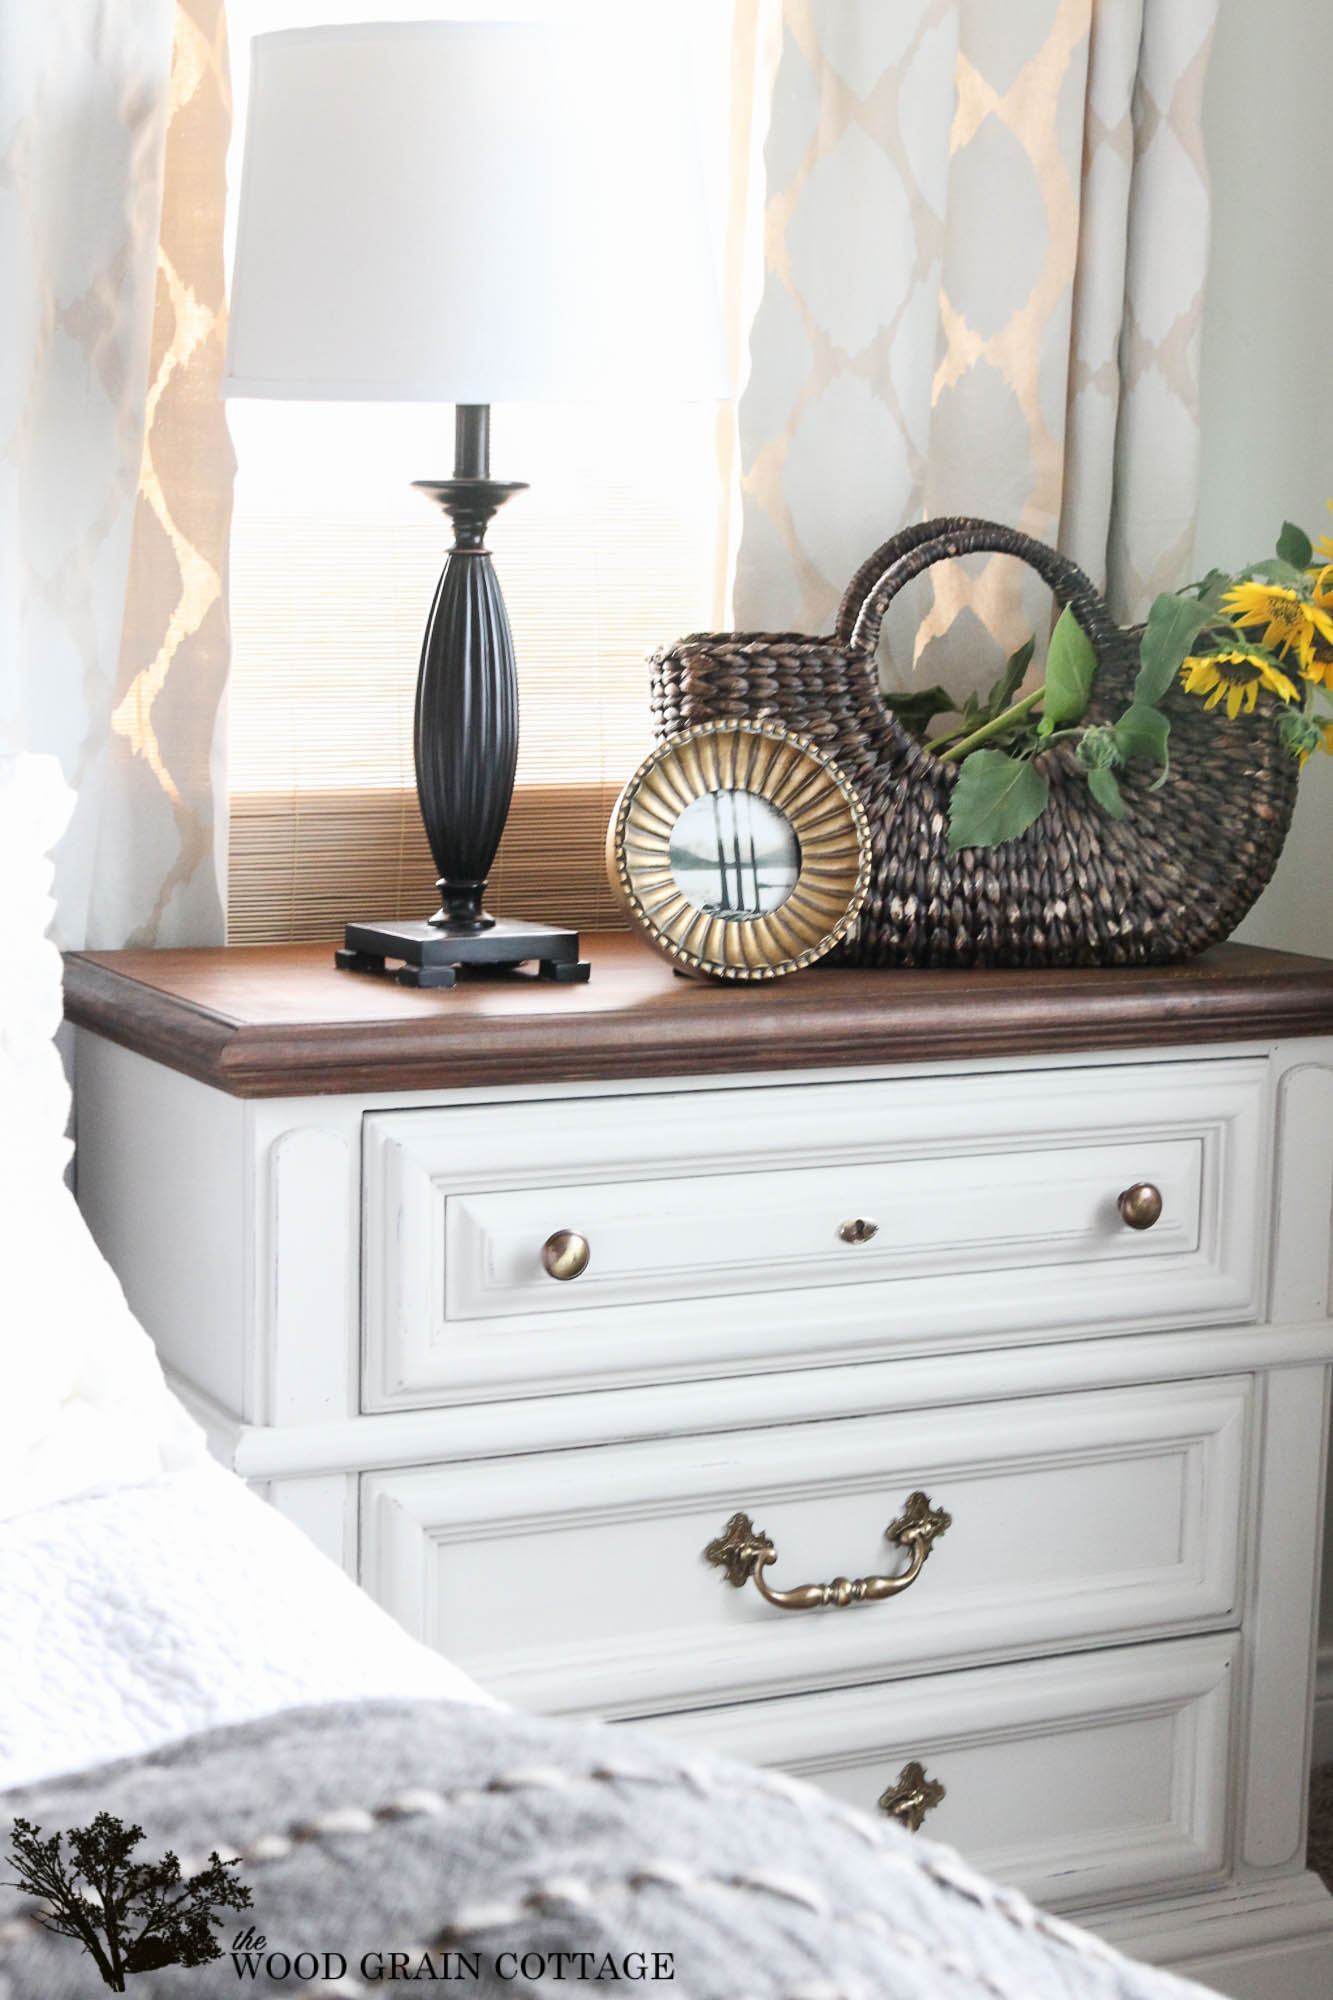
I decided to keep and re-use the original hardware. I really like it, and I think the brass fits perfectly with the new color. Plus, if I get tired of it, I can easily switch it out for something new.
With that, the dresser was finished, and I assumed the task of bringing it into the house myself. Anthony was in a field somewhere, and I wanted to get it in place right then. 🙂
This guy is heavy… but adding felt discs to the bottom of the dresser made it easy to slide over our hardwood floors (no damage done!), and into our master bedroom.

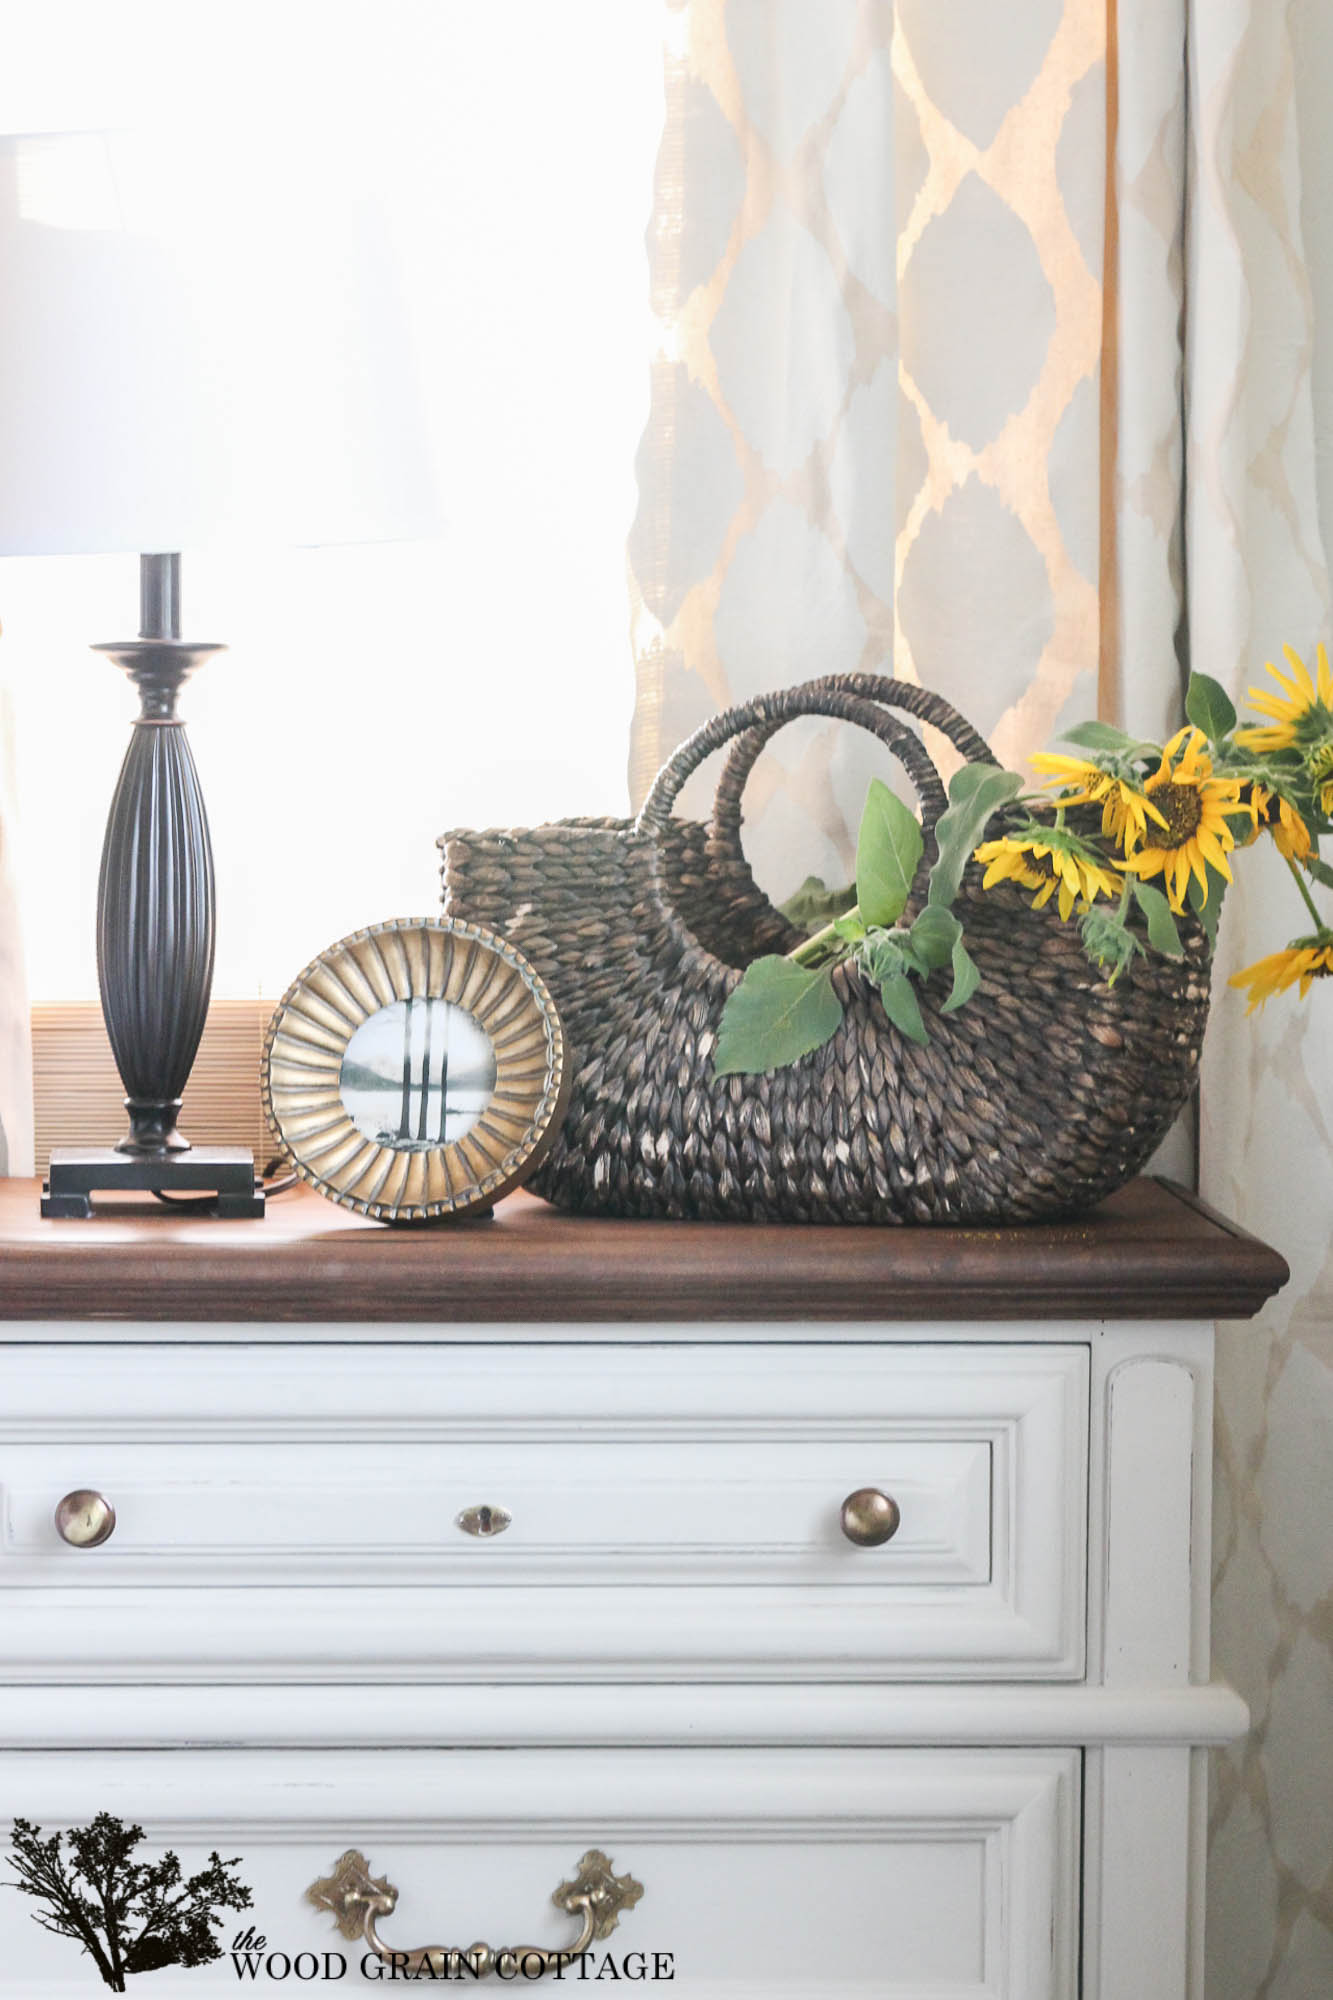
It’s made a home on Anthony’s side of the bed, and I’m so happy to have something bigger in the space. Our previous night stands were too small, and they made the windows look really tall since the night stands were the same width as the window. This night stand is perfect in size.
And it looks lovely with my DIY painted curtains!
We’re one step closer in our bedroom. I’ve always known we needed new night stands, but I hadn’t found anything I liked. Estate sale for the win!
Now, I’m working on my side of the bed. And wouldn’t you know it, I have the perfect piece in the garage just waiting for a makeover. Looking forward to sharing more about it soon! 🙂
A few of my blog friends also have some Before & Afters to share today… off to check them out now!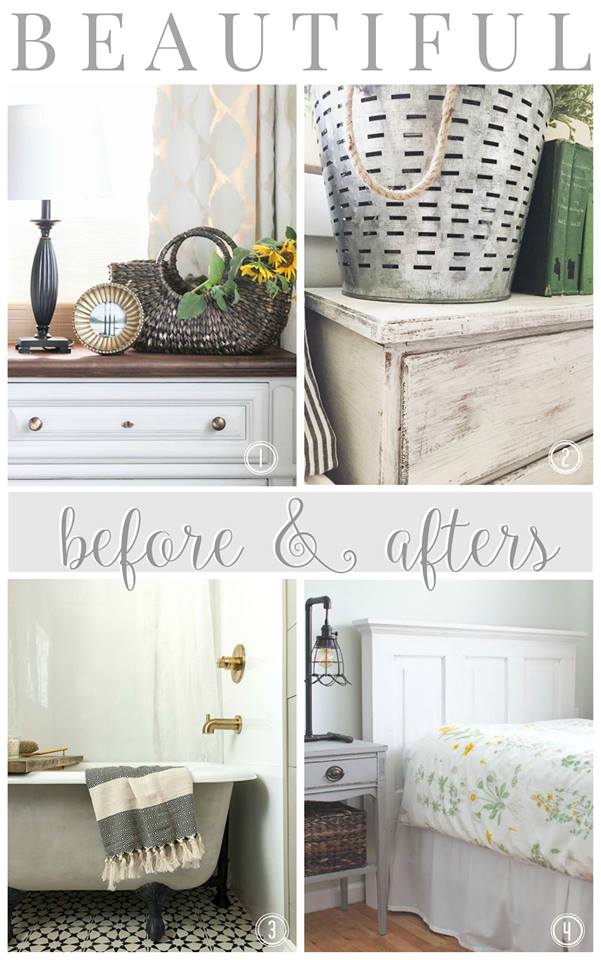
For more detail about the paint (and step by step instructions), you can check out Maison Blanche’s You Tube Channel. There’s lots of great information and tutorials. To buy the paint, see the list of retailers here.
Happy Painting! ?

P.S.- I received product and/or compensation for reviewing Maison Blanche Paint Company products. However, all opinions about their paint, finishing products and this lovely night stand are my own! For my full disclosure policy, click here.
Love this! But I want to see the rest of that room now ! Thanks for sharing.
Paige
Loving the Mushroom! The top done in the dark stain for contrast is such a pretty look. I really like that style. I think you were right, the brass looks gorgeous with that combo 🙂 Looking forward to seeing your room come together. Oh, and those curtains are soooo pretty.
It looks amazing. I love it. Great makeover.
That is a great makeover and I really like the white with the wood top. I have not tried that paint brand yet.
I have these exact bedside tables and yes I got them at a thrift store. I look at them every day and want to paint them. I’M DOING IT!!! Thanks!
I actually started using Maison Blanche paint and waxes because she must have sent a lot of samples to bloggers and I found we had a local dealer in a consignment store. The paint is so much smoother than Americana paint from Michaels. It was the wax though that was so easy! I used the dark wax which doesn’t require the clear first. It goes on so smoothly. I wanted a mason jar just the color it was with the heavier wax. I let it dry overnight and buffed with a nylon sock to perfection! I redid a chest to mimic a pricey fancy nightstand on my side by using a dry brush on of paint and a brush of water to spread the paint. A hint of the black paint showed through. I was able to mimic my nightstand yet give it its own look. Keep especially their waxes in mind for future projects. Their little sample jar paint goes a long way too. And seems to self level, leaving brush strokes behind. Your piece turned out fabulous! Love your visions for your pieces. Dark top and white body. Lovely drapes too!
Beautiful!
Wow! It turned out so good. I’ve bought and painted a few pieces of furniture in the past but I haven’t ever done the sand paper distressing idea. I’m stealing it for my next project.
This turned out beautifully! I have a nightstand that is very similar to this that I’m planning to do the same kind of refinishing on. I’m trying to decide between the with and gray for the bottom. Any thoughts?
Thank you so much, Pam! I really love furniture with a “two- toned” appearance. My favorite is a stained wood top, with a painted frame and drawers. I think a stained wood top and gray dresser would be lovely! 🙂
I just came across your blog and I am in love! Love your style and DIY attitude! This is inspiring me to take a look at my nightstands and maybe repaint them. They are pretty dark so my questions are 1) do you feel like you always need to sand when you paint over furniture or do you have tips on types of paint that will just cover up what is already there? 2) Do you put any type of protective stain/wax on the top (I have stained things before but never done a protective seal – any hints on this)?
Can’t wait to try this out!
Thank you so very much for the sweet words, Lisa! 🙂
To paint furniture, if you are using chalk paint, you do not need to sand your furniture. If you are using latex, I would lightly buff the furniture to give the paint something to grip onto. For the protection of the paint, I use a furniture wax. With chalk paint, the wax not only gives the paint a protective coat, but it also deepens the color. If you use latex paint, there is no need to wax. With that said, if you sand the top down to raw wood, then stain it, I use a dark furniture wax, which acts as a protective barrier. You could also use a poly type of product, which also works well. It strictly depends on your preference.
I hope that helps! 🙂
Love what you did with the night stand. I also like the dark top. Thank you for all the information. You make me want to chalk paint everything in my house. Ok, I’ll start with one piece. Thanks again.
I love you dresser remodel. Beautiful.
Is you furniture solid wood or fake wood or plastic wood? What did you have to work with?
I also would love your curtains, where did buy the or did you purchase material ypto make them
I’m moving next week and need some changes in my decor,
Thanks for your posts!
I love them!
Thank you so much, Kathy! This dresser was a mix. The frame of the dresser, and drawer fronts, are made of real wood. The actual drawers are made of fake wood. I did not paint the inside of the drawers. For the curtains, I actually made them. Here is my tutorial: https://www.thewoodgraincottage.com/2015/07/01/diy-painted-curtains/
I hope that helps! 🙂
I love how your nightstand and dresser turned out!
I am inspired by the stained tops contrasted with the painted body. I want to try the combination of Mushroom by Maison Blanche with Early American stain but I have a question. In your pictures Mushroom appears more white, which is what I desire, but the paint sample of Mushroom looks more taupe/tan. Are your pictures true to reality and why so different from the sample color?
Hi Lisa! Thank you so much! I would say the accurate color of Mushroom tends to lean more on the taupe/tan spectrum. I do my best to make sure my pictures show the true colors of the space, but lighting throughout the day always makes a difference when photographing! This dresser was done in Mushroom as well: https://www.thewoodgraincottage.com/2015/08/18/master-bedroom-dresser-night-stand/. I hope that helps! 🙂