
Master Bathroom Shelf Makeover
See how easy it was to complete this master bathroom shelf makeover. I’m sharing my step by step tutorial and the results are beautiful!
Sometimes projects turn out a little less awesome than I expect (gasp!, right?), and then there are projects that entirely exceed my expectations. Projects that exceed my expectations automatically hold a spot in my heart. I’m a very visual person, and can generally see past anything to envision something entirely different. That’s where today’s master bathroom shelf makeover comes into play.
When I was looking to share a project for this month’s paint makeover post, I walked into the thrift store in search for something “blog-worthy”. True story. I searched high and low looking for that perfect piece that would shine and inspire. In the last stretch of the store, I looked up and froze as soon as I saw the shelf. I looked past what it currently was, and instead saw something amazing. Things aren’t always what they appear to be, and I knew this shelf was so much more than it’s dated and sad self. I was right…
Master Bathroom Shelf Makeover

Affiliate links are provided below. Full disclosure here.
Supplies:
- A shelf, or item to makeover
- Hammer
- Chalk Paint, I used Magnolia by Maison Blanche Paint
- Paint Brush
- Sander
- Stain, I used Early American by Minwax
- Clear Wax
- Hooks
Step One: Remove The Peg Hooks
Here’s what I started with…

It was just your basic shelf, but I loved the bones of it, as well as the length, which measures at 5 feet long. $5.00 later, I walked out of the thrift store smiling. 🙂
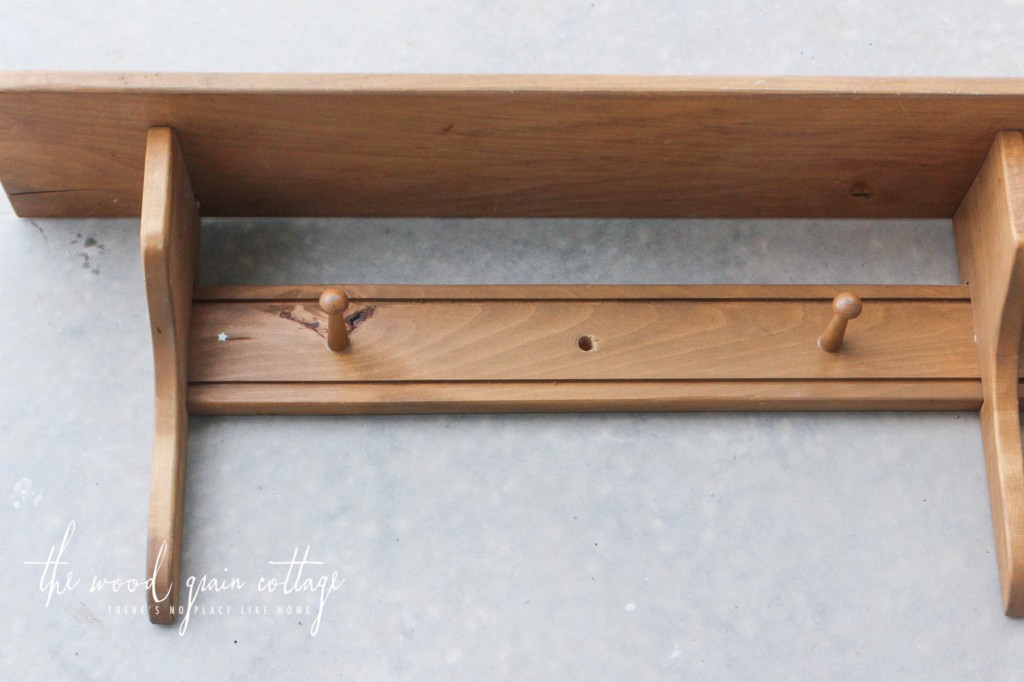
Once I got it home, I used a hammer to knock out the remaining pegs…


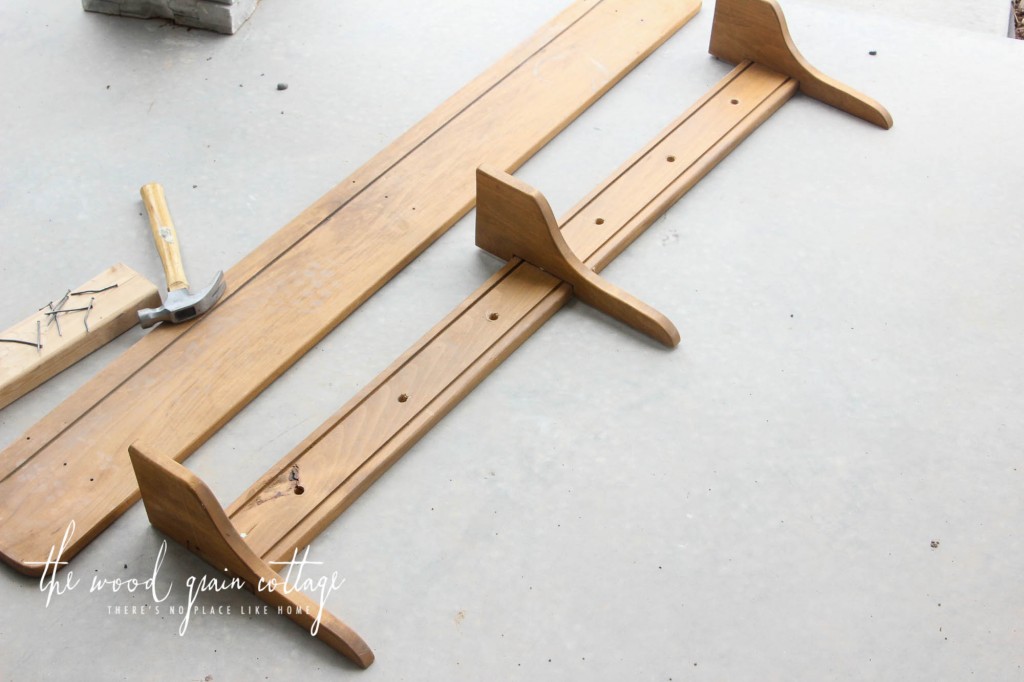
Step Two: Remove The Shelf
With the pegs gone, I used the hammer to remove the shelf as well…
Step Three: Paint The Shelf Frame
After a good wipe down, I started painting the frame of the shelf. Since I wanted the main portion of the shelf to be white, I started with Maison White from Maison Blanche. It’s the perfect base white since it has more pigmentation and has a little bit better coverage.

I did 2 coats of the Maison White, and the shelf was instantly looking better…
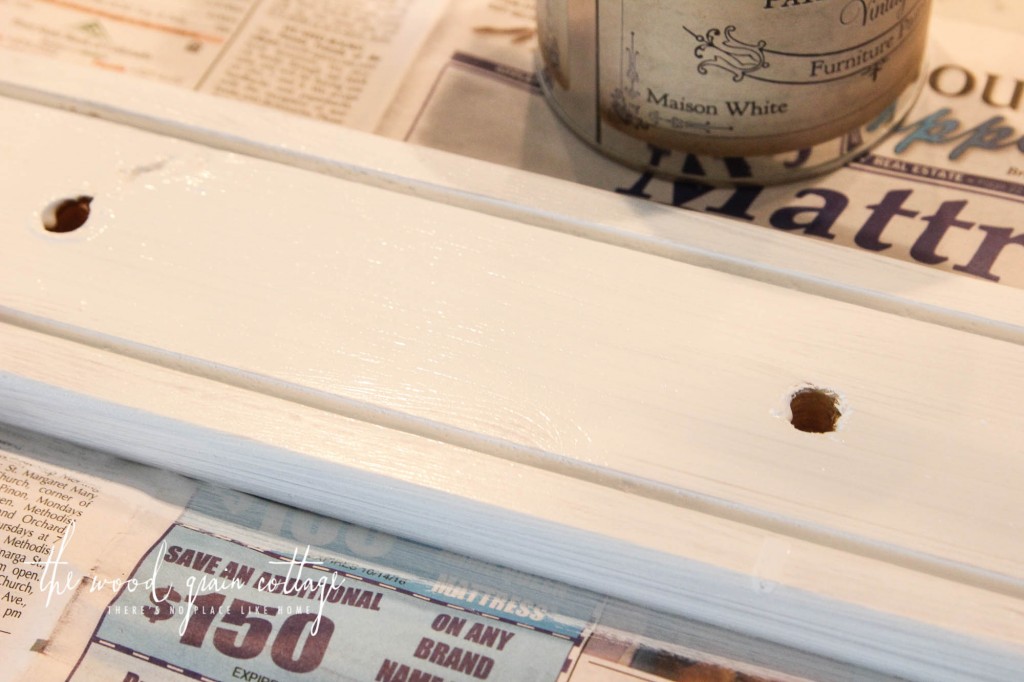
Once the base coat was dry, I began painting with my white color of choice, Magnolia, which is a truer, brighter white…

After two more quick coats of paint, the base of the shelf was done and I left it to dry.
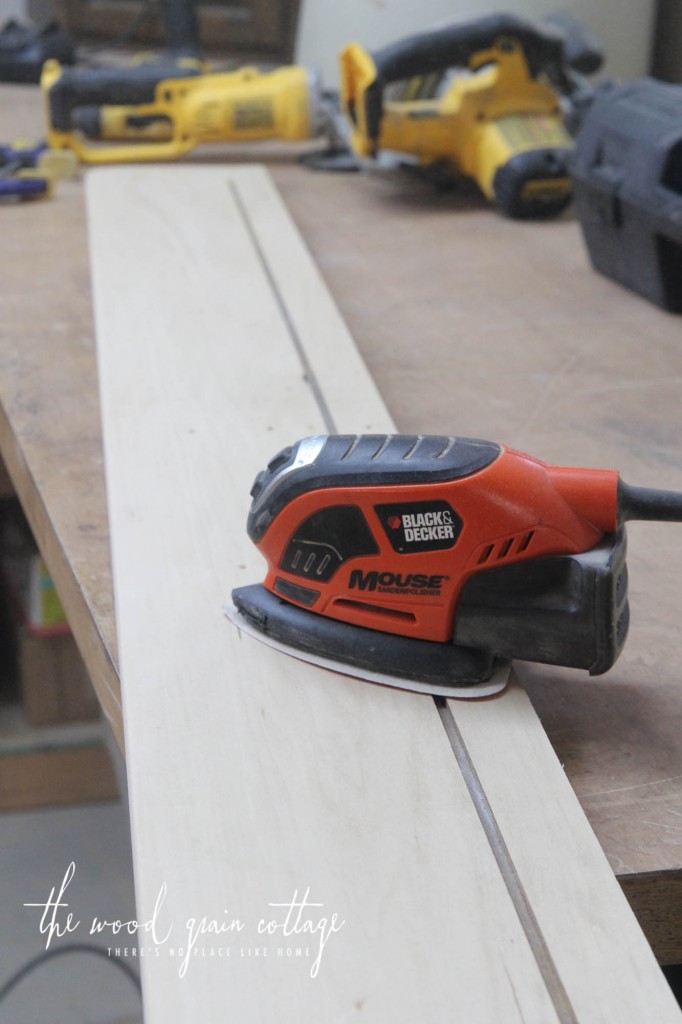
Step Four: Sand The Shelf
In the mean time, I began sanding off the current finish from the shelf ledge…

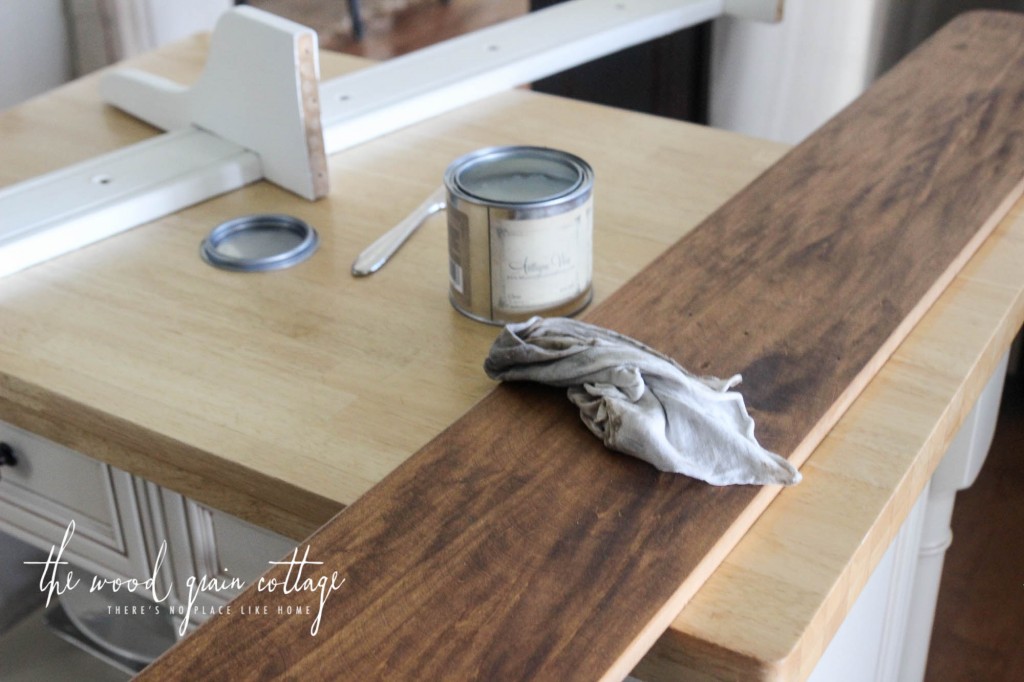
Step Five: Stain & Wax The Shelf
With the shelf completely sanded and ready for a new finish, I began staining it with Early American by Minwax…

Once the stain was done, and the paint dry, I began waxing them both with Maison Blanche’s Clear Wax…

Not only does the wax work flawlessly on the paint, but it also works on stained wood as well…
Step Six: Reattach The Shelf
With everything waxed, I reattached the shelf to the base…

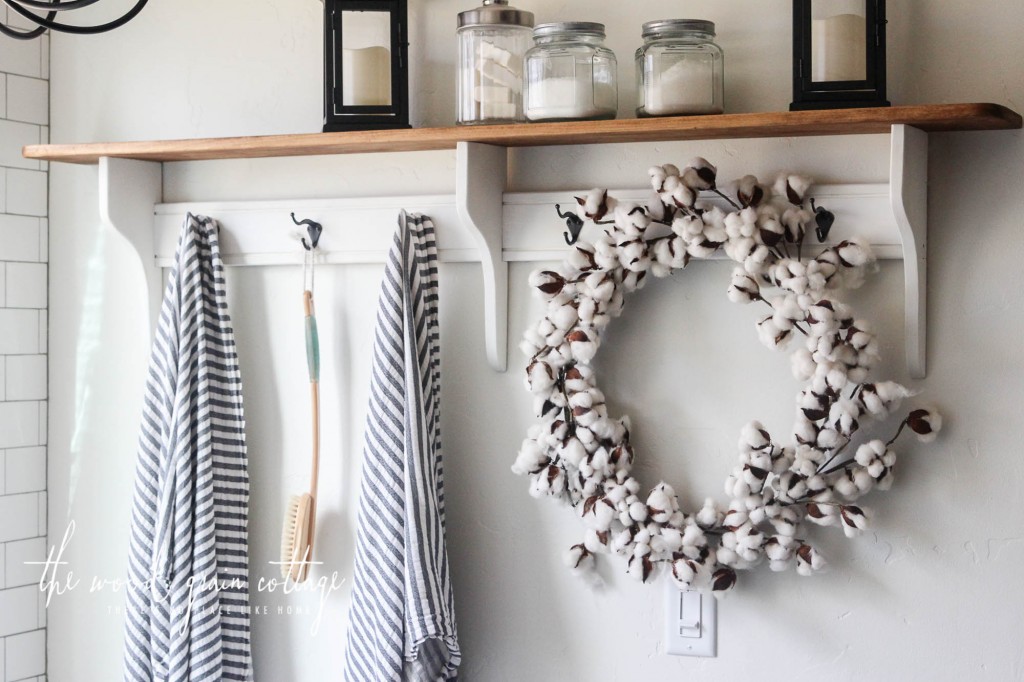
Step Seven: Attach New Hooks

To really give it a refresh, I chose new black hooks…
I knew I wanted the new hooks to be big enough to cover the existing holes from the previous pegs, and these worked like a charm…
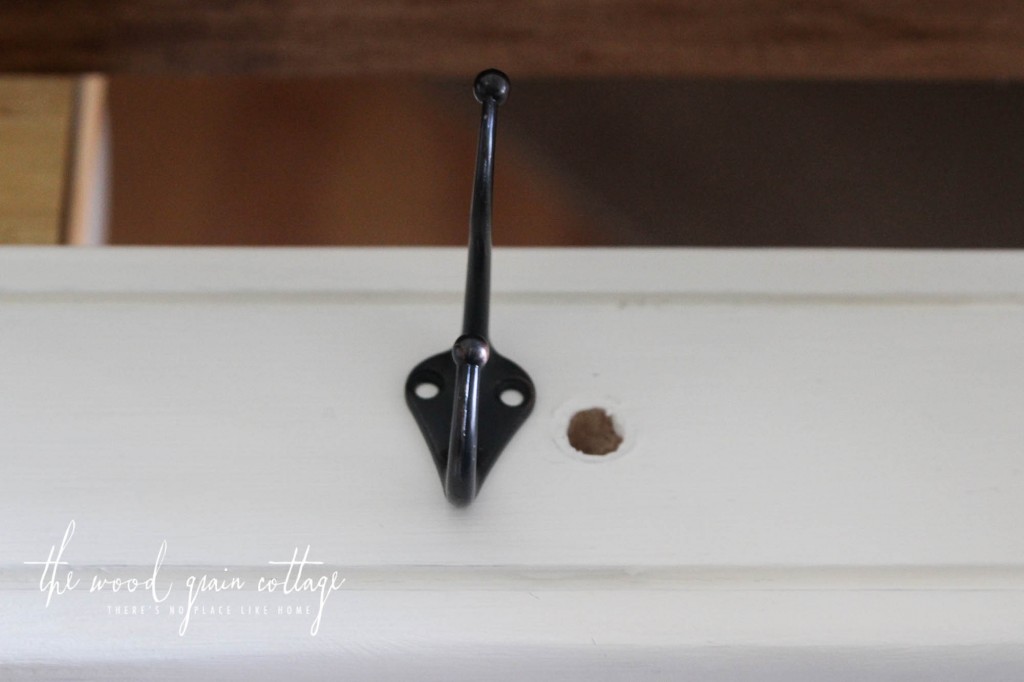
I just measured down from the top, marking the height with a pencil (& making sure they would cover the hole) and then screwed them in place…
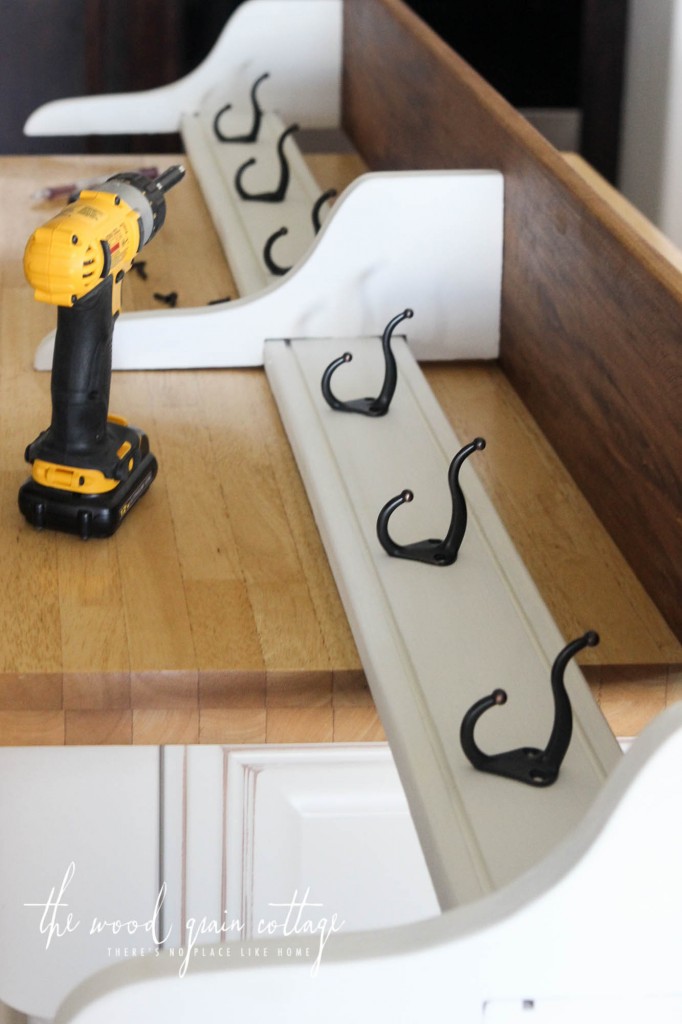
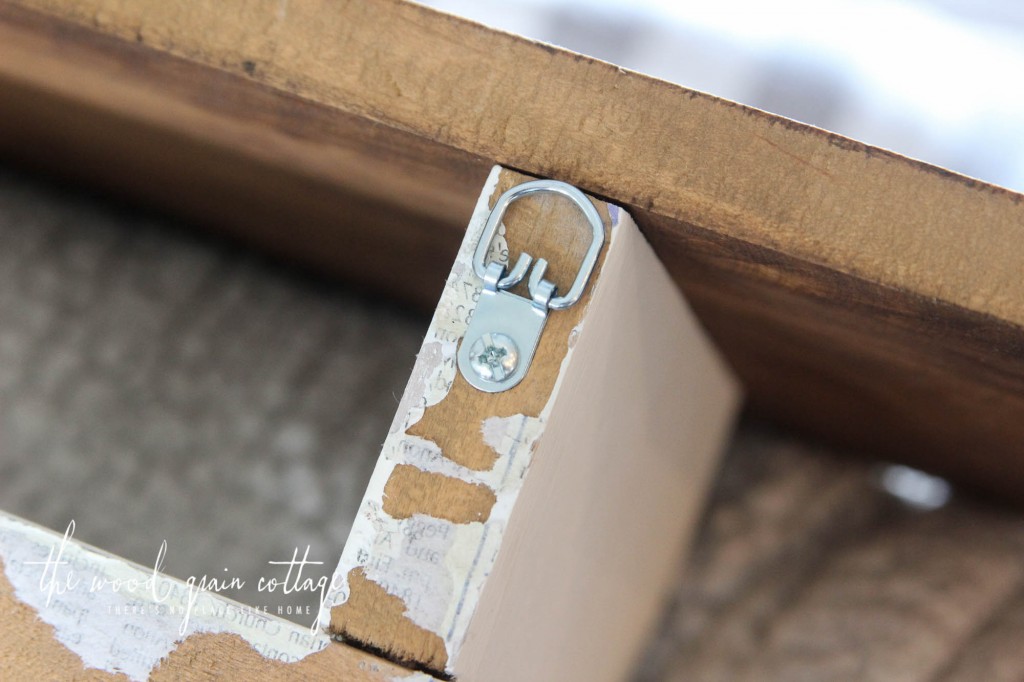
I also added new mounting hardware to the shelf too. The existing hooks didn’t seem near strong enough, and not only is this shelf a little bit heavy, but I knew whatever I chose to hang from it, or display on it, could potentially be too much for it to handle…
Step Eight: Hang The Shelf
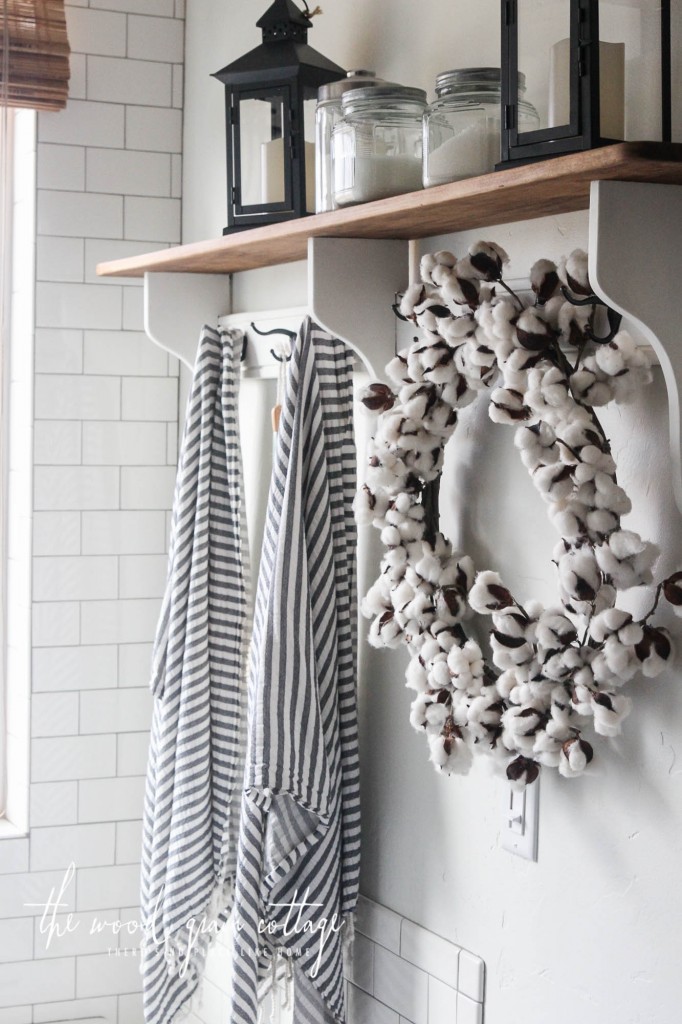
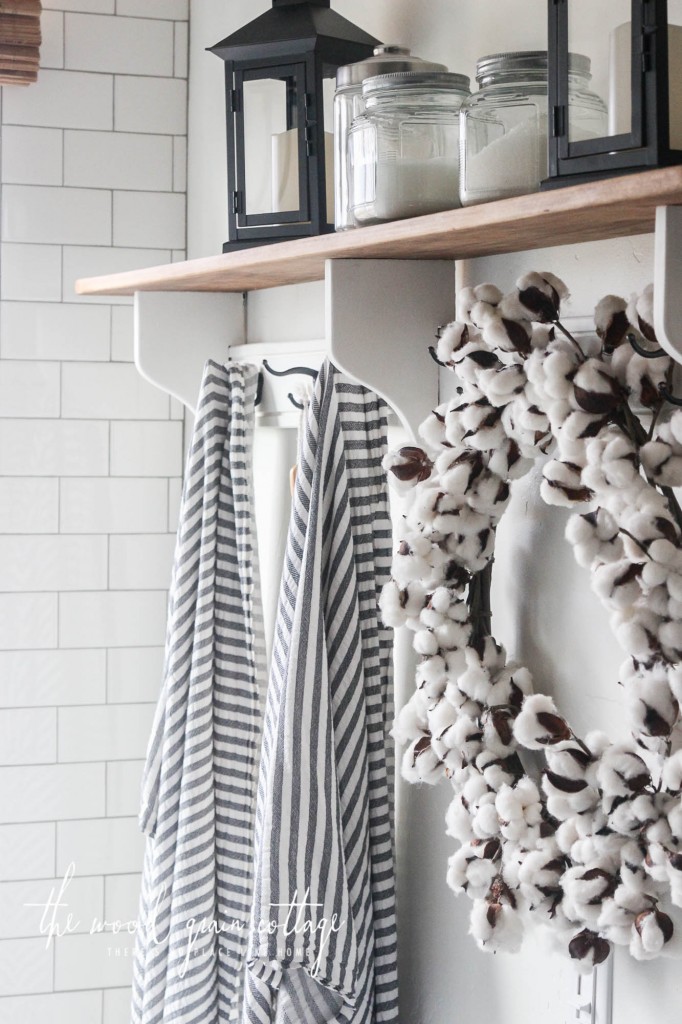
All that was left, was to hang it up and decorate. Our master bathroom had the perfect blank wall, and this shelf instantly found its new home…
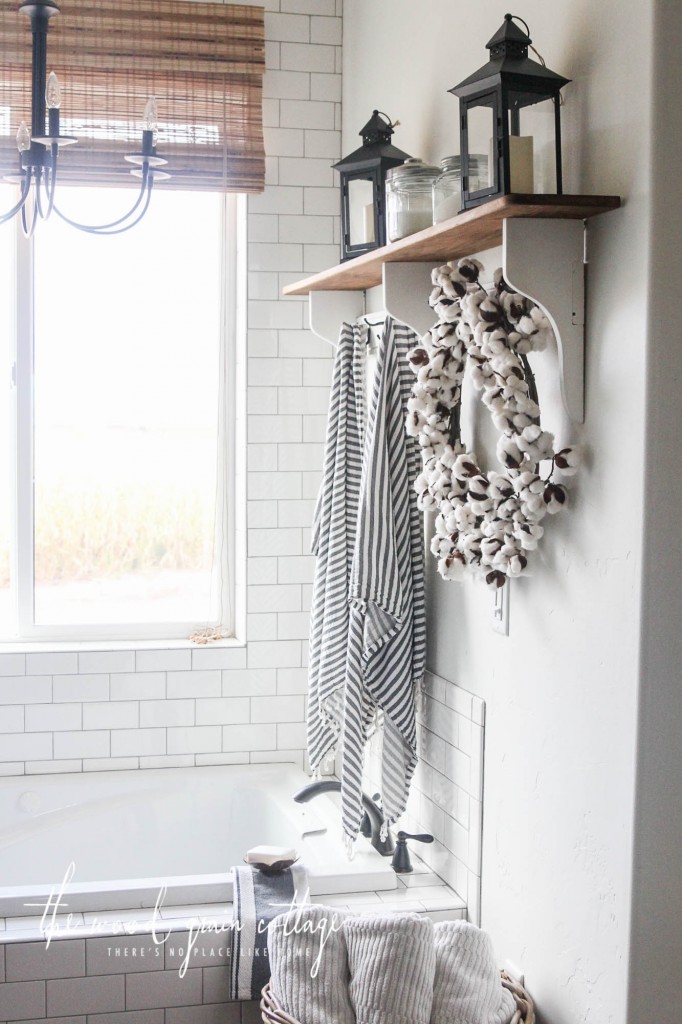
It fit the wall above our bathtub perfectly. I’d been searching for what I wanted to place on this wall since we started redoing the bathroom earlier this year. It’s like the shelf was made for it…


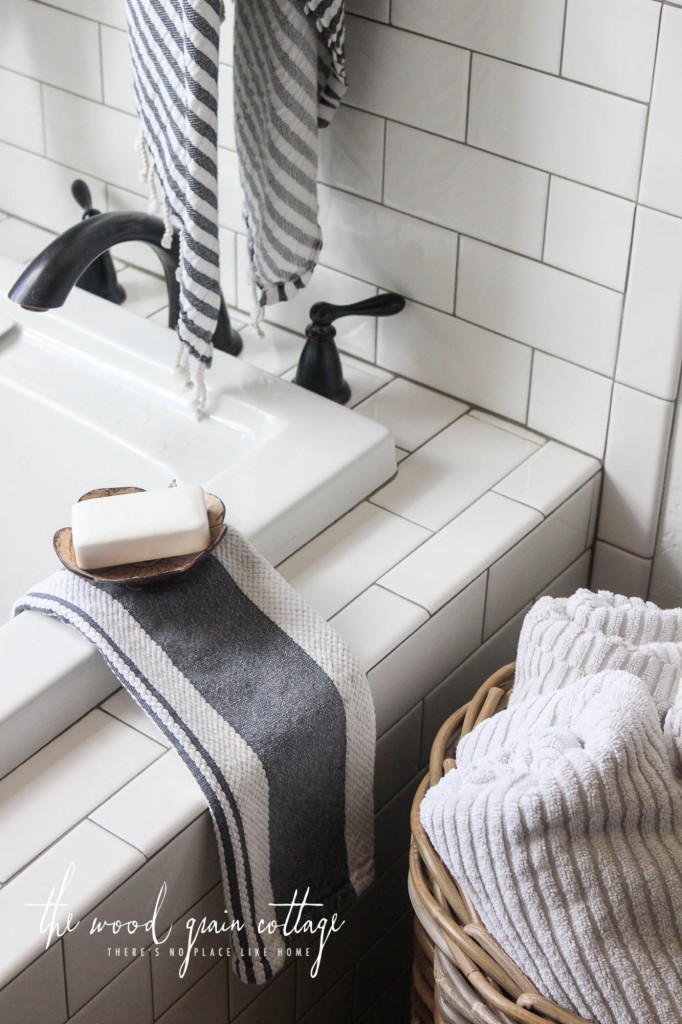
It also gave me the perfect place to hang a few extra towels…

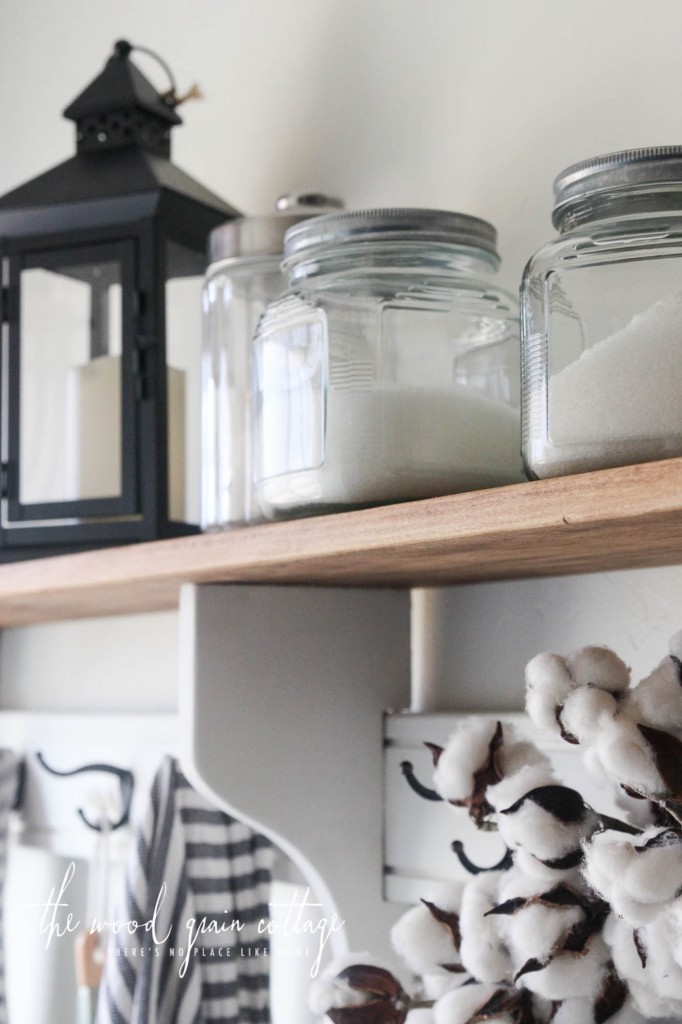
And to store some extra bath salts…
Function meets beauty on this one, and I’m totally in love with this transformation…

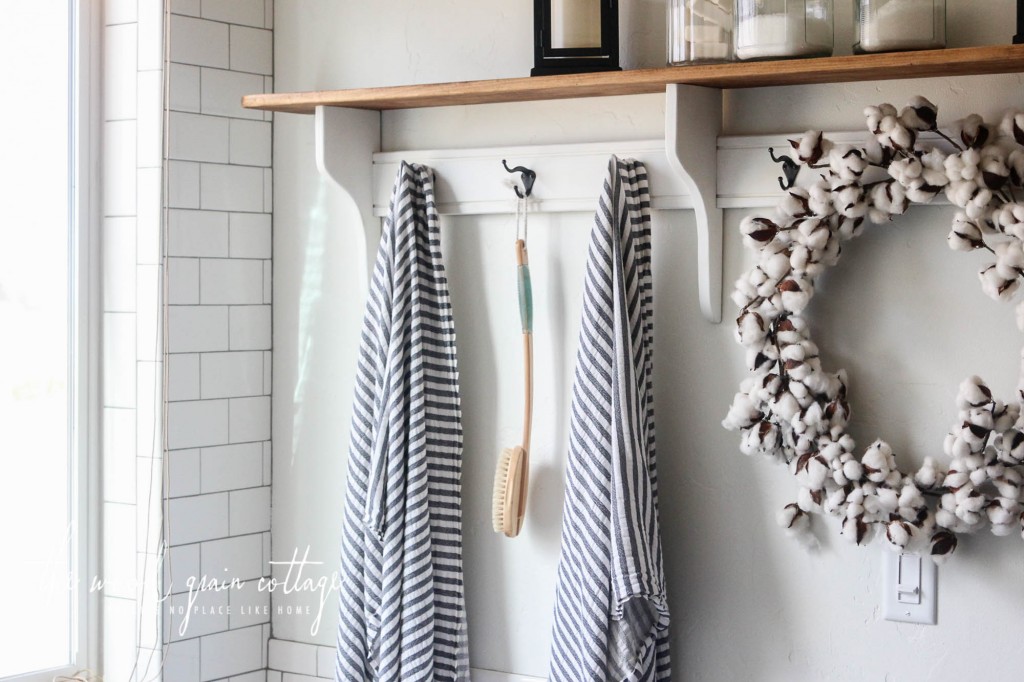
The hooks are perfect for just about everything, even the gorgeous cotton wreath that steals the show…


And just because I love the way this corner came together, here are a few more beauty shots…


Needless to say, this shelf is one of my favorite makeovers to date… that’s saying something! And just in case you’re wondering about some of the sources for the items in this post, here you go!

[show_shopthepost_widget id=”4686664″]
Paint is utterly amazing! And in case you want to see a few more awesome transformations, be sure to visit these other ladies:
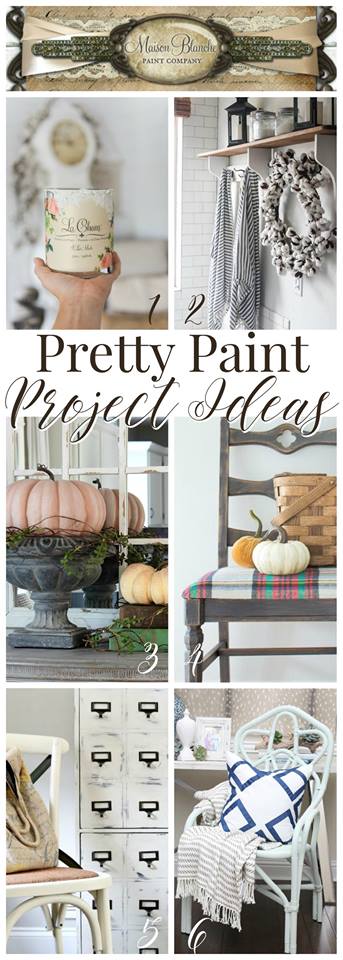
1. Liz Marie Blog // 2. The Wood Grain Cottage // 3. Hymns & Verses // 4. The Golden Sycamore // 5. Refresh Restyle // 6. A Blissful Nest
For more details about the products in this post (and step by step instructions), you can check out Maison Blanche’s You Tube Channel. There’s lots of great information and tutorials. To buy the products, see the list of retailers here.
P.S.- I received product and/or compensation for reviewing Maison Blanche Paint Company products. However, all opinions about their paint, finishing products and this shelf makeover are my own! For my full disclosure policy, click here.
Love how the shelf turned out! You really brought it back to life. Looks great in your bathroom.
It looks great, perfect find and makeover!
Debbie
From outdated to current – fabulous makeover!!!
I love $5 finds.
Especially with gorge after stories like this one.
What a great find and a great fit!!
Look like a million bucks now.
(Magnolia is my favorite white too)
You nailed it! So gorgeous and your bathroom is styled perfectly. Well done!
Wonderful shelf transformation and a beautiful bathroom!
You transformed the shelf perfectly…beautiful project!
You really did a wonderful job, Shayna!
How lovely your shelf turned out in your master bathroom. I’ve been thinking about some shelves in my master bath as well. Haven’t seen anything that hits me though. You truly scored on this piece. Besides your makeover, your bath is beautiful!
Perfect! I’d rather have something like this rather than a towel rack. The black hooks are exactly what I’d choose. Thanks for the tutorial.
Jane