Makeover Week: Updating The Old Closet Doors & More!
It’s Makeover Week! We’re updating my old bedroom closet doors with some trim work and new paint. It’s a beautiful transformation and really updates the entire space.
We’re moving right along with makeover week. Yesterday, I shared how we planked the walls and ceiling. Just by doing that, the room looks entirely different. You all know I’m a big fan of plank walls, so I was thrilled when my mom chose that element for her office.
Before my mom left on vacation, I had mentioned to her that it would be pretty awesome to frame out her existing old closet doors. They needed something, be that completely replaced with new doors, painted or modified. She didn’t really have a preference, so I chose once she was gone. I knew the existing doors could look amazing with a little bit of new trim work and paint, so that’s what we did. 🙂
Let’s talk about updating the old closet doors and the other projects we’ve finished!
Updating The Old Closet Doors
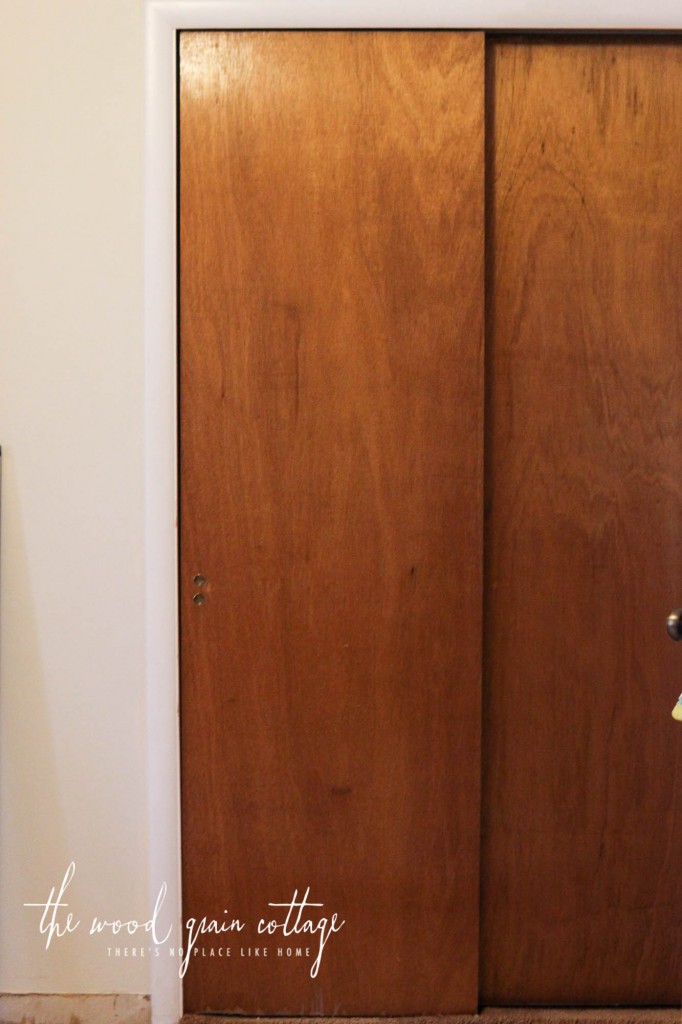
The existing doors in my old bedroom were tired. The bottoms and tops of them had scratches from years of use, the bottom had chips missing out of the doors, and they were a horrific orange color. All signs were pointing to a closet door makeover!
Affiliate links are provided below. Full disclosure here.
Supplies:
- 1/4″ 4′ x 8′ sheet of Underlayment, we used 1 sheet, cut into 3″ strips
- Table Saw
- Chop Saw
- Brad Nailer
- 18 Gauge 1″ Brad Nails
- Wood Glue
- Measuring Tape
- Square
- Fine Grit Sandpaper
- Pencil
- Spackling
- Paint (I used Onyx by Benjamin Moore in satin)
- Primer
- Paint Brush
- Foam Roller
Start Trimming Out The Closet Doors
First, we removed the doors from the closet, and started framing them out. We used the same material as plank walls (4′ x 8′ sheets of underlayment at 1/4″ thick). We cut it down to 3″ strips and laid it out on the door how I was imagining…
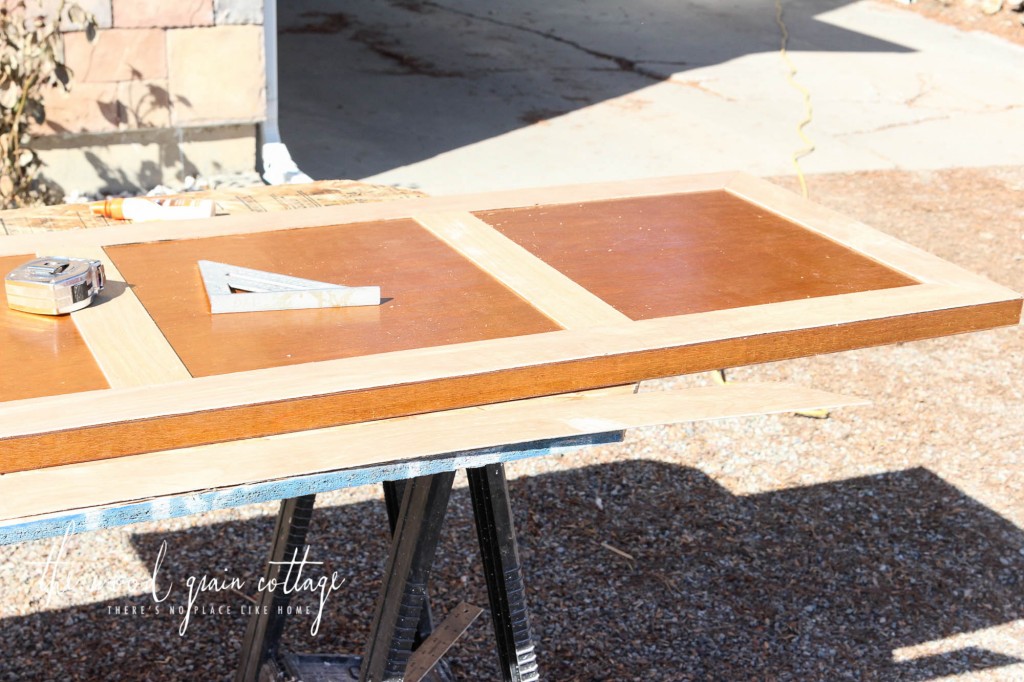
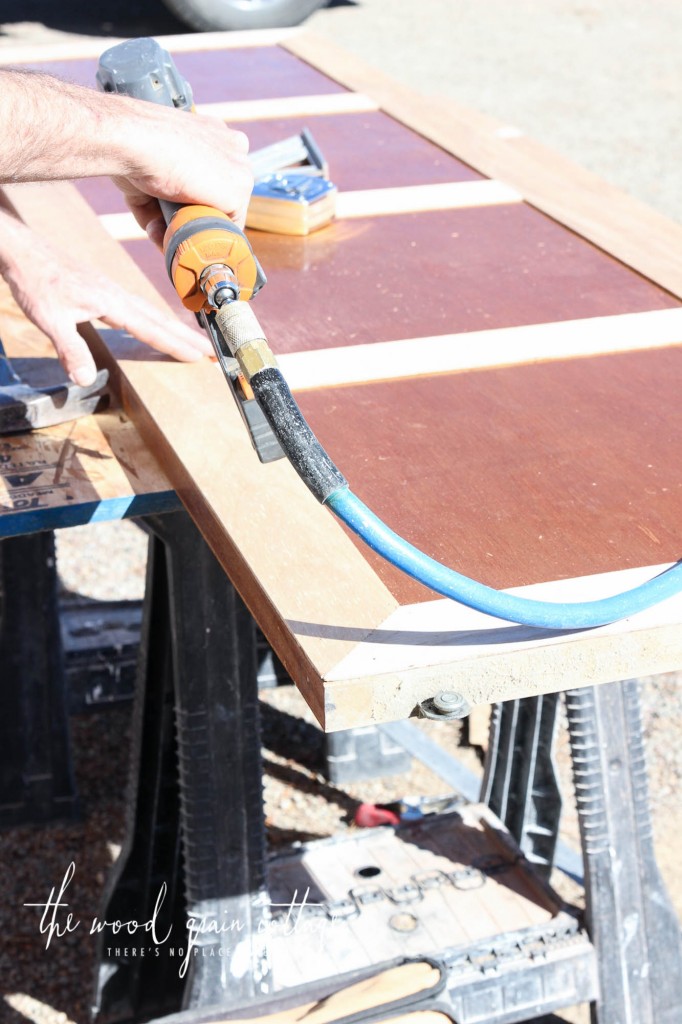
Once we had it laid out right, we used wood glue on the back of each piece, and nailed them in place…
For the spacing in between each “box”, I wasn’t overly specific. I just knew I wanted 4 different “boxes” on the door, so that’s what we went off. The material actually worked perfect. Because it’s thinner, it won’t stick up and out of the way too much when she slides the doors.
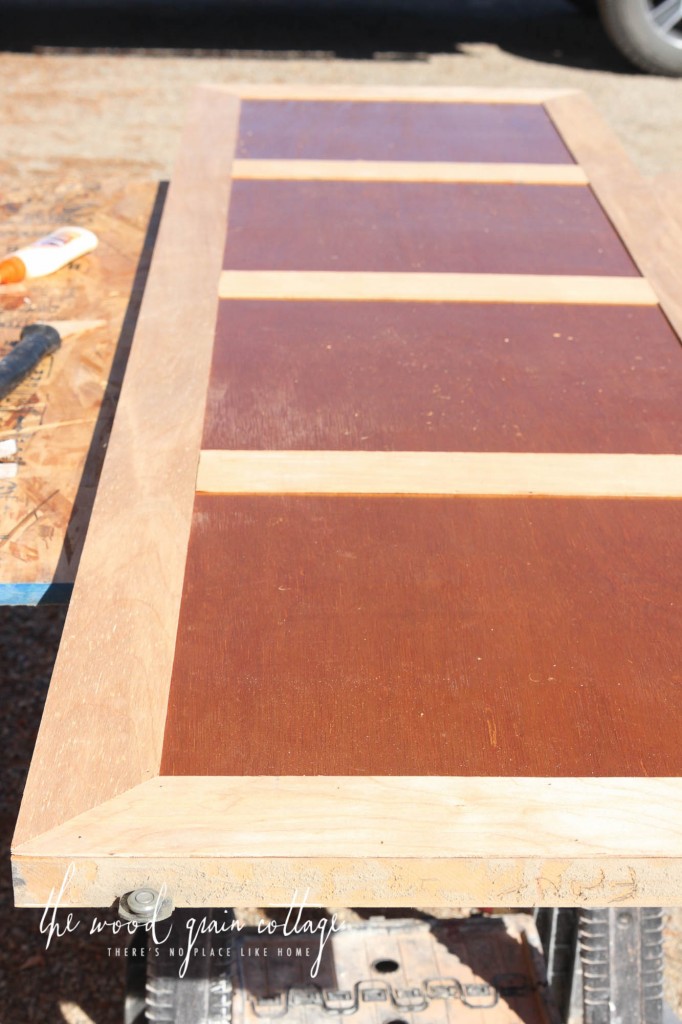
Once we had both doors framed, we filled all of the nail holes and any seams with wall putty. When it was dry, we went back over it with a piece of sand paper until everything was smooth and flush. I didn’t get a picture of this, sorry.
Prime And Paint The Closet Doors
We decided it probably wouldn’t hurt to prime the doors. I didn’t think she’d have any long term issues with paint scraping, but just to be safe, we primed them…
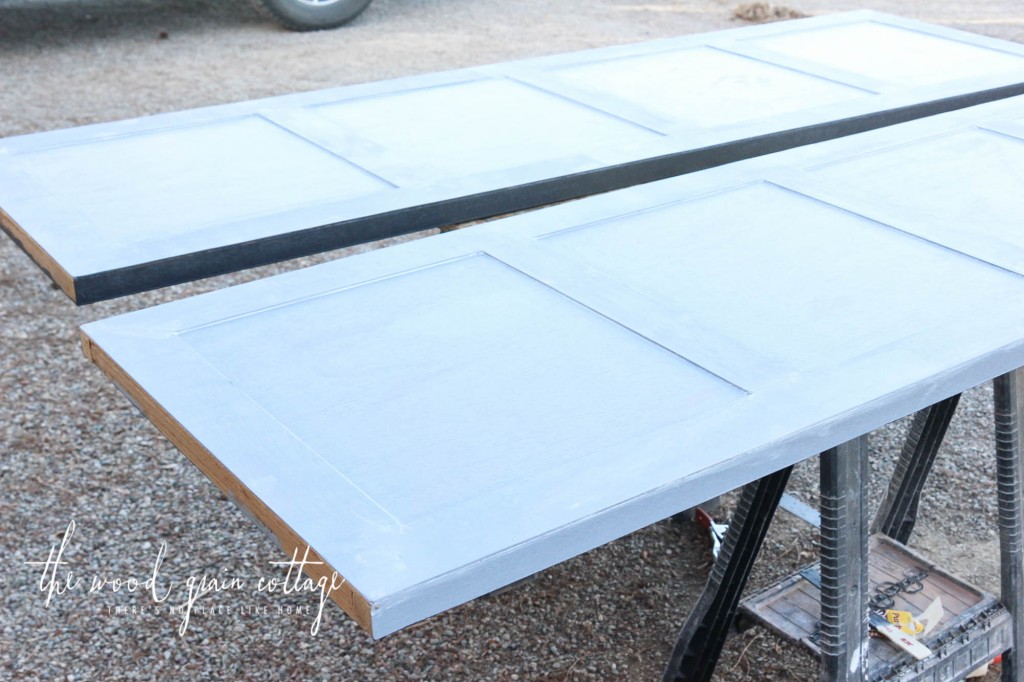
Once the primer was dry, we began painting them the actual color, Onyx by Benjamin Moore, in a satin finish….
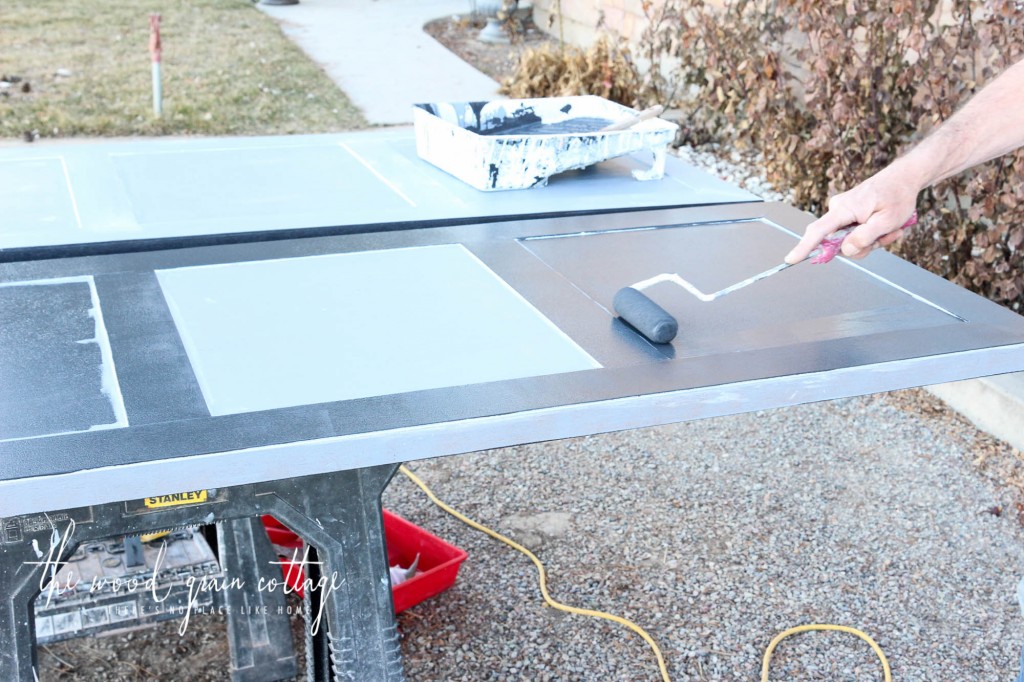
While the paint was drying, we started working on a few other things. 🙂
Installing New Carpet
The new carpet had just been installed before we started working on the closet doors. My mom helped pick this out before she left, she just didn’t get to see it installed. I did. 🙂
We had discussed that the option of going back with a carpet was probably best for her office. My mom and dad really like carpet (so do I), and I knew that we could make it be a huge part of the room. I really like patterned carpet, and this low pile made it the perfect choice for her office…
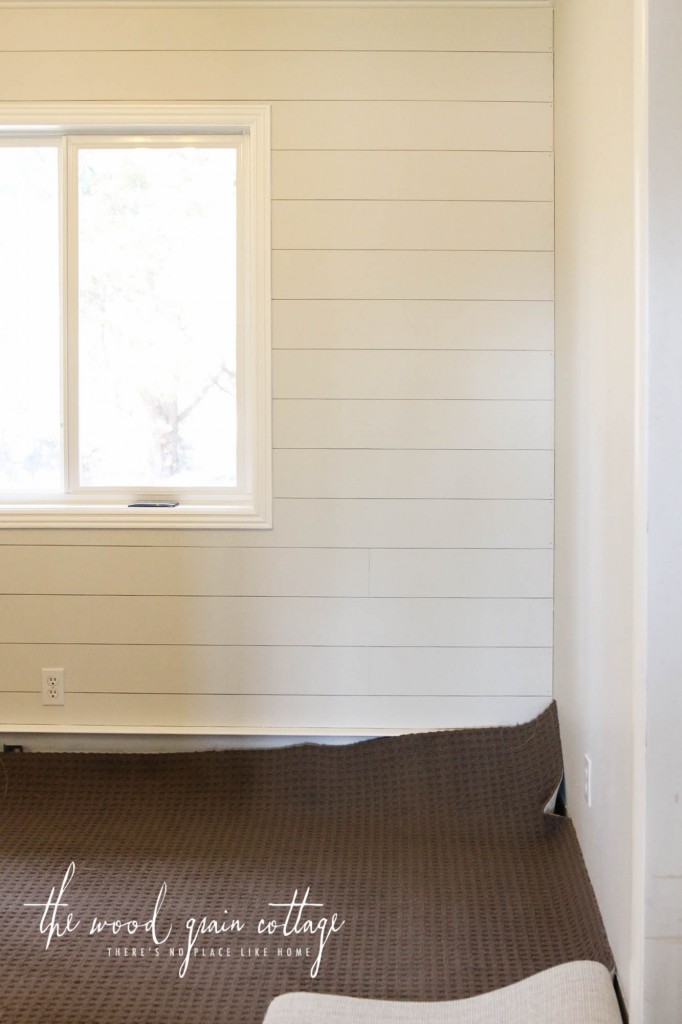
We went with a dark brown color. It’s not a true brown because it also reads dark gray sometimes. Perfect!
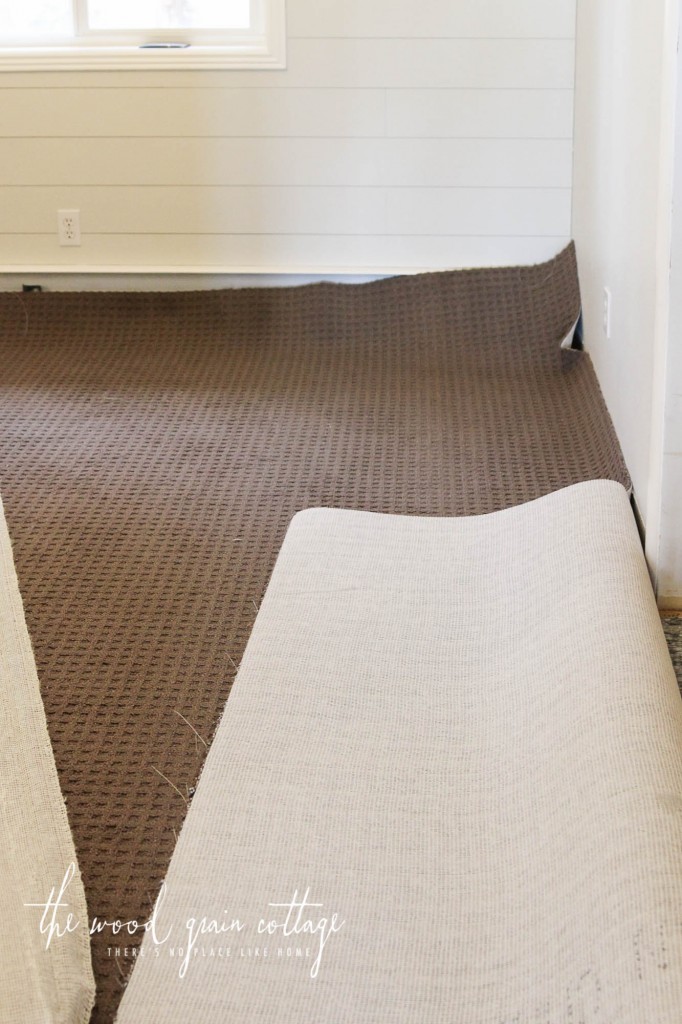
The carpet installers did their thing, and we were left with a lovely room. Emphasis on lovely!
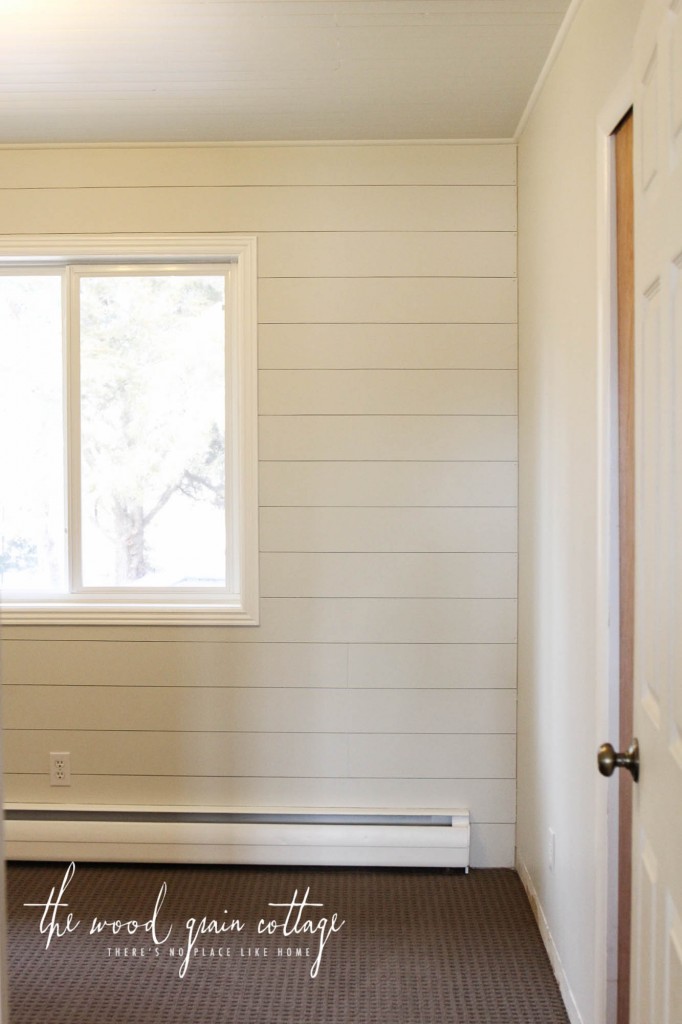
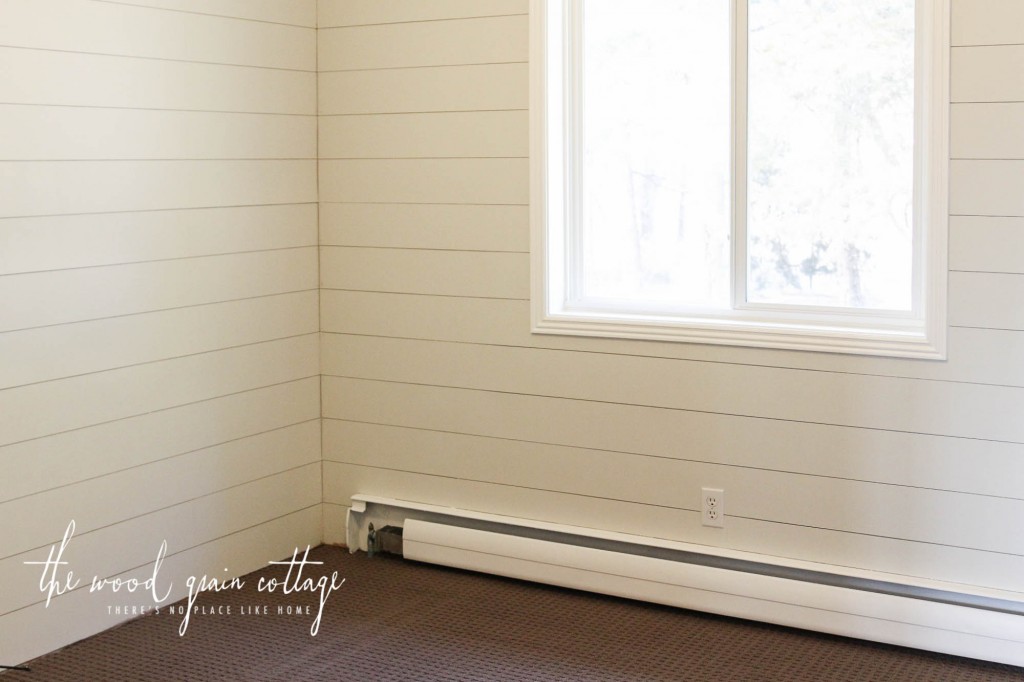
You might remember from yesterdays post, that after Anthony and I finished her plank walls, my mom went back through that night to paint them. She chose her color (with my advice) and ended up painting the walls Classic Gray by Benjamin Moore. The trim is White by Benjamin Moore.
I’m telling you, this room looked entirely different. Night and day difference, to be exact.
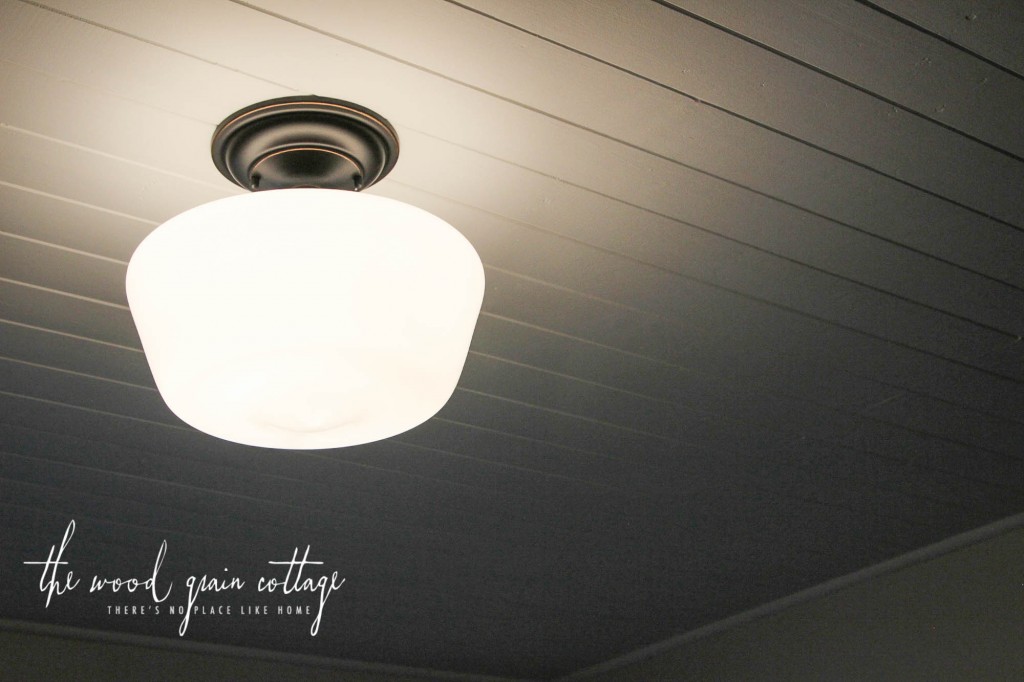
Especially after we installed the new light (here’s a sneak peek for you!)…
Updating The Old Door & Trim
And a new door…
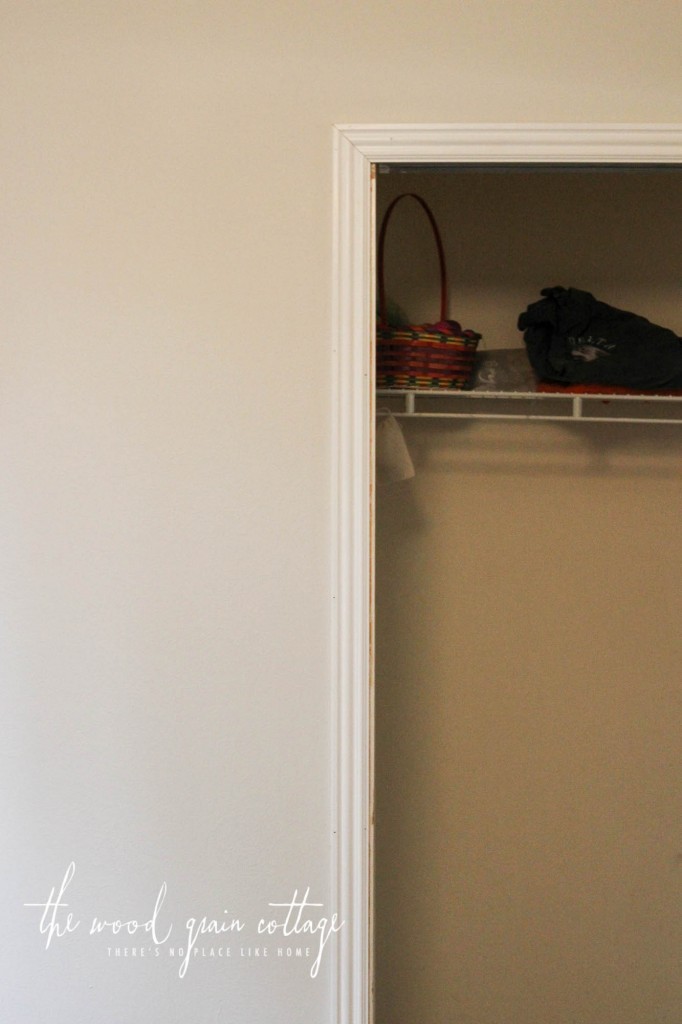
Before:
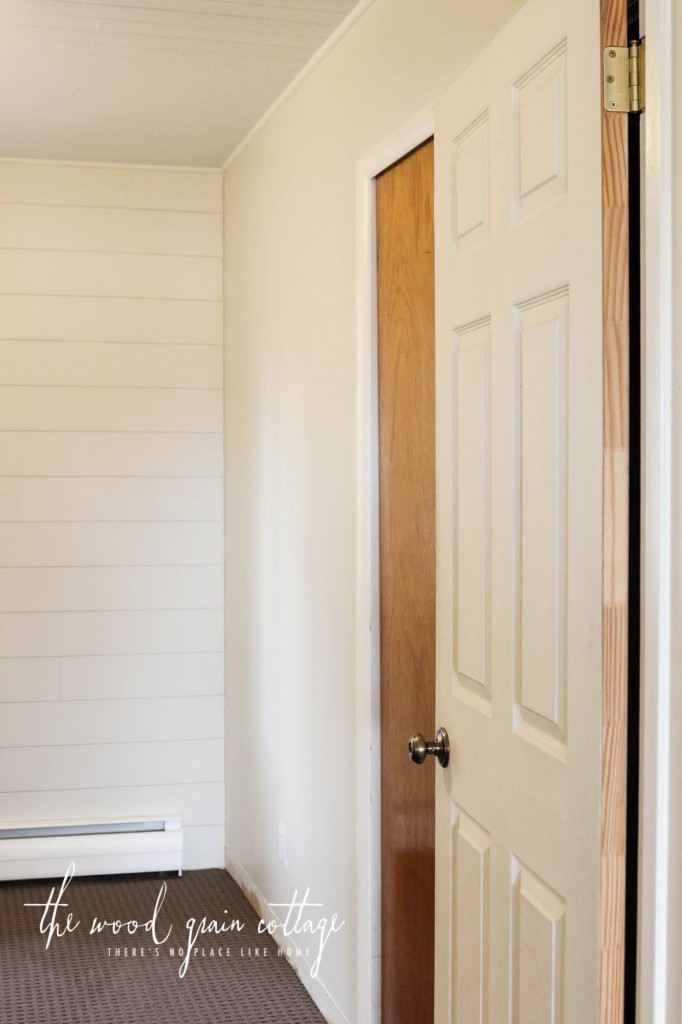
After:

The only thing left to finish was the trim, baseboard and quarter round on the plank walls…
I finished painting that night, and the next day, we moved everything in and finished the final touches.
Tomorrow I’ll be sharing the full reveal, and let me just say, YOU DON’T WANT TO MISS IT! I’m so thrilled with how the room turned out, I could easy steal it as my own! 🙂
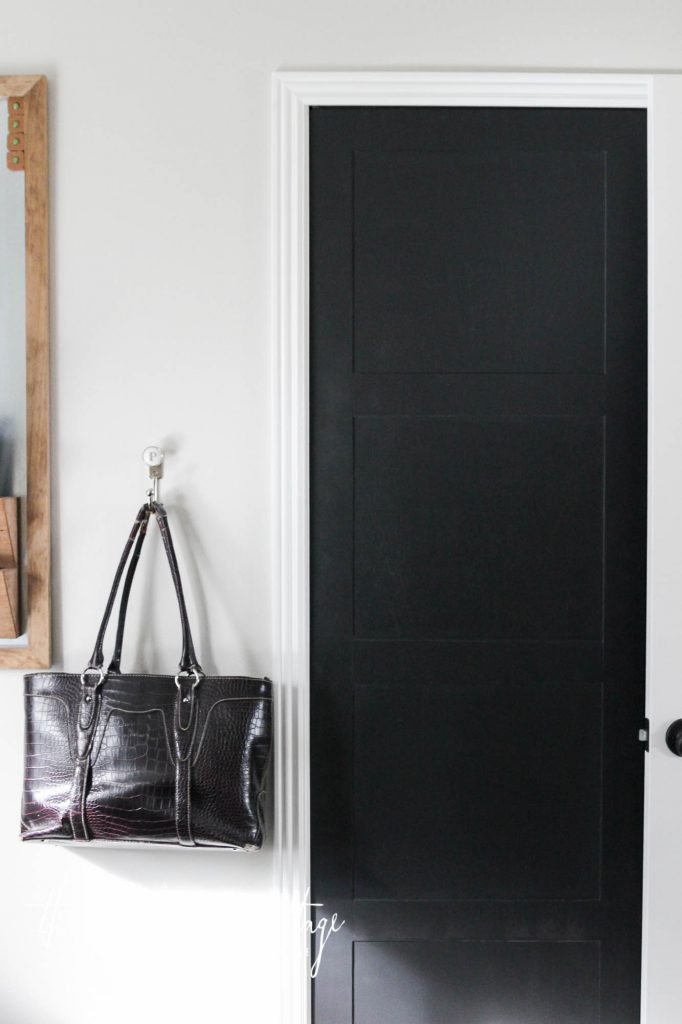
Here’s a sneak peek to get you by, and a look at our finished closet doors! They look brand new!


I love the all whit wood. We are reduing my office and gave white wood half way up. It is a great fresh look. Thanks for the tips.
This will never be called your room again!!! Total transformation!!! I’m impressed your Mom got all that painted in a night!! Tell her great job. You all have wonderful skills. The closet doors!!! How smart they look!!!! What a wonderful kind gift of your time.
Why no photos of the finished closet doors?
I just updated the post showing the finished doors! 🙂
Do the closet doors hinge open or still slide???
The doors still slide from side to side.
I added underpayment to my sliding closet doors and now it’s scraping the hardware that attaches the wheels and won’t slide freely. Any advice?
Hmmm, can you see the hardware when you step back to look at the doors? If not, you could notch around it and then it will hopefully be able to slide freely. I hope that makes sense.
Did your original doors have shellac on them? Ours do, and I worry about priming and it seeping through primer somehow??? Striping the shellac seems like a pain in the butt and like it would come off inconsistently. But if you just primed and painted over shellac, I am hopeful!
Our doors had a clear coating over them, but we didn’t have any issue priming and painting over it. I would look into a few different primers to see if any of them would work for your application. There has to be one that would work, especially considering all the things they do block from bleeding through!
Did you do both sides of the closet doors? Also may we have a better picture of them? It’s hard to visualize in yours. Thanks, Shell