
Built in Washer & Dryer Surround {Laundry Room Update}
My hubby and I love DIY, but our latest project just about ended it for us! Like, we almost threw in the towel. Gave it up. Turned our heads and never looked back. Walked away.
Not because we couldn’t do it- never that {We are DIY’ers, hear us roar!}, but seeing how messed up and un-square, uneven and un-level our laundry room was basically made us question our entire house and our builders…
Yep.
This laundry room project was almost the death of us. Seriously.
Luckily, we pushed through and made it out alive…. and we’re still married! Double bonus!
I have this problem. It’s called, Ialwaysthinkthingswillbewayeasierthantheyare.
Basically, my words mean nothing to Anthony. When I say that a project will be totally easy and won’t take too long, he rolls his eyes. He’s on to me.
And after this project, I think all of my future projects have been put on the back burner.
It was really that bad.
First, may I remind you of the initial post I wrote about our laundry room? I spilled all the details. But the worst part? I though I had all the problems listed. Not. Even. Close.
The laundry room was the last room to be finished before we moved in. Because of timing issues, we had to move in. No choice. The builders could have used an extra few days, maybe a week, to finish the laundry room properly. But we couldn’t give them the extra time, so they threw it together. Literally.
I kid you not, there wasn’t a single item in the room that was level, even or square. Pair that with a perfectionist hubby and you have a fun filled day!
It turned out great, but it was a looong process. We spent an entire day {and half the night} on this little problem… sigh… The results are great!
Please note: Some of the links in this post are affiliate links, which allows us to make a small commission from your purchase, but your purchase price stays the same. Thank you for helping support our blog! We greatly appreciate it!
Supplies:
- 2″ x 4″ x 8′, cut to size
- 1/4″ 4′ x 8′ Underlayment Sheet, cut to size
- 4′ x 8′ V Groove Paneling
- Quarter Round, cut to size
- 3″ torx screws
- Screw Driver/ Drill
- Drill Bit
- Miter Saw, this is similar to ours
- Saw To Cut Material
- Jigsaw
- 18 Gauge Nail Gun
- 1 1/4″ 18 Gauge Brad Nails
- Air Compressor
- Level
- Tape Measure
- Caulking Gun
- Caulking
- Wall Putty
- Painters Tape
- Foam Roller
- Paint Brush
- Paint, Super White by Benjamin Moore in semi-gloss
Here’s what we started with:

First, we had to install bracing on the back wall to have something to attach the beadboard to. Because the builders didn’t build the wall like we asked, there was a huge gap behind the top and side cabinets leaving nowhere to attach the beadboard.

Then, we measured a piece for the top and ripped it down to size. We used the same material as the plank wall. Worked like a charm
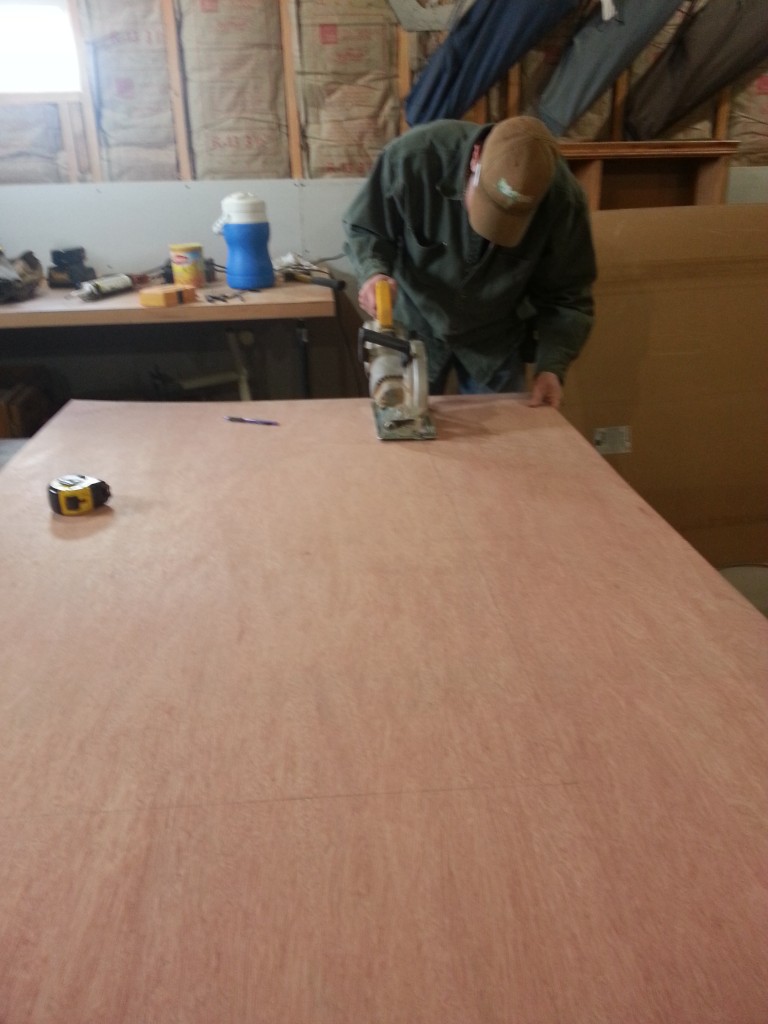
Once it was cut down, we prayed that it would fit on the top. No kidding, one side of the board was an inch different in length. Awesome!

Already SO much better!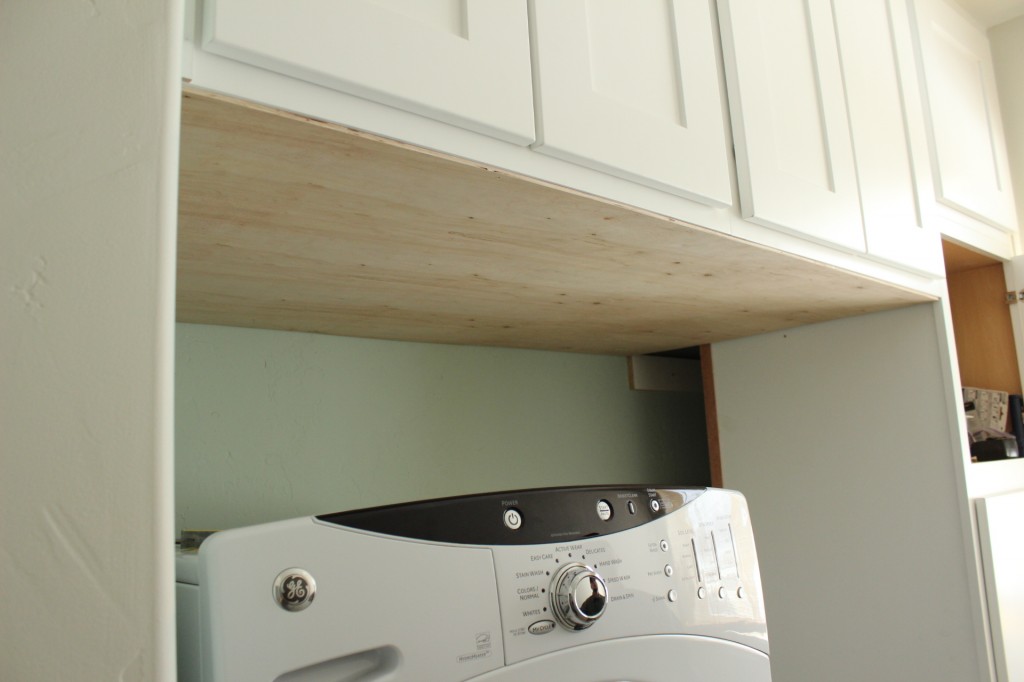
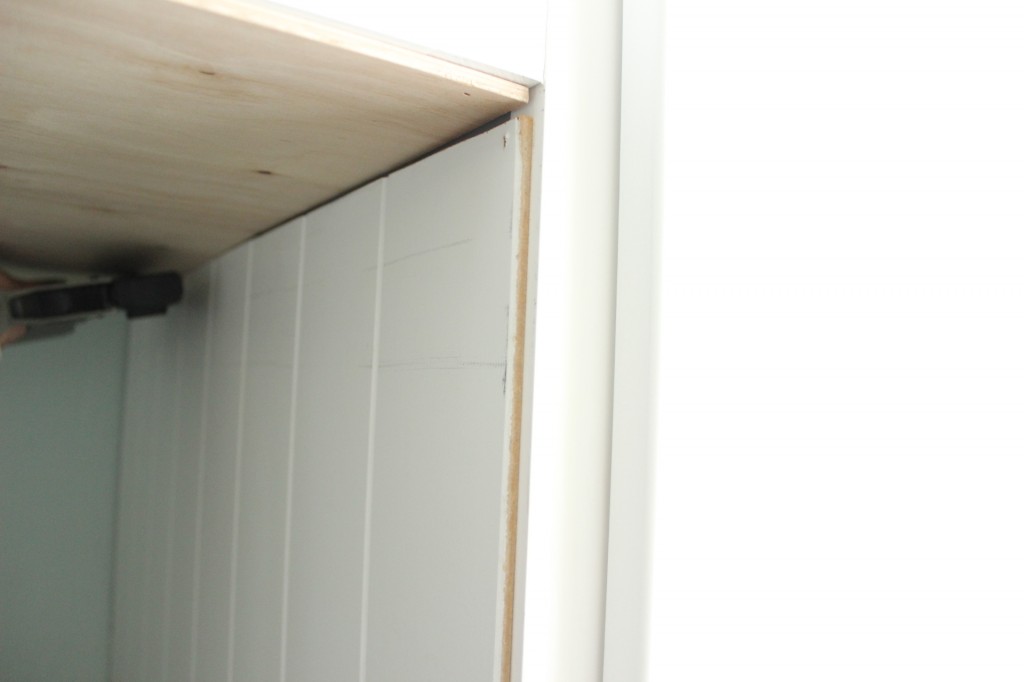
With the top in place, we measured the right side wall and cut our beadboard to size. Complete with an uneven top, bottom and back. Awesomer!

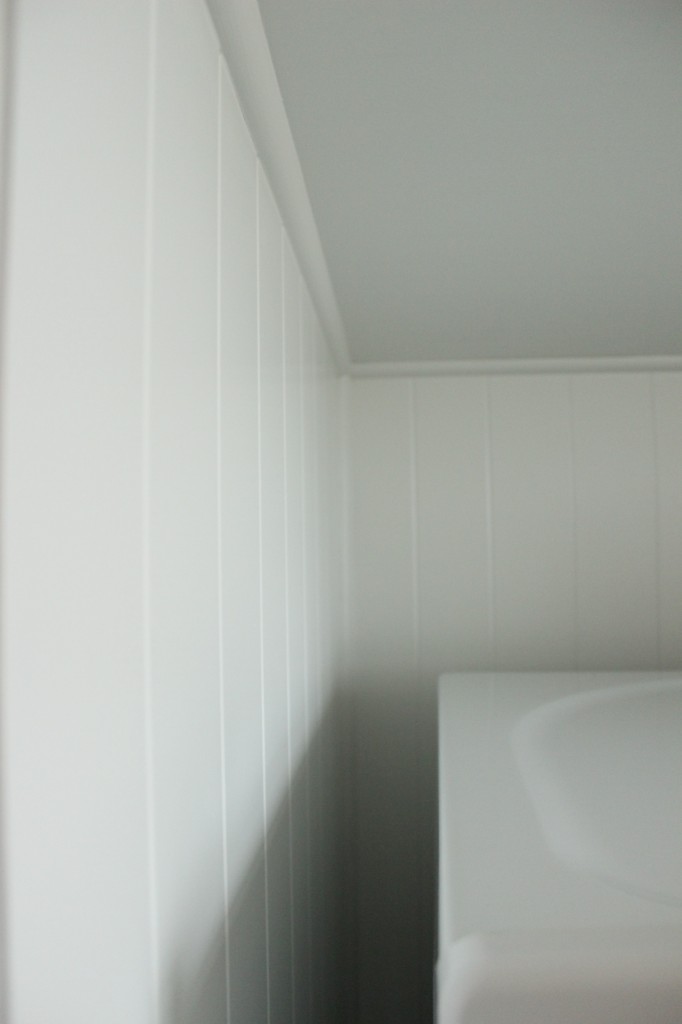
We originally planned on hanging the beadboard horizontally, but because we had a huge mess, we had to hang them vertically. If we would have hung them horizontally none of the lines would have matched up, which would have shown how crazy uneven the space was. Vertical was the only way to go!

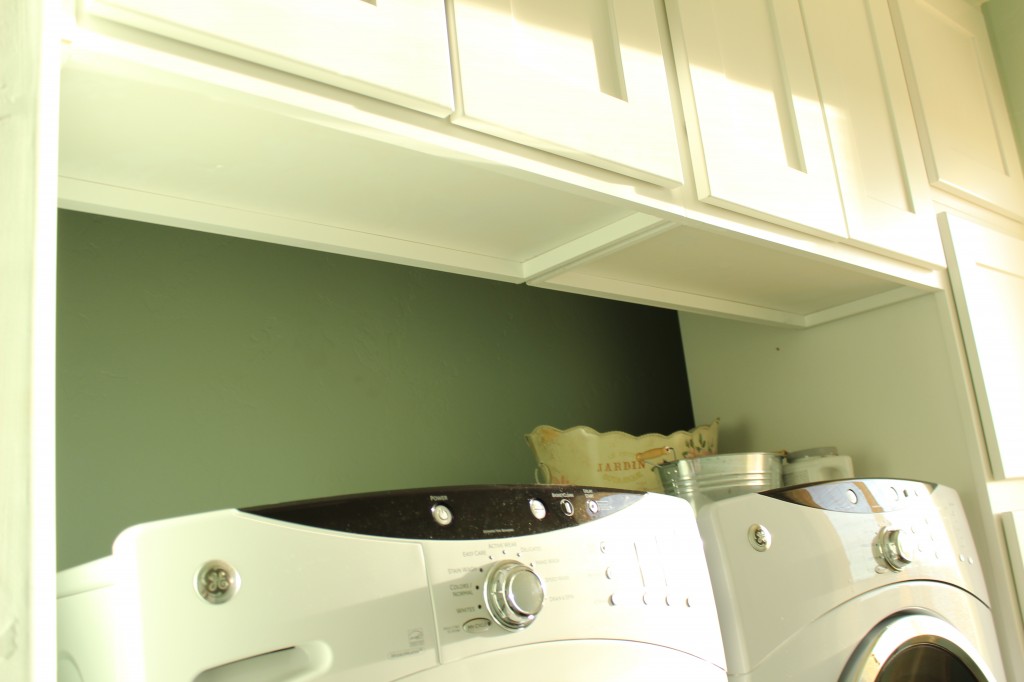
See how uneven everything is? Thank goodness for quarter round… and caulking!
We did the exact same thing to the other side…

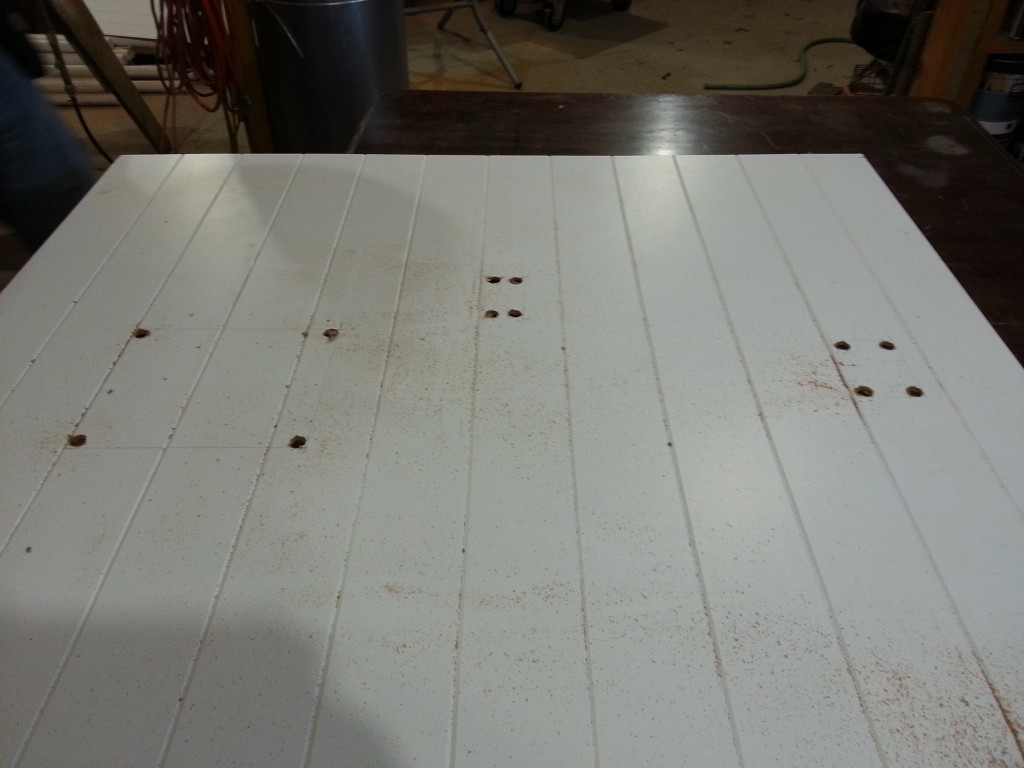
Then it was time for the back panel. We had to cut around several different things, like outlets, the washer hookup and the dryer vent.
To do that, we double measured where the outlets, etc. were located and drew them on a piece of paper. From there, we marked the same outlets on the beadboard and used a drill to notch the corners.
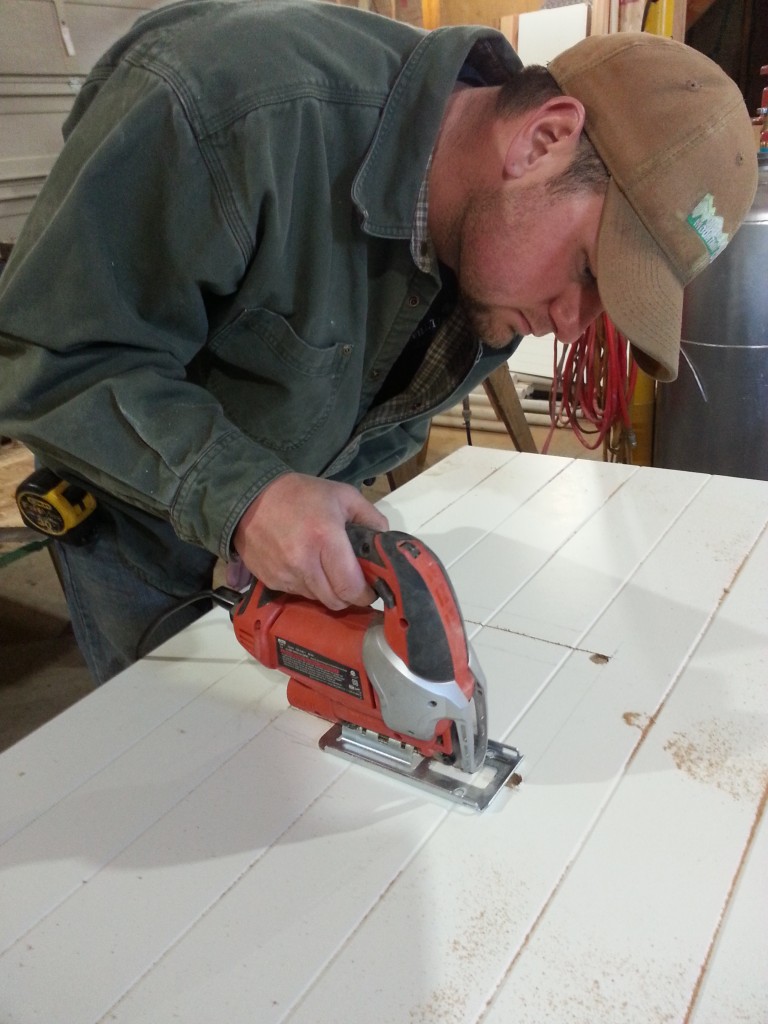
Once that was done, we grabbed the jigsaw and cut out each piece.
We installed it on the back of the wall and took a huge sigh of relief! Everything fit! Awesomest!

With the back piece up, we were left with all sorts of awesome gaps, which we quickly covered with quarter round.

On the bottom, we used larger molding to hide the massive gaps along the back. Then, we used quarter round on the sides.
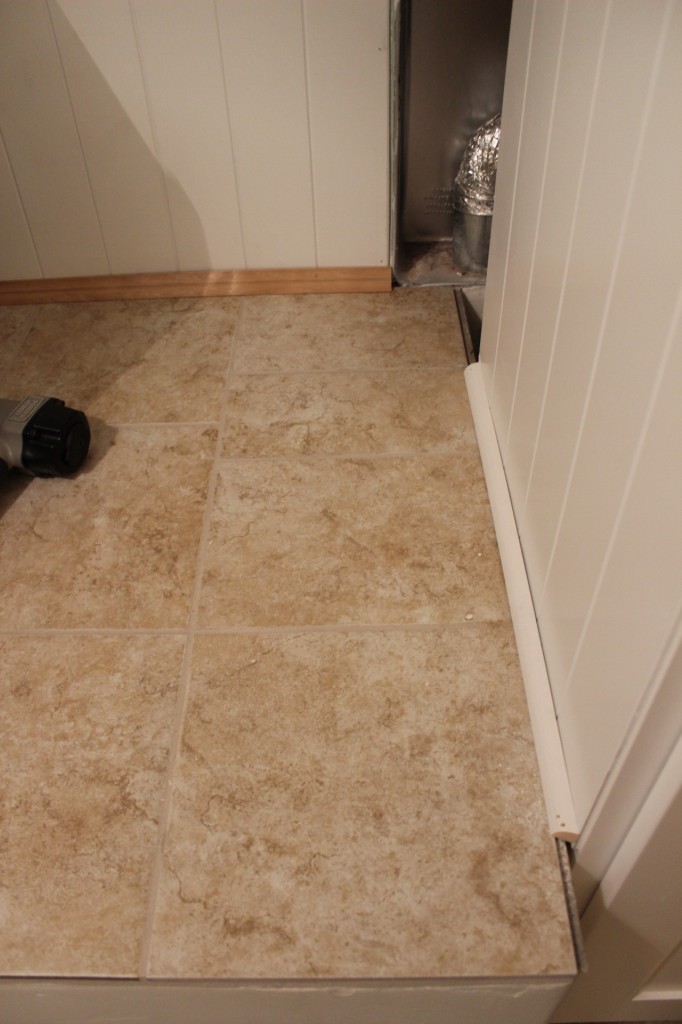
In the picture above you’ll see a lovely section that’s missing quarter round. Ya… we’re not sure what to do with that. So we left it. For now.
(Lower part of the picture. You’ll never see the top gap since the dryer will be covering it…)
Then we did a whole bunch of caulking and I got busy painting. I used Benjamin Moore’s Super White in Semi Gloss. It’s basically the same color as the cabinets and we had it on hand since it’s the same paint we used on all our trim.
Thank- to- the- goodness for caulking. It hides the uneven mess beautifully.
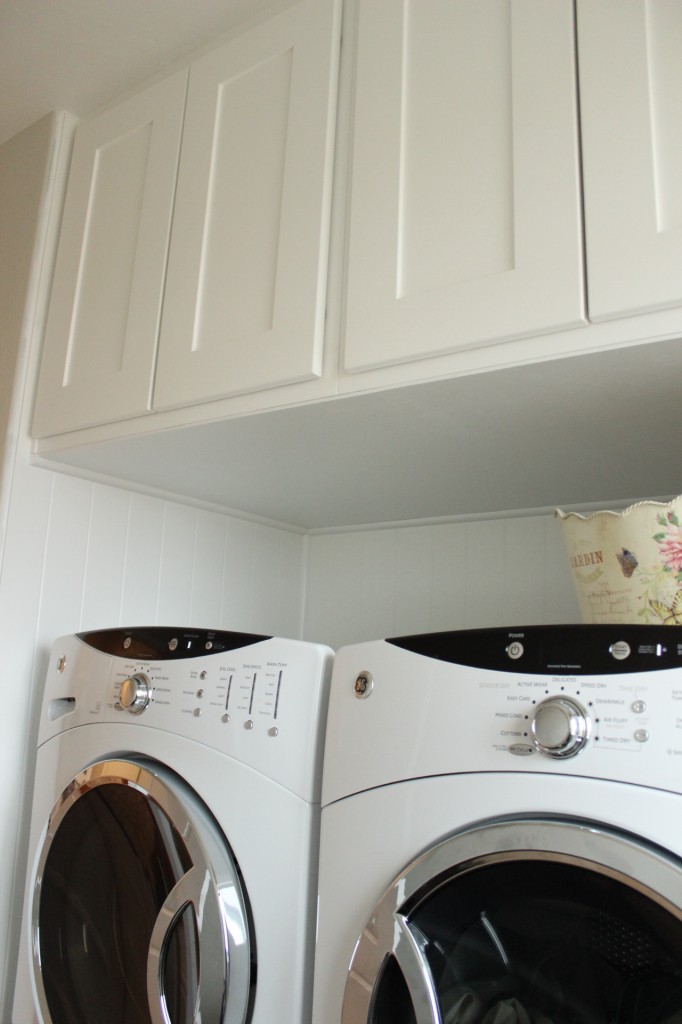
After all the pain and suffering, we ended up with this:

Here’s a before and after for comparison:

So. Much. Better.
And no one will ever know how truly messed up it is. I mean, you won’t tell right?
With this project done, we still have a few things left to do. But, I’m hoping that I can sweet talk the hubby into helping me do them. Because let’s face it, they won’t take that long to do. Easy, peasy.
But really, I mean it this time!
🙂

P.S. Stay tuned tomorrow for $30 Thursday!
Oh! my! that’s a lot of work ! but I understand you, I do the same; I always tell hubby how uncomplicated a DIY project will be and then we spend an entire weekend on it! 🙂 At least it’s done and it looks great (& nope I won’t tell) love the back panel and new color too! 🙂
Thank you Ingrid! So. Much. Work. But totally worth the result! I’m glad I’m not the only one who underestimates DIY projects! Makes me feel better! 😉
Thanks for keeping the secret… 🙂
-Shayna
Oh yes! Way better and no one will ever know from me. 😉
Cecilia
P.S.
I usually underestimate a project too. Always something that turns up unexpectedly!
THANK YOU, Cecilia! I’m so happy you’ll keep our secret! 🙂
-Shayna