
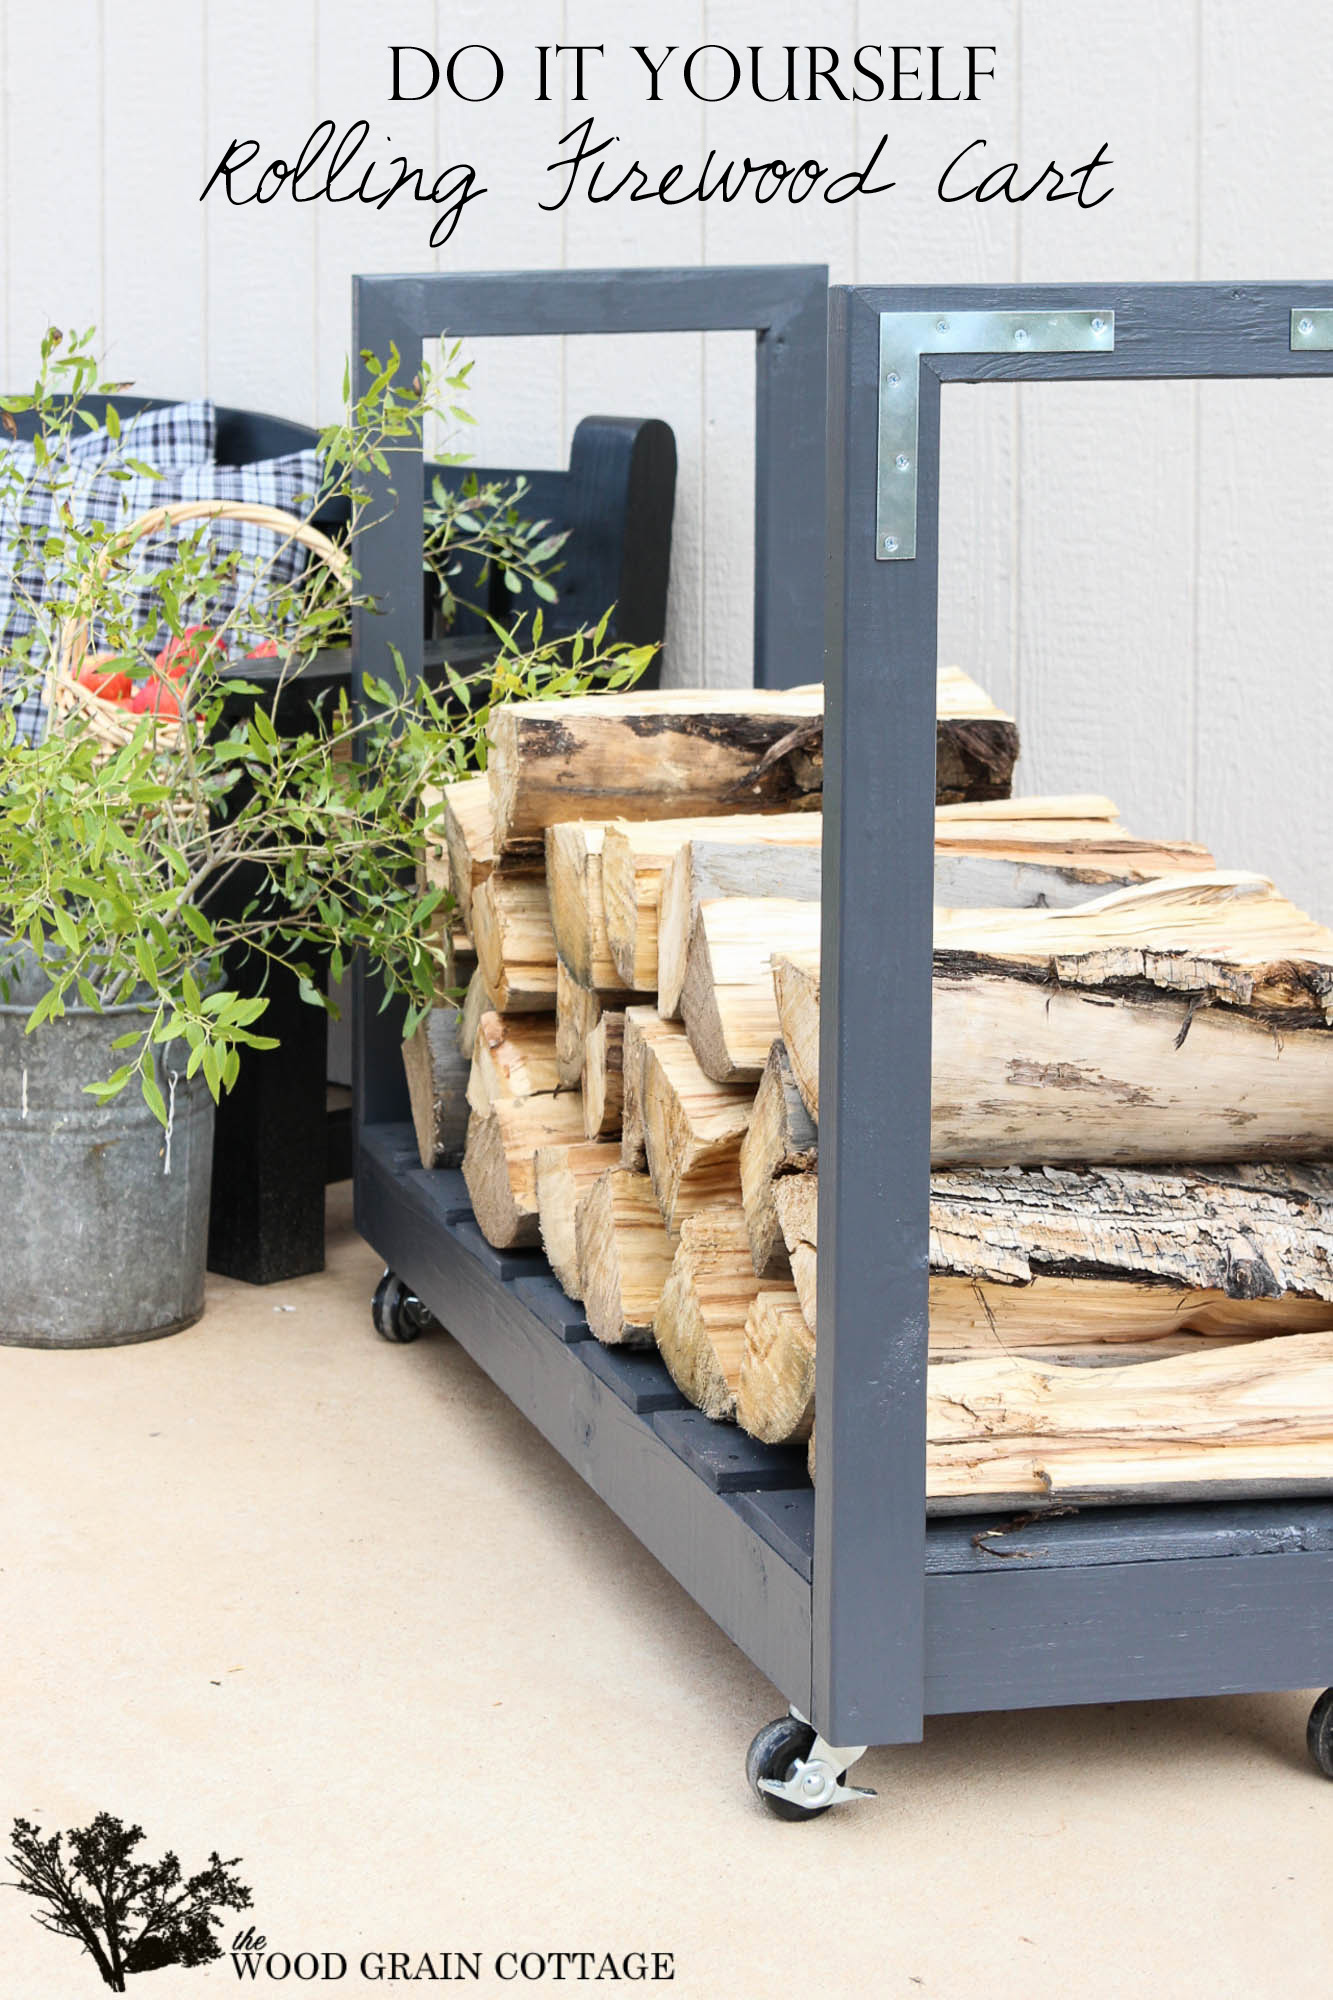
DIY Rolling Firewood Cart
I’ve been dreaming about spending a bit more time outside during the evenings. Enjoying the crisp fall evenings with a cup of hot apple cider, a cozy blanket and a warm fire sounds just about perfect.
So perfect in fact, that I even got Anthony on board to help with a new project that would make that perfect fall evening even better, a DIY Rolling Firewood Cart…
I’m already so excited about using it, I could smile all day long! 😀
Here’s how we made it, with help from 3M DIY :
Please note: Some of the links in this post are affiliate links, which allows us to make a small commission from your purchase, but your purchase price stays the same. Thank you for helping support our blog! We greatly appreciate it!
Supplies:
- 2″ x 4″ x 10′ Redwood, cut to size
- 2″ x 3″ x 8′ Boards, cut to size
- Fence Picket Boards
- Miter Saw, this is similar to ours
- Screw Driver/ Drill
- Countersink
- 3″ Torx Deck Screws
- Clamps
- 4 Casters
- Sanding Block
- Porter Cable Framing Nailer
- 2″ 8 CC Nails
- Air Compressor
- Tape Measure
- Patch Plus Primer
- Paint Brush
- 4 Corner Brackets
- Black Paint, I used Wrought Iron by Benjamin Moore in exterior semi-gloss
First, we determined the size of the base, which is: 18″ wide x 48″ long. Then, Anthony made the base for the bottom.

Since this is going to be stored outside year round, we used redwood for the base. We used clamps to hold the ends together, then Anthony used the nail gun to secure them together…

Once it was put together, it looked like this:

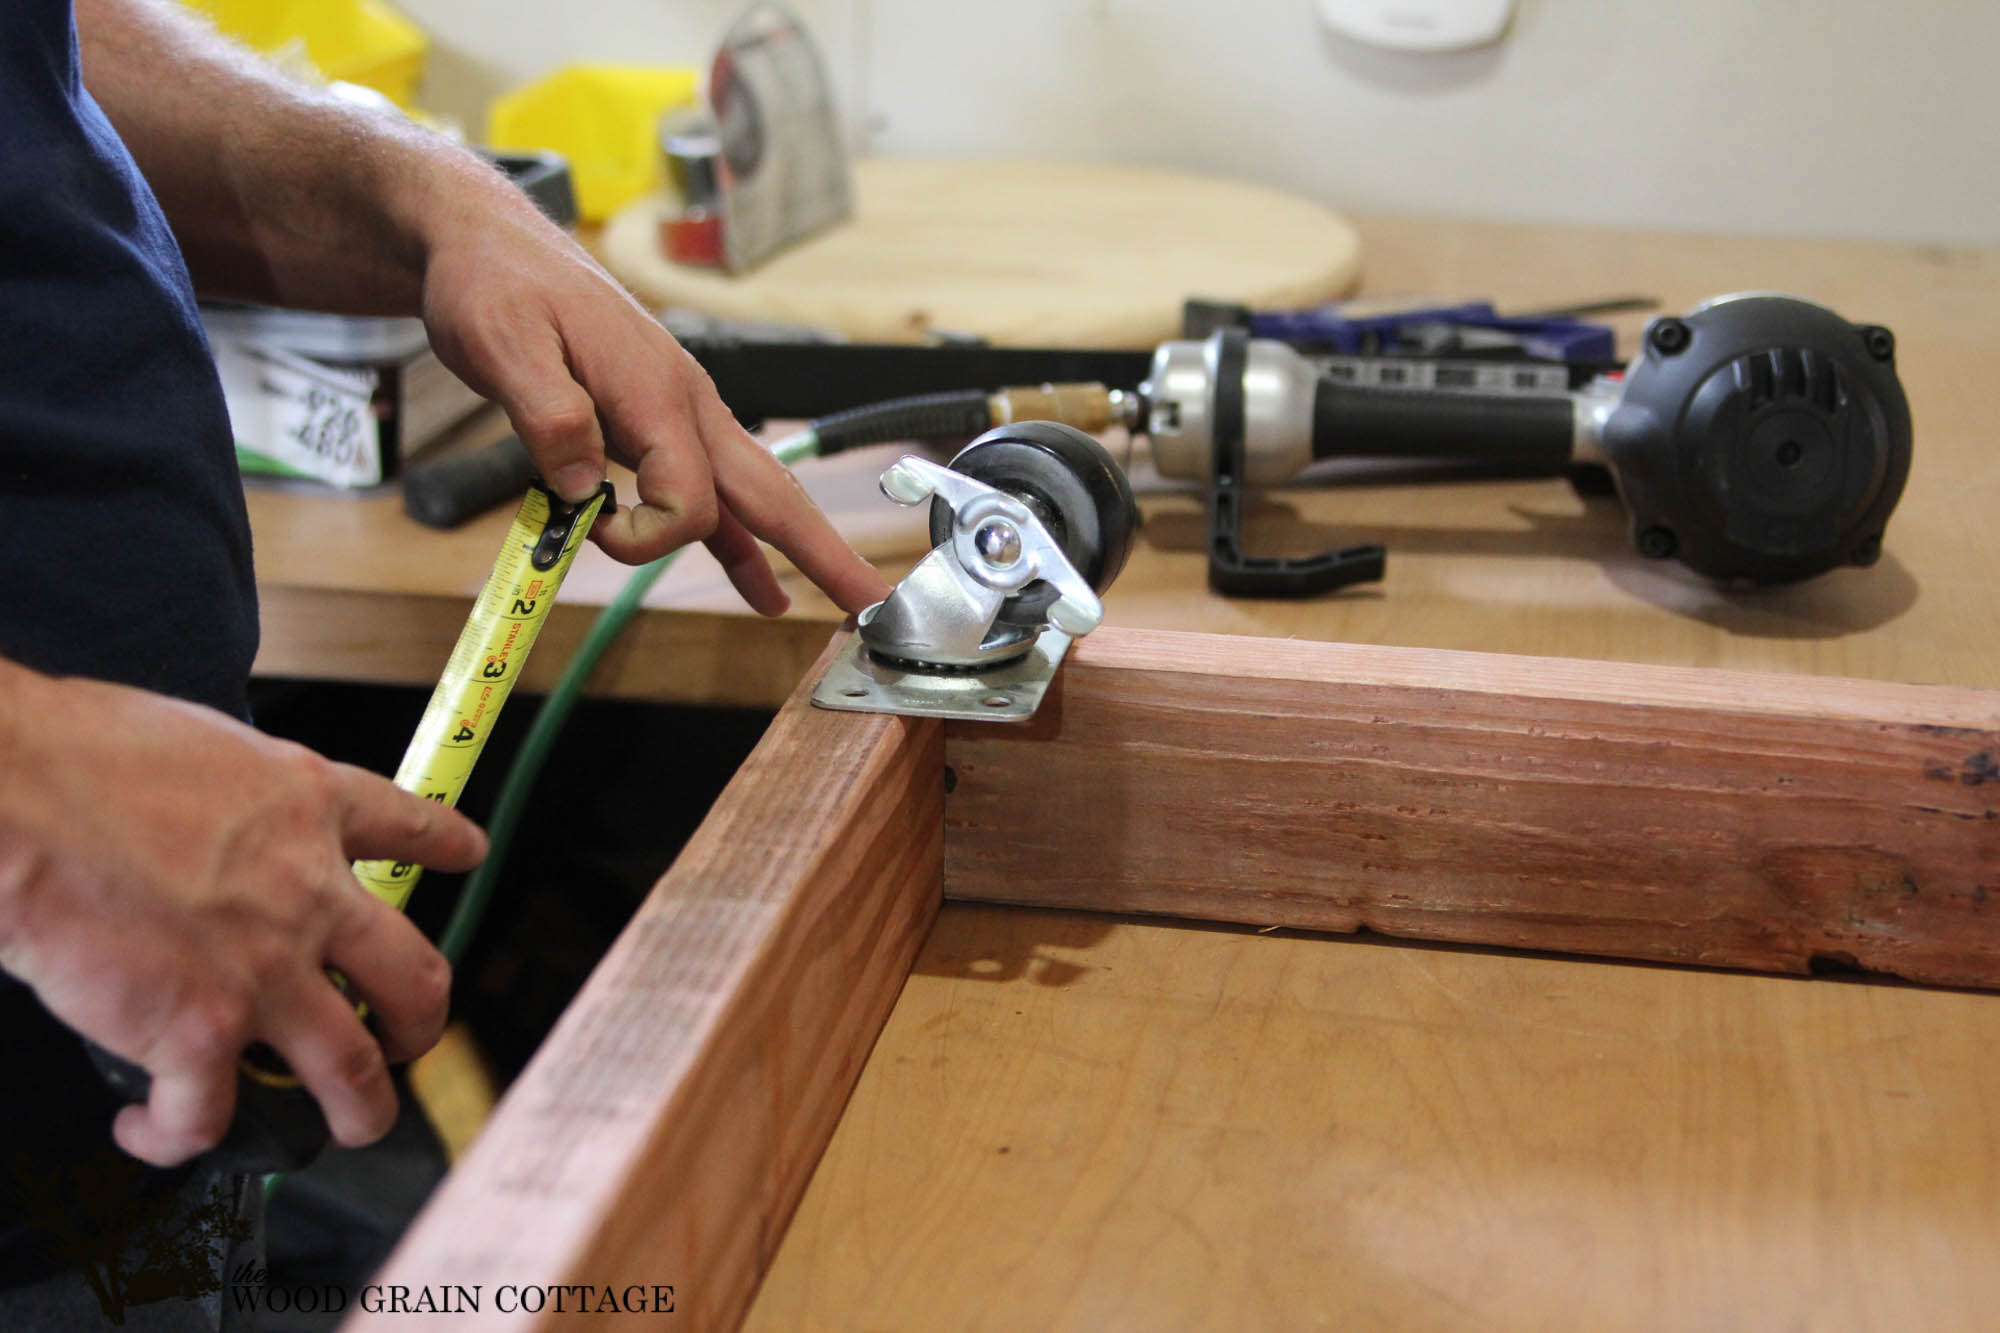
Then, to add the casters, we had to add a block to have something to attach them…

The pieces we cut were a bit splintery, so I used 3M™ Advanced Abrasives Sanding Sponge in medium grit to knock off the roughness (don’t forget to wear safety eye-wear!)…


Then we attached the blocks to the frame…

With the base done, Anthony started cutting the wood for the side pieces…
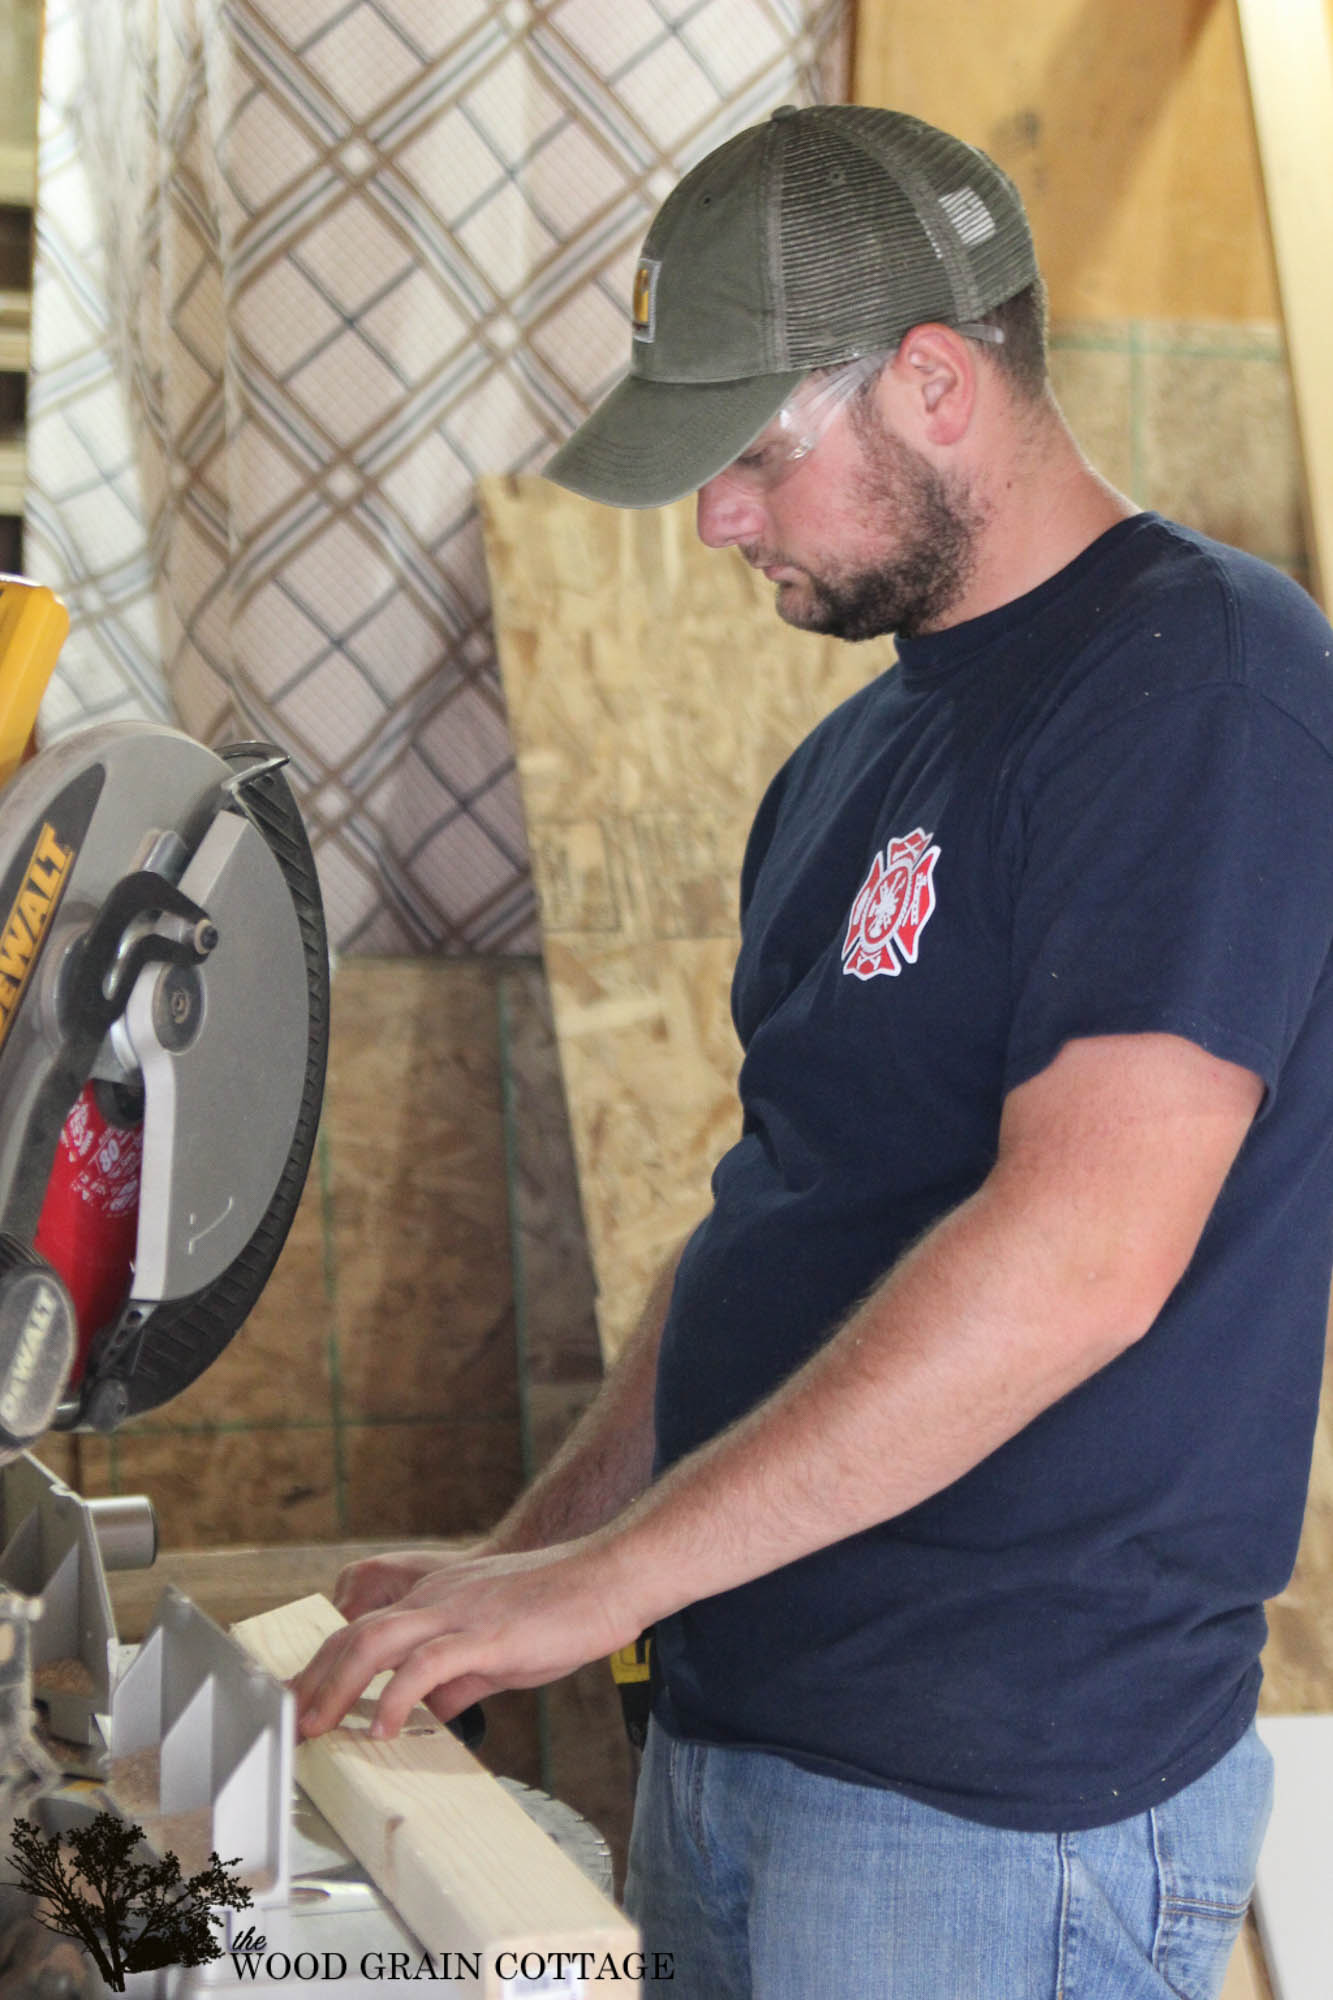
To protect his eyes, he wore Securefit safety eyewear from the 3M™ Safety Products…

Fierce fella!

For the sides, we used 2″ x 3″ boards. They’re not redwood, but since I’m painting the entire thing, they should be find to withstand the elements…

We clamped the pieces together, then pre-drilled the hole…

And screwed them together in several places…

Then, we attached the sides to the base…


With the sides attached, we were left with this:

Then, we flipped it upside down and added the casters…

With the casters in place and locked, we started adding the slats to the bottom…

We used leftover fence pickets, which worked perfectly. We just evenly spaced them out…

Then nailed them in place….

Meanwhile, I started filling all the screw holes with 3M™ Patch plus primer …


And once the Patch plus primer was completely dried, it was done and ready to paint! The finished measurements are: 18″ deep x 4′ long x 40″ tall

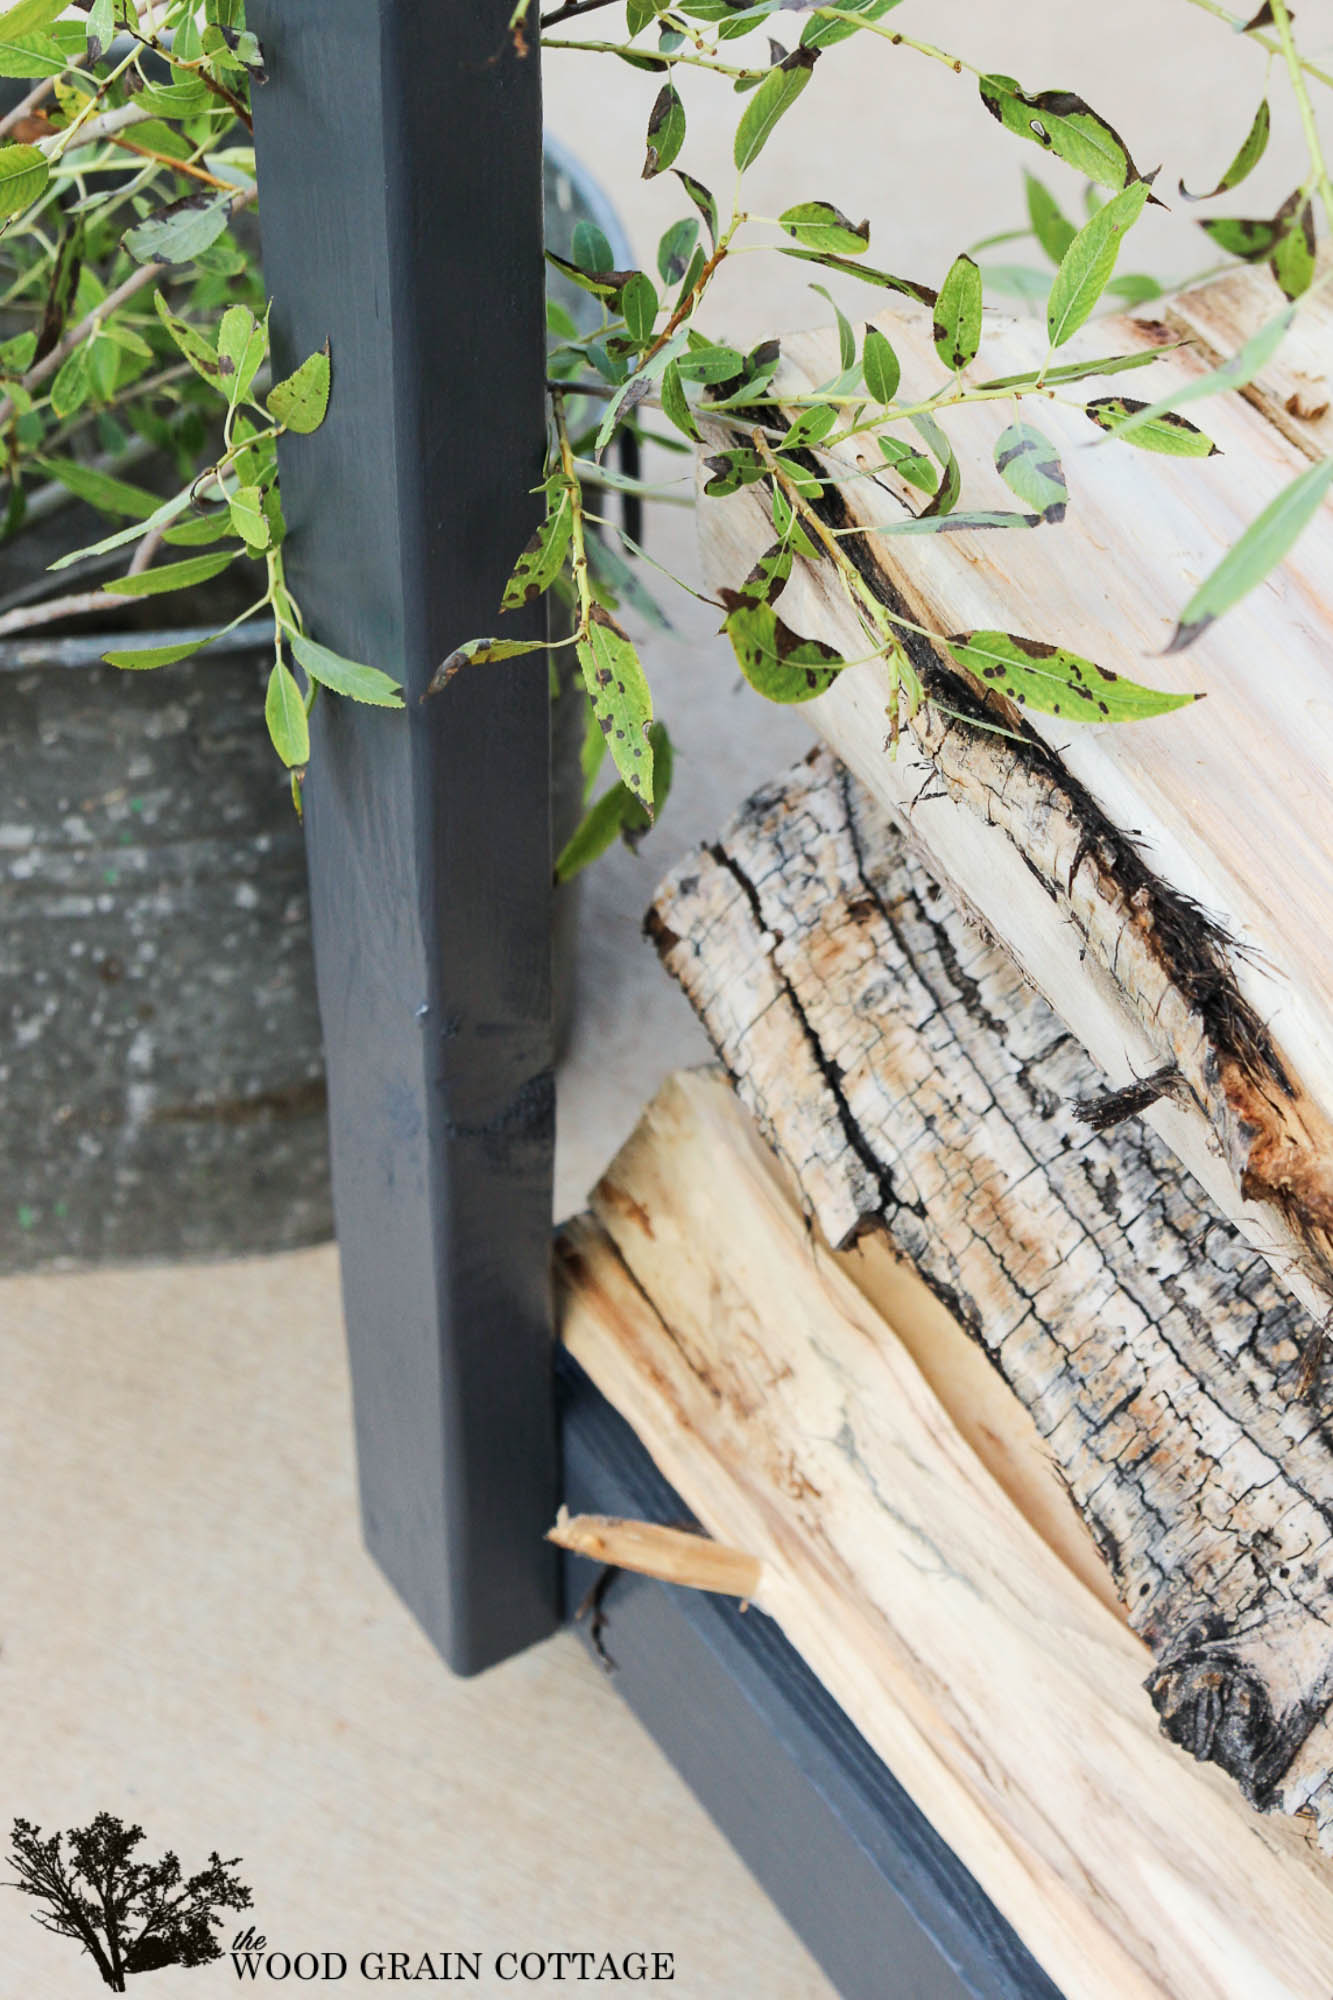
I used Wrought Iron by Benjamin Moore® in exterior semi gloss paint…

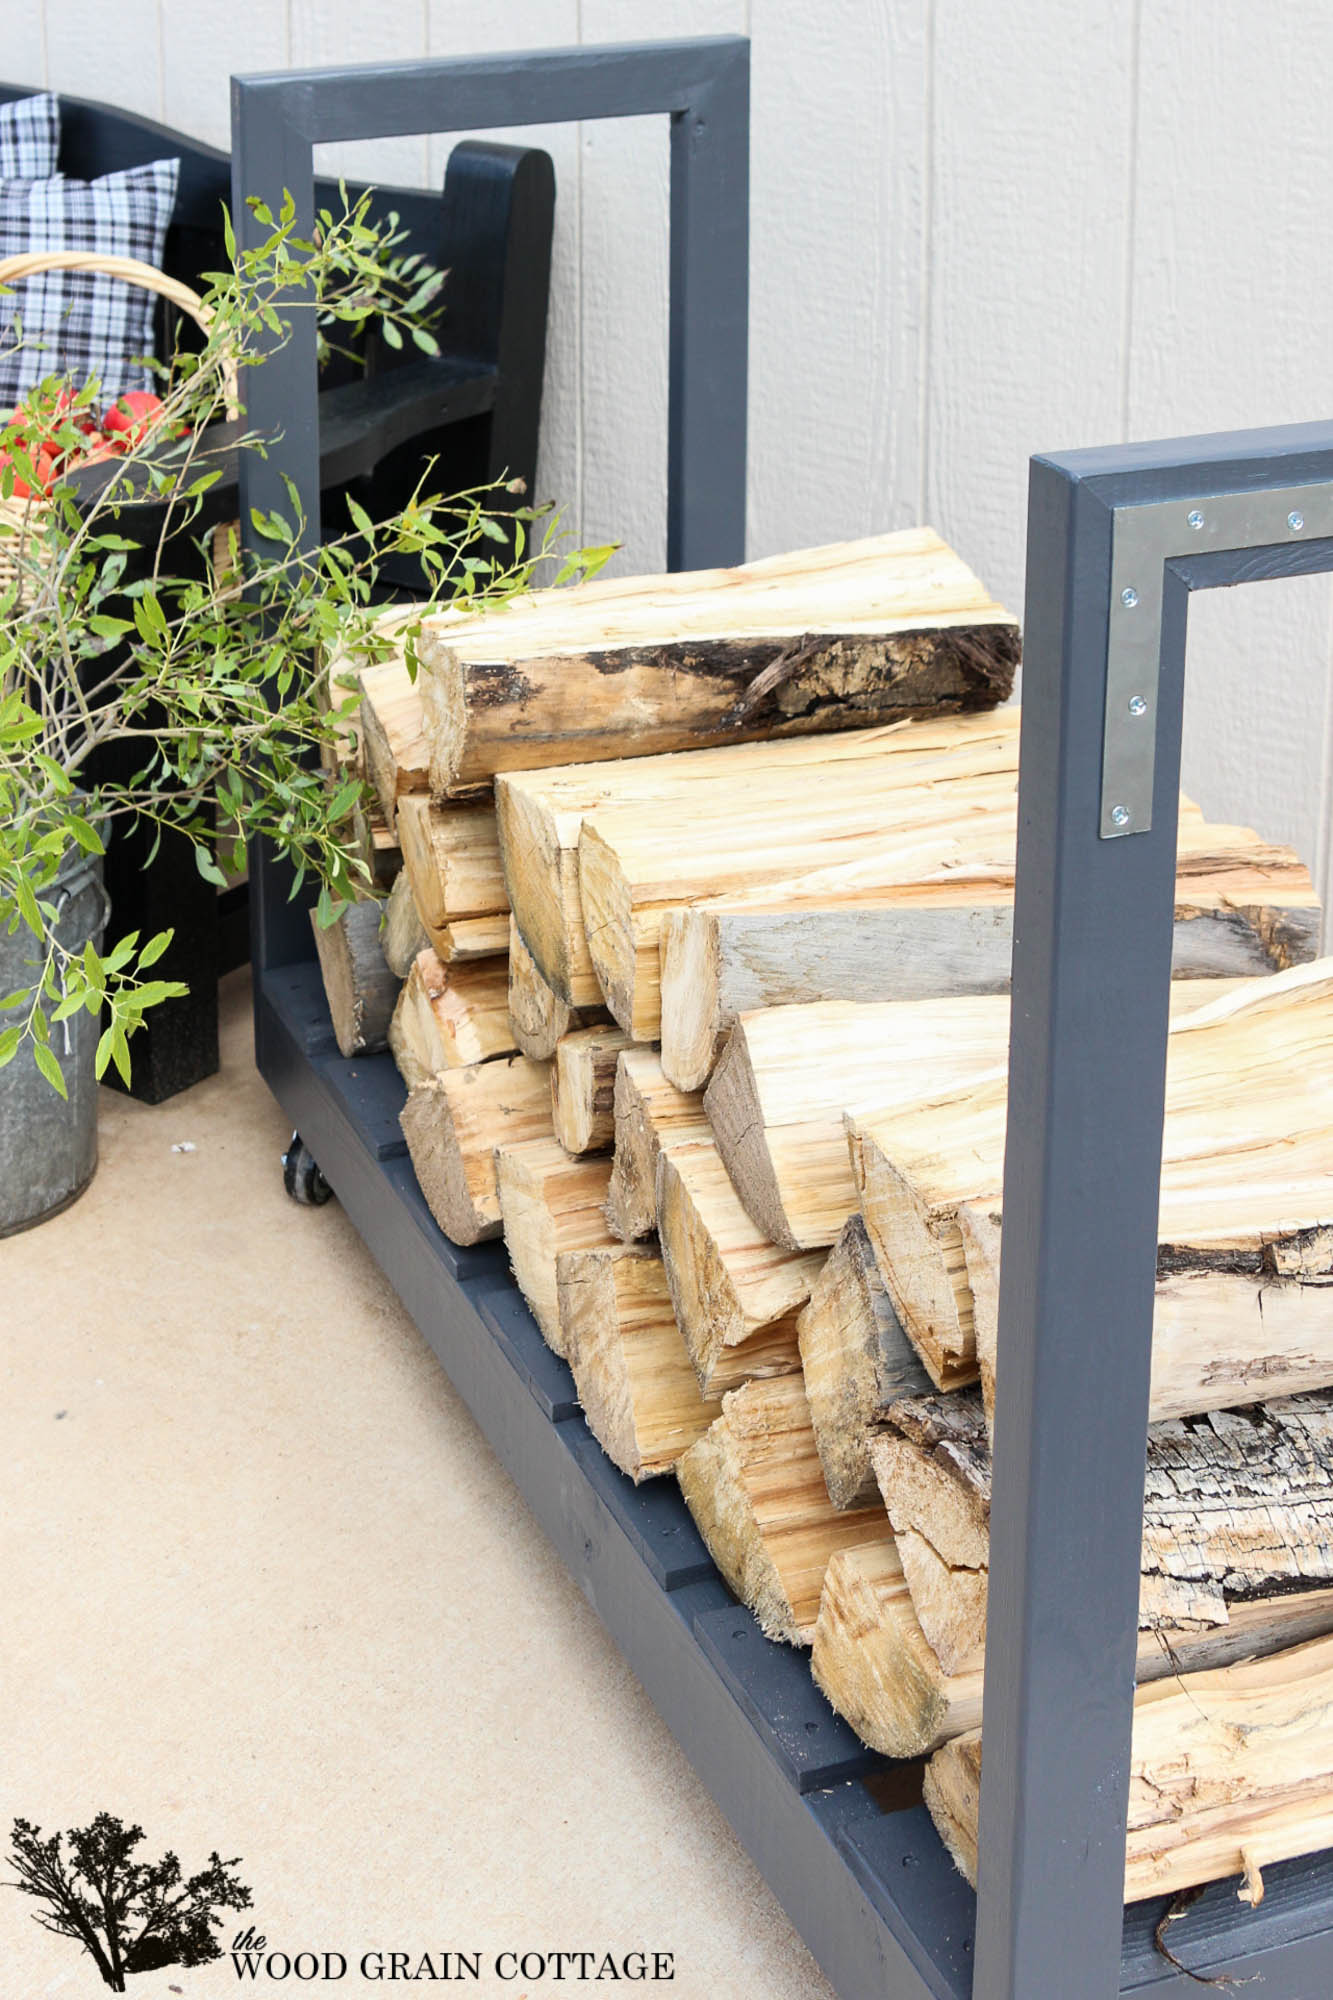
After the second coat dried, I attached these metal brackets for a little bit extra support and character…

And then, I loaded it up with firewood!

I am thrilled with how it came out…

It works beautifully…
And while it’s sturdy enough to hold a large amount of wood, the casters make it easy to move around…

Those brackets add the perfect amount of detail to the sides…


Now all we need to do, is start making those cozy fall fires…
But in the meantime, the stacked wood sure is pretty!


Here’s to a fun filled, cozy fall! 😀
 I am proud to be a 3M- sponsored blogger, and, as part of my responsibilities, I get the opportunity to evaluate products from 3M DIY. Opinions are my own and additional product used in the project were selected by me.
 Follow 3M here: 3M DIY Instagram // 3M DIY Twitter // 3M DIY Facebook 3M DIY Pinterest
I think this is a perfect “recycle a pallet” project!
This is pretty indeed 🙂 It could be used to decorate too by adding a few mums and pumpkins instead of firewood. Love the color too. Happy weekend!
The girls and I were just talking about having a campfire. This is a great way to have firewood on hand without breaking your back hauling it to the fire. Thanks for sharing! ~Michelle
Love it! I’m ready for a nice cozy fire!
Okay.
Bench, Fire Wood Holder… where is the fab DIY fire pit? lol.
Get the handsome hubby on that 😉
Looks great guys. Love all your projects!!!!
love it! can’t wait to make one for our family!
I agree …who knew stacked wood could look so amazing! But oh ya…it has an awesome blue cart to be piled up so neatly on!
Shayna I’m still crushing on your firewood cart and even though the portability isn’t necessary for me I like how the wheels keep everything up off the earth and dry! Thanks for sharing this great plan.
I love it, now I need to make one from myself. It would be so handy.
Perfect! How smart to make it rolling! Hope you get outside for a mug of cider or hot chocolate tonight! 🙂
What you have made is just absolutely awesome!!
it’s an easy build; plain, not flashy; stylish;just so cool looking!
There is just one thing I would add to this….
Acros the back, to keep the sides straight & upright through the years, I would add 2 pieces ….
attach them to the side rails(one at the top & one at the bottom) and the sides will be even stronger, last longer & will have very little, if any at all, impact on great this cart looks & is.
TY for posting this Ms.Shayna!
Looks great. A few questions though. You say you need a 10′ 2″x4″ but the base of the cart needs 124″ of wood (2×48″ and 2×14″) so you’re a bit short. Also you don’t give any height measurements for the vertical handles. Presumably they are 3′ tall? And lastly, some 45 degree angles pieces joining the bottom of the handles and the base would provide some extra stability in th handles. Minor details to a fun project!
This looks awesome! Great post and thank you for the detailed instructions. Will definitely be giving this a try!
I found enough bits of wood in the basement to give this a go today. I may add a rope pull to the base so I can roll it as needed. I’ll stain it the same colours as my deck and it’ll look custom made. Thanks for the detailed How To.
This turned out amazing! I wish I had a need for actual firewood, but both our fireplace and firepit our gas. Looks like time to DIY a log burning firepit just so I can build one of these!