
Breakfast Nook Update: Refinished Dresser
Hello and Happy Friday!
I’m back with yet another breakfast nook update. Now that we have added the bench, it’s prodded me to finish several other projects that I’ve been wanting to accomplish.
When I originally told you about the breakfast nook changes, I showed you my to do list:
1. Make a bench out of existing cabinets the full length of the window. Hopefully I can find the cabinets at Habitat for Humanity to save on cost. Fingers crossed!
2. DIY a bench cushion.
3. Hem curtains to allow for bench.
4. Get new pedestal table. I’ve been searching Craigslist and think I might have found one on the cheap. Just a little paint and elbow grease and we’ll have a show stopper.
5. Find new chairs for the table.
6. Find & install a new light fixture.
7. Make new DIY artwork.
8. Find new rug.
9. Accessories, Accessories, Accessories!
However, what I didn’t include on the list was refinishing the dresser.
Much like the table, it’s an important piece to the room. And one thing I never liked about the dresser was that it clashed with our current table and chairs.
Now, for a little history on the dresser. This was the first piece of furniture that I bought on the cheap with the intention of refinishing. Spray paint had also rocked my world around the same time, so, naturally we spray painted the entire thing black and changed out the knobs. Needless to say, this was a HUGE improvement to its previous condition. I really liked the look of the black.
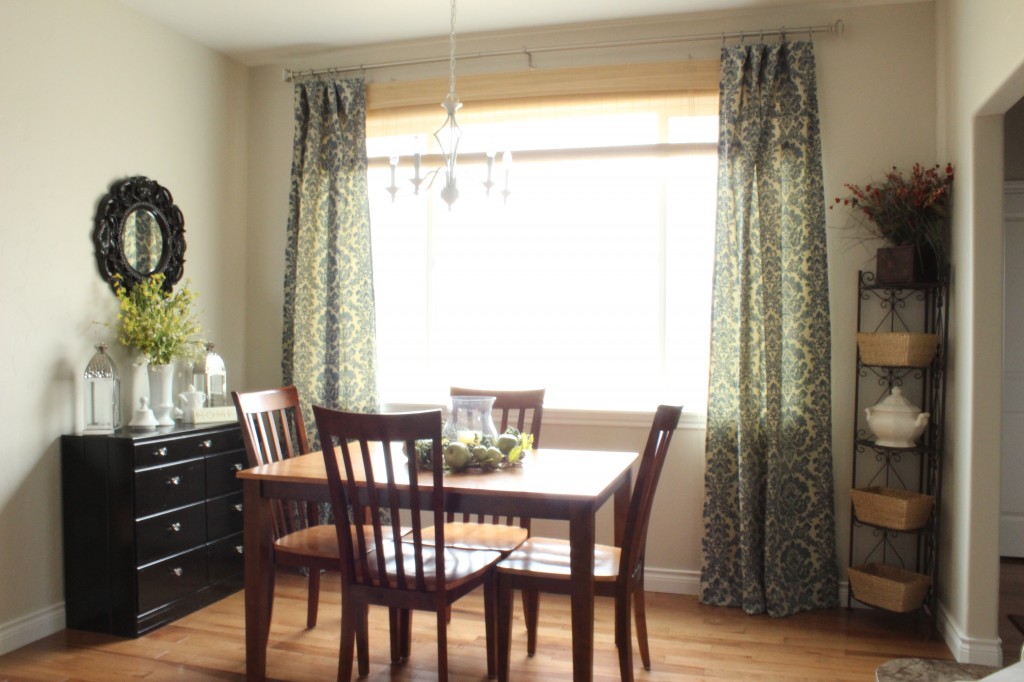
Then, we moved in to our house and it’s new found home was in the breakfast nook posing as a sideboard rather than a dresser.
For six months I have looked at the breakfast nook knowing that there were several things “missing” or “out of place” and for six months I had been looking for the solution. Little did I know at the time, but the black dresser was prohibiting my true inspiration and ideas for the space. Sounds deep, I know.
After we installed the bench, I knew my next step was to transform the dresser. I kept imagining a totally different look and vibe. Something softer, more natural, with furniture that didn’t instantly “grab” or “take over” the room. The dresser kept doing that.
Now, for the record, I have nothing against black furniture. Obviously I think it’s striking, or I wouldn’t have painted it that way in the first place. Problem was, I kept trying to make it “fit” and it wouldn’t. It needed painted. And I was finally ok with doing it.
Inspiration hit not long after, and I had my solution.
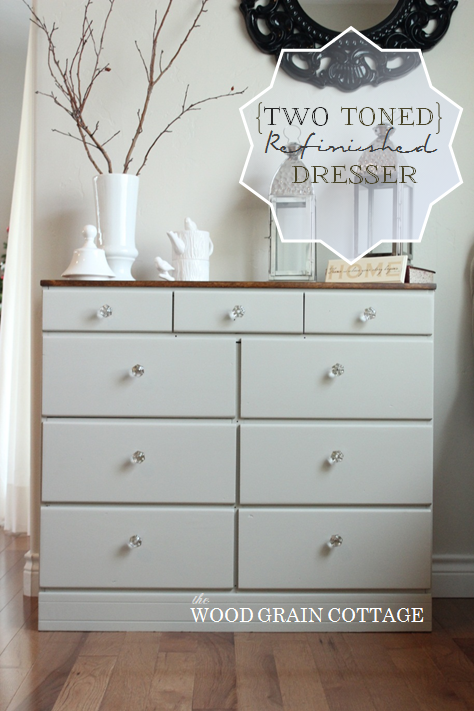
This dresser underwent my first “serious” renovation. It didn’t include spray paint, and it didn’t include one solid color. Two toned was the way to go!
I wish I could show you the full room so that you could see the impact it’s had on the space, but you’ll have to wait!
Here it is all by it’s lonesome!

I am completely smitten with it’s two toned finish and the way the stain compliments the paint. It’s pure loveliness with a touch of rustic!

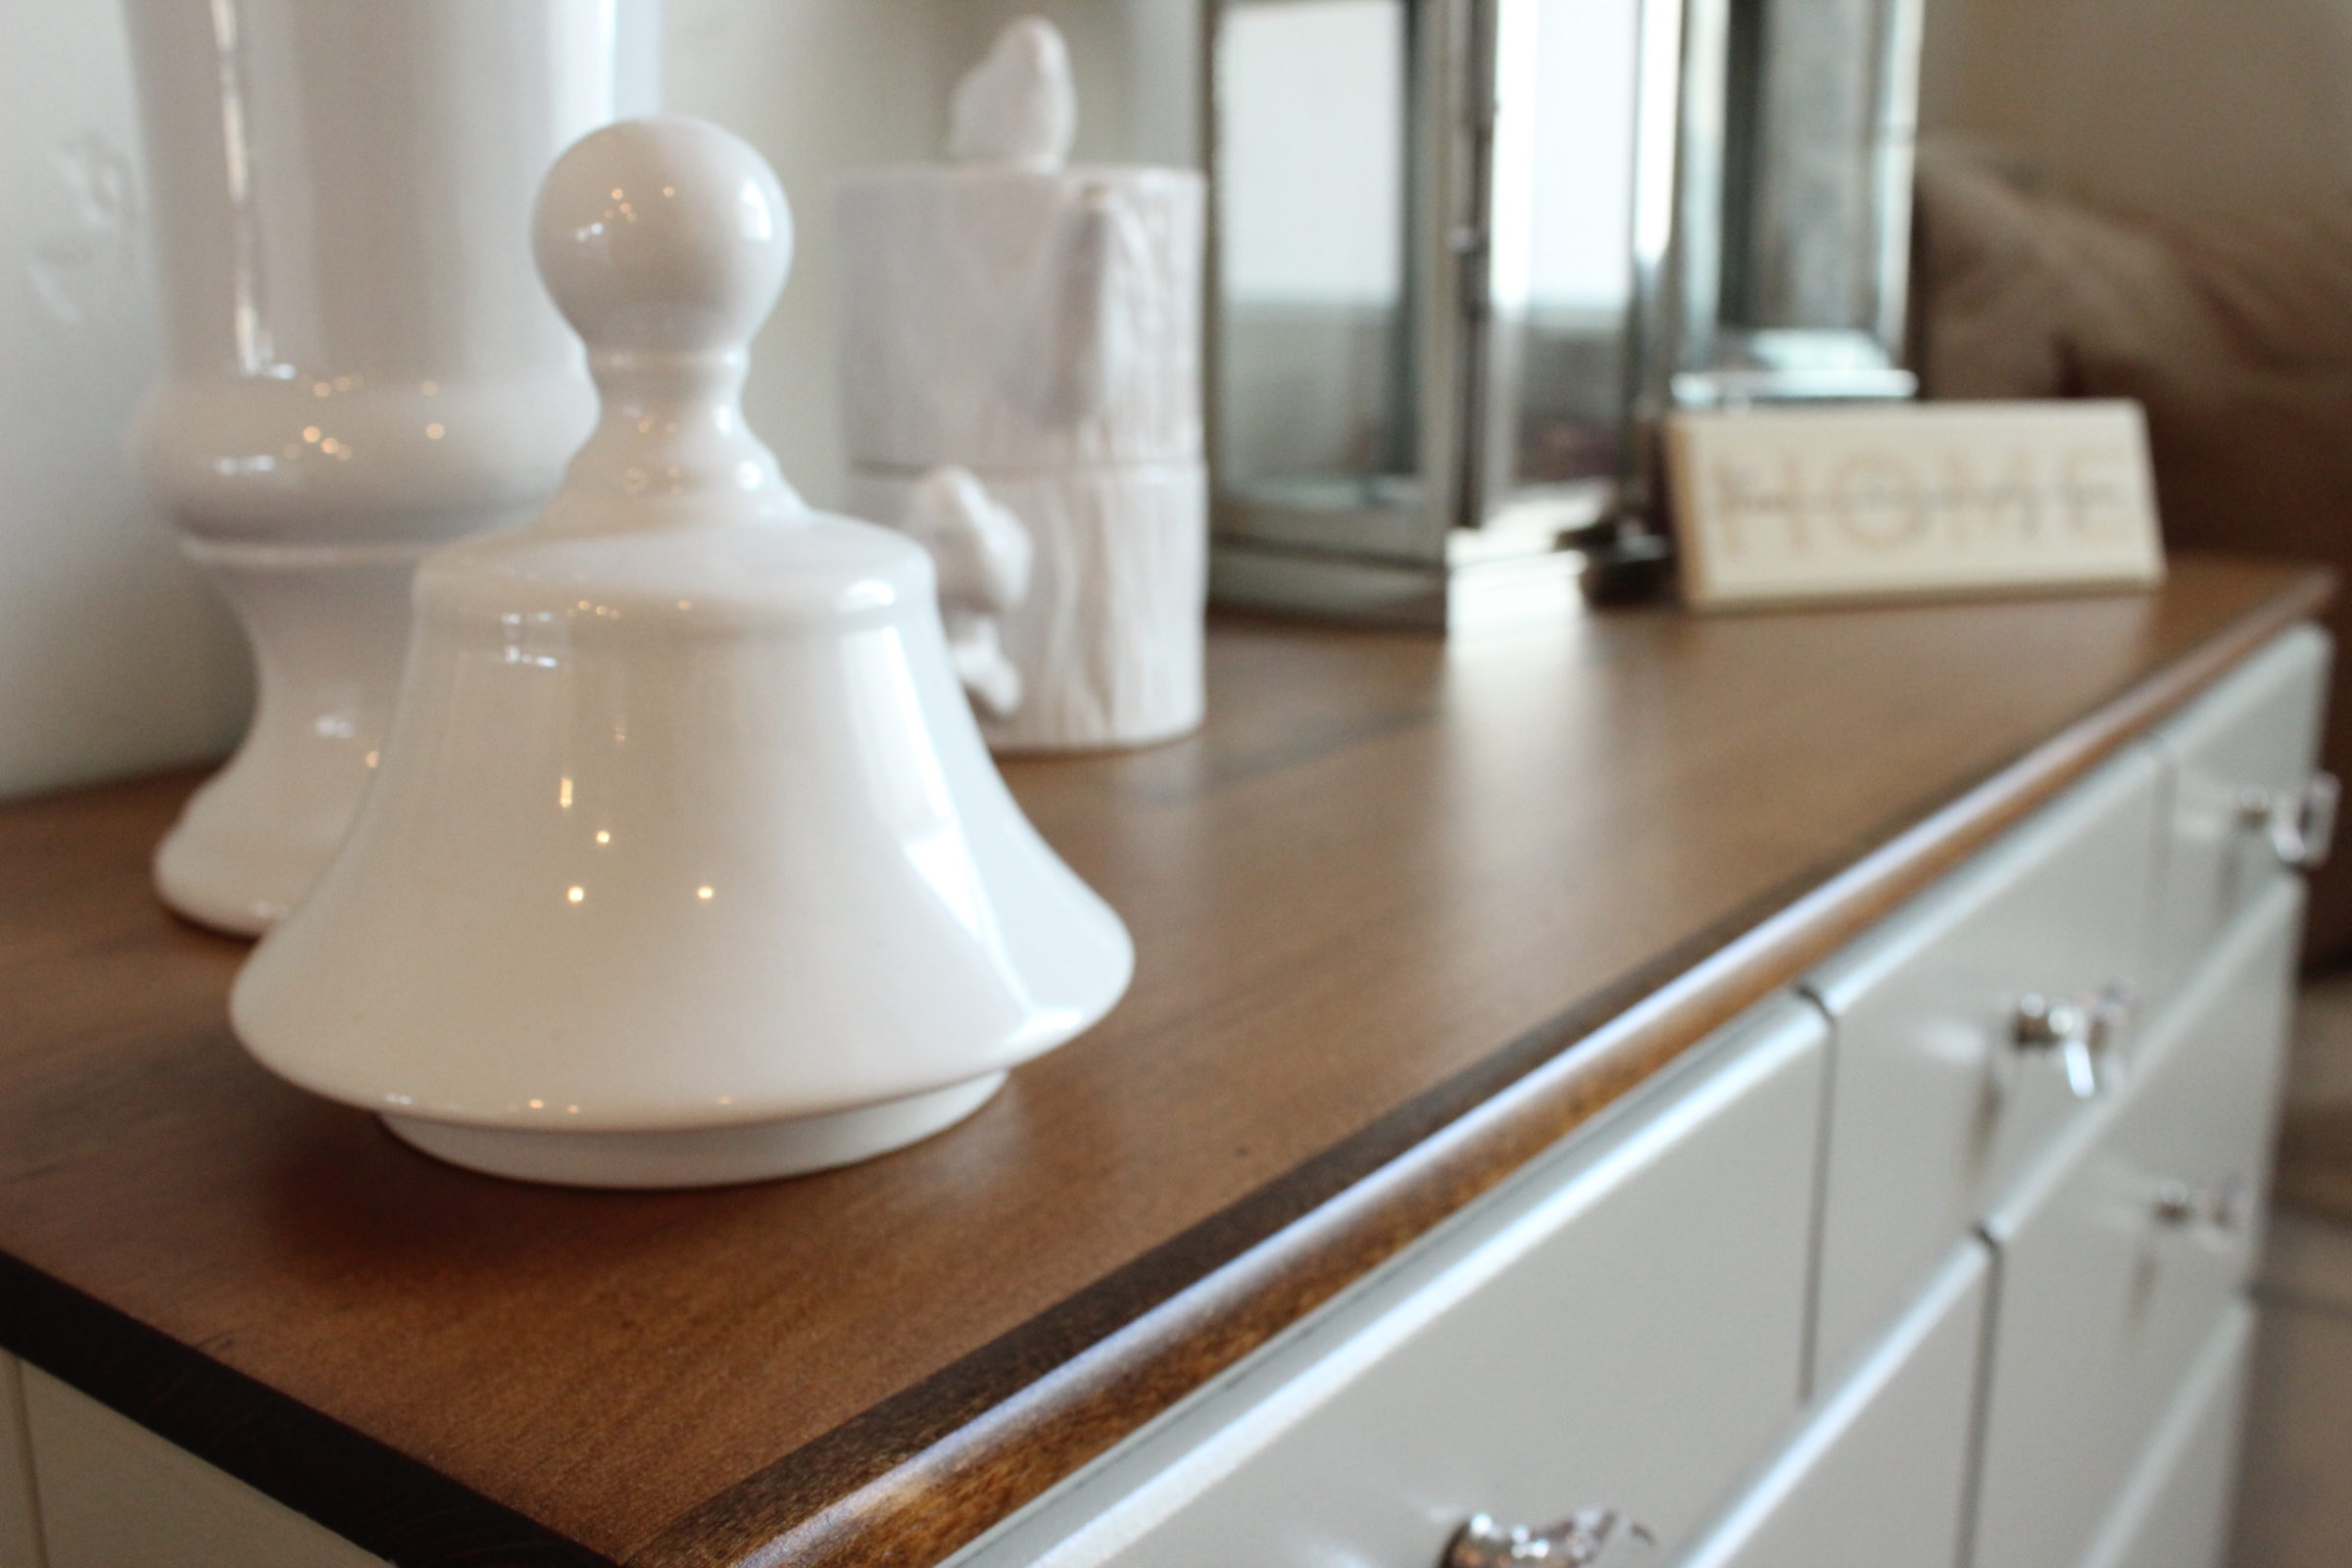
I’m totally impressed with how much better my accessories look! They’re no longer competing for your attention…

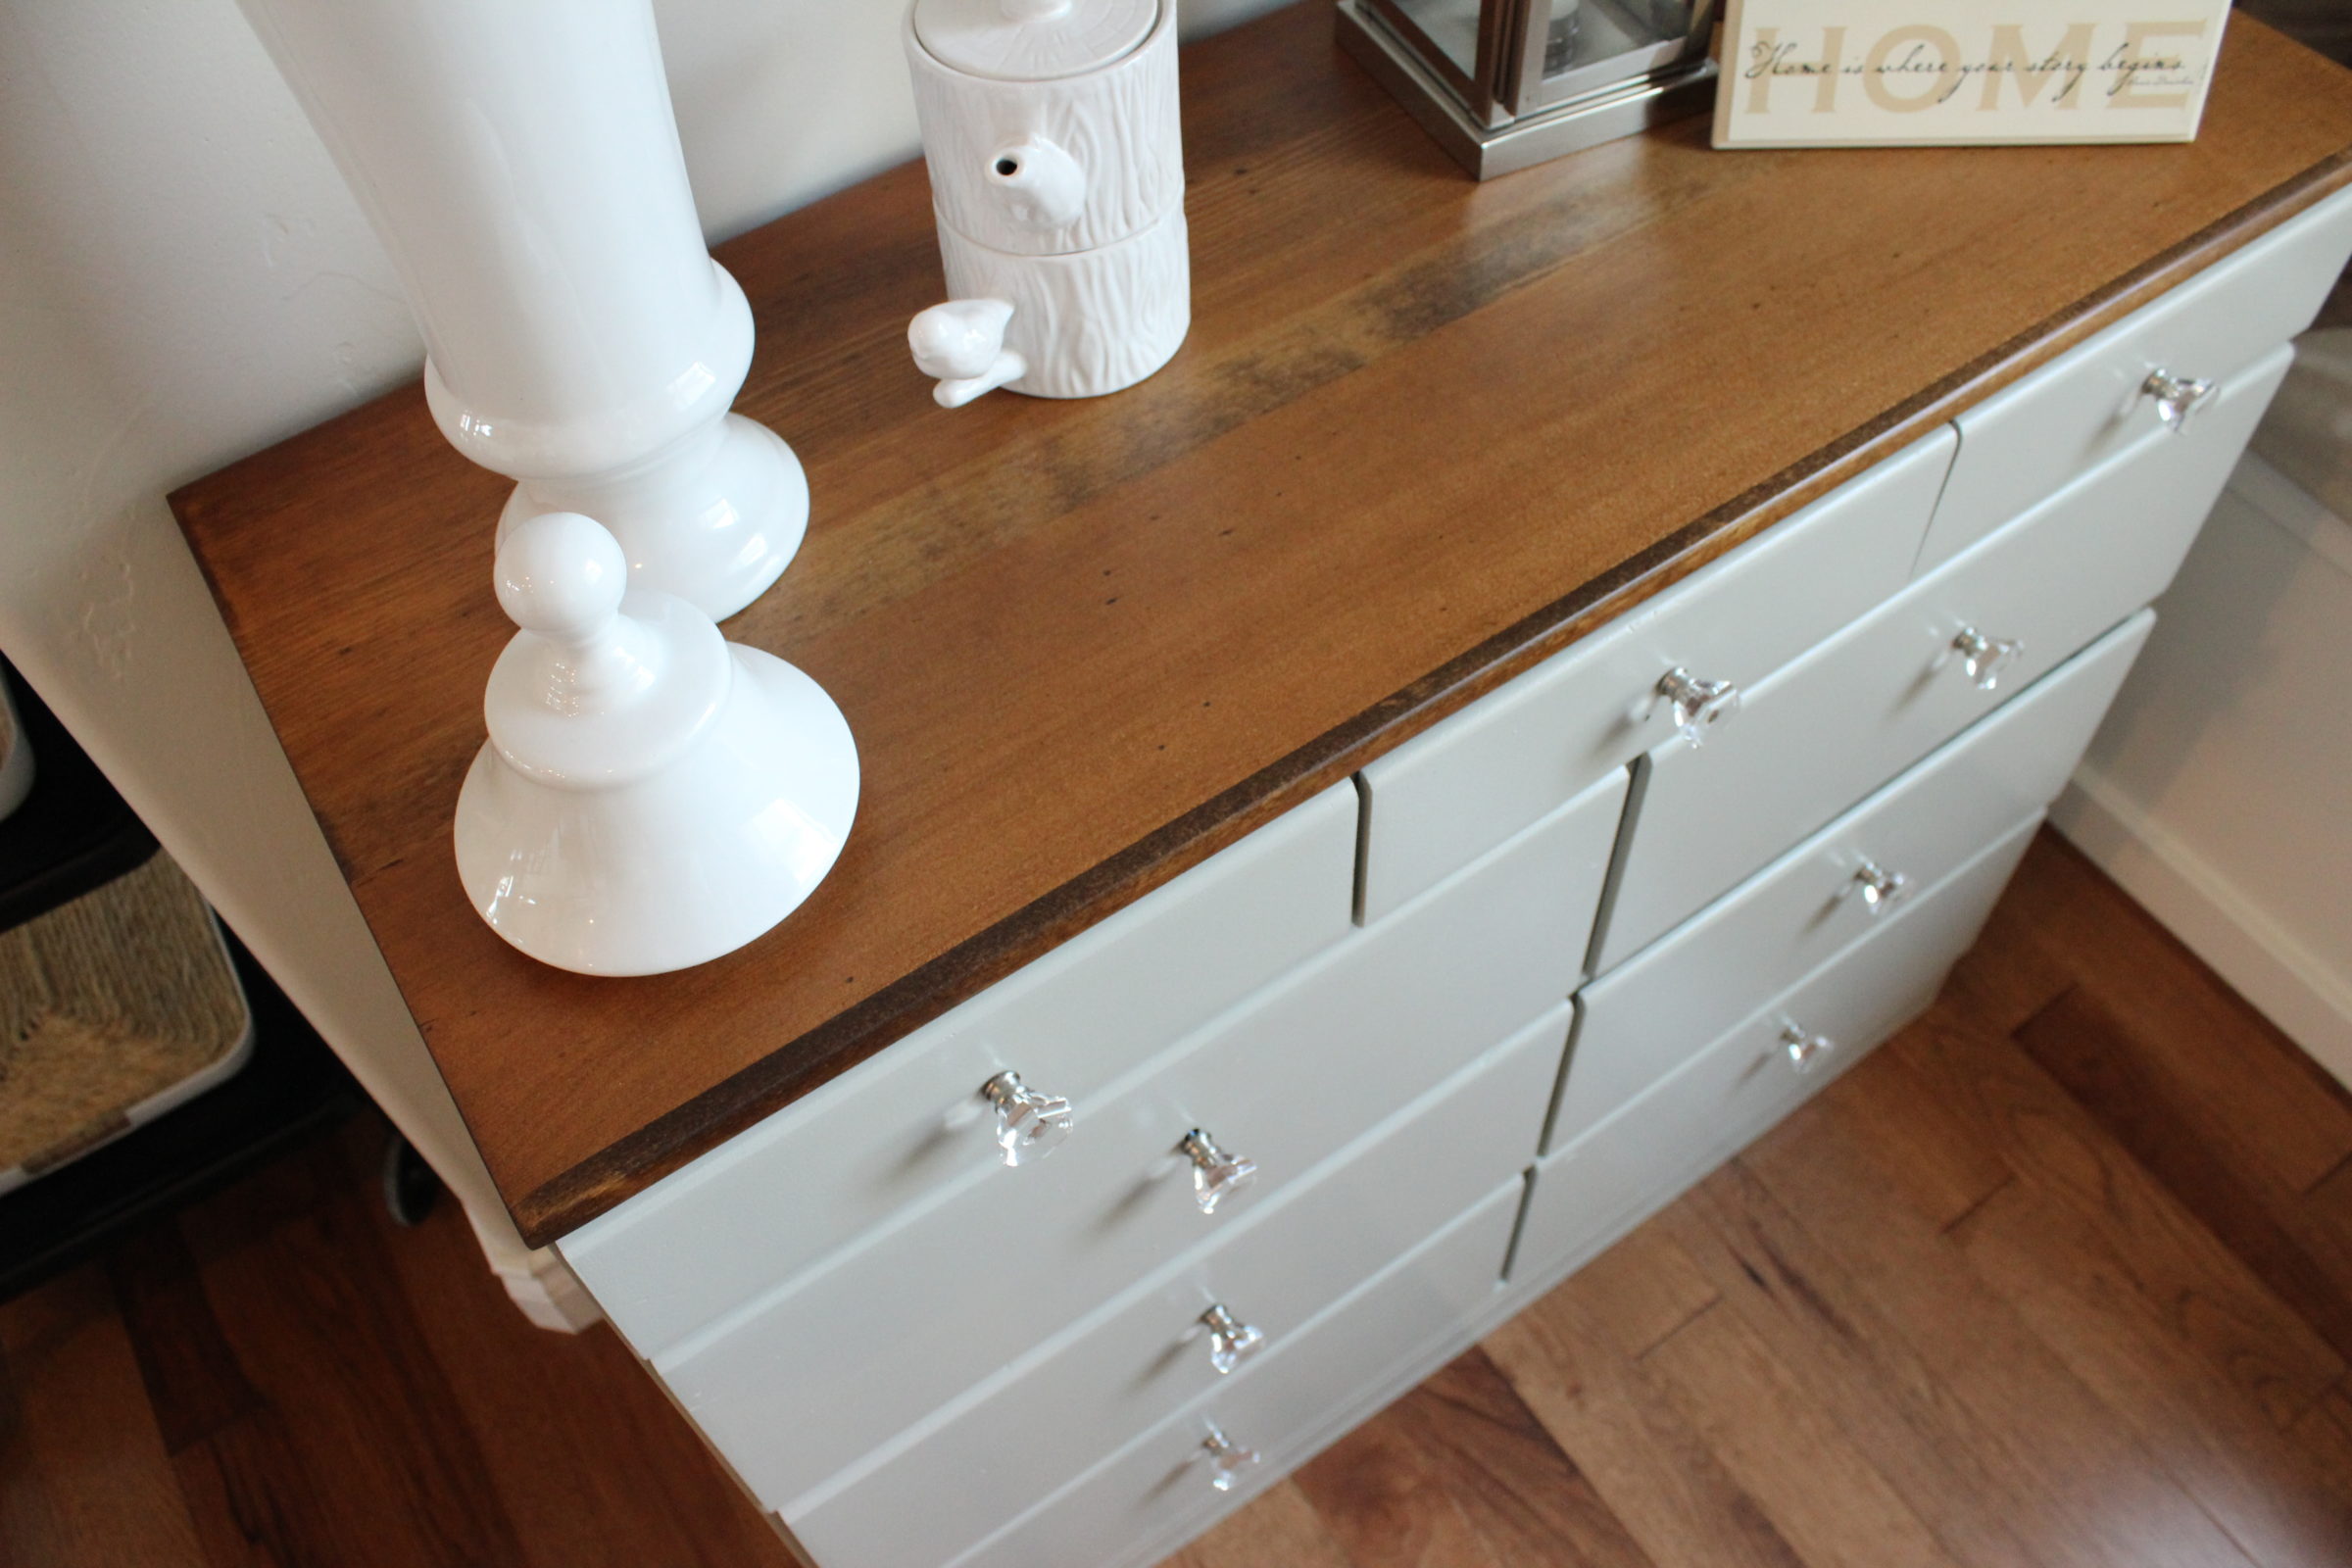

I left all of the original nicks and nail holes. They give it the slight rustic look that I was wanting. It’s not perfect and it looks like it has it’s own story.

This was such a rewarding project and one that taught me so much. I found that staining wood isn’t something to be afraid of. It won’t bite and it’s fixable- just grab your sander!
The more that I work with furniture, the more that I like it. Seeing these transformations is enough to keep me going!
Stay tuned for the step by step guide on how I transformed this dresser.
Big Smiles!

P.S. What to see how I did the transformation? Find all about it here.
I’m linking up to:
2 Comments