

")

")


")
See my easy tutorial on how to hang plates on the wall. It’s perfect for adding character and personality to your home, all while displaying your favorite dishes!
Today it’s all about how to hang plates on the wall. I’ve tried to do this the cheap way with the paper clip/ hot glue option, but it’s been unsuccessful and I broke a few dishes along the way… Not again, I vowed, and these plates are holding strong!
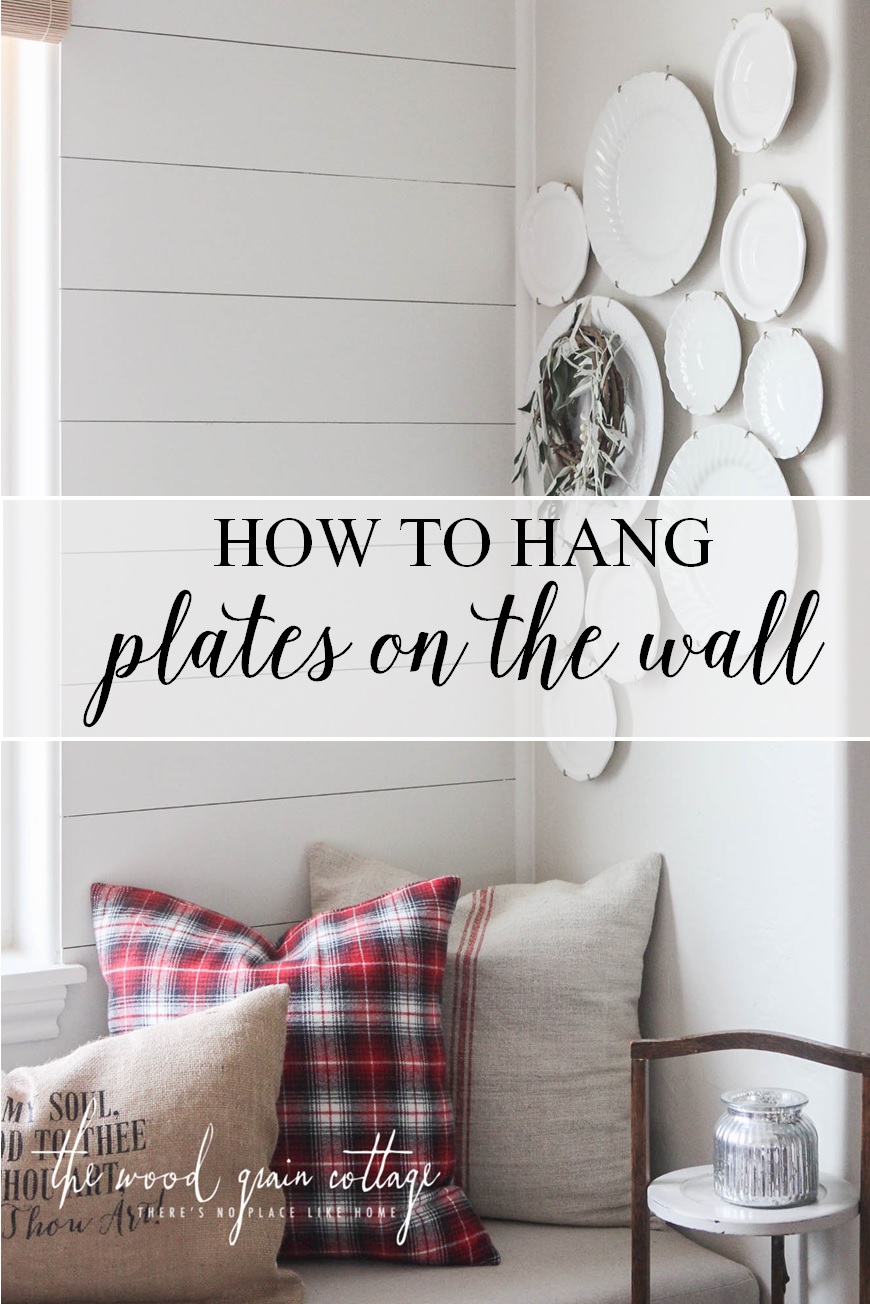
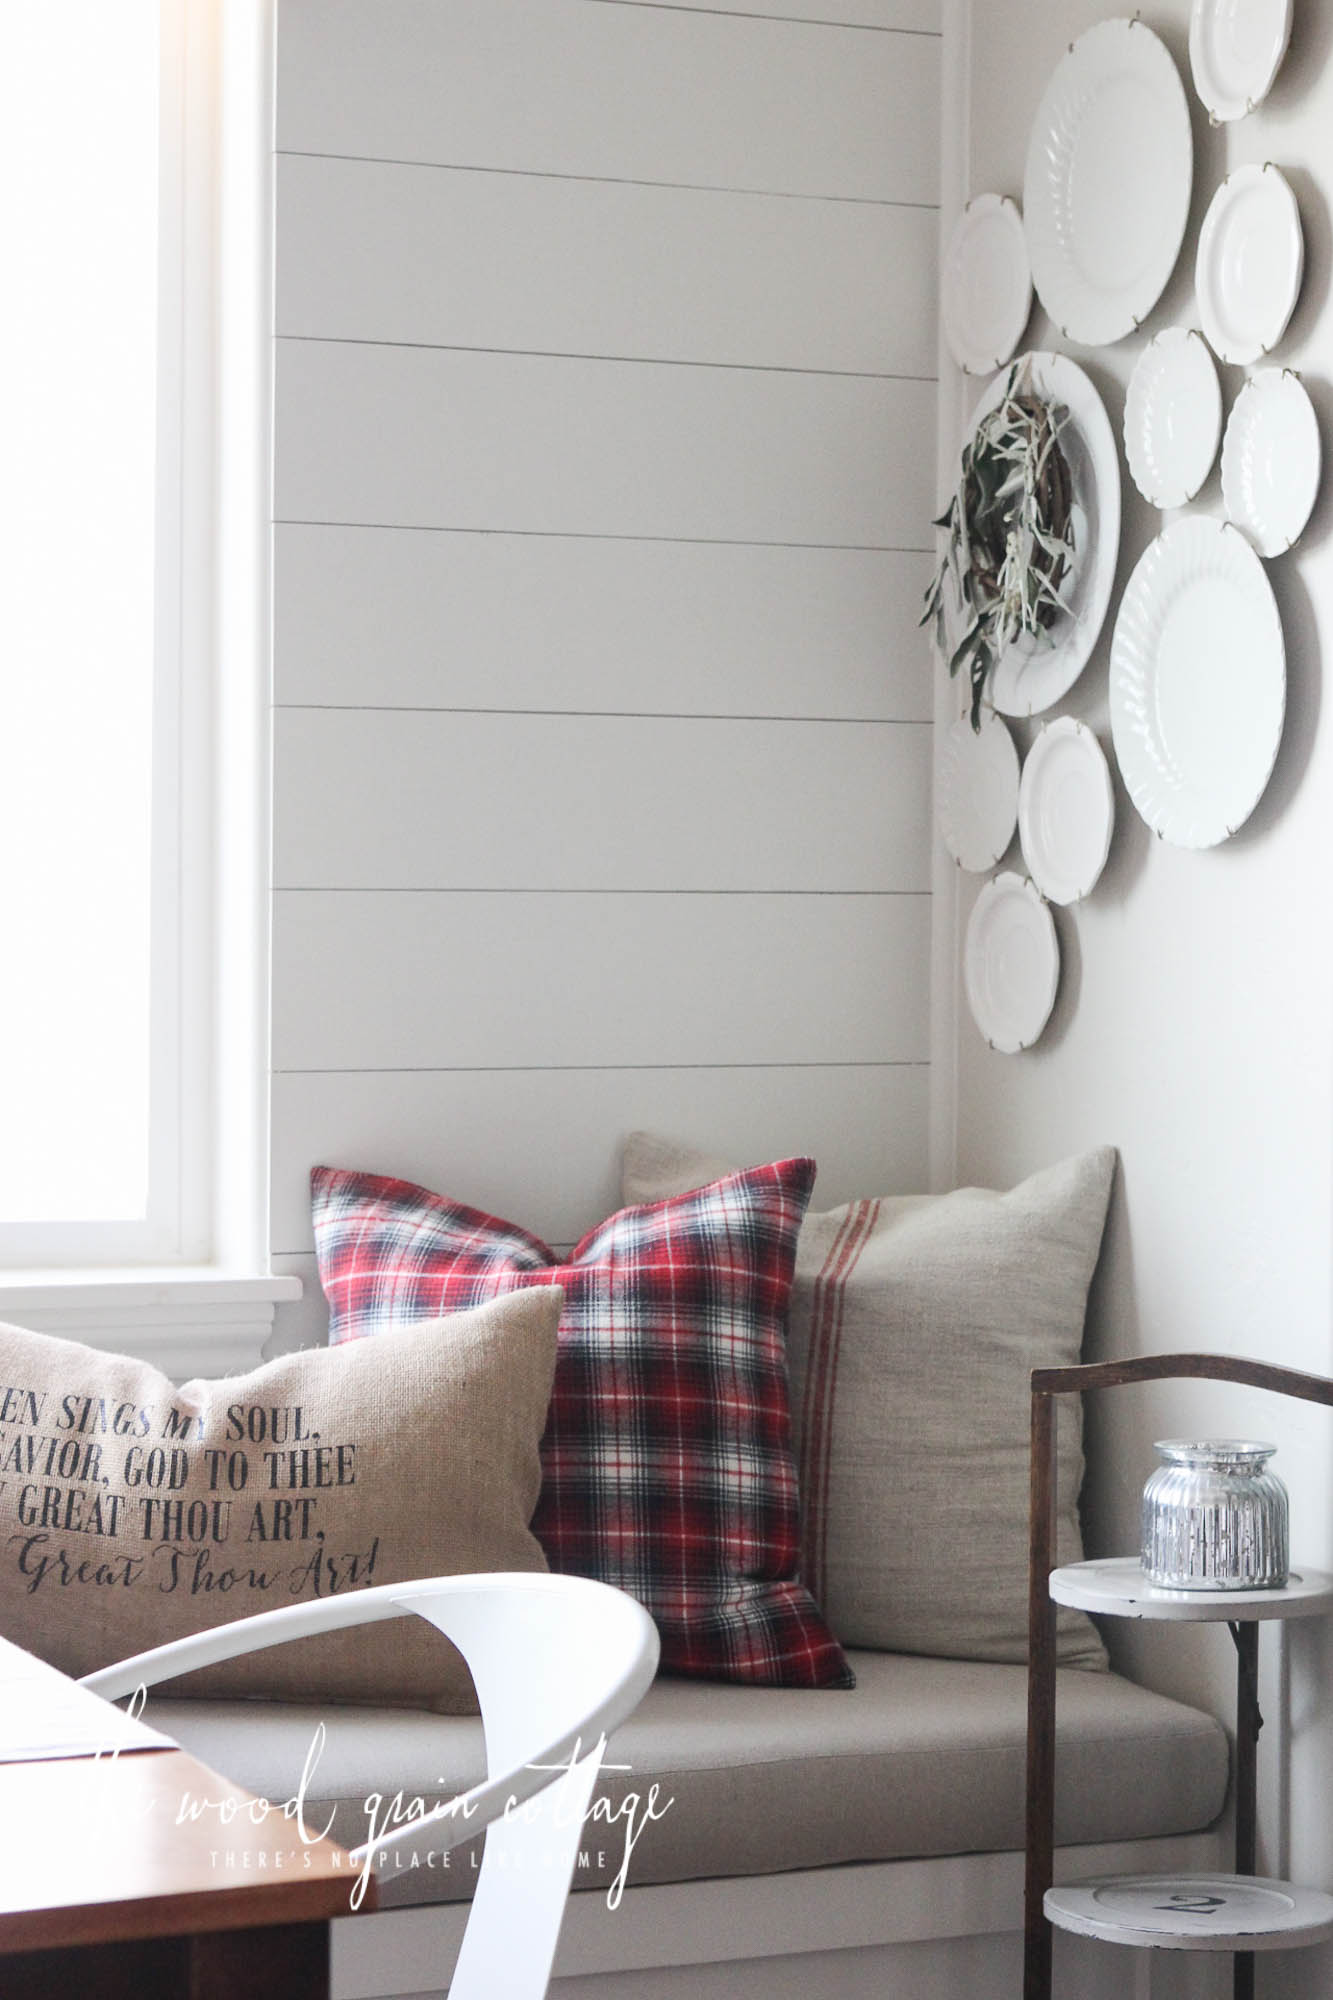
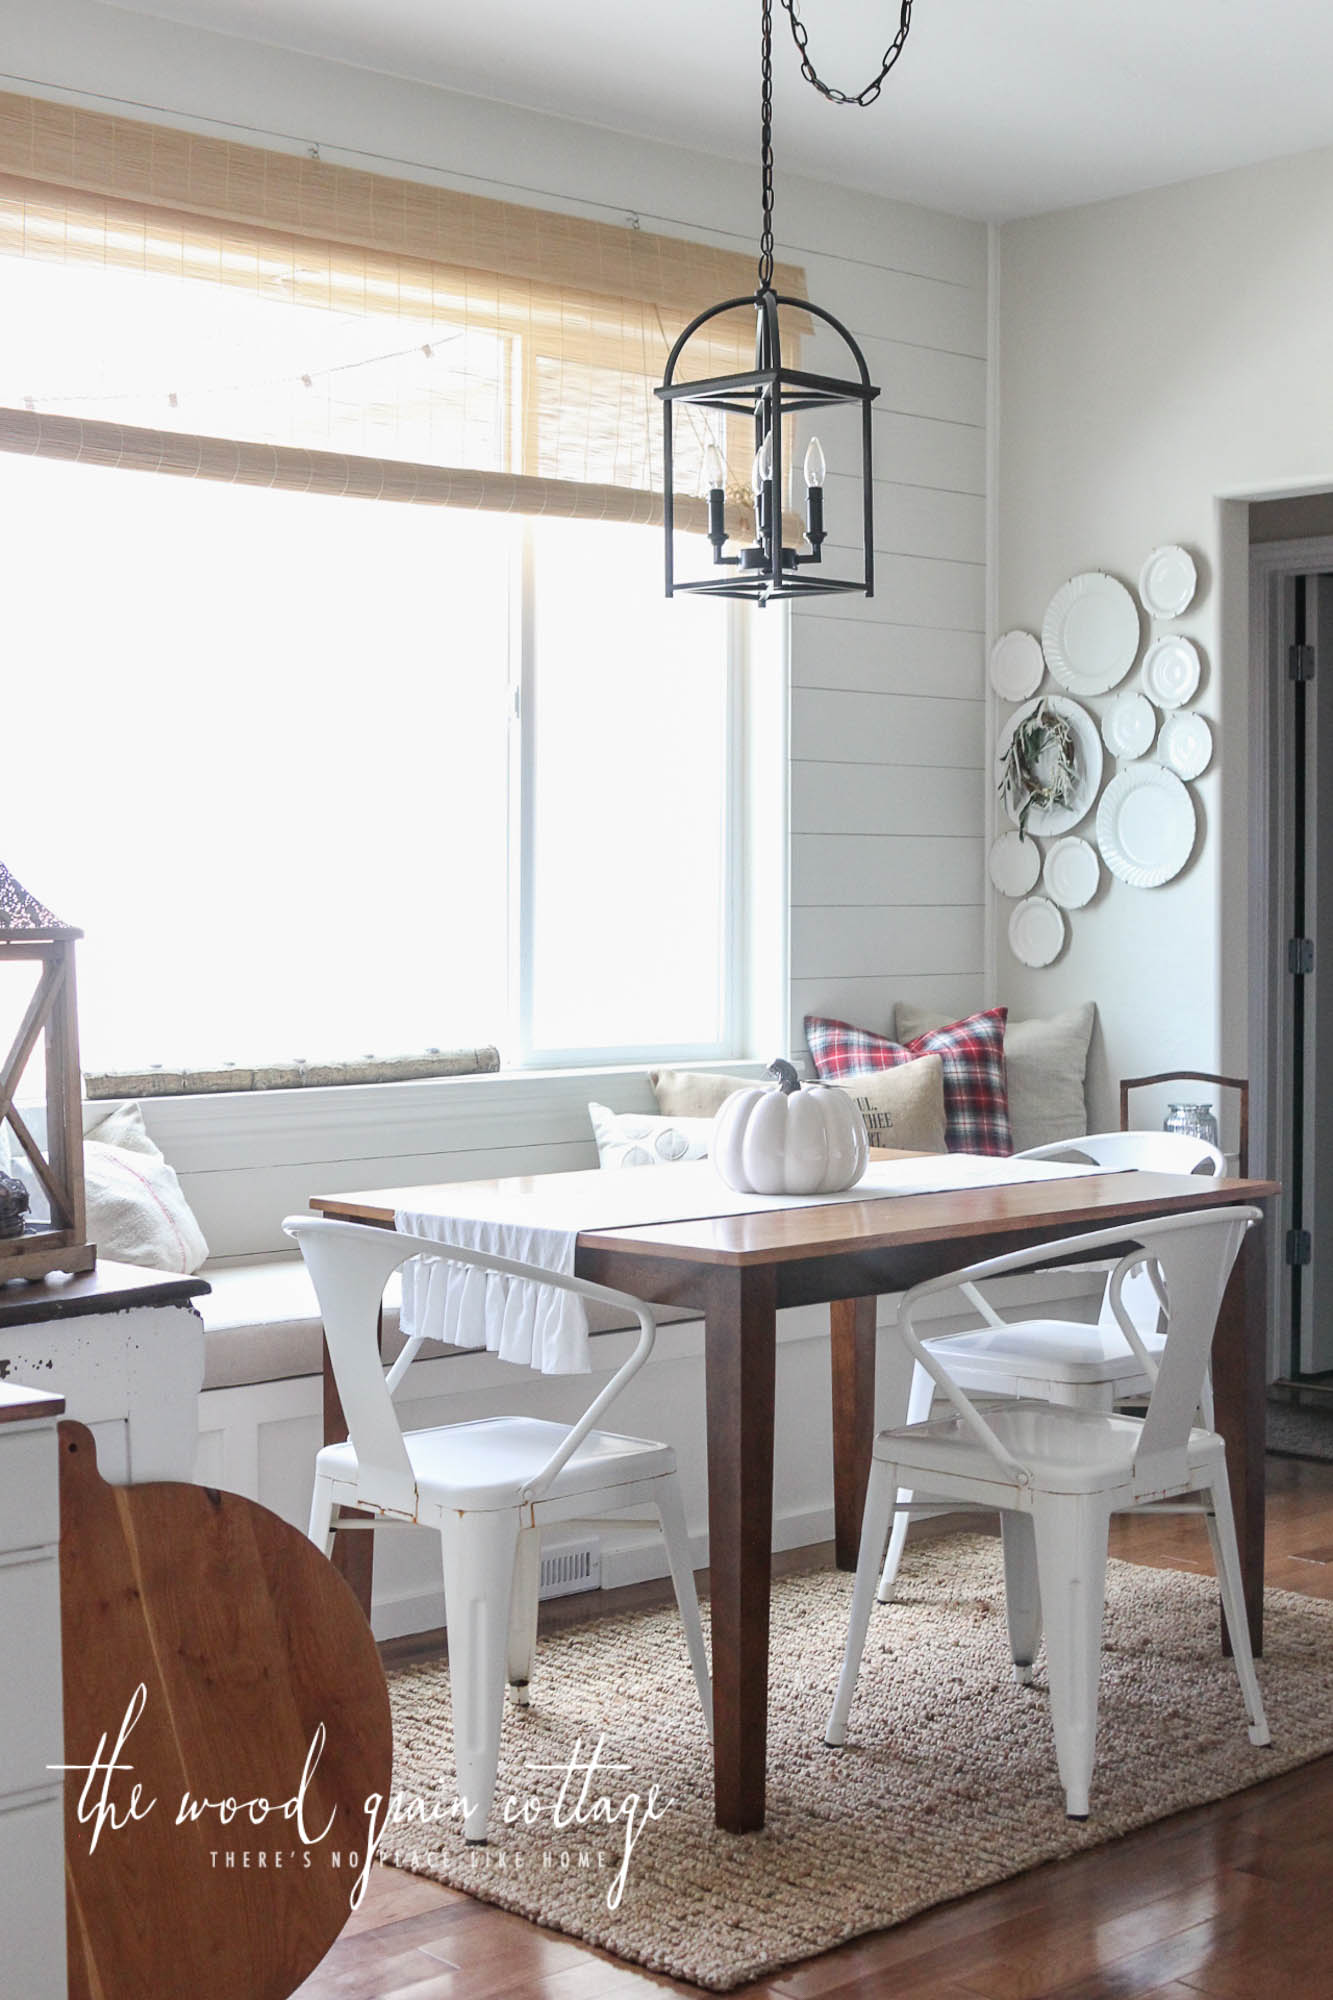
This really was an easy project. I wanted to showcase some of the lovely dishes I have collected over the years. I mean, you can only stack them for so long before you crave something else… They also add a nod to the “breakfast nook”, declaring it a room for eating yummy food, all while focusing attention on the beautiful plates. 🙂
I also love that they add a subtle “whimsy” touch, making this room feel fresh and fun. Plate wall for the win! Here’s how I created it…
How To Hang Plates On The Wall
Affiliate links are provided below. Full disclosure here.
Supplies:
- A Variety of Plates Or Platters
- Plate Hangers, in multiple sizes
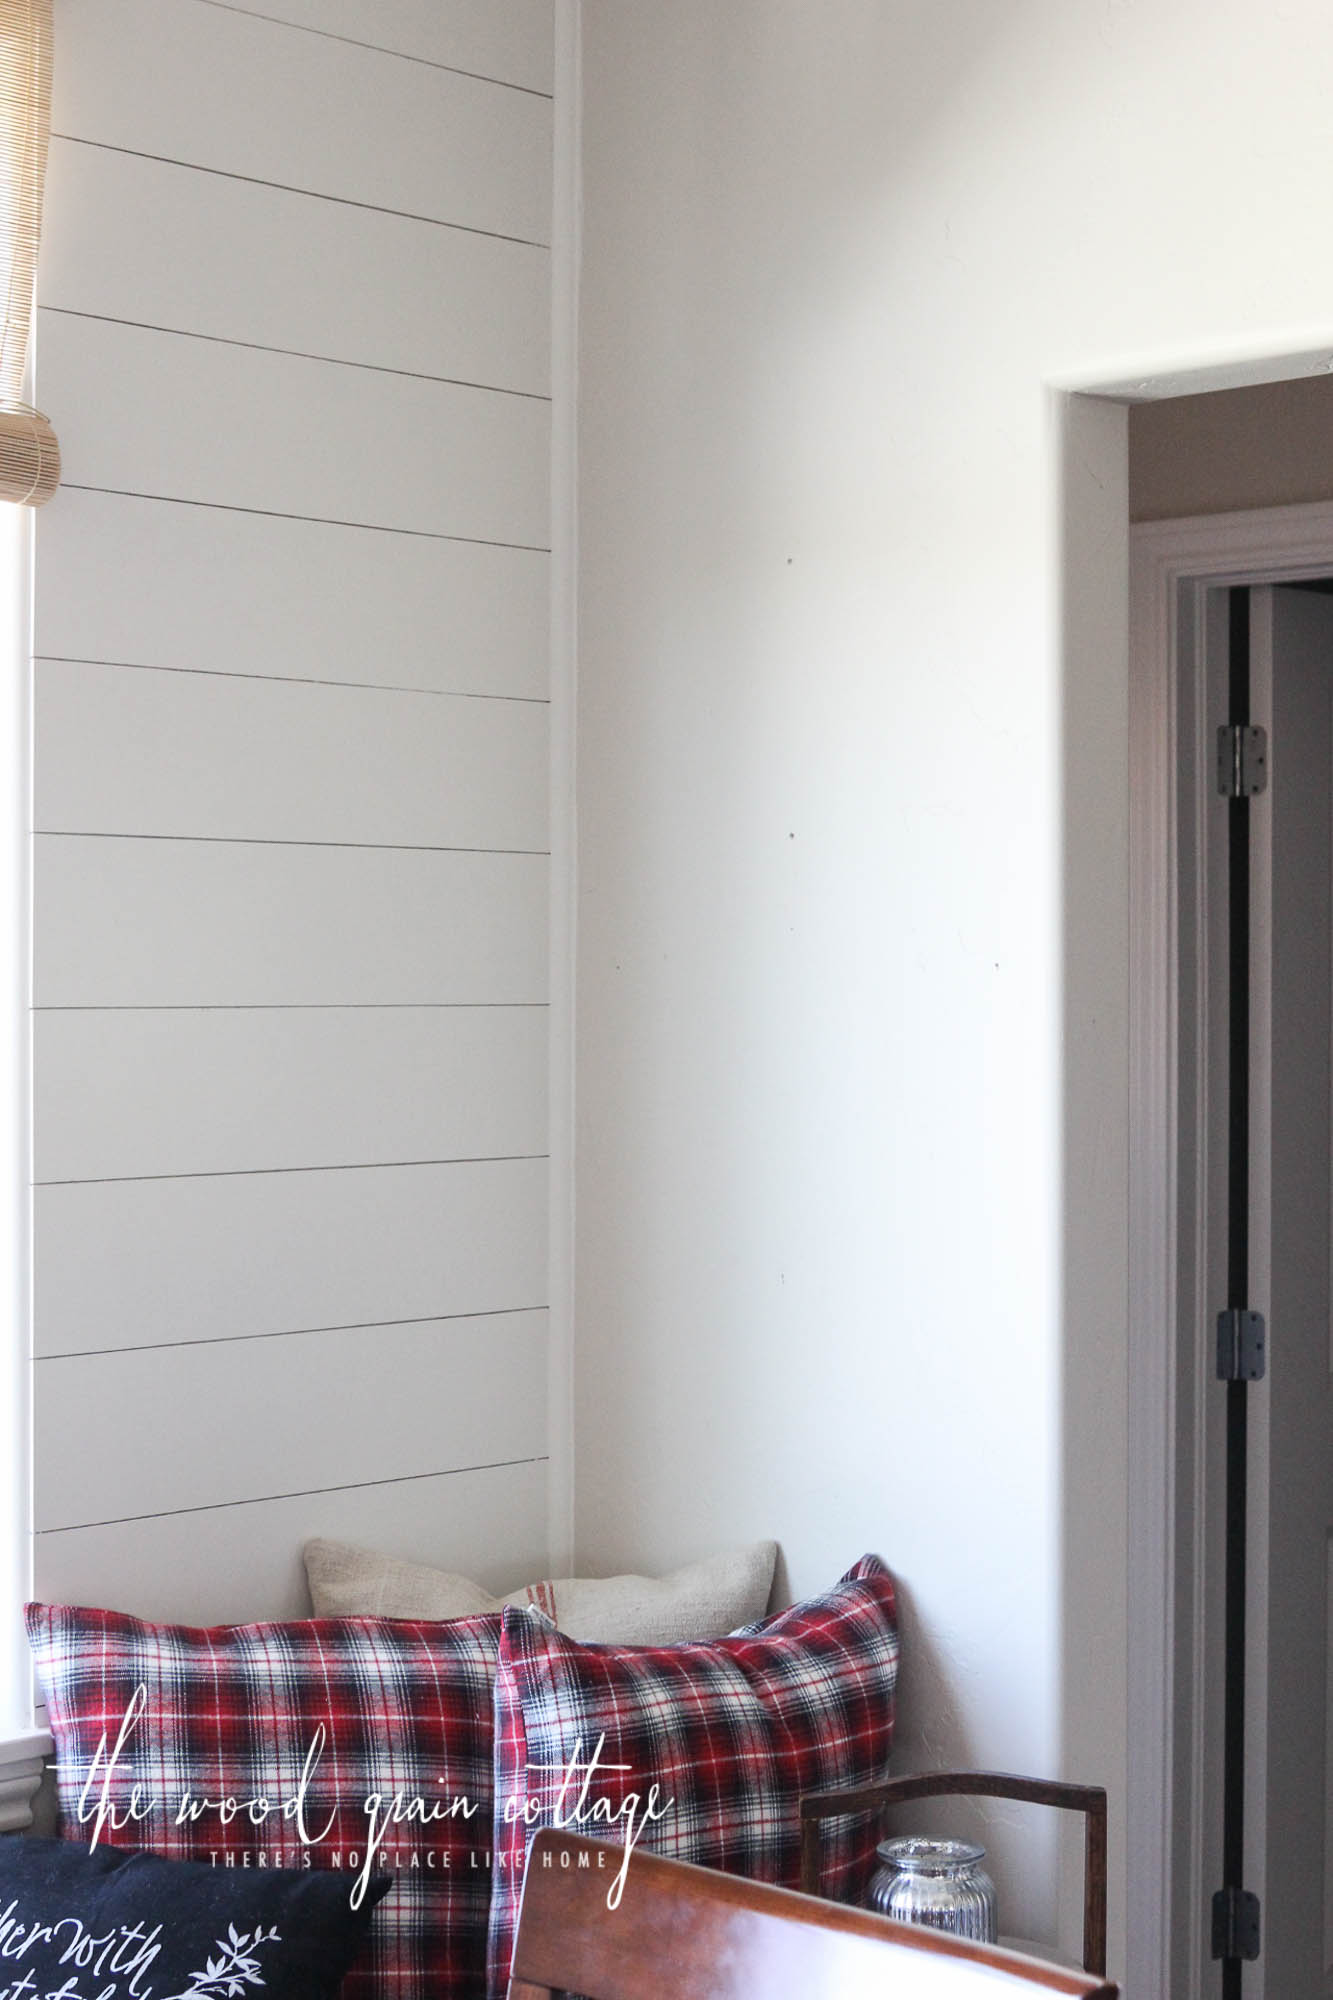
Prepare Your Wall
First, I started by clearing off my wall from any artwork and nails…
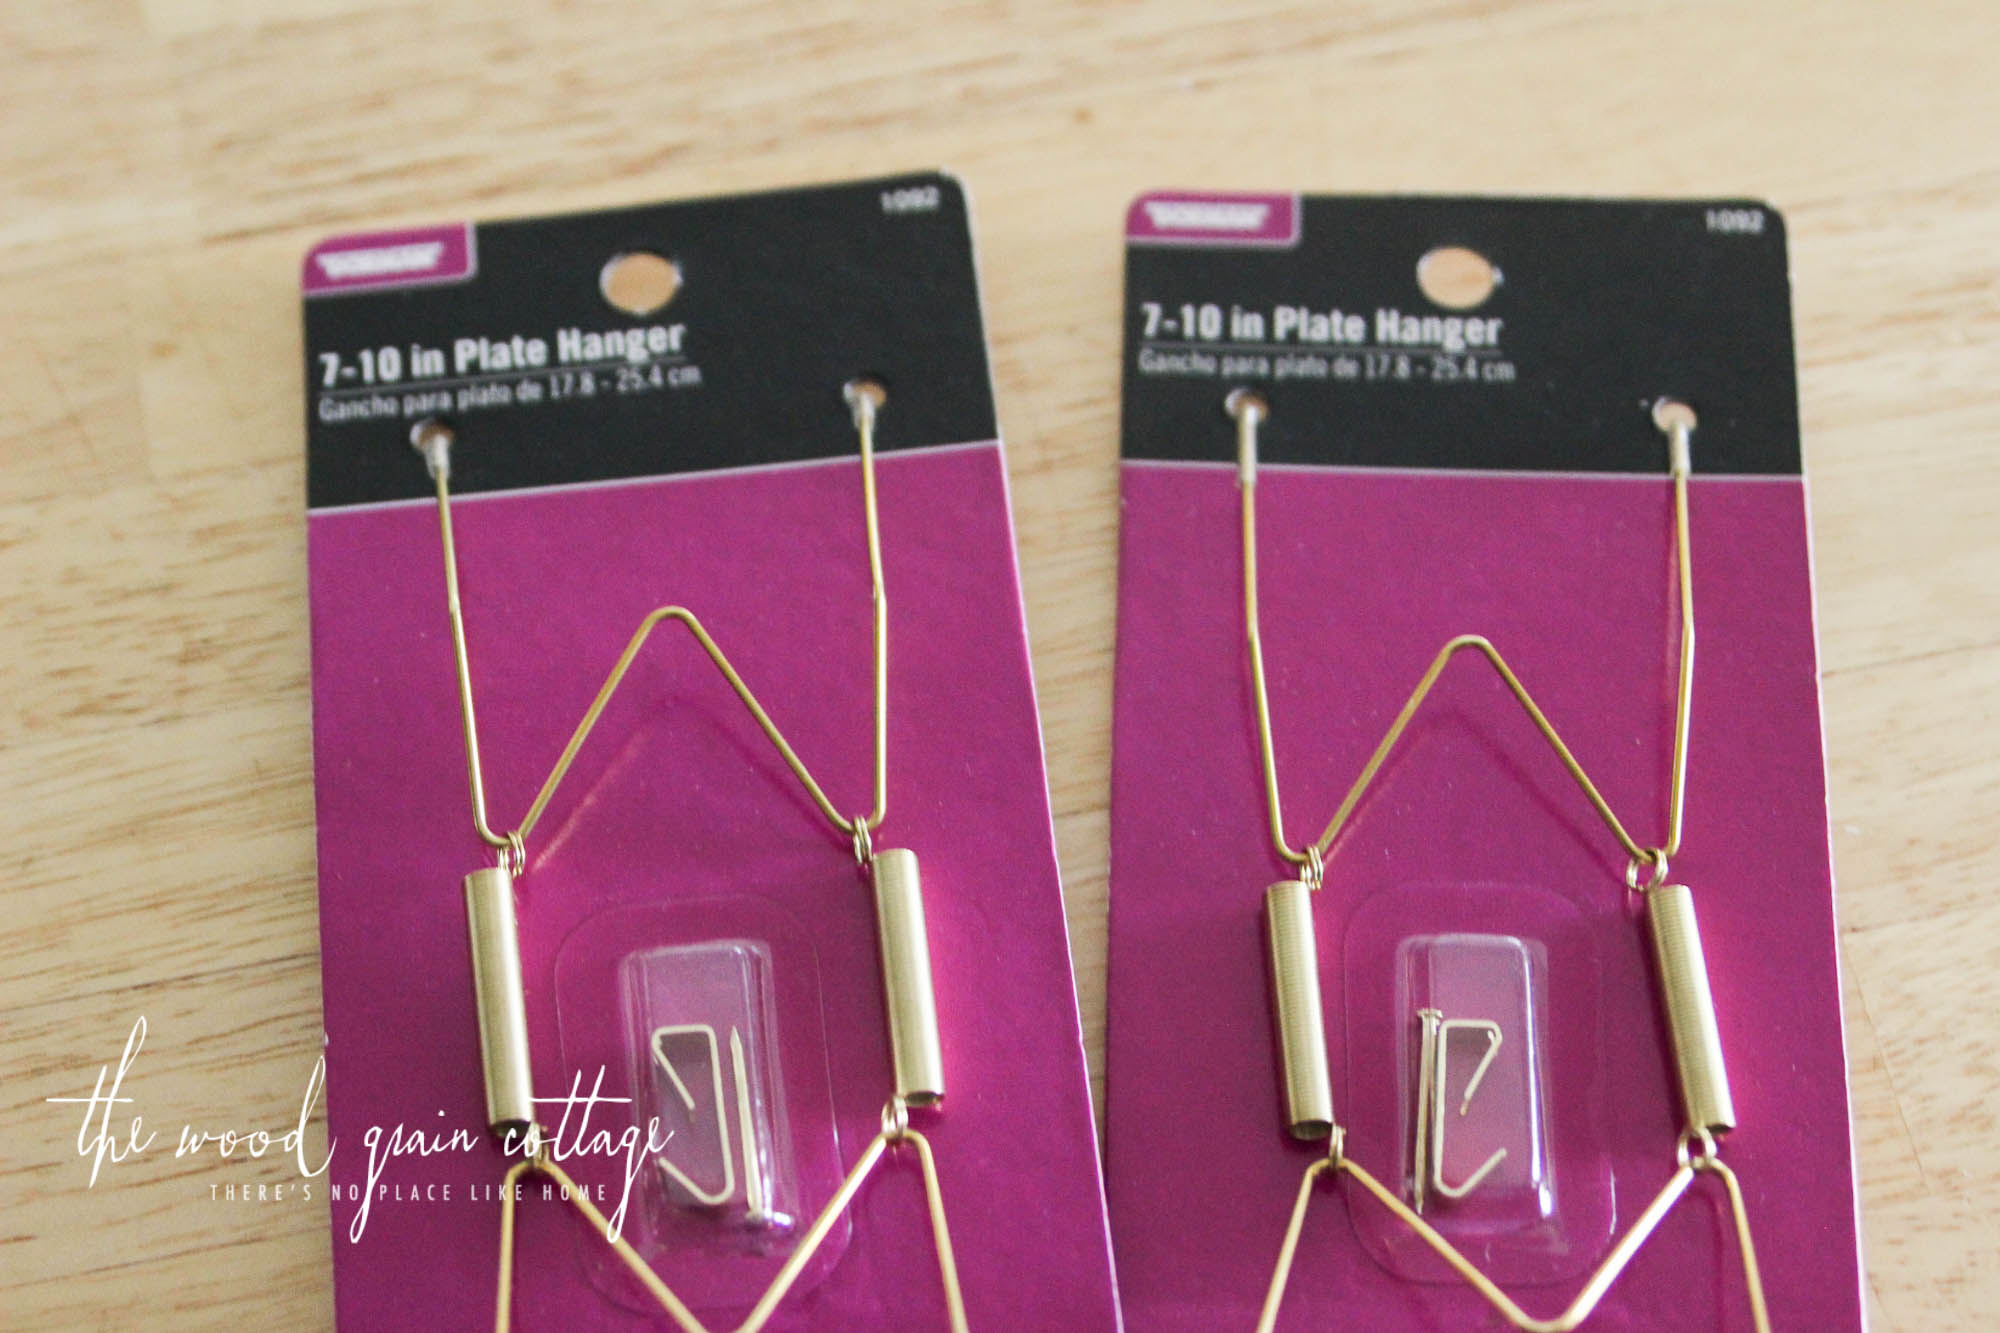
Start Hanging Plates
Then, I bought a variety of different sized plate hangers from Walmart. I guessed on the amount I would need, since I didn’t have a specific pattern nailed down, just a rough draft of what I *thought* I would do. I think I bought 3 large (12″), 4 medium ( 7″-10″), and 6 small (4″-6″)…
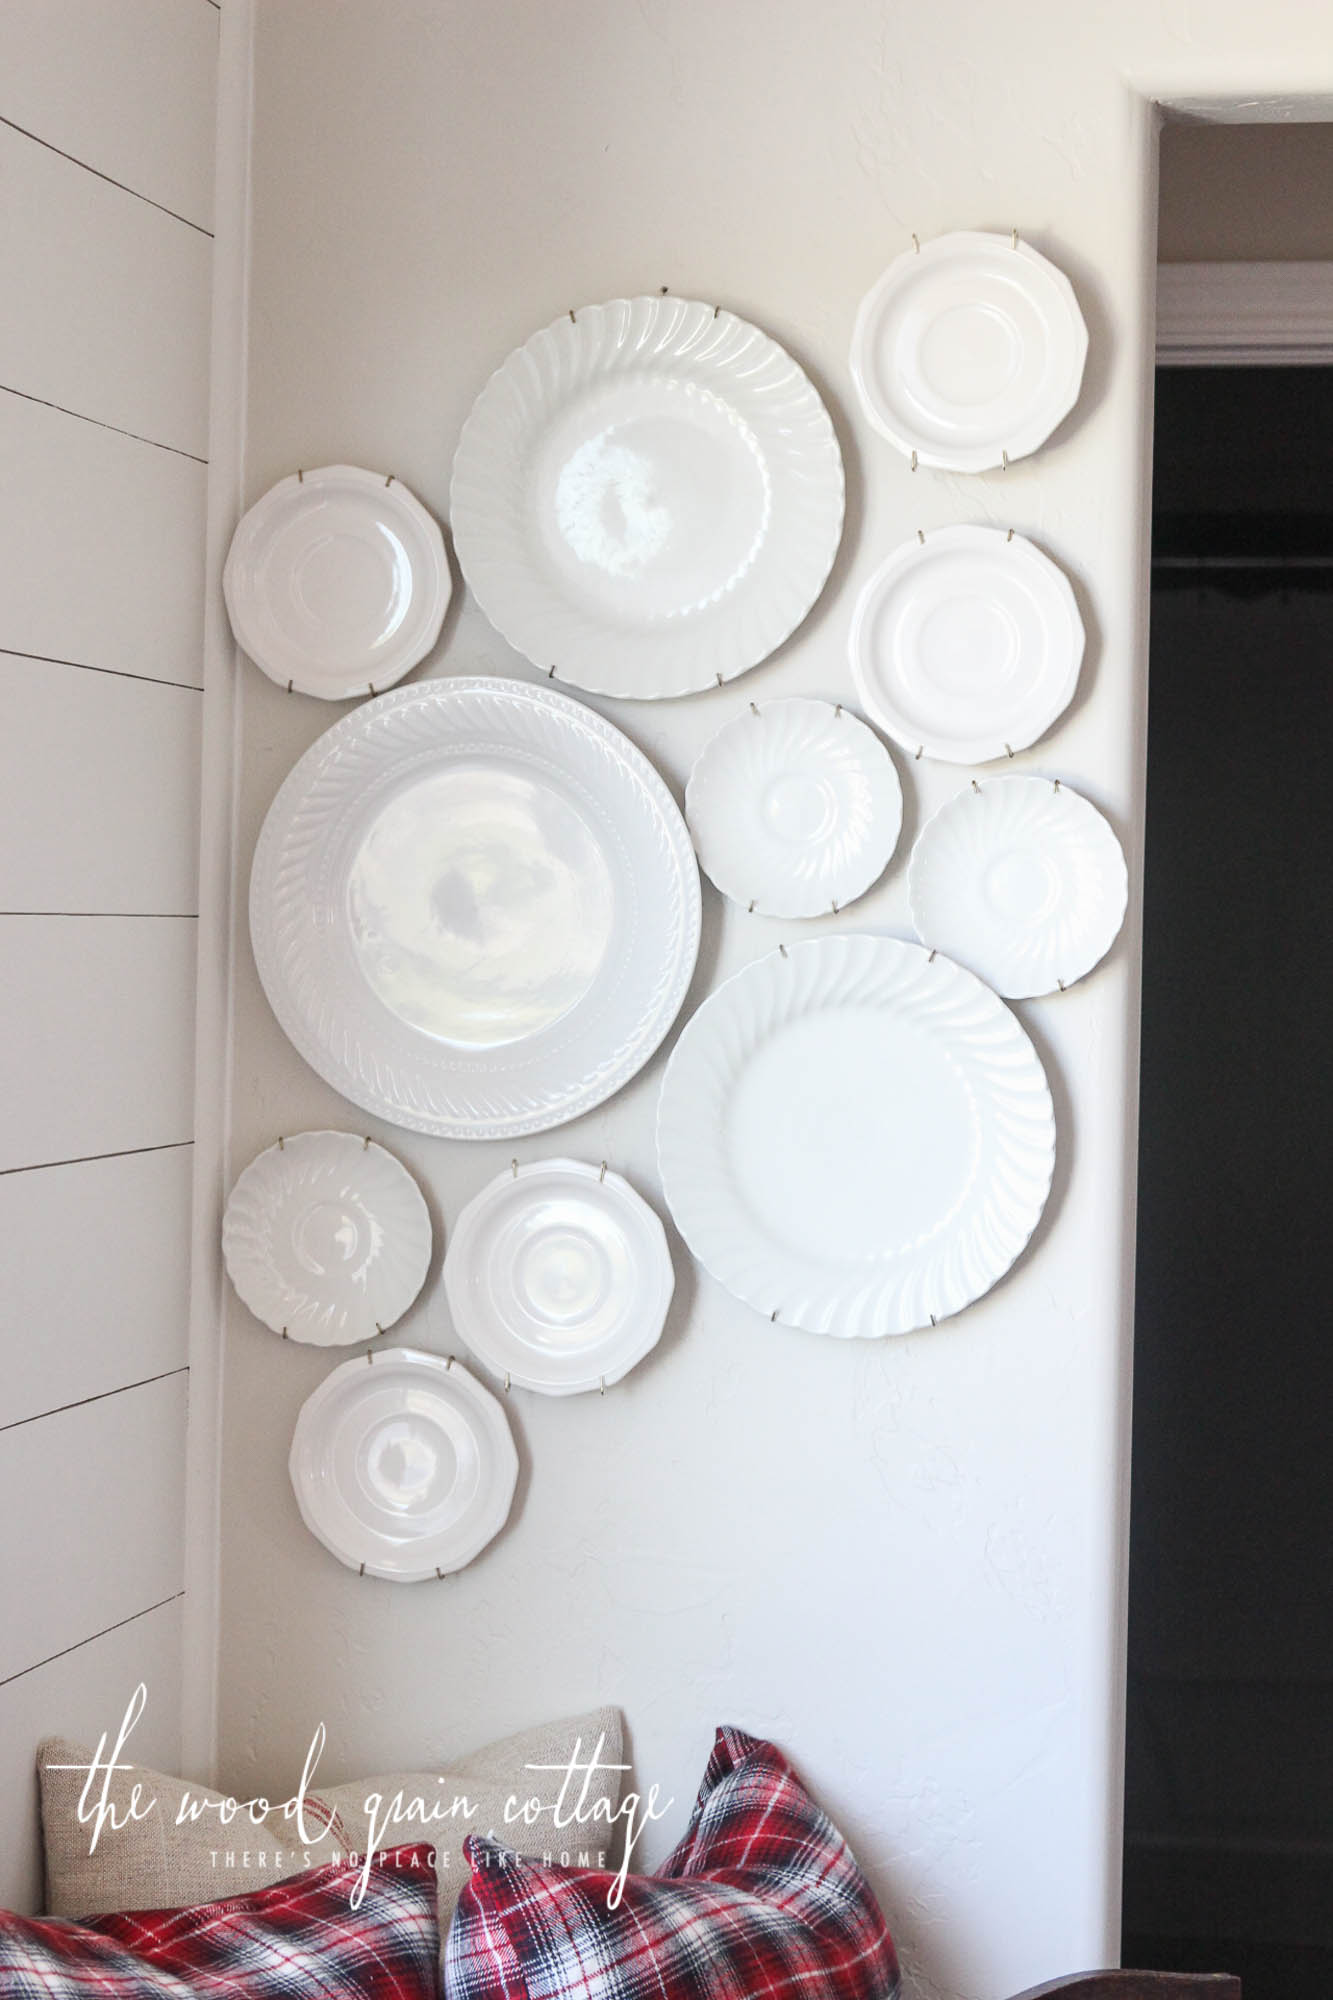
I measured the distance of the area on the wall, then decided where I wanted the plates to take up, and added in the largest plates first…
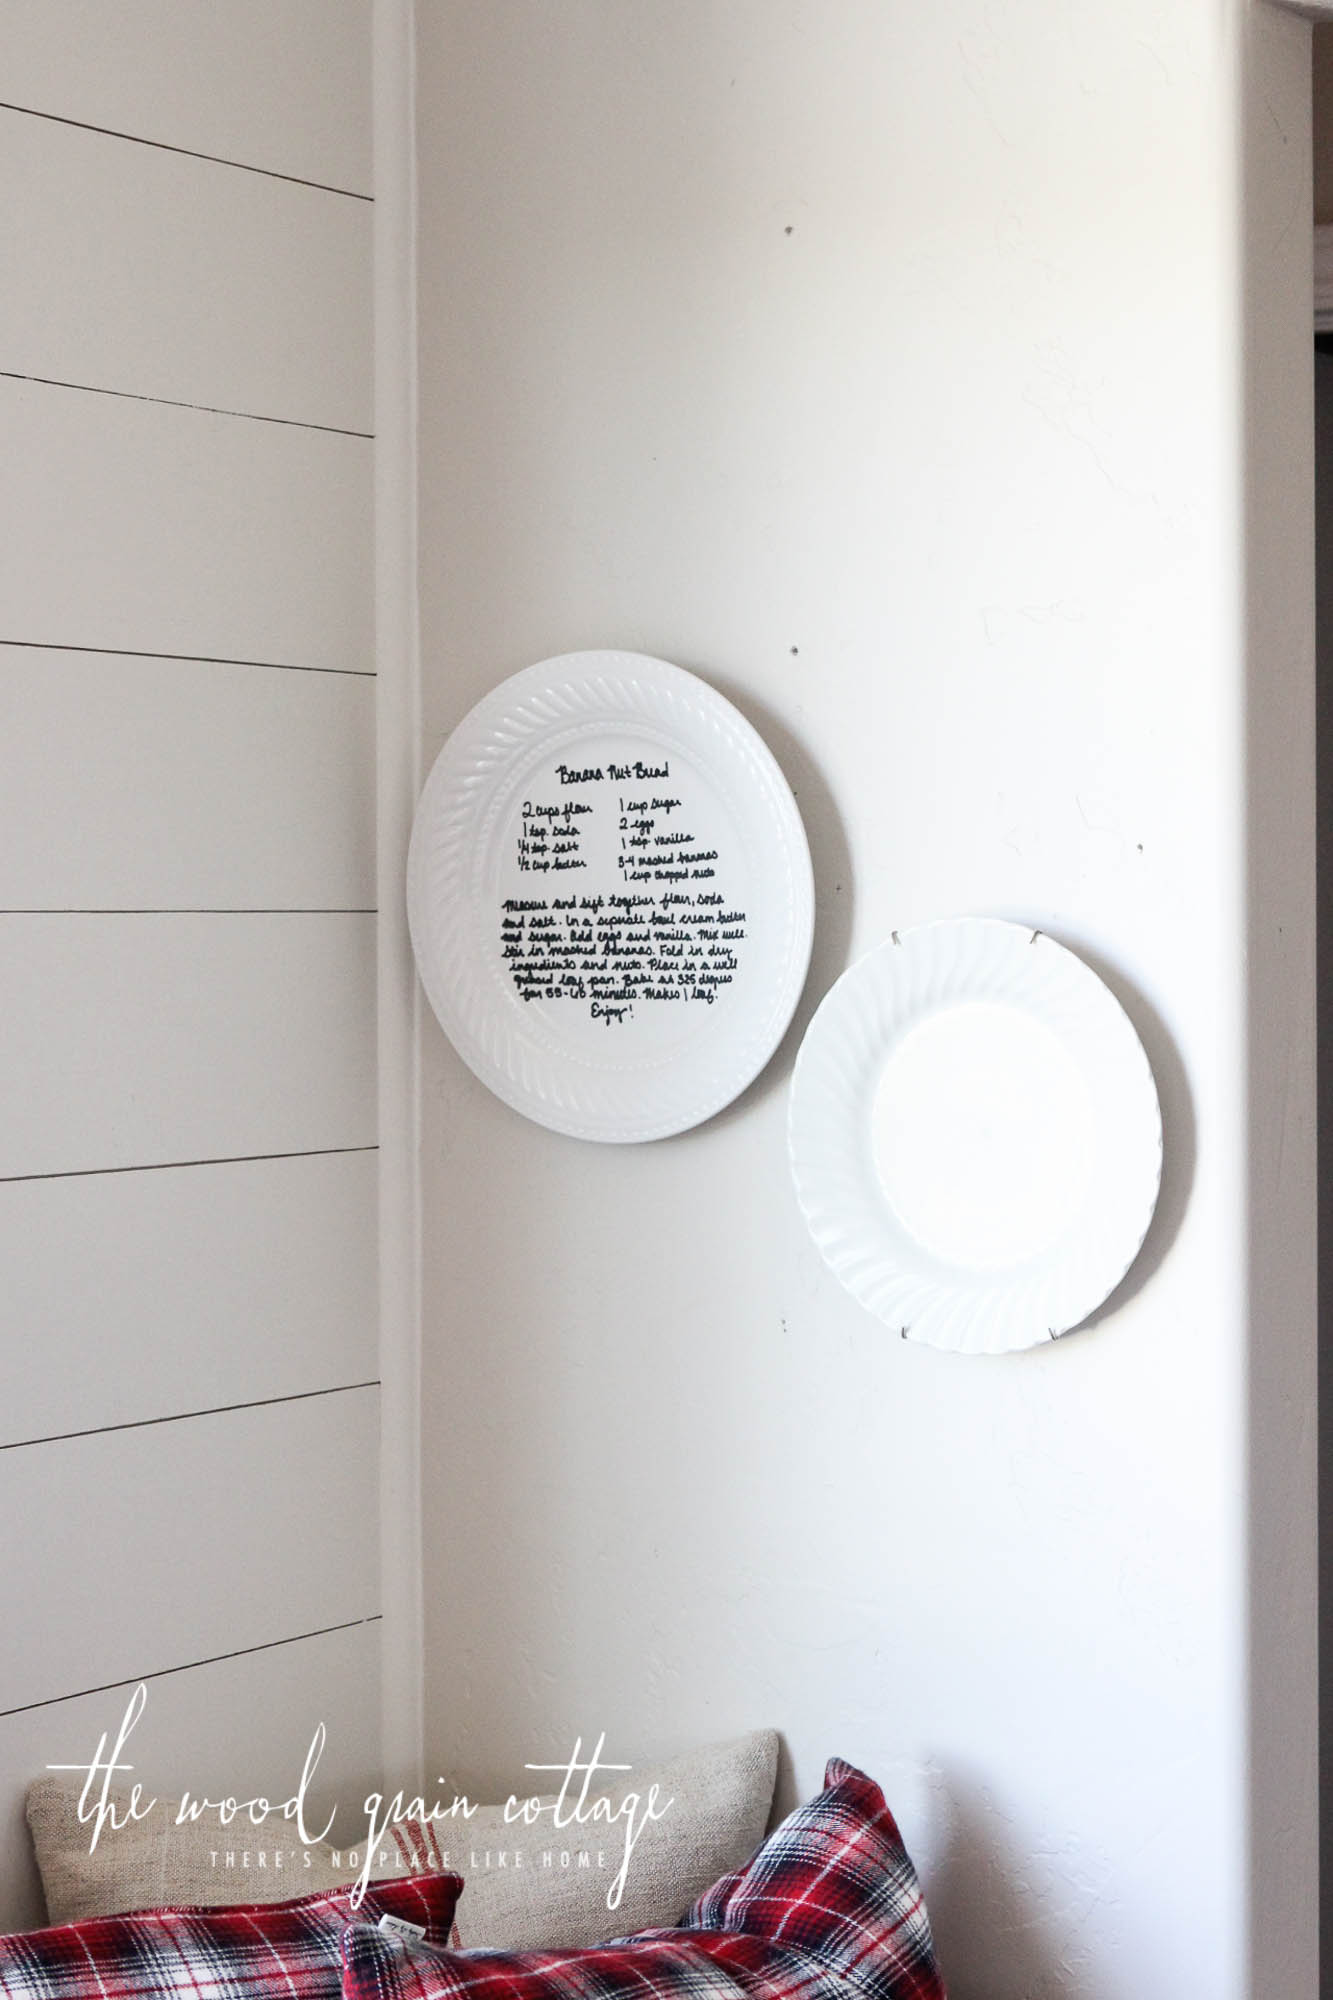
I used a variety of dishes; there are 3 different patterns. Once the large plates were hung, I started filling in with the smaller plates…
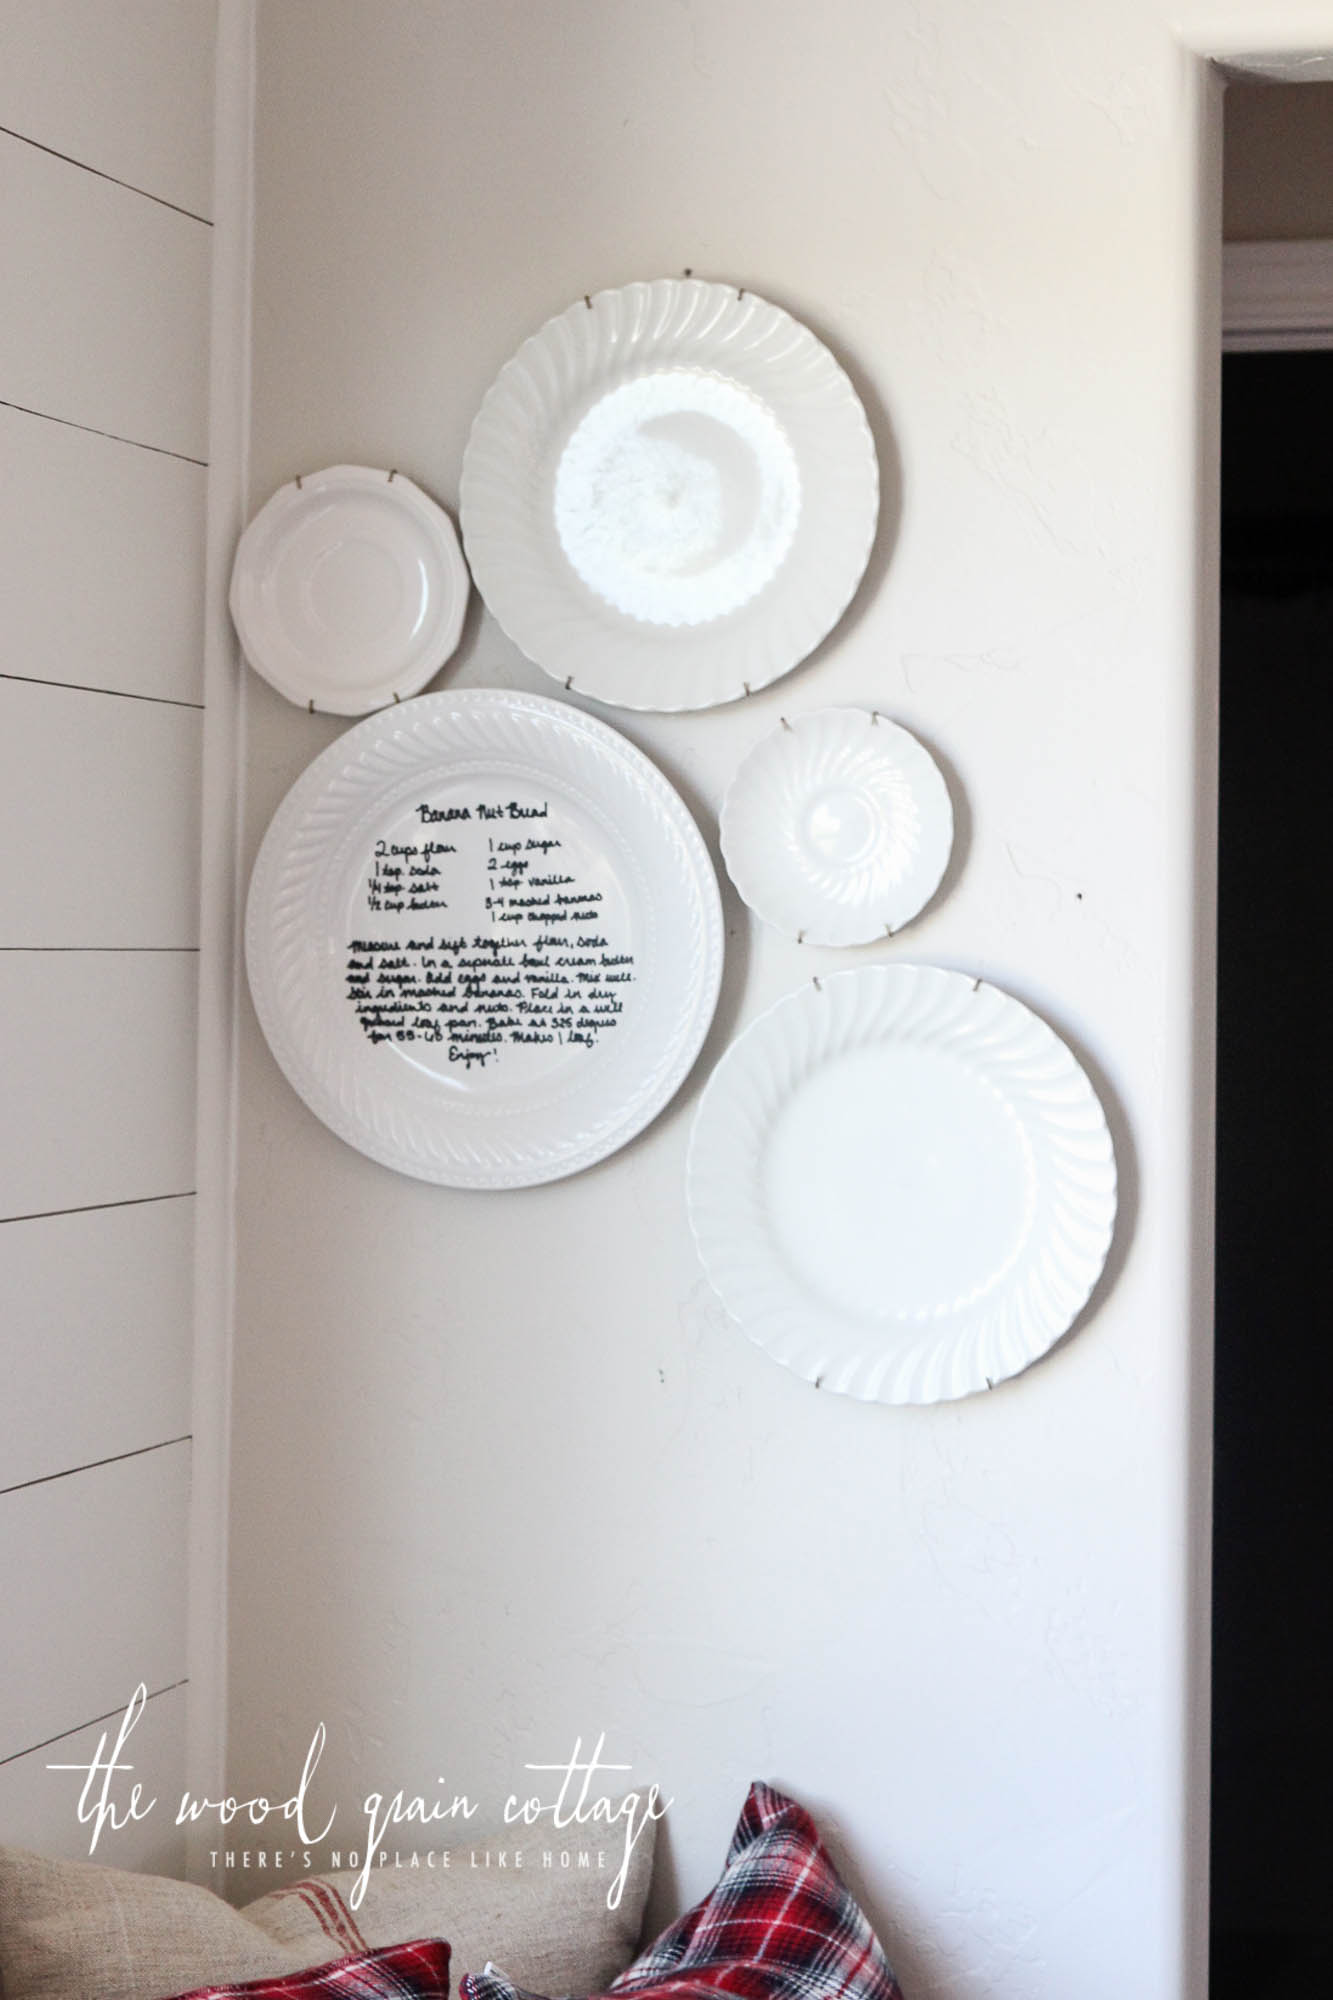
I created the design as I went, but I did want the wall to be evenly balanced, but still have the big plates look like they were “swooping”. Scientific, I know…
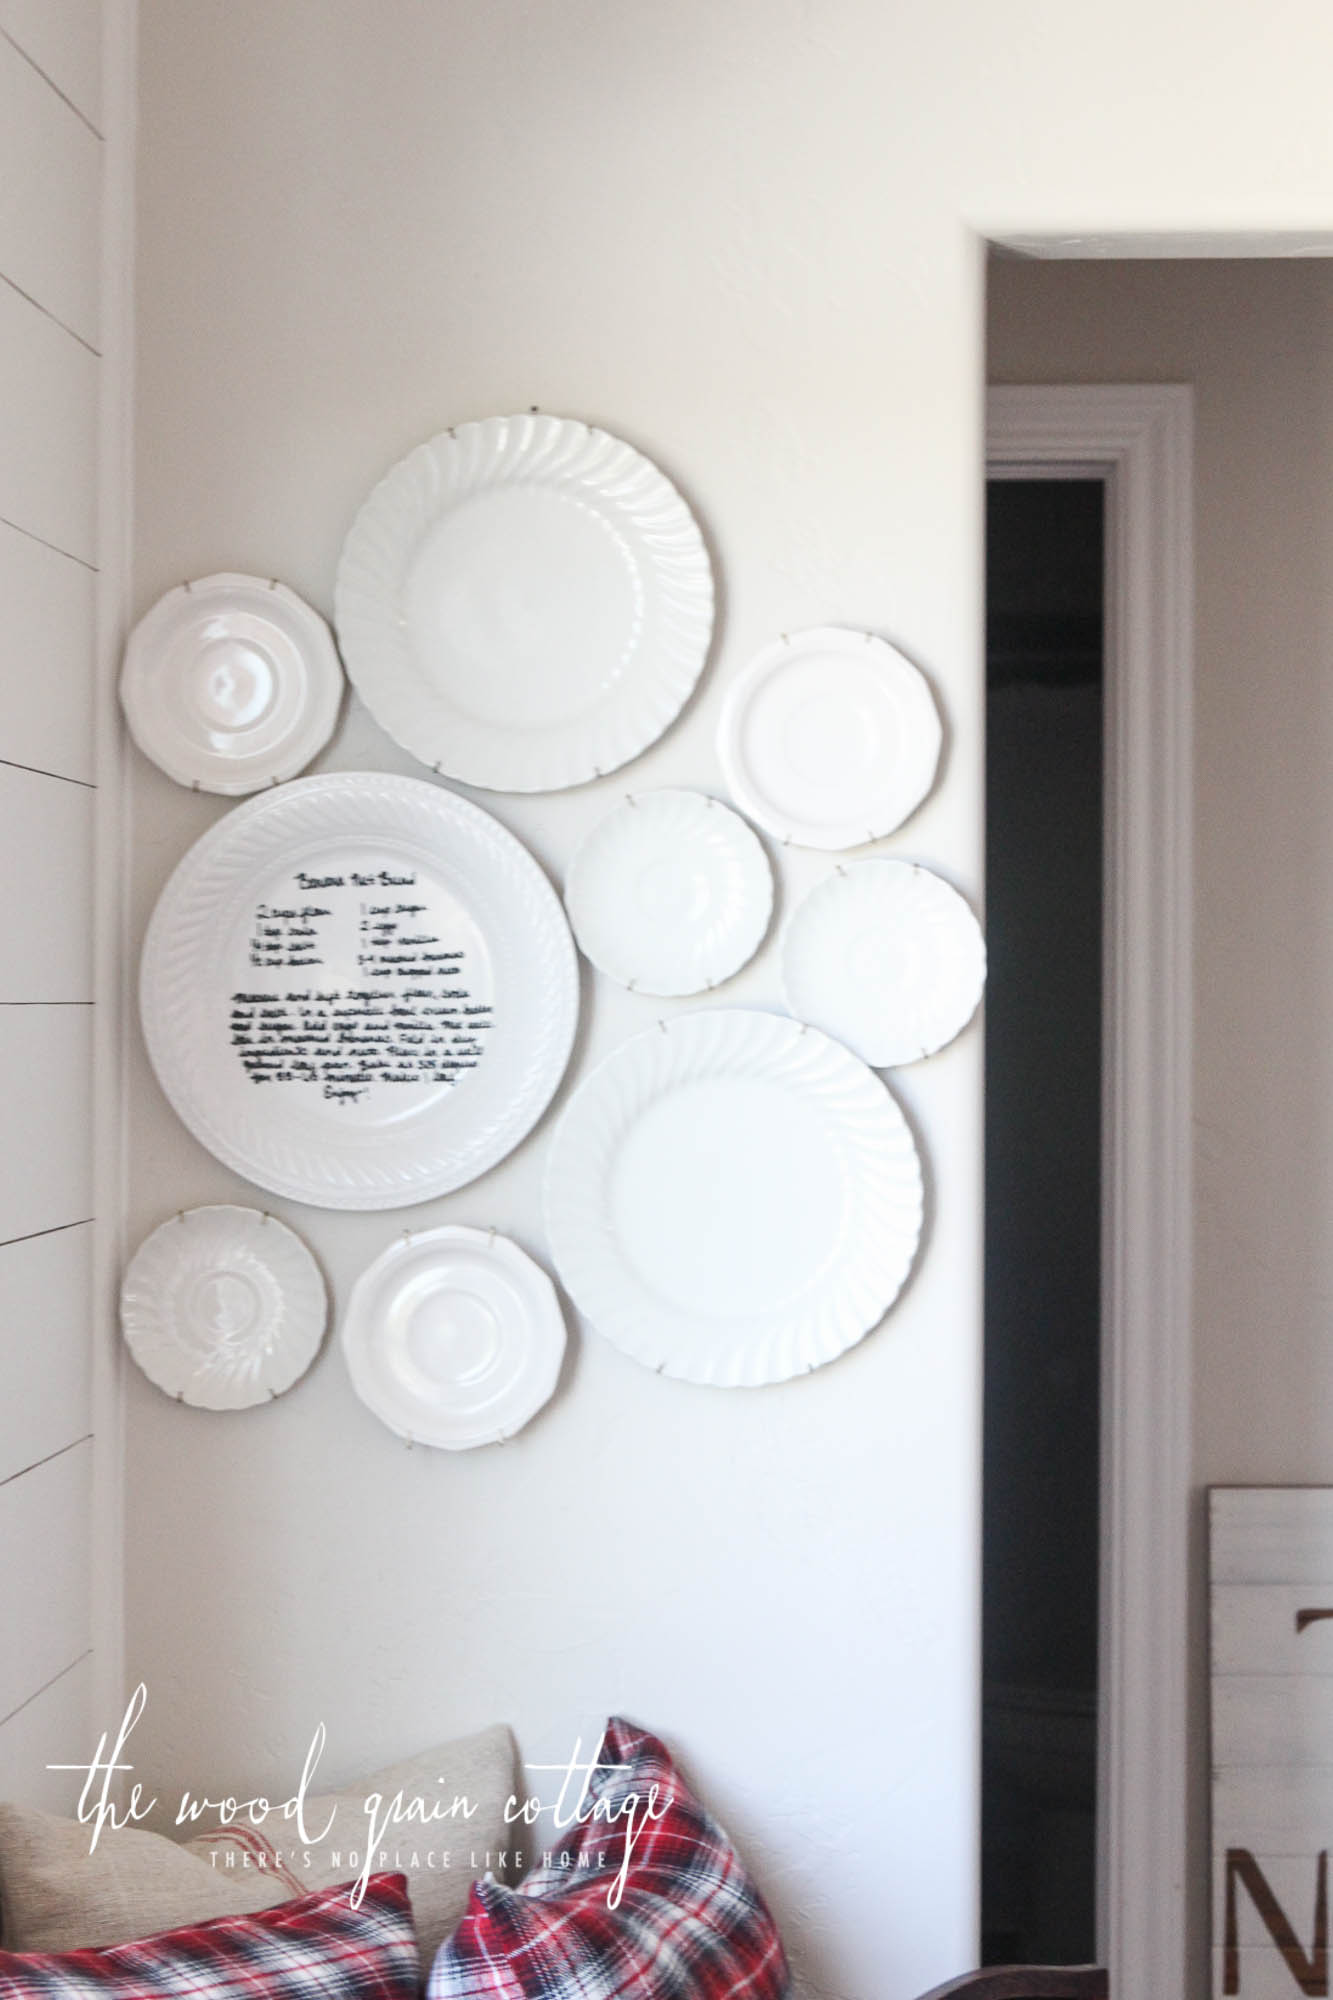
I kept filling in the spaces as I added each plate…
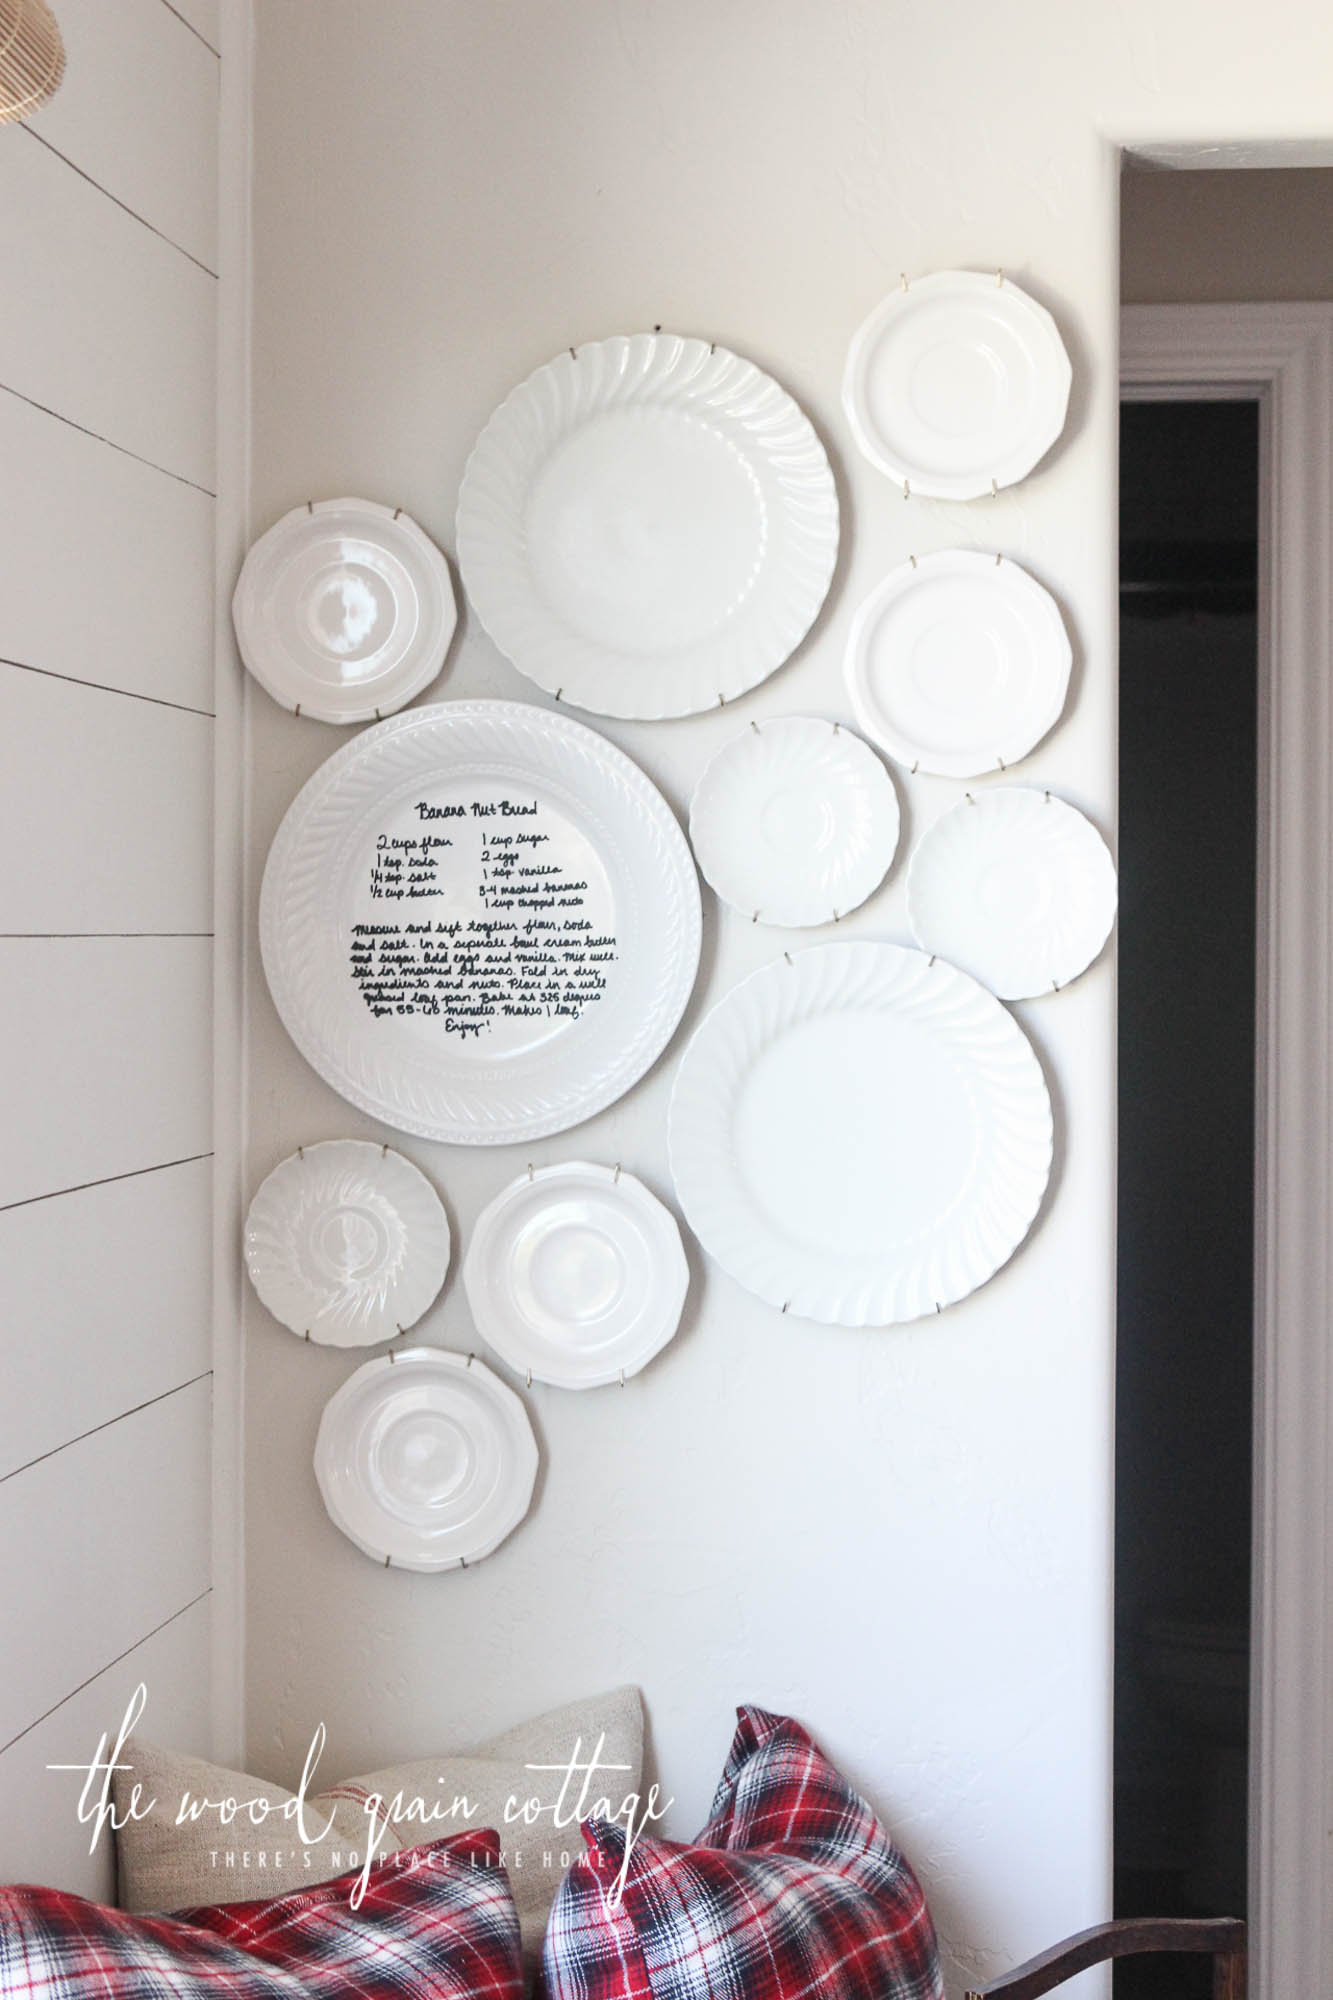
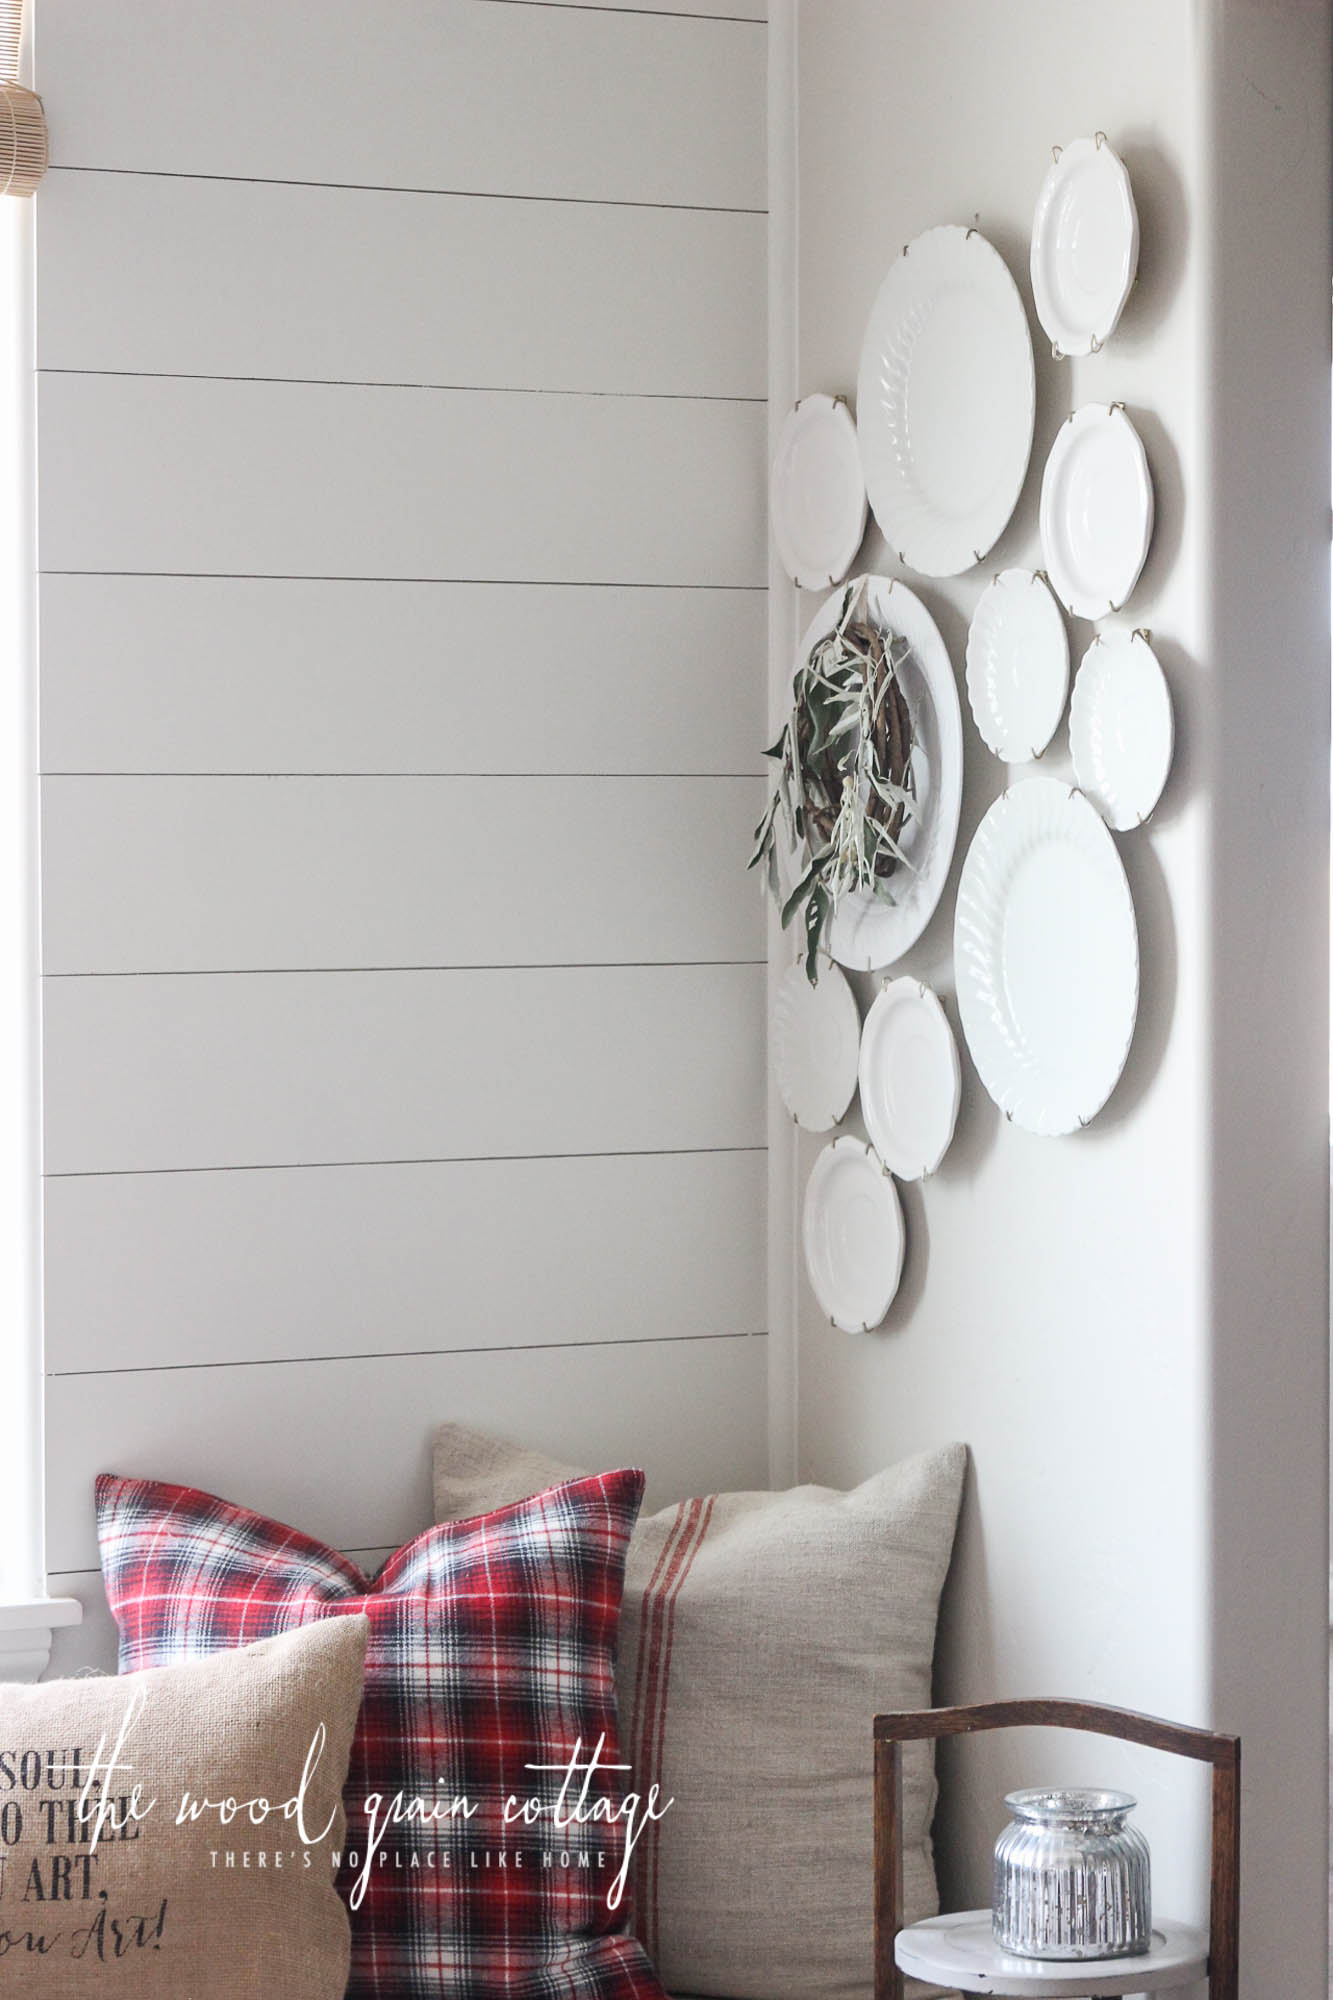
And finally, I had a finished plate wall…
A Few Things To Note:
- The plates are not evenly spaced between each other. I nailed them up as I went, eyeballing them the whole time.
- The plate hangers do stretch to fit a little bit bigger plate.
- The plate that had the writing on it was hung with a cheap method (paper clip and hot glue), and that’s what I used when I originally created the recipe plate, but it didn’t last a few hours before it fell. Thank goodness it didn’t break, as the pillows caught it. Phew. 🙂
- The plate hangers will not work on bowls. Trust me, I tried. And then I was sad…
With all of that said, I couldn’t be happier with this wall. It has needed something, and I finally figured it out after a bunch of trial and error.
It was such a small change, but it’s made a huge impact…
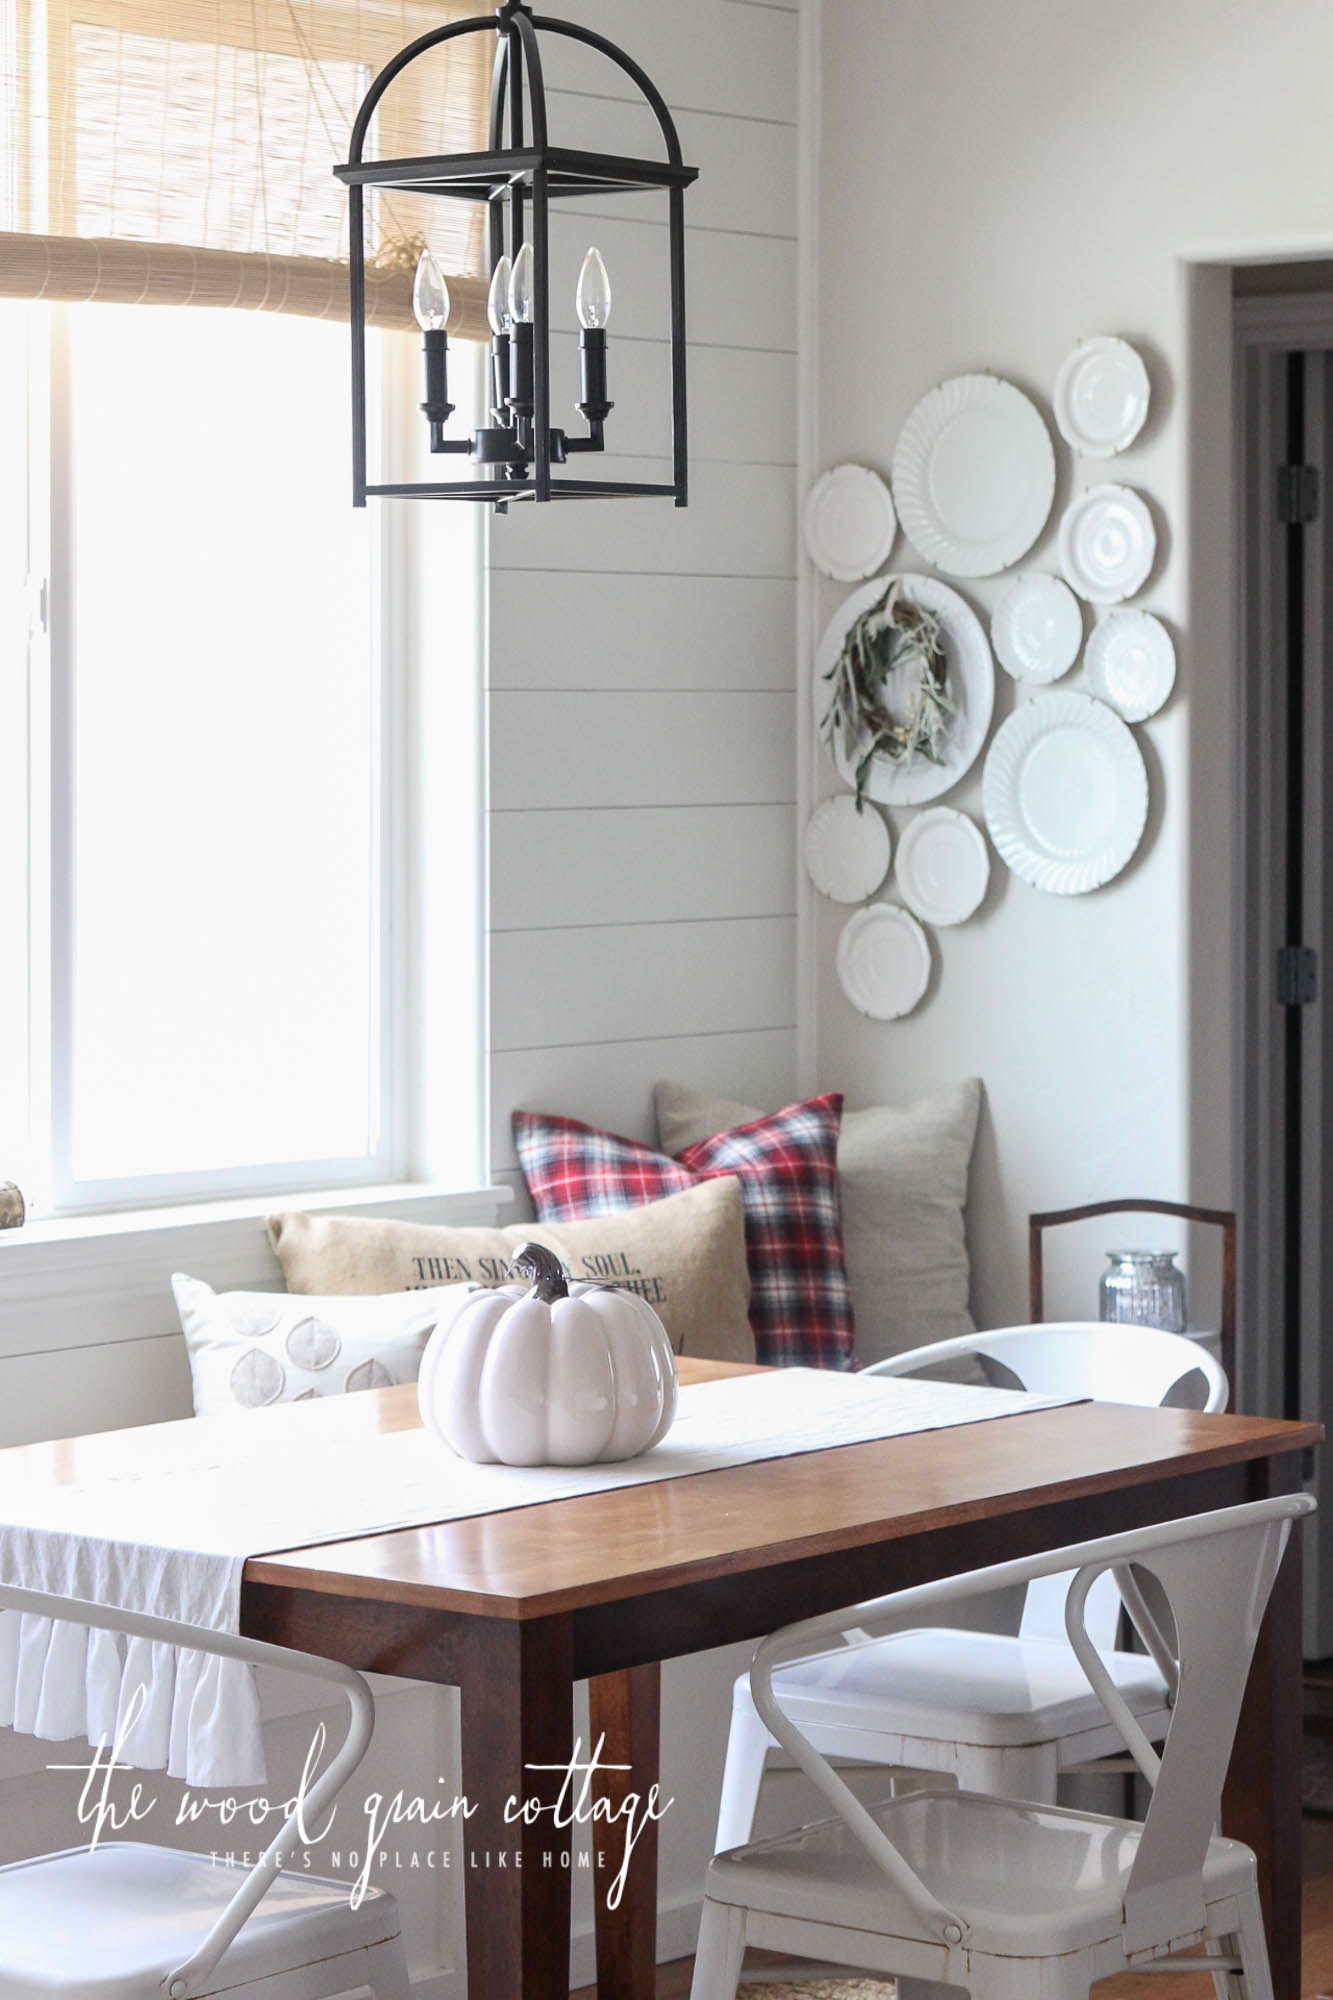
It “fits”. And that’s the best way I know how to describe it…
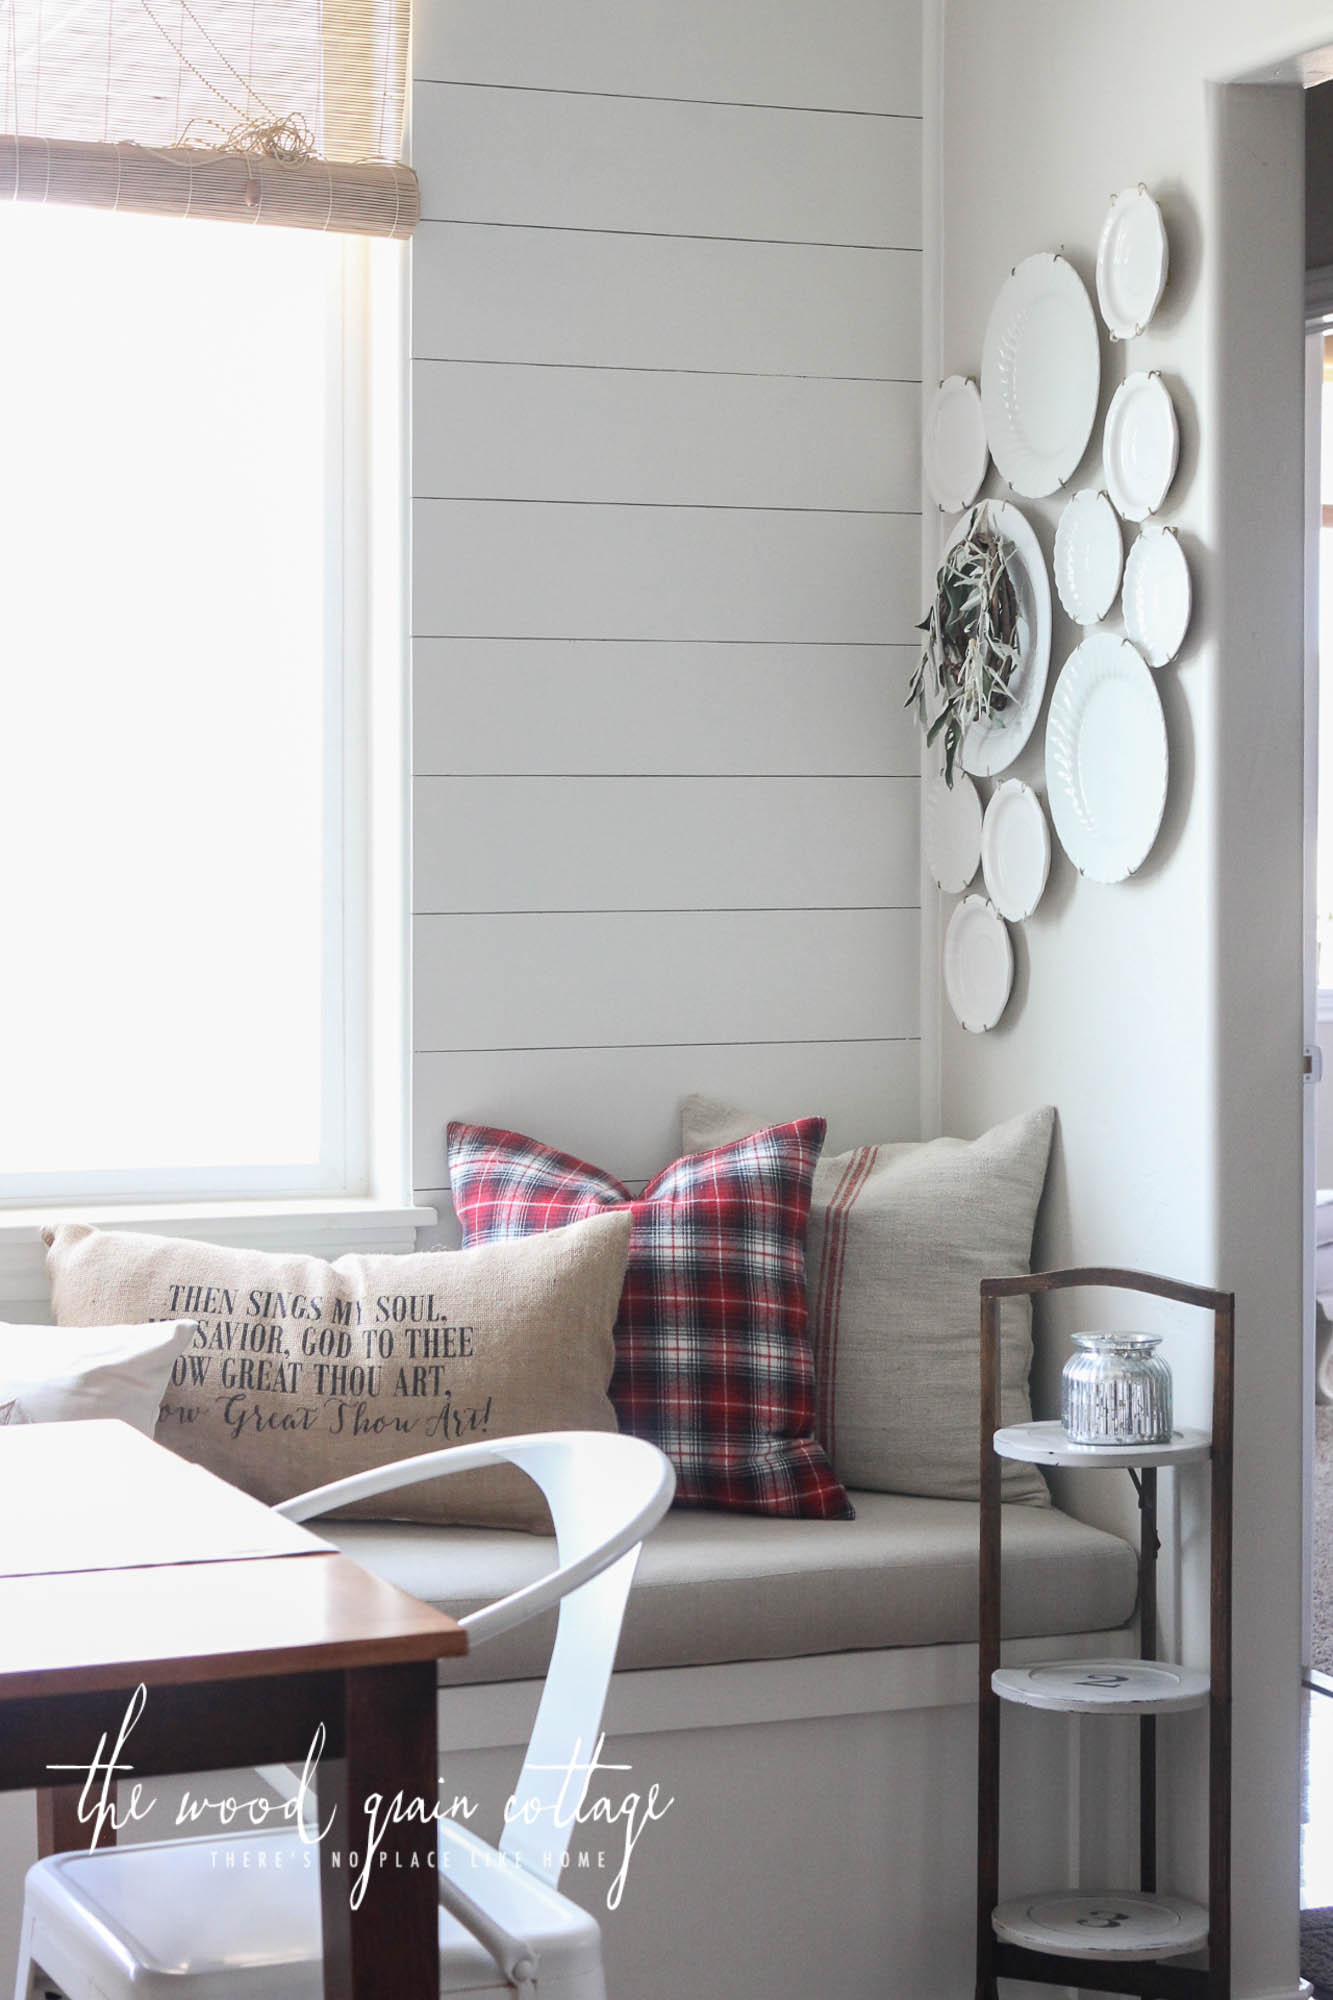
Plus, we all know how much I love white dishes. It was really only a matter of time before they found their way to the wall. And, I love that I can hang little things from the plates with each season…
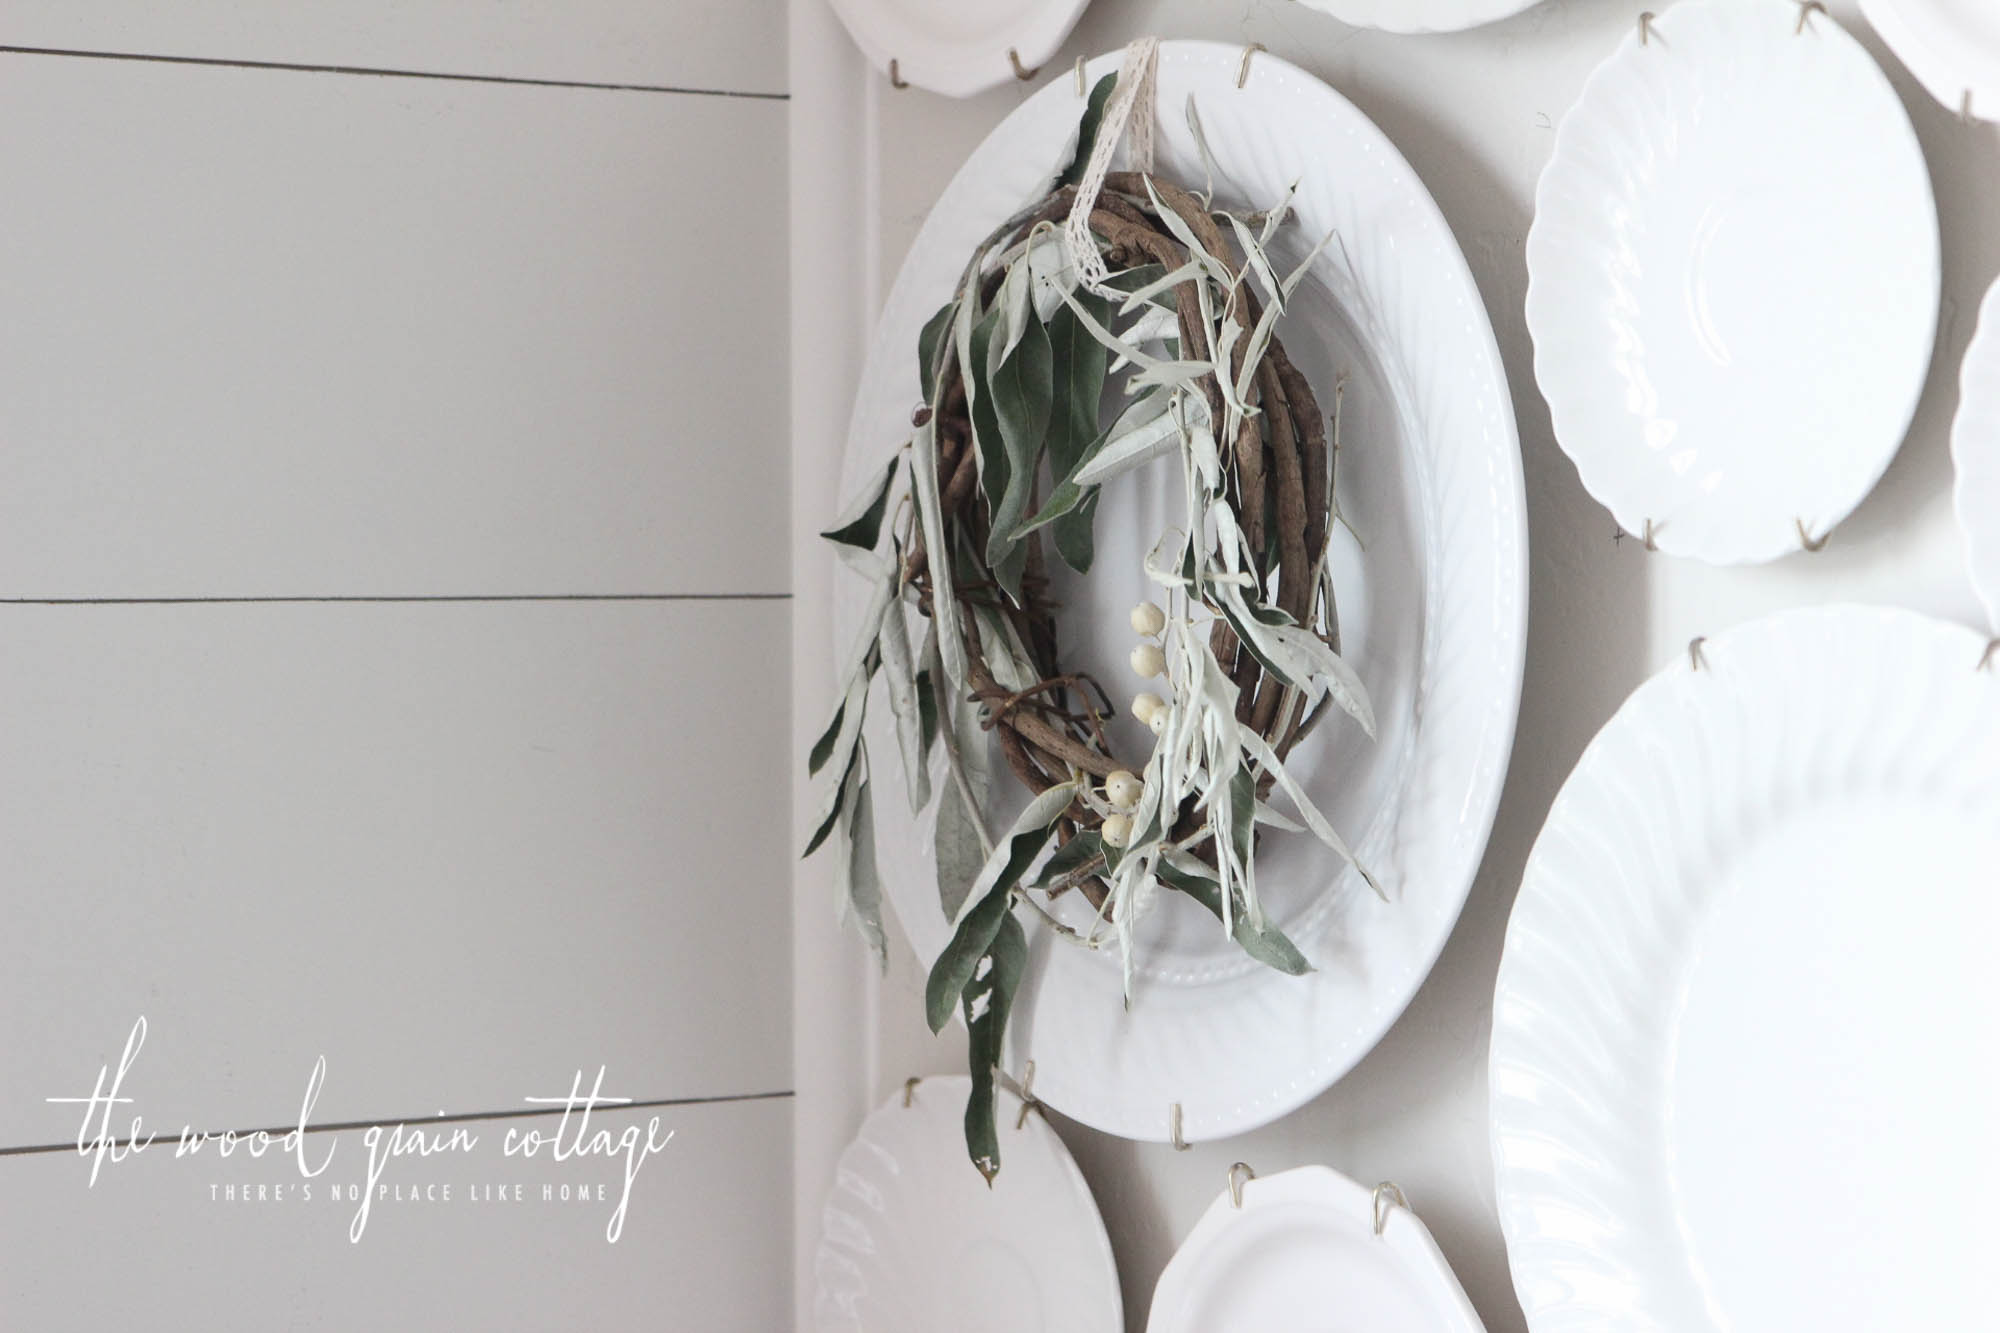
I simply hung the ribbon on the same nail as the plate. So easy!
Oh happy day, this room is coming together!
Moral of the story, don’t be scared to hang your plates on the wall. Just make sure you do it properly with the correct plate hangers. After breaking a few dishes the cheap way, I wish I would have bought the plate hangers. They’re not even overly expensive, so I can’t use that as an excuse. I believe those broken dishes were caused by Mr. Laziness…. Don’t let it happen to you too….


Leave a Reply

Join me as I share several easy to implement ideas that will give your home a breath of fresh air and leave you feeling excited about the changes you see by the end of the week!

I too love to hang beautiful plate. I found a Disc Adhesive Plate Hanger which is found in any craft store. It come in different sizes depending on the plate size. The plate will look like their are floating on the wall. The adhesive is very strong and your plates will not fall off. I have mine for about 5 years and they are holding strong. Additional mounting hardware will be a picture hanger. I hope you try it and you will happy you did.
Norma
Thank you so much for the info, Norma! I have seen the disc adhesive plate hangers, but I was skeptical if they would work. I didn’t want the plates to come crashing down. Those would be a perfect solution for my bowls! So happy to know they work… time for another project! 🙂
What do you think of spray painting the plate hangers white before you hang them? Do you think that would work? I love your wall btw!
I think you probably could, but they have a plastic piece covering where they attach to the plate. You’d have to remove those, paint, then put them back on so they don’t scratch your plate. At first I Was worried you would really notice the gold, but I honestly don’t see them when I look at the plates. 🙂
I love the simplicity of the white plates. It looks beautiful!
Hi! What a beautiful arrangement and timeless! It will work for all seasons. Shayna, could you share the wall color used in the picture? Really I’d love to know the wall colors for your whole house!
Thanks!
Kate
[…] Wall Of Plates- DIY […]
[…] Love Grows Best Sign // Ceiling Light // Wall Lights // Bamboo Blind // Table: Bought It In College Several Years Ago // Chairs– No Longer Available // Serving Tray: DIY // Home Sweet Home Pillow: DIY // Grain Sack Pillow: DIY // As For Me & My House Pillow // Table Runner: DIY // Jute Rug // Black Lanterns // Plate Wall: DIY […]
[…] Plate Wall […]
[…] Plate Wall- DIY, tutorial here […]
[…] few days ago, I also got the itch to hang up another plate wall. This time though, I used my collection of platters that were still boxed up in the […]
absolute gorgeous idea! and cool pattern! love it! very motivating! thank you!
Shayna I love your wall of plates. I looked at the date of your original post and realized that six years later it doesn’t need updating at all. It looks beautiful. I used this idea for a wall of baskets to add some warmth to my gray walls.
Thank you so much! Yes, this is such a timeless project! I’ve even hung up plates in my new house too!