
Outdoor Concrete Pots
Learn how to make your own outdoor concrete pots. I’m sharing my full, step by step tutorial.
Well, we’ve had a few days without the wind. I’m not sure how I’ve survived! I mean, we can actually walk outside without being blown away. I might have had one or two good hair days… And now that I’ve said that, I’m sure it will have to make its appearance. Let’s just pretend I didn’t say anything…
I’ve been so anxious to start adding flowers and pots and outdoor pretties, that I couldn’t help myself from making a new pair of outdoor concrete pots. Concrete is a bit more in depth to work with and it can definitely be a labor of love, but the finished results are totally worth it…

They’re unique and I love the way they look with flowers! Here’s how I made them…
Outdoor Concrete Pots
Affiliate links are provided below. Full disclosure here.
Supplies:
- Cheap Plastic Pots, in multiple sizes
- Bucket, for mixing
- Mixing Trowel
- Perlite
- Sphagnum Peat Moss
- Snips
Step One: Pick Your Pots
I started with basic black plastic pots, you know, the kind that your plants come in when you buy them. Feel free to get creative, you can use anything you’d like as long as you have multiple sizes…

Step Two: Start Mixing Ingredients
Then I started mixing my ingredients… Portland Cement, Perlite and Sphagnum Peat Moss.

I’ve found that adding equal amounts of the concrete, peat moss and perlite works ok, but if you add another part of concrete to the mix, the concrete looks better when it’s dry…
Step Three: Add Water
I added just enough water to make the mixture wet and “cottage cheese” like…

Step Four: Fill The Pots
Then, I started filling my bottom pot, and pushed the top pot over the concrete to make the bottom nice and even…
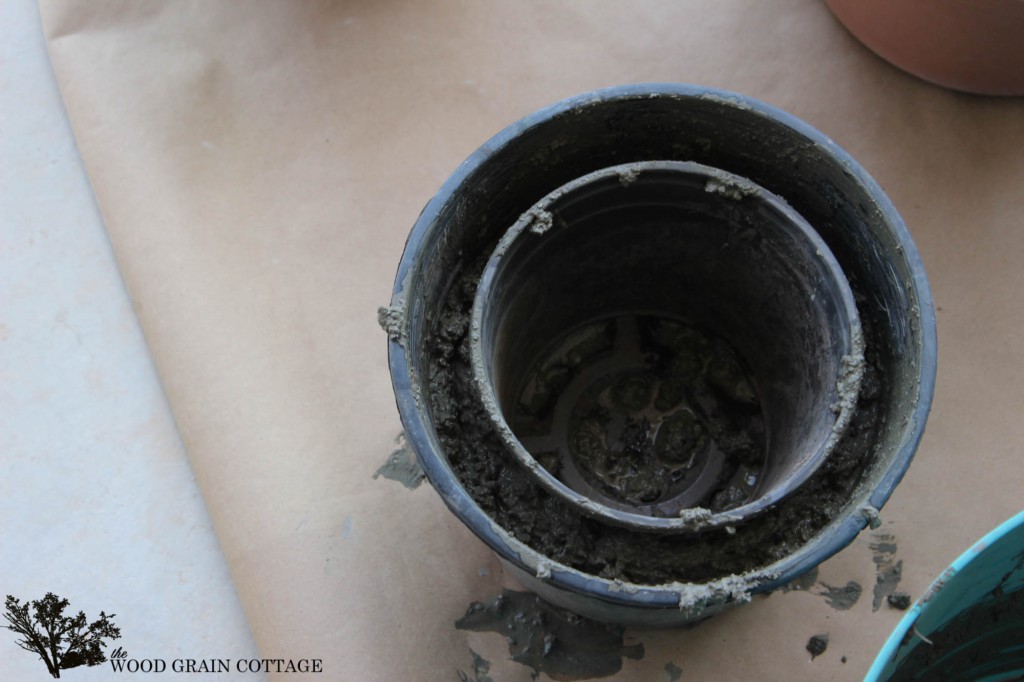
Then, I just started adding concrete to the sides and pushing it down with my trowel.
Step Five: Allow The Pots To Dry
With the pots filled to the top, I leveled it off and let it sit for a week.

Step Six: Remove Plastic Pots
Once they were dry, I used a pair of snips and started cutting the plastic pots to easily remove the concrete. I was left with this…

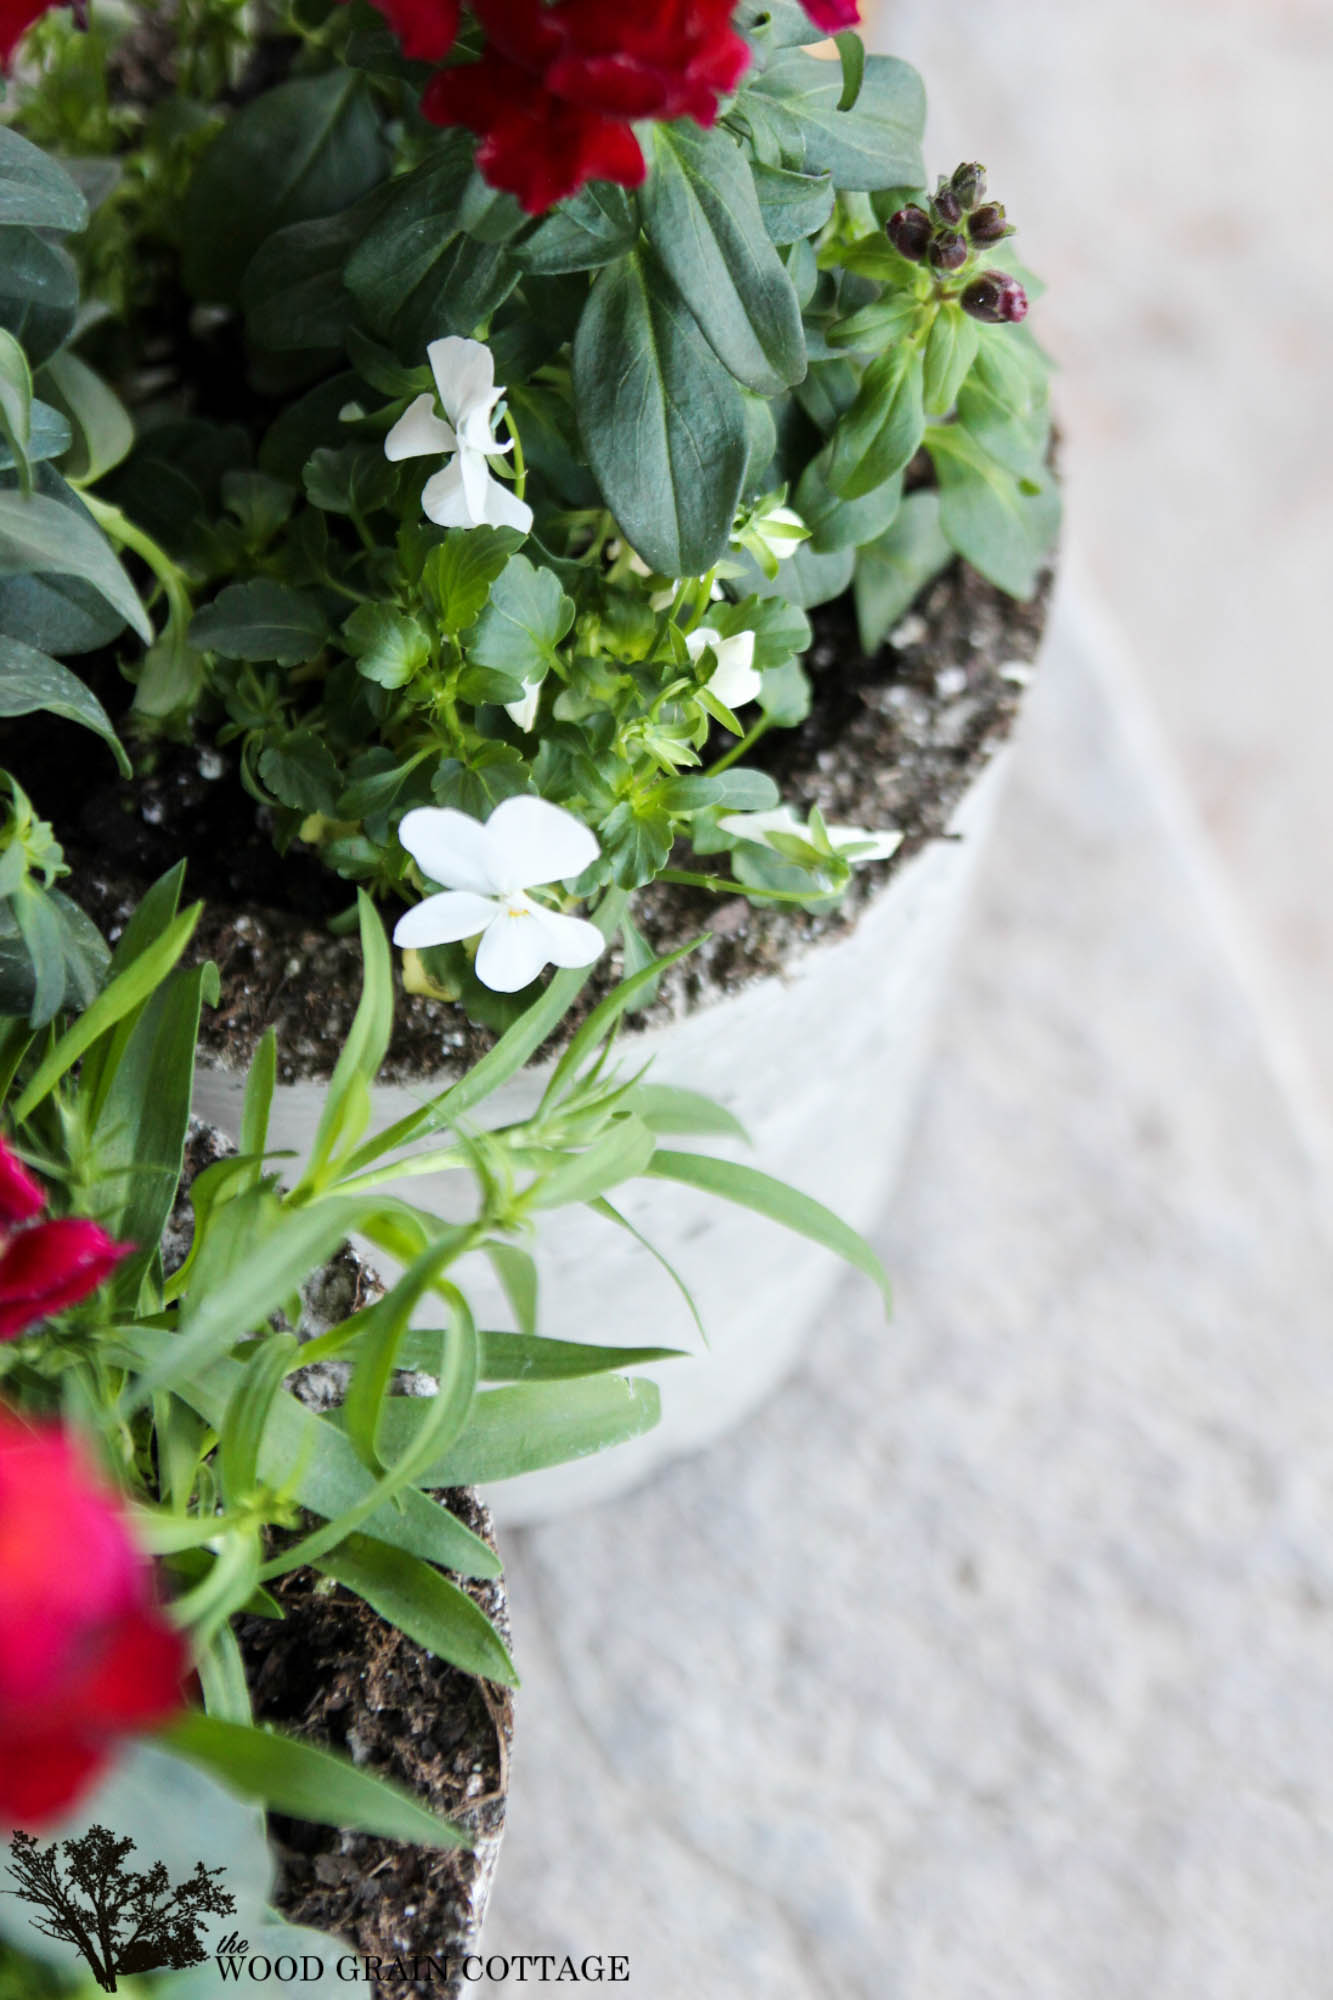
I am so happy with the way they turned out…

And I love the little “gaps” in the concrete from the perlite and peat moss mix…

And don’t even get me started on how much I love the flowers…

They’ve instantly brought a happy and fresh vibe to our front porch!
Now, I just need to add a few more flowers to our porch and patio… our patio is needing a bit of pretty blooms! It gets the worst of the wind, but I think it may be safe now. Maybe.
Shayna,
I love these pots! Did you put a drainage hole in the bottom?
Karin
THANK YOU so much, Karin! I did not put a drainage hole in the bottom, but it would be very easy to drill a few holes! I hope that helps! 😀
Love this project, I would like to tack this project someday. They look great!
I love this idea and the concrete pumpkins! Just curious though, are these items so heavy from the concrete that they are hard to move around?!? Neat idea!
THANK YOU so much, Sarah! They are a bit heavier than a normal pot, but not so heavy that they can’t be moved around. I like them, because the wind won’t blow them over… and we get wind! 😀
Cool idea!
I’m always in need of extra flower pots and this would be neat to try!
So unique… these are really special! LOVE the snaps in them!
The pots are amazing…..I love just about anything made out of concrete, and these have to be put on my list of things to try. I love, too, that you mixed the pots with the metal basket in your display. And those beautiful flowers were the perfect touch. The red and white flowers and green leaves really stand out against the color of the concrete. Another perfect diy project…you have such a creatice mind!
Hi! Love the pots! Just wondering why you added the perlite and peat moss. Are those necessary ingredients? Thought I might try your idea using QuikCrete.
Thanks for sharing! 🙂
Hi Pam! I’m so happy you’re going to make your own concrete pots! The perlite and peat moss add the little “bubbles” or “gaps” in the concrete. That’s the texture you see. Also, the portland cement doesn’t have rock in it, the quikcrete does. The pots turn out a little bit smoother with the portland cement. 😀
I hope yours turn out wonderful! 😀
Hi fine congrates and i loves it . one doubt? can be used for vegetable/herbs gardening container and can withstand by volume and moisture