Upholstered Thrift Store Chair
You’ve already seen the “After” version of my lovely thrift store chair, but I can’t even begin to tell you how much I have fallen in love with it. What started out as a sad little chair ended up being one of my favorite things. Ever. 😉
Here’s it’s Cinderella story:
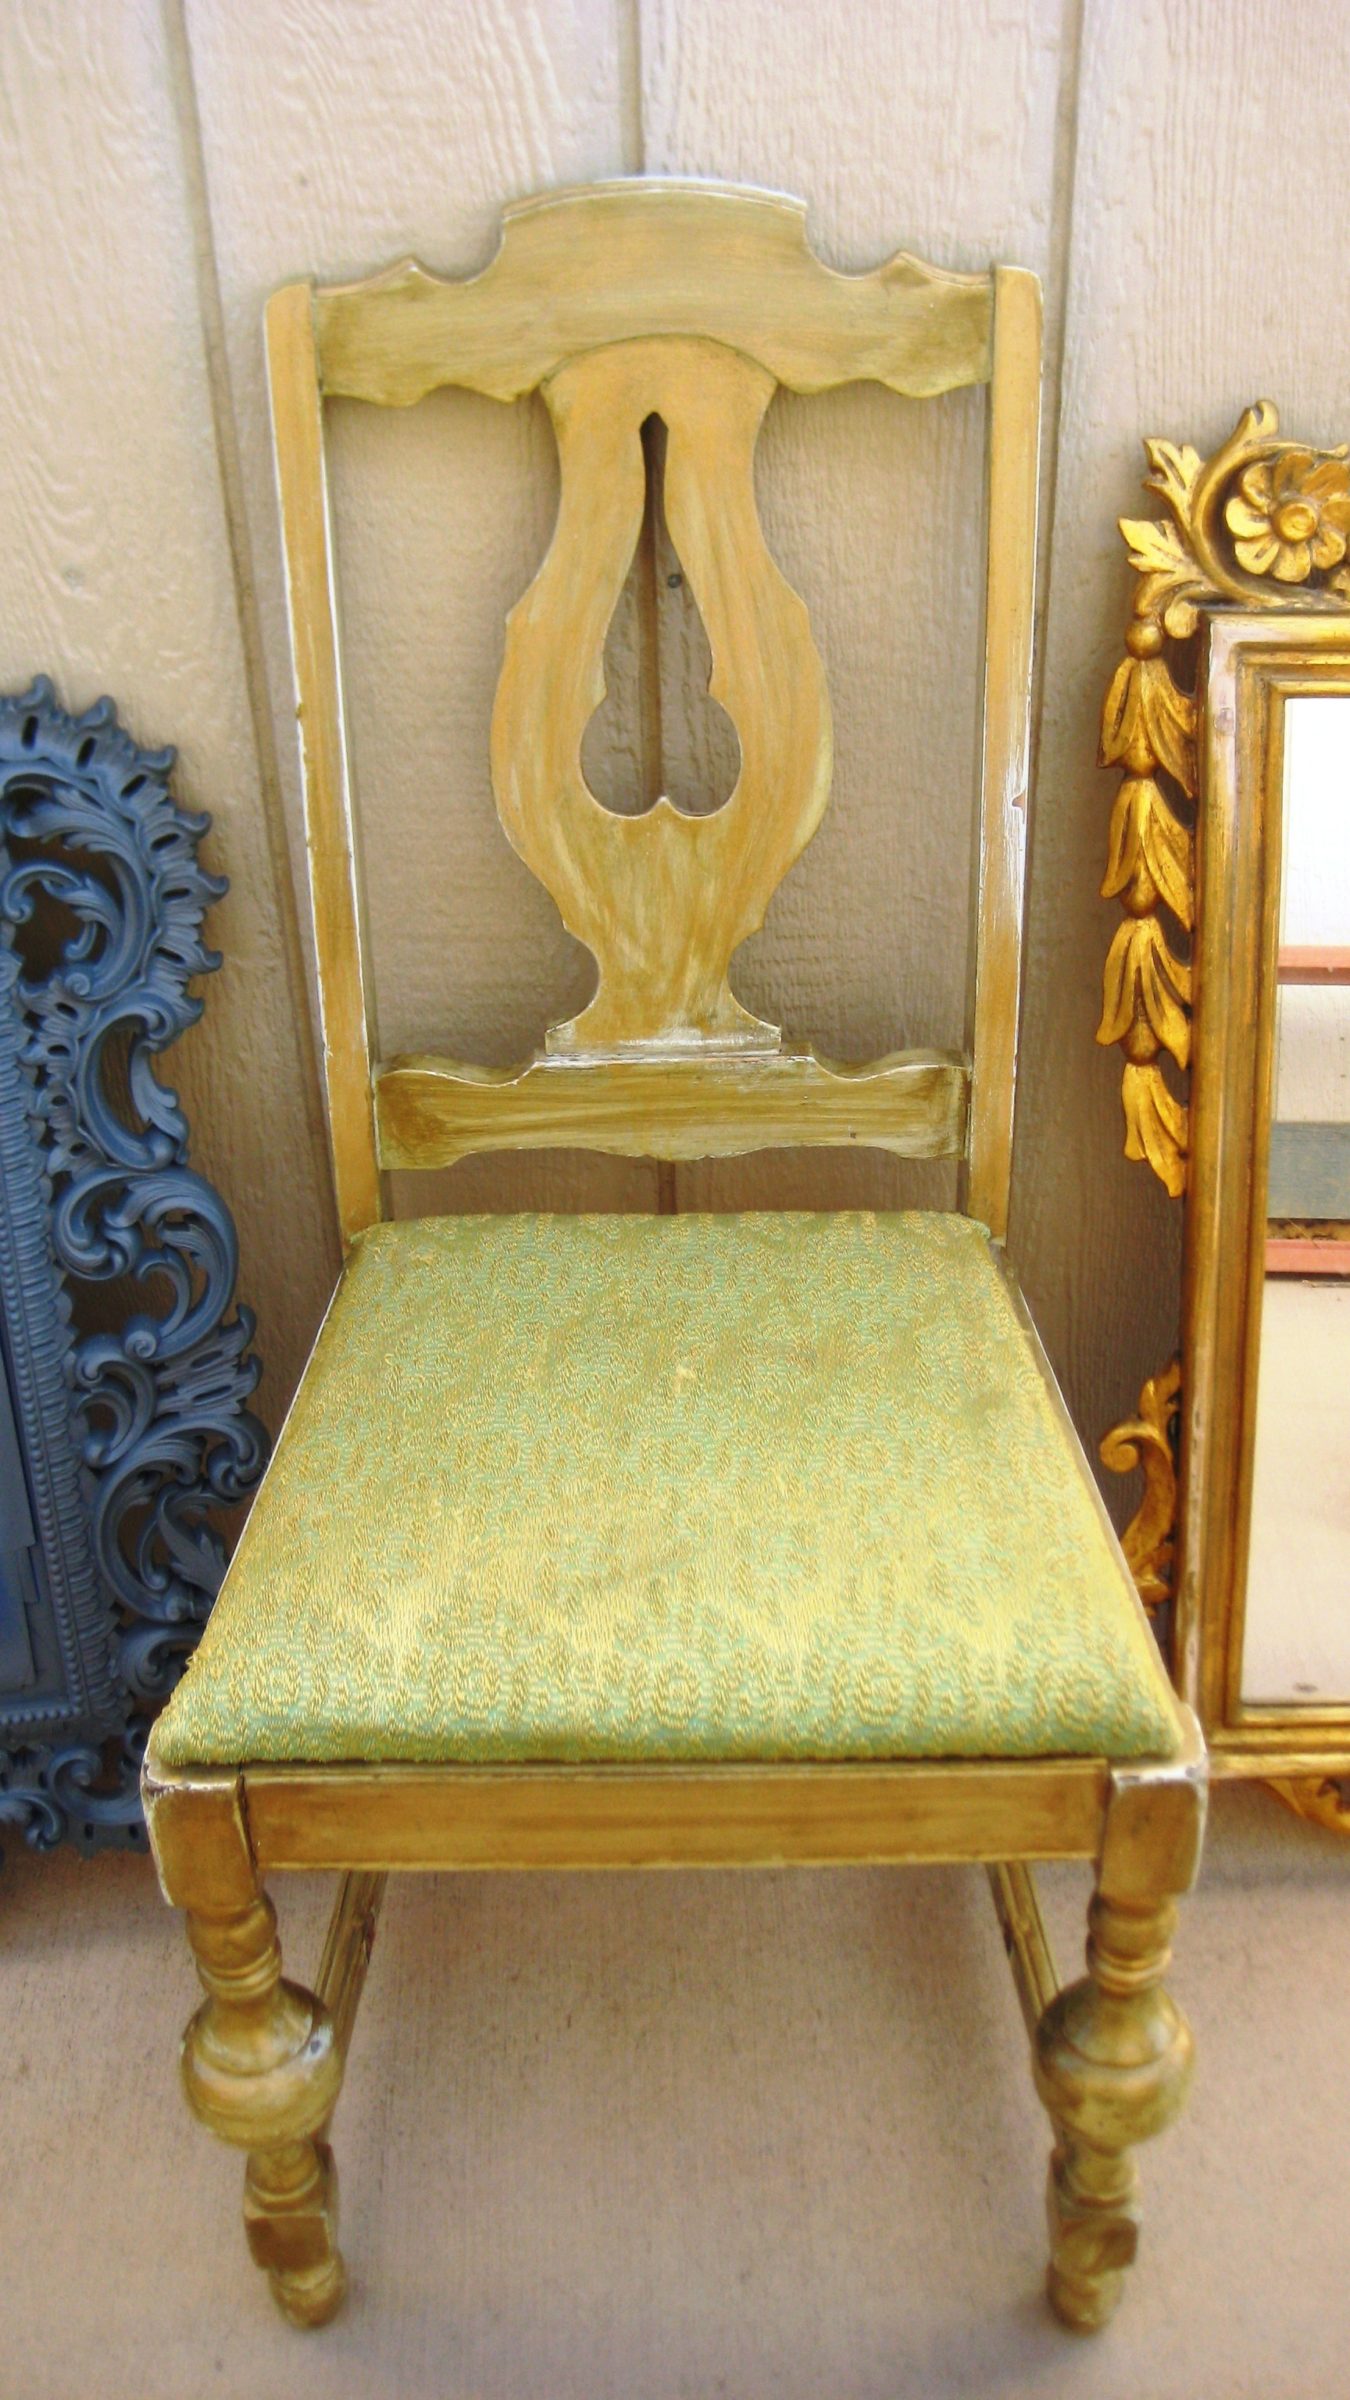
A while back I was browsing my local thrift store and I walked right into this:
It was really sad looking and practically begging for a makeover.
But the amount of potential was amazing. The shape. The legs. It had it going on!
Well, except for the color, bad paint job, horrible seat fabric and not to mention the fact that it was very wobbly. Nothing a little TLC couldn’t fix, right? Because of it’s rough condition I was able to make a deal on it big time! $4.00… boo-ya!
In the car it went and I made my way home. My husband took one look at it, looked at me, then back to the chair and shook his head. He thinks I’m crazy, but he went ahead and sat in it… and wobble it did. Obviously it was going to need a little work.
With this being my first upholstery job, I was a bit hesitant about how I was going to reupholster the seat. But I found the best way to gain confidence was to start taking apart the current upholstery job.
By seeing how the original upholstery was done, I knew that I could replicate it on my own. Very easy!
Once I was down to the bare seat, I got busy working on the frame of the chair.
Because the chair had been repainted, and not very well at that, I gave the entire thing a heavy sanding and followed it with a hot soapy bath.
After that came a coat of primer.
My husband dropped in at this point and tightened all the loose screws and brackets and added a piece of wood to the bottom of the chair, between the two legs, for added support. Wobble be gone!
I gave the entire chair a couple coats of light gray spray paint and let it dry overnight.
The next day I was ready to tackle the upholstery.
I started with the foam for the seat.
For the seat, I simply took a piece of foam and traced the seat with a sharpie. Then I cut it out and used hot glue to attach it on the edges and corners.
I was hesitant using hot glue to attach the foam to the seat, but I figured that since I was going to be wrapping it with batting and fabric it would stay in place since the fabric would be wrapped tightly. Hopefully I’m right. 🙂
After the foam was glued to the seat, I started wrapping it with batting.
Using a staple gun, I pulled the batting tight and stapled it to the back of the seat.
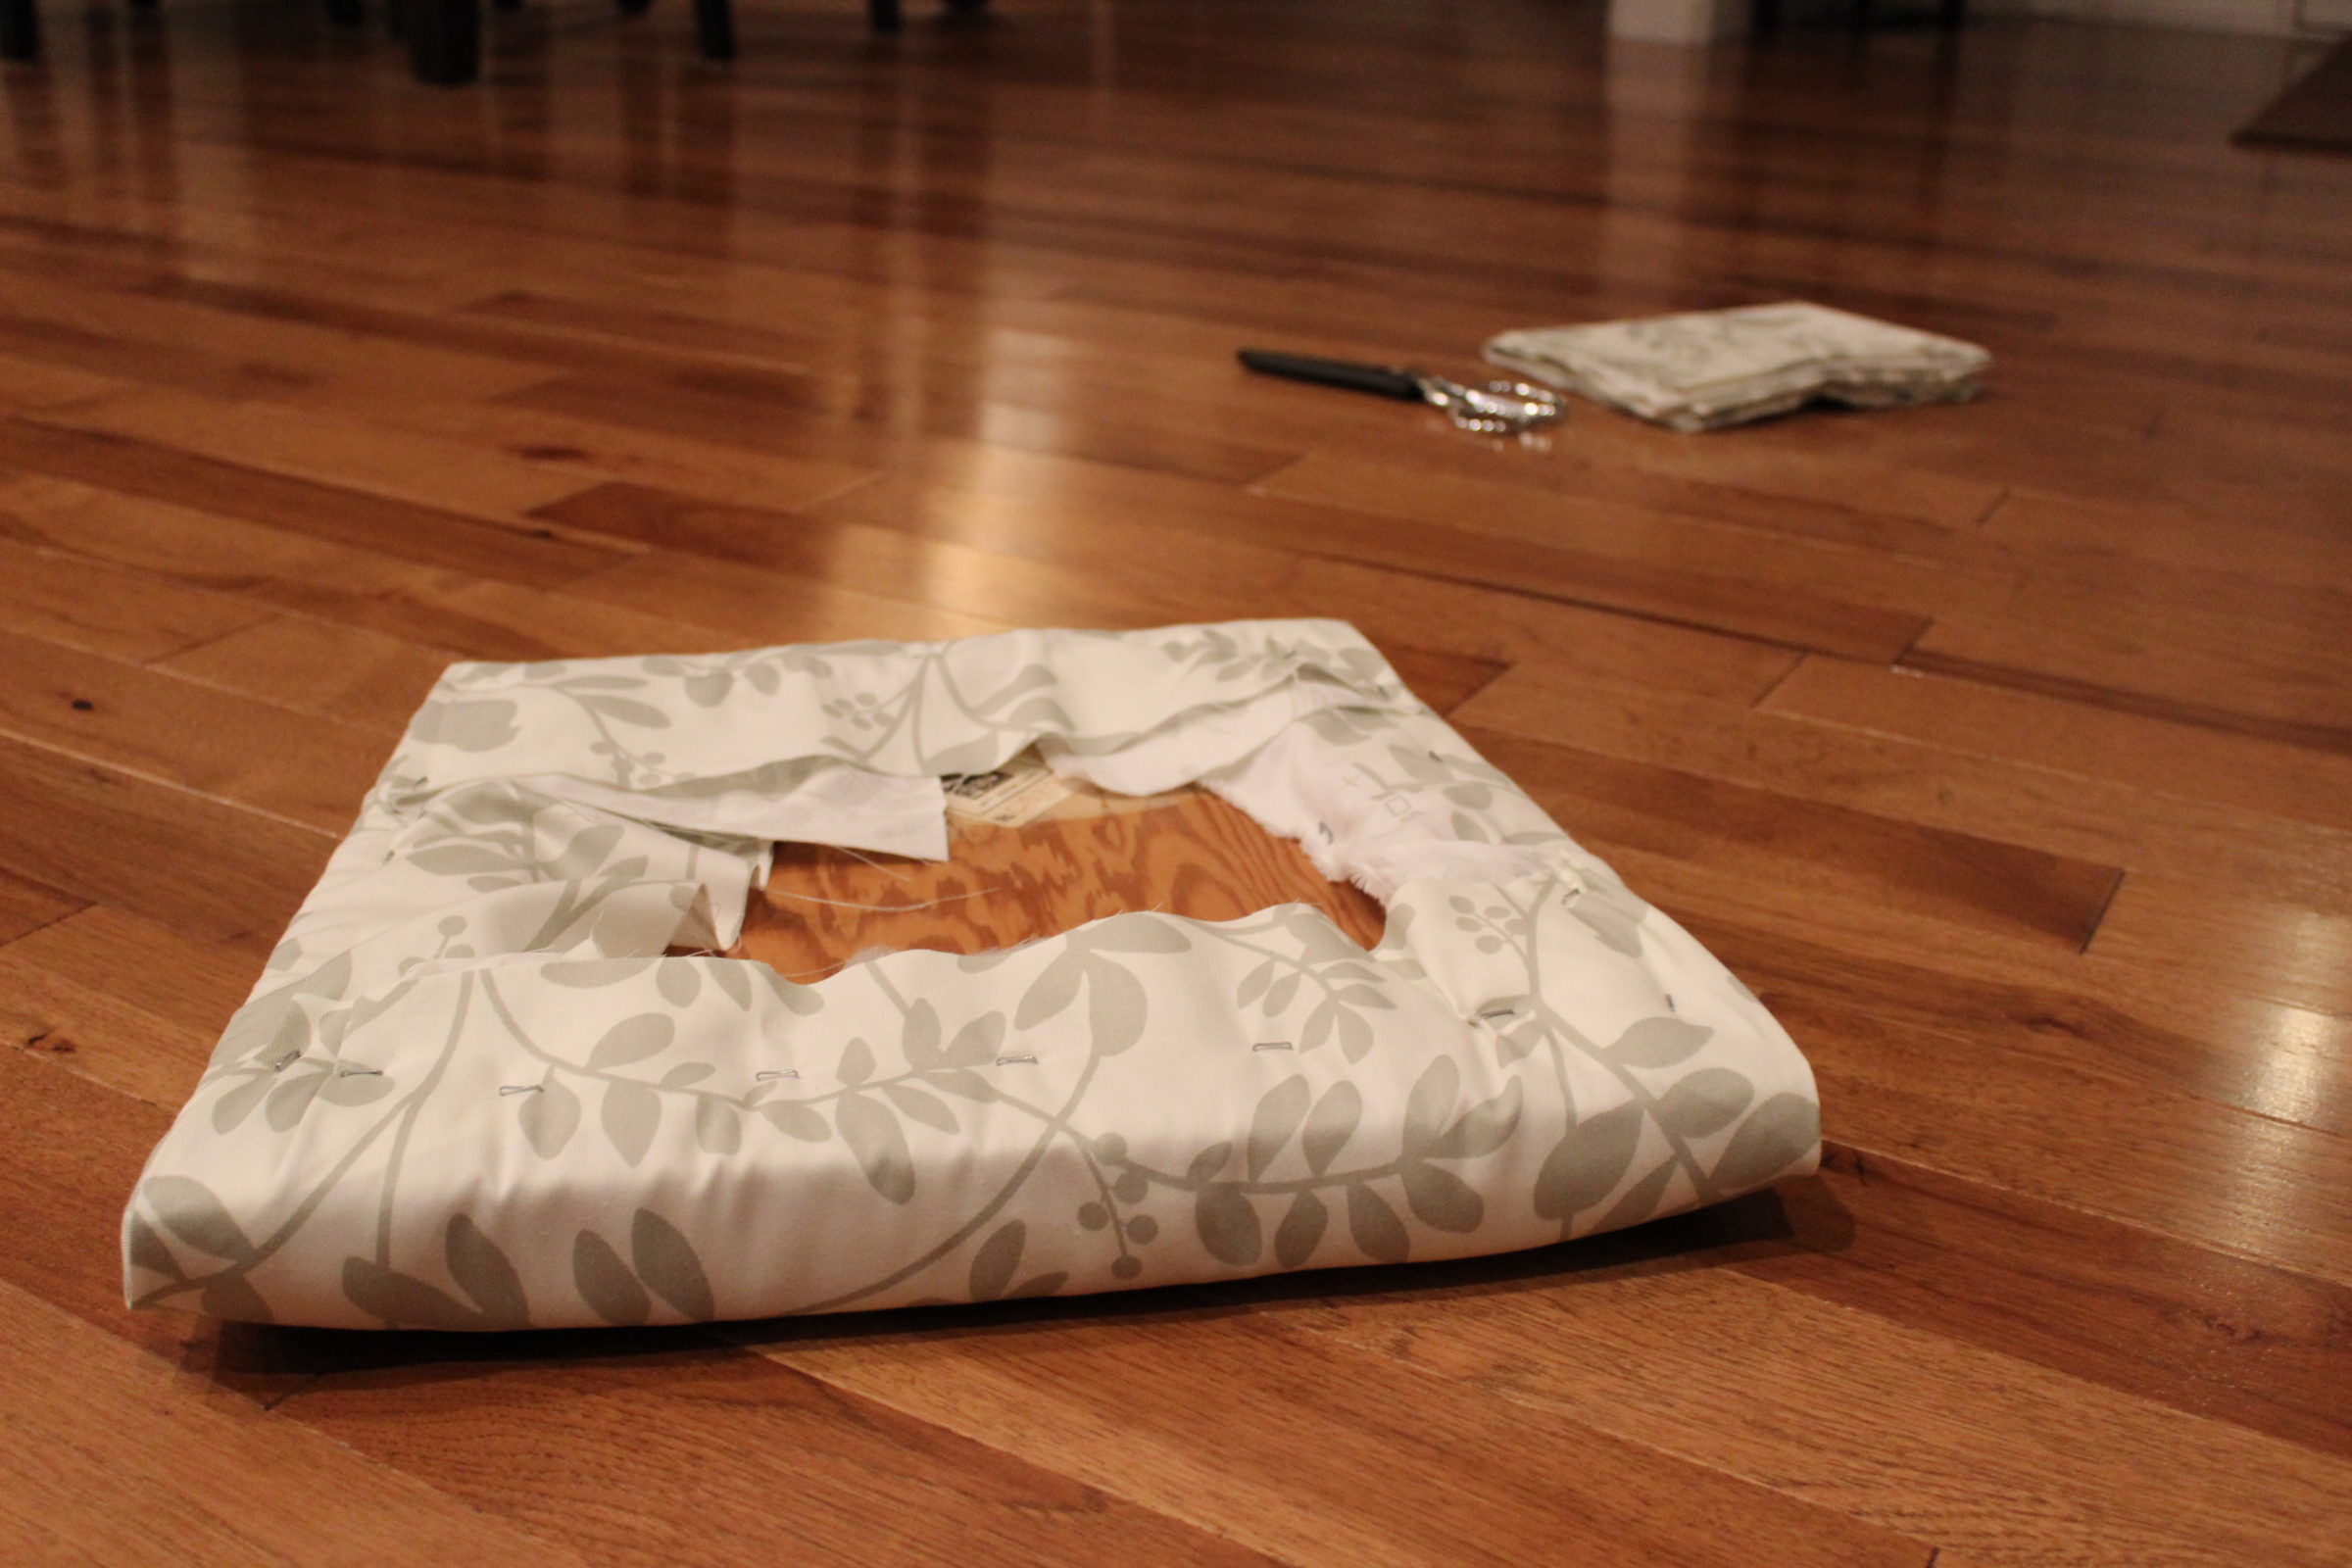
After that was finished, I started with my fabric and used the same technique as the batting. I started wrapping the seat with fabric, pulling tight and stapling it to the back of the seat. It was much easier than I thought.
Before I knew it the entire seat was covered.
And I was admiring the corners.
 To attach it to the frame we used a few screws and placed them in the existing screw holes.
Just like that we had a finished chair!
These DIY projects are certainly becoming a favorite in our home! But why wouldn’t they when they turn out like this?
Big Smiles!


Nice work and beautiful entry way!
Thank you!
Big Smiles,
Shayna