

The Office Desk: The Finishing Details
All week I’ve been sharing our tutorial on how we’ve built our new office desk, and today I’m sharing the last part, which is all about the finishing details.
I couldn’t be happier with how the office desk has turned out. It solves so many of our past office issues just by providing a bigger work space and more storage options… both of which we desperately needed. Here’s the final installment on how we built the desk…
When we left off earlier this week, I shared how we installed the countertop portion of the desk…
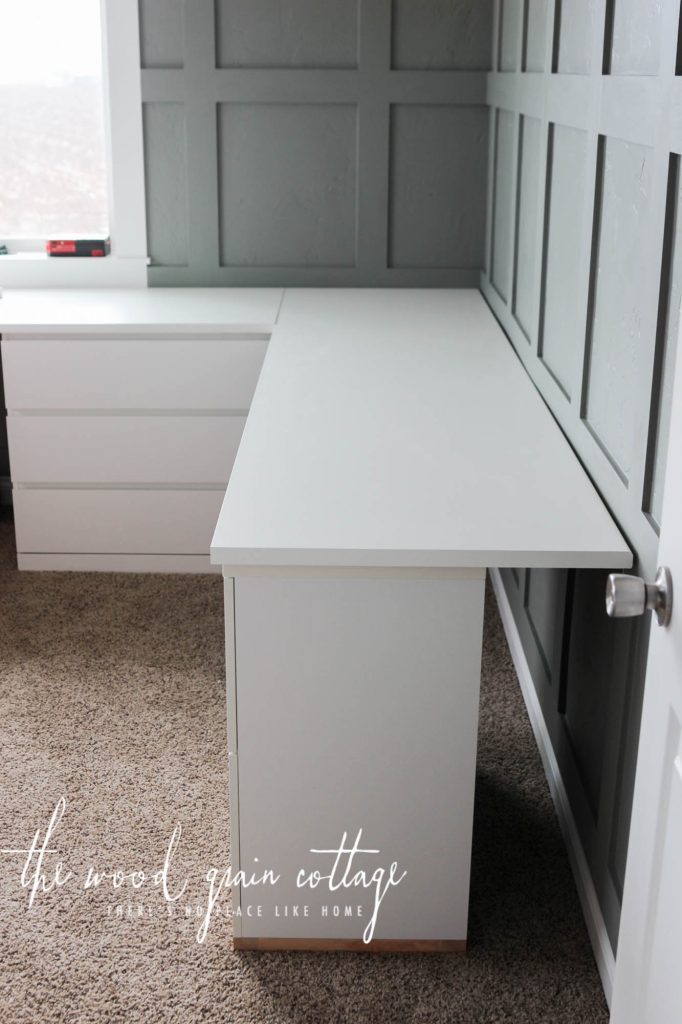
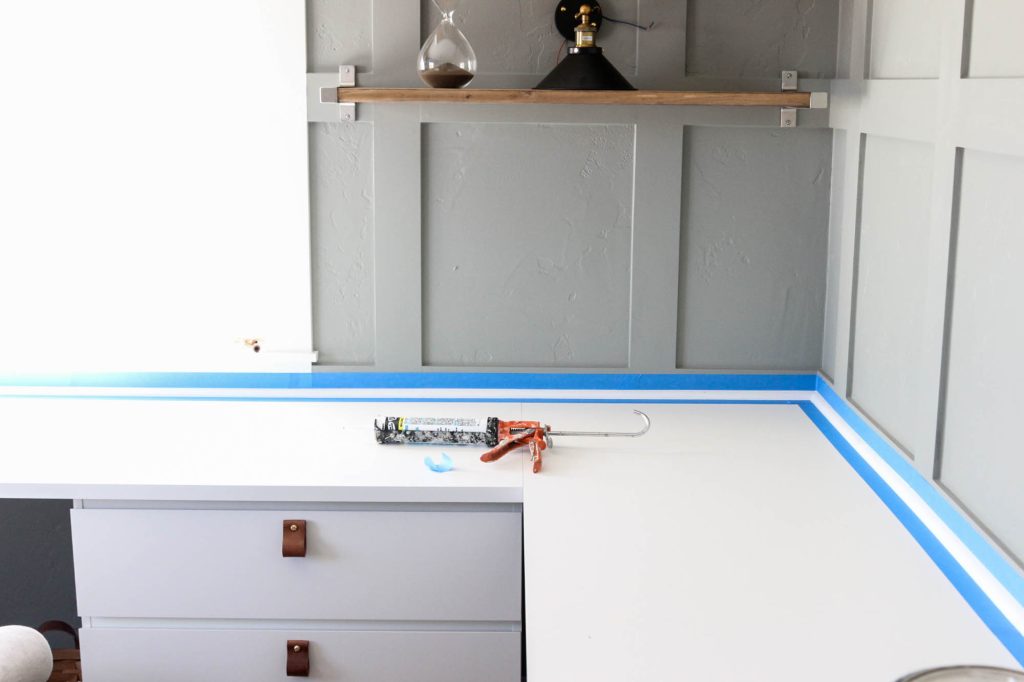
After the countertop was installed, we had a few projects left to make the desk look “finished”. You can see from the picture above that our filing cabinet wasn’t as deep as the countertop, leaving a large gap between the wall and the back of the filing cabinet. You can also see that there was a large gap where the countertop met the wall. Because our wall wasn’t straight, we’d also need to find a solution to fix the large, unsightly gap. Here’s how we finished it off…
Please note: Some of the links in this post are affiliate links, which allows us to make a small commission from your purchase, but your purchase price stays the same. Thank you for helping support our blog! We greatly appreciate it!
SUPPLIES:
- 1/2″ Quarter Round Material
- 3/4″ MDF, cut to size
- 18 Gauge Nail Gun
- 1 1/4″ 18 Gauge Brad Nails
- Air Compressor
- 3″ L Brackets, we bought ours at Ace, but these are similar
- 7/8″ Wood Screws
- Table Saw, this is similar to ours
- Miter Saw, this is similar to ours
- Circular Saw
- Screw Driver/ Drill
- 5/32″ Drill Bit
- Clamps
- Tape Measure
- Caulking Gun
- Caulking
- Wall Putty
- Painters Tape
- Foam Roller
- Paint Brush
- White Paint, I used Super White by Benjamin Moore in satin
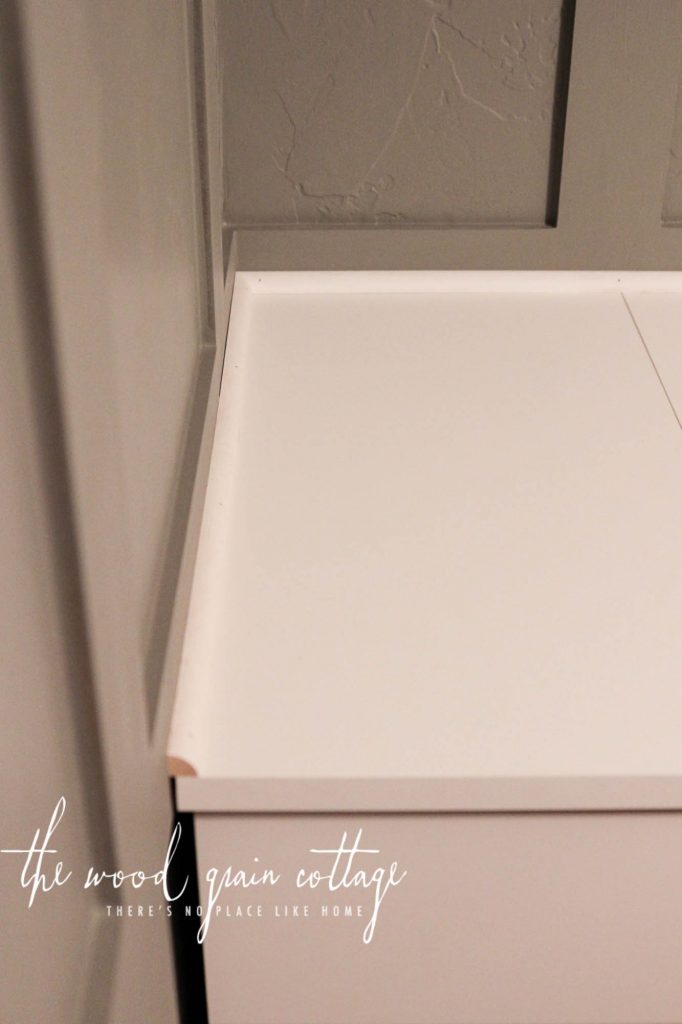
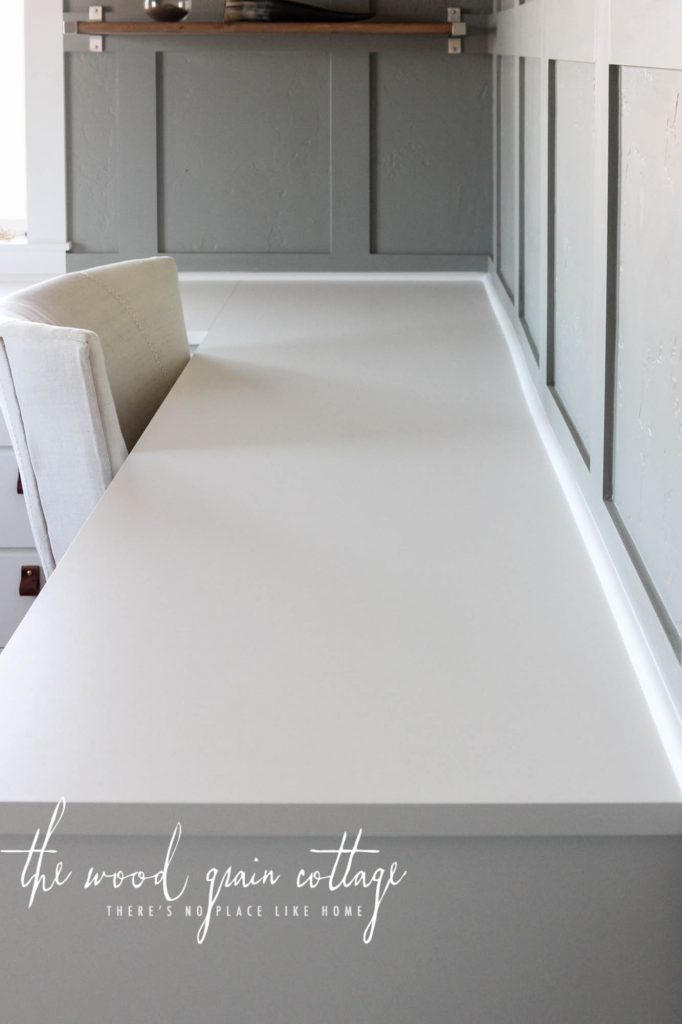
First, we started with the gap at the back of the countertop where it met with the wall. It’s normal for walls not to be completely straight, and in a normal countertop situation, the countertops would be scribed to the wall, or basically made to mimic the flow of the wall creating a nice clean edge where everything met. We didn’t want to go through that process, so we decided to cover the gap with quarter round. We looked at a few different options, but quarter round looked the best, was a cheap option and was large enough to cover the gap. Quarter round also gave us a seamless option, as we could cut the length we needed in one full section because of the length of the quarter round pieces offered in store. Once we trimmed the quarter round to size, we used our nail gun to attach the quarter round to the wall…
On the wall of the filing cabinet, we had the largest gap, as you can see here with the quarter round installed…
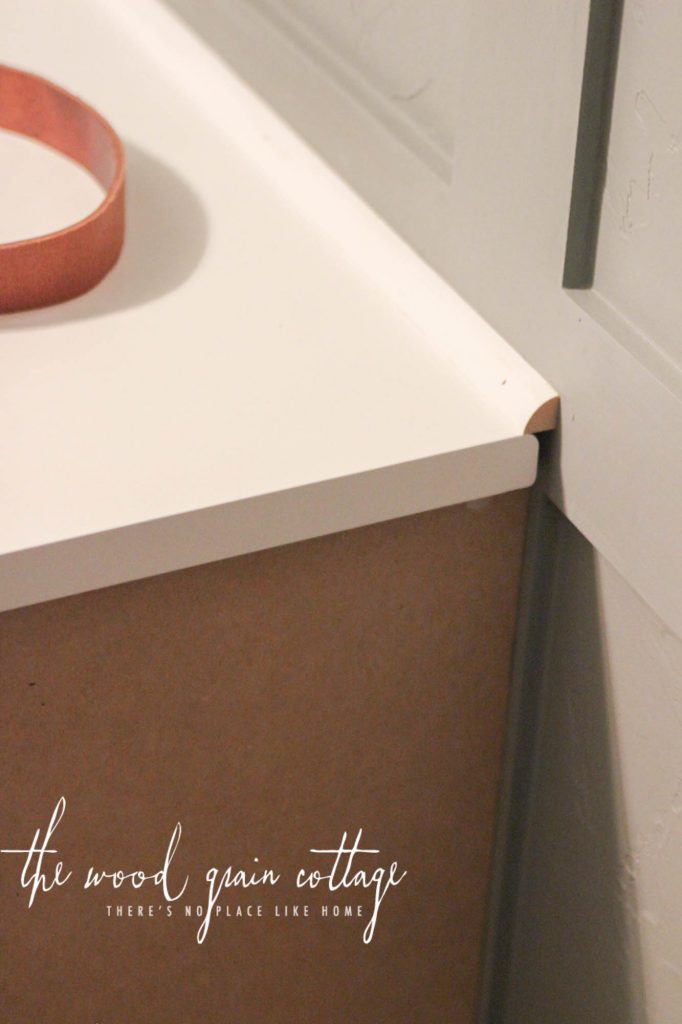
Anthony trimmed a small piece of wood and shoved it into the gap, then we used caulking to fill the hole. Problem solved, and it looked so much better. We were both pretty happy to have that part of the job done, especially Anthony, haha!

The next step, was filling the nail holes, caulking and painting. I started by caulking the gap along the wall…
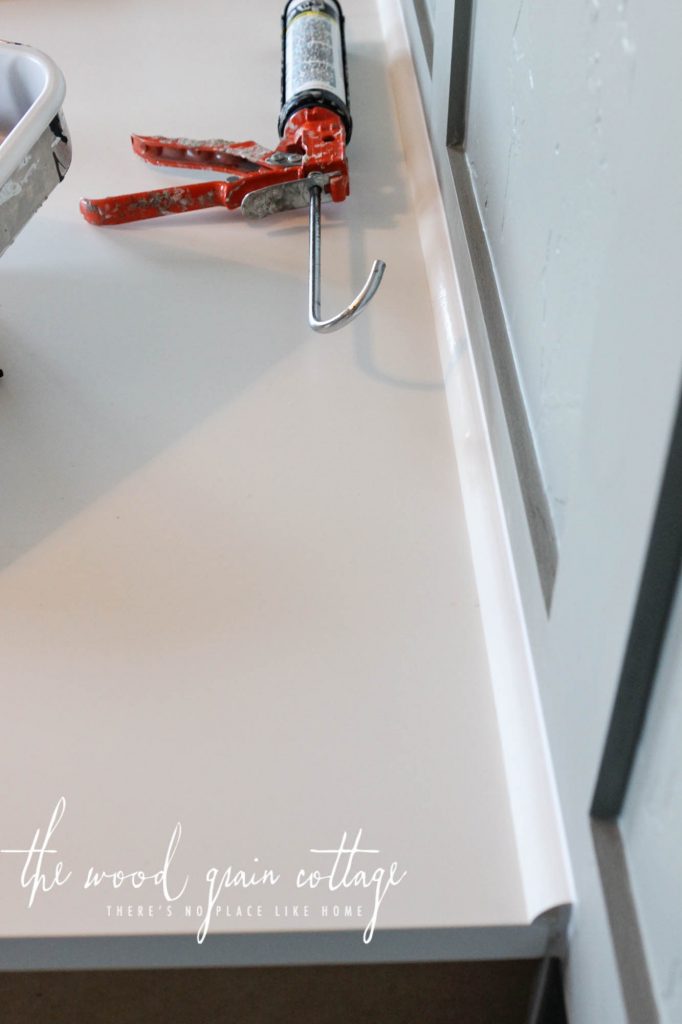
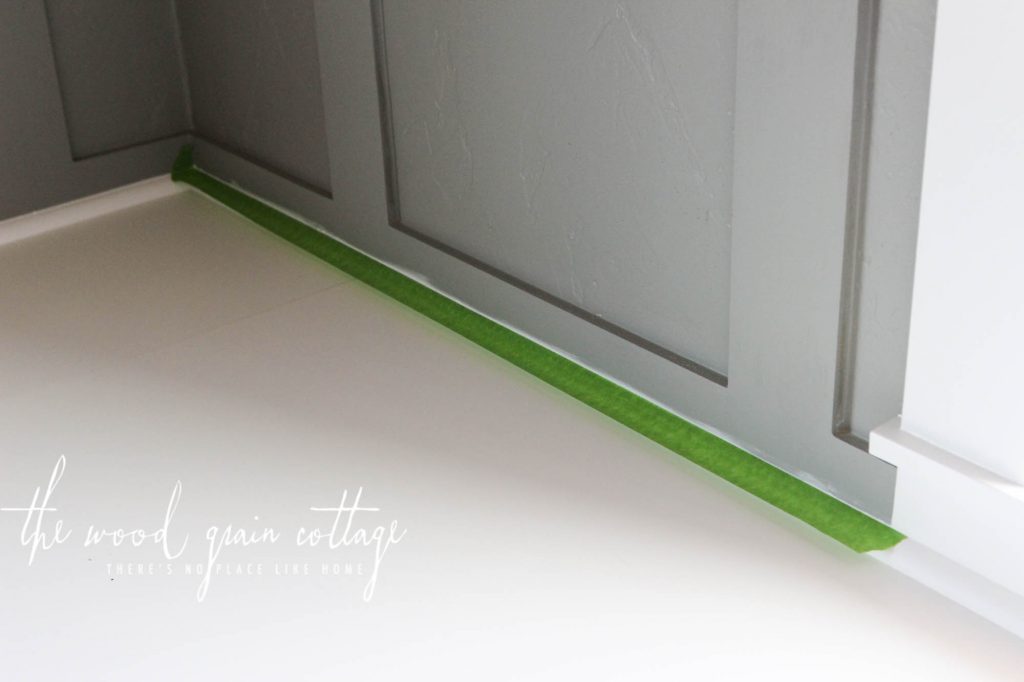
Once the caulking was dry, I taped off the counter top and wall in order to paint the quarter round…

Then, I brushed on three coats of Super White by Benjamin Moore in satin. It’s very close in color to the countertop, which creates a seamless look…

Last coat in place, I pulled off the tape…

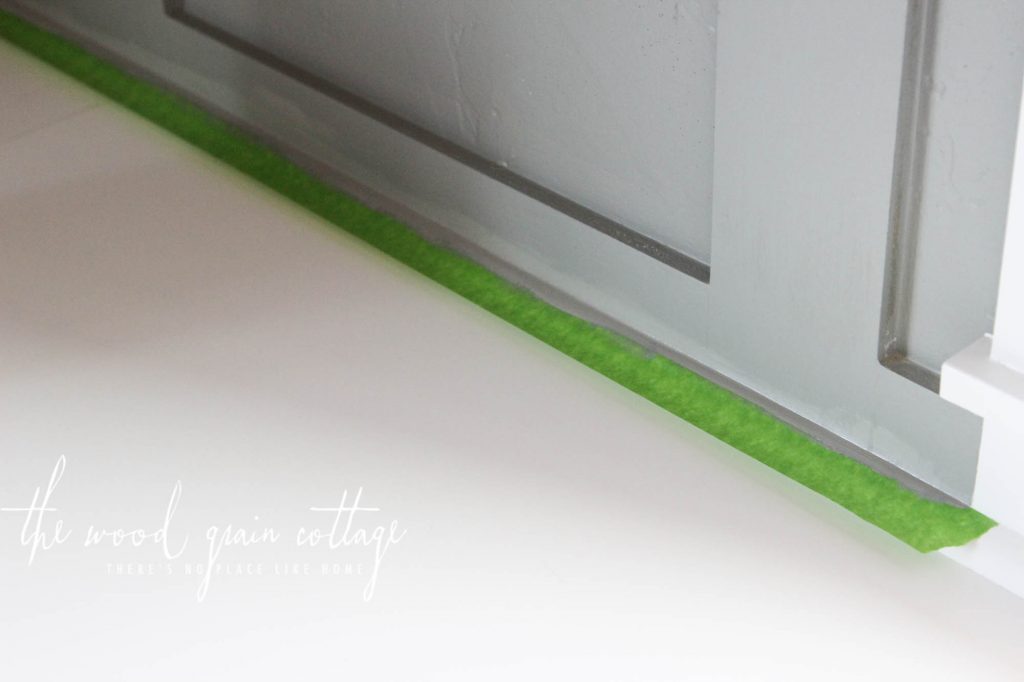
Once the white paint was dry, it was time to touch up the walls. I taped off the quarter round…
And then added the wall color paint, World’s Away by Valspar…
I quickly pulled off the tape, leaving a nice clean line…

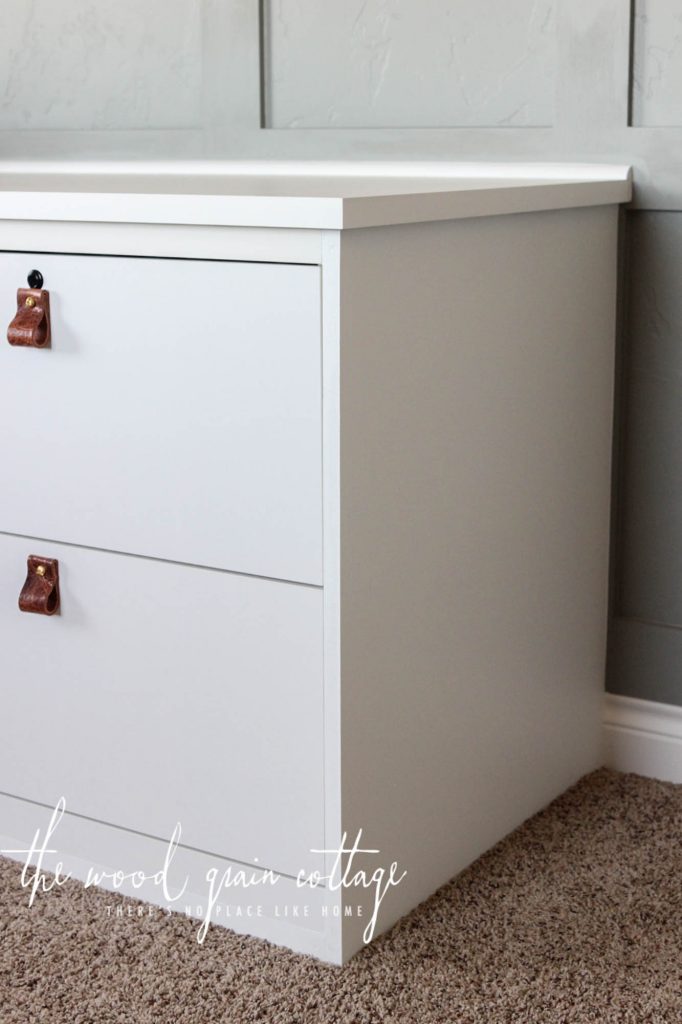
I finished my way around the desk top, and the next day we started on finishing the end of the desk. As pretty as that massive gap was, it wasn’t staying. Ha! 😉
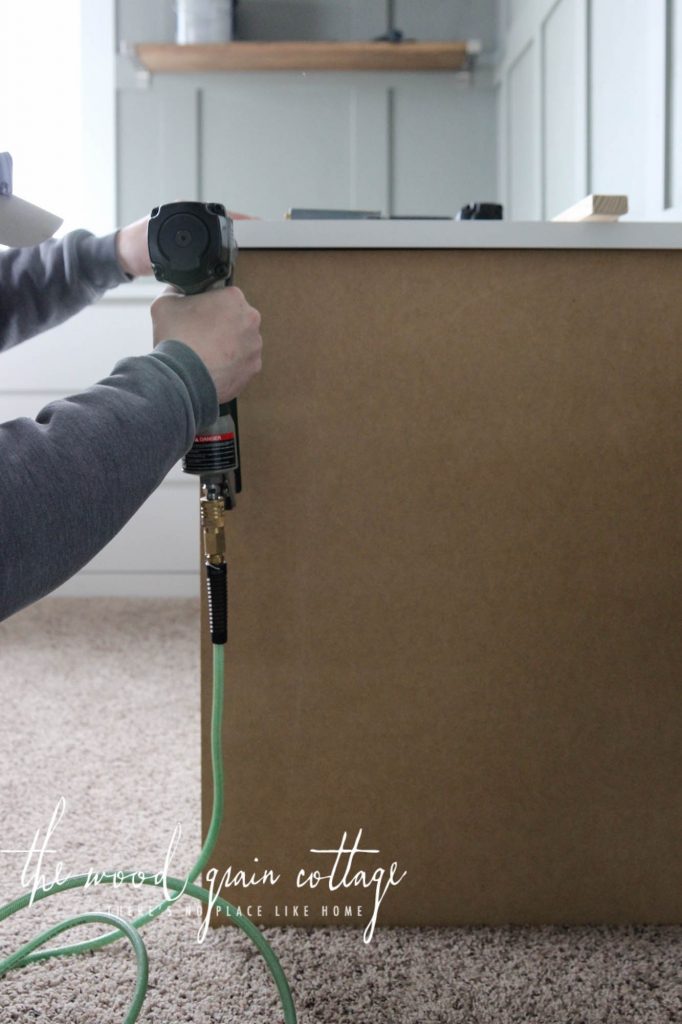
To start, we measured the space and then ripped down a piece of 3/4″ MDF…


With the MDF cut to size, we brought it inside and determined how much of an overhang we wanted on the end of the desk…
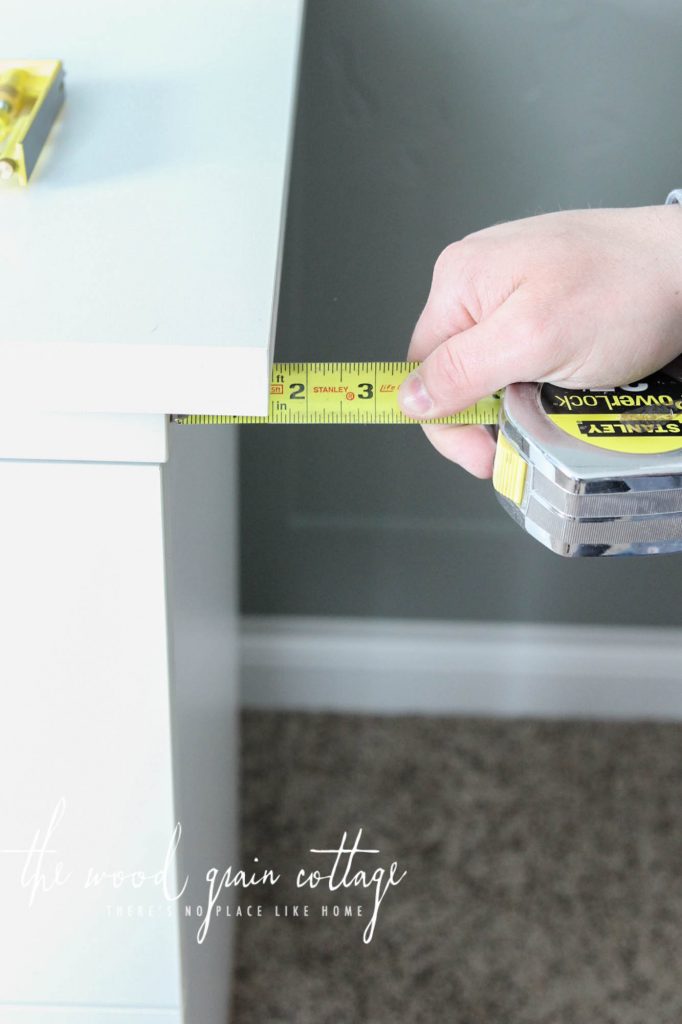
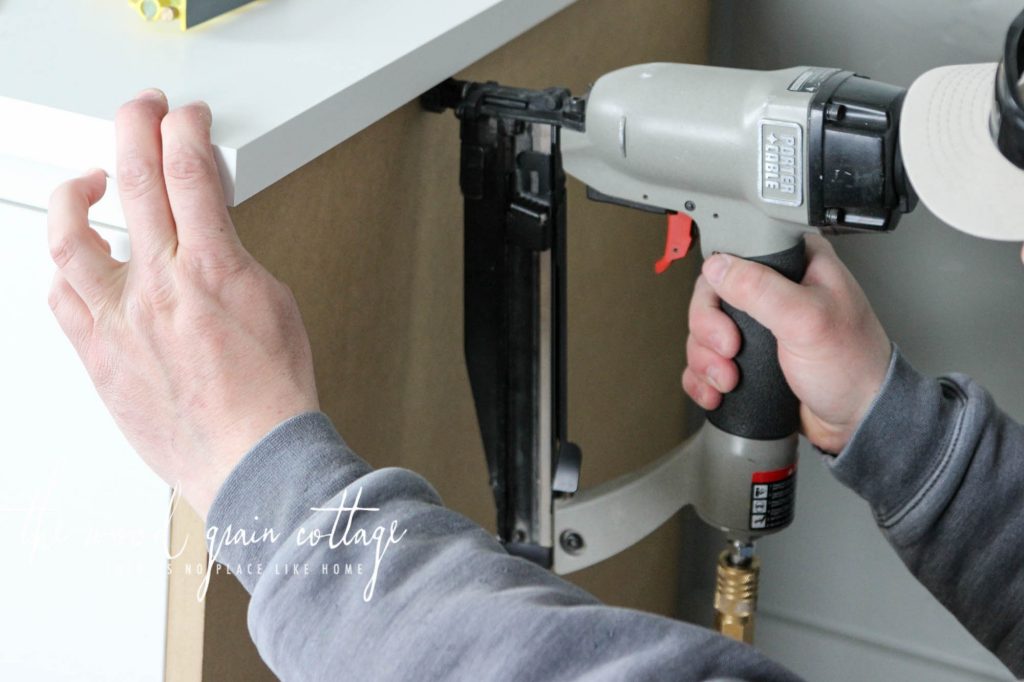
We decided to have it overhang the same distance as the front side with the cabinets (1 3/4″). To attach the MDF, we used the bottom frame of the riser we built, and the top of the filing cabinet. We used our nail gun and nailed the piece in place…
Then, because the filing cabinet didn’t run all the way to the wall, Anthony attached two of the 3″ L brackets that we used to attach the countertops to the back inside of the wall. We used screws to attach the bracket to the MDF. I didn’t take any pictures of that because it’s a tiny little space to squeeze into.
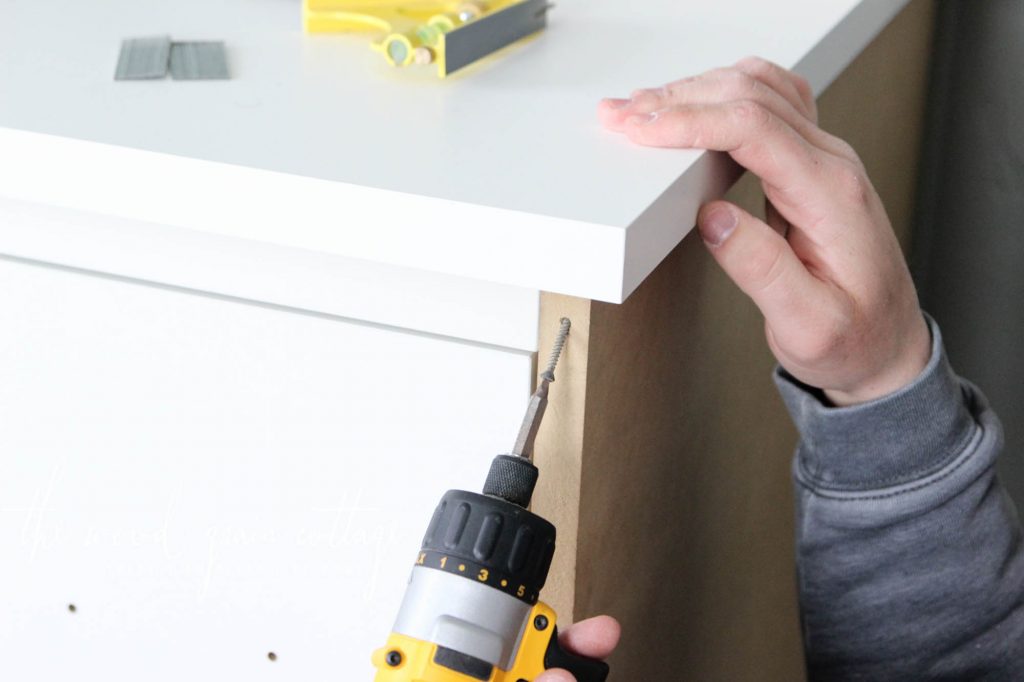
Next, we attached the corner of the countertop to the filing cabinet. We decided on anchoring it to the MDF, so we drilled a hole up into the MDF as a pilot hole for the scew…
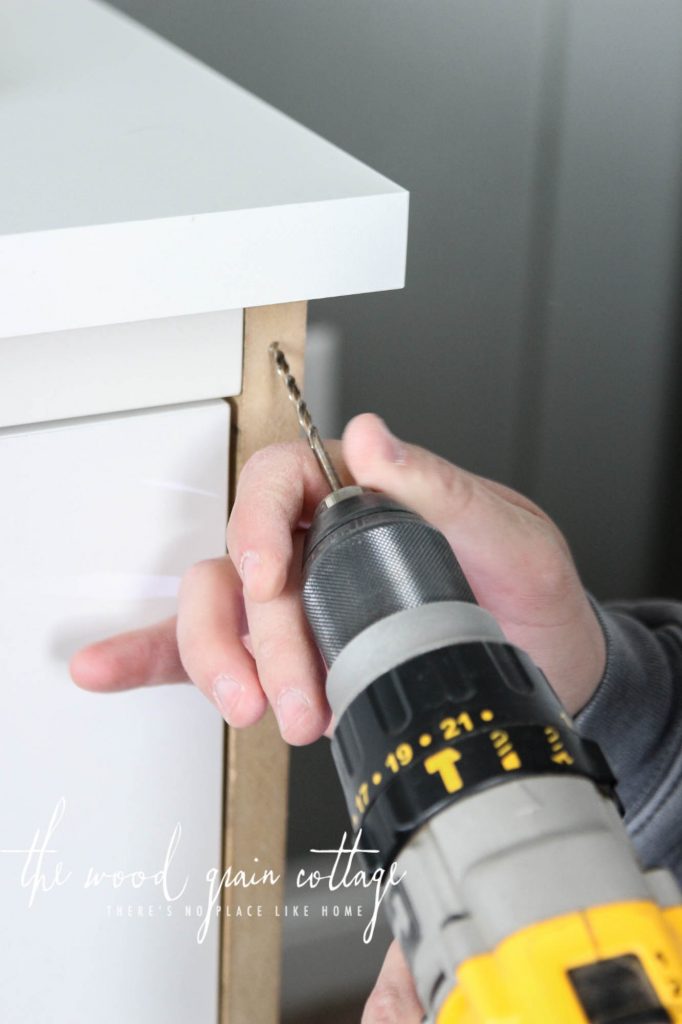
And then added a small finishing screw, making sure it didn’t go through the countertop…
I covered the hole with wall putty, and the nail holes, and then gave the MDF three coats of Super White paint, in satin.

And with that, the desk was done! I was finally able to take some tools out of the room and get some decent shots of the space! Here’s how it’s looking!

The quarter round made a big difference in finishing off the desk…
And the end cap made a huge impact too…
I can’t wait until this room is finished! We are very close!
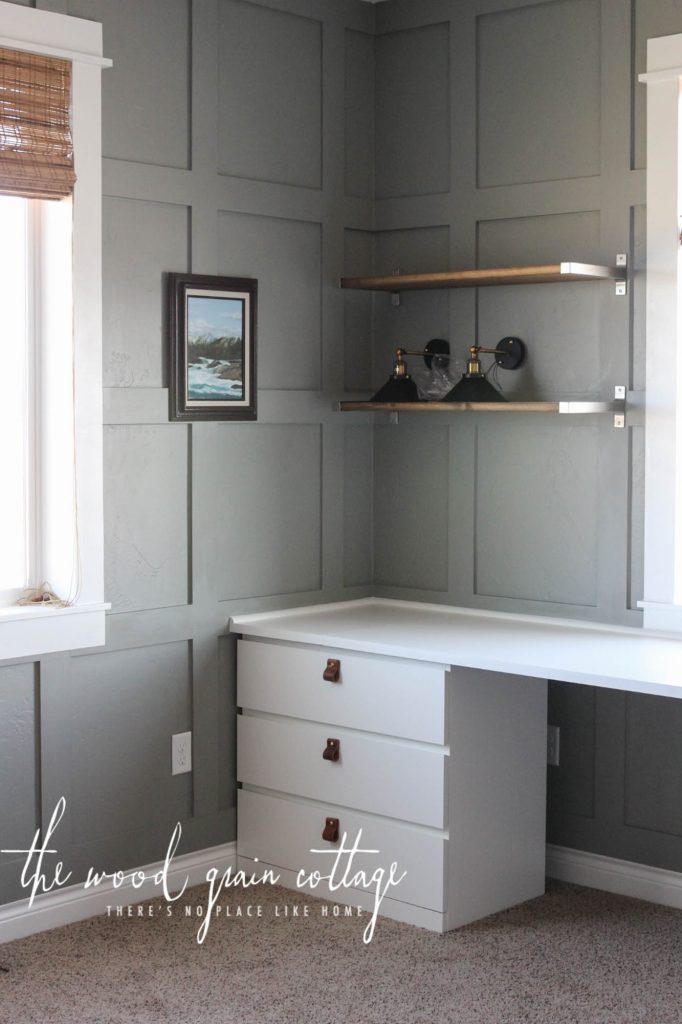
Here’s a peek of the wall lights I picked to go above the shelves, now we just need to install them!

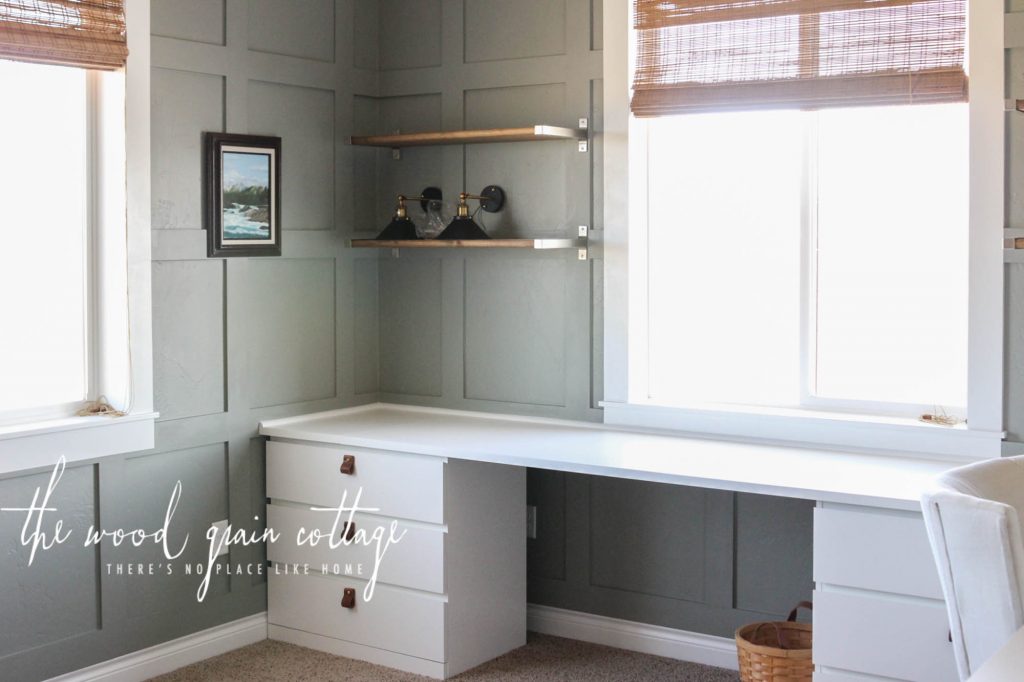
I still haven’t found a chair, but I moved one from our bedroom into the office to have something to work with. I love the shape, but it’s too bulky to move around, and too short for the desk. It’s super comfy though…

The shelves are one of my favorite things about the office. They’re the perfect touch for warming up the room. I can’t wait to get them styled, but in the mean time I’ve been getting a little collection of items together!

Next week I’ll be sharing more about the leather pulls we DIY’d, and I’m in love with those too!

More about the office soon! And just in case you want to see the other two posts on how we built the office desk, you can check them out below…
Have a happy weekend! 🙂
This might just be one of my favorite rooms yet that you’ve done! I can’t wait to see the finished product, and find out about those amazing leather pulls! Have a good weekend!
I totally agree! This room is my favorite too, and the inspiration spring board for the other rooms in our home! 🙂
It looks great!!
Just beautiful. What a great space to work in!
It looks perfect. What a beautiful job you and Anthony have done! I can’t wait to see how you will finish it.
Looks great. You really did an amazing job.
Nice make-over / remodeling!