
DIY Home Sweet Home Pillow
I don’t know about you, but I’m reallly ready for spring. I’ve been feeling a little cooped up, so I decided to make a new pillow to brighten my spirits. Contrary to what Anthony may think, I’m not sure I can ever have enough pillows.
This DIY Home Sweet Home Pillow, well it’s one of my very favorites, just like my DIY rosette pillow.

I know sewing a pillow cover can seem a bit intimidating, but if you can sew a straight line, you can make a pillow cover. Truth be told, you could probably hot glue instead of sewing, but I find that each time I sew, I get better, and that keeps me motivated. Here’s how I made the pillow:
Please note: Some of the links in this post are affiliate links, which allows us to make a small commission from your purchase, but your purchase price stays the same. Thank you for helping support our blog! We greatly appreciate it!
Supplies:
- Pillow Form
- Silhouette Cameo
- Freezer Paper
- Iron
- Ruler/ Yard Stick
- Black Craft Paint
- Round Painting Sponge
- Razor Blade
- Stencil
- Polyfil, this is similar to what I used
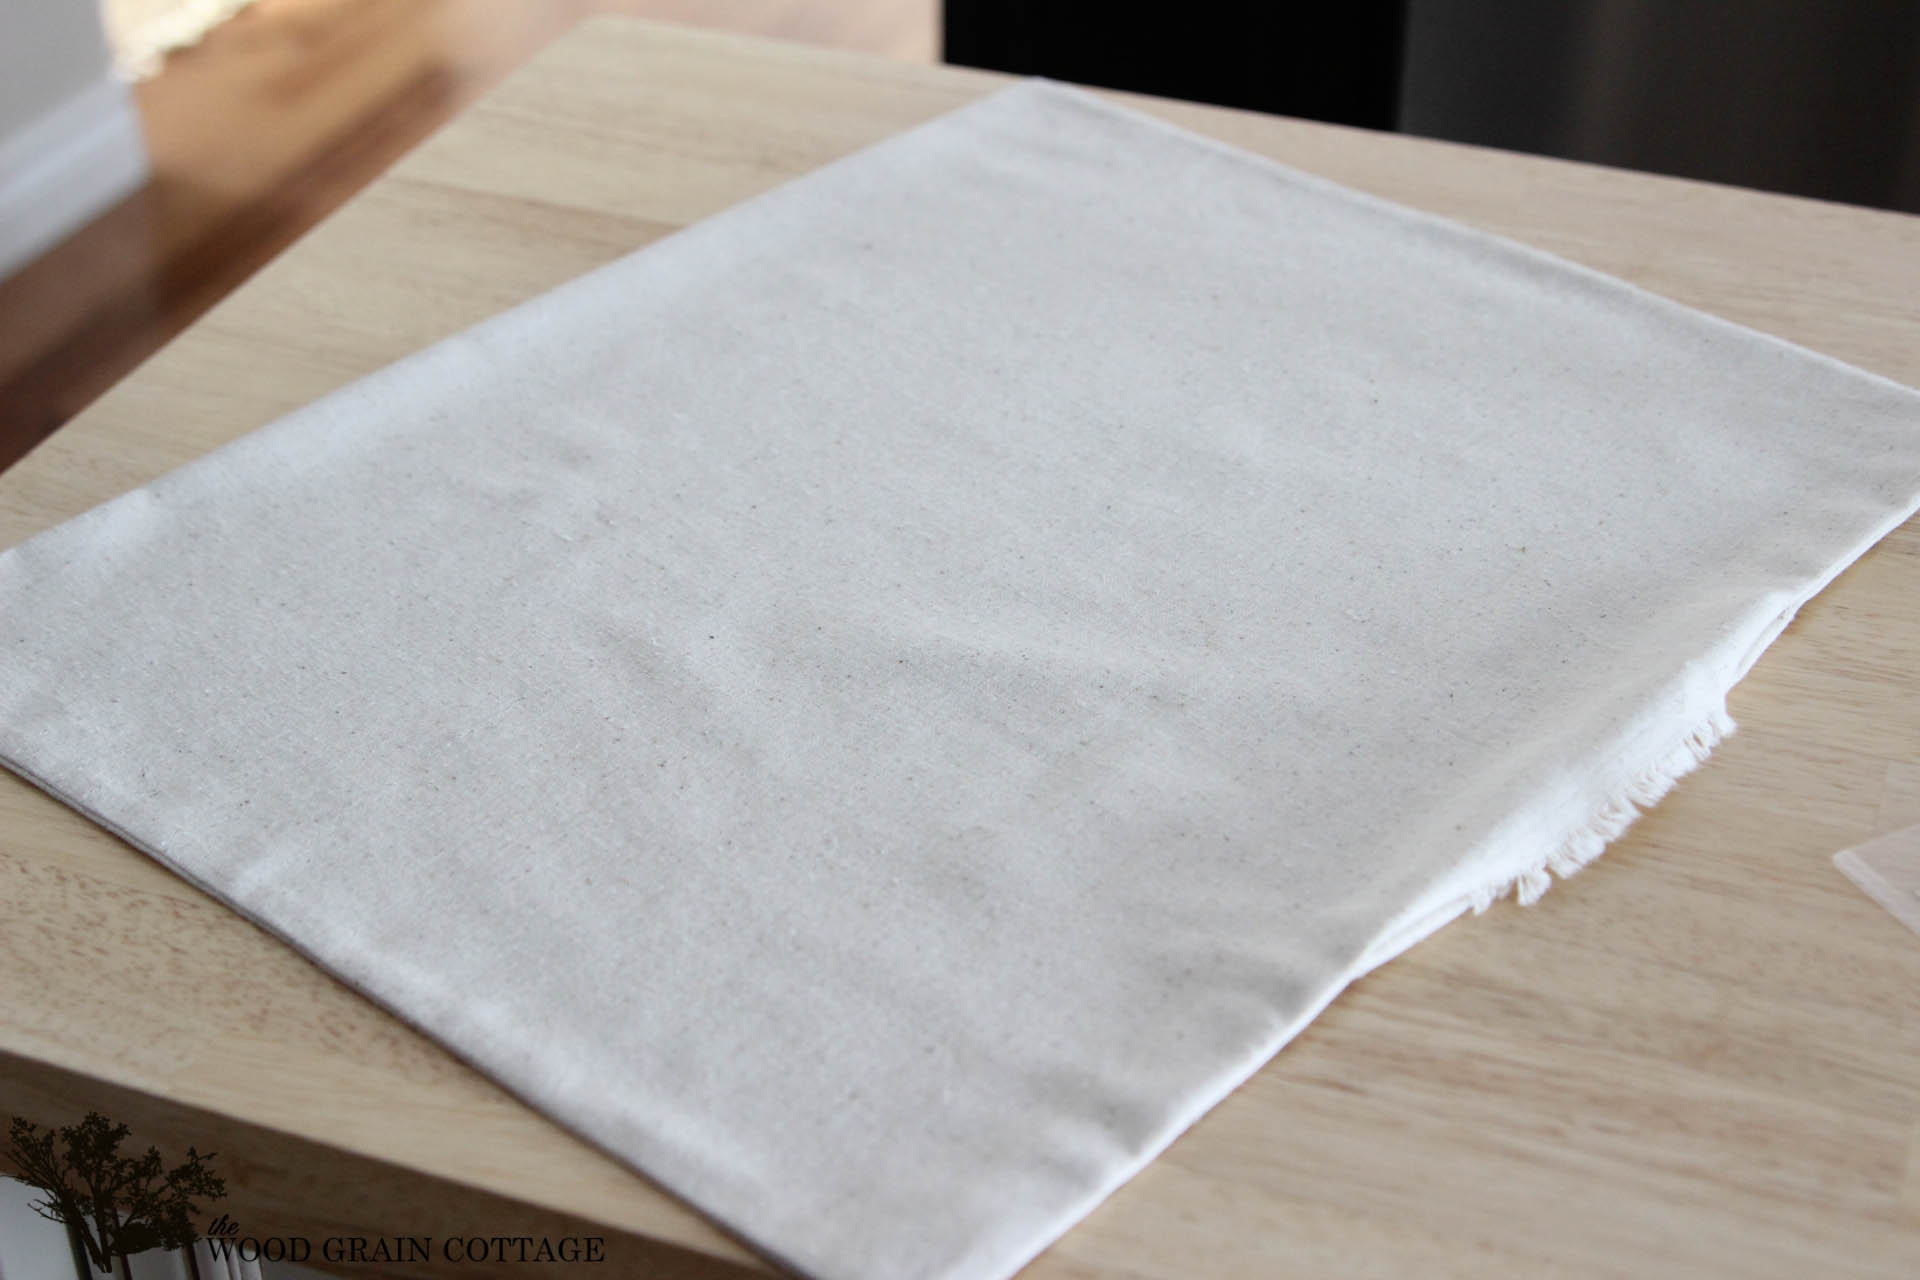
To make the pillow form, I followed my instructions for the DIY rosette pillow…
Then, I designed my wording in my Silhouette design studio and used the Silhouette to cut it out on freezer paper…

I made sure my words were centered on the pillow…

And ironed it in place…

Once all the letters and edges were stuck really well, I used some black craft paint and dabbed it over the letters…

I covered the letters for the most part, but I did leave a few areas of the fabric showing through. Once I was done with the paint, I peeled off the freezer paper…

Then used a razor blade to gently lift off the letter centers…


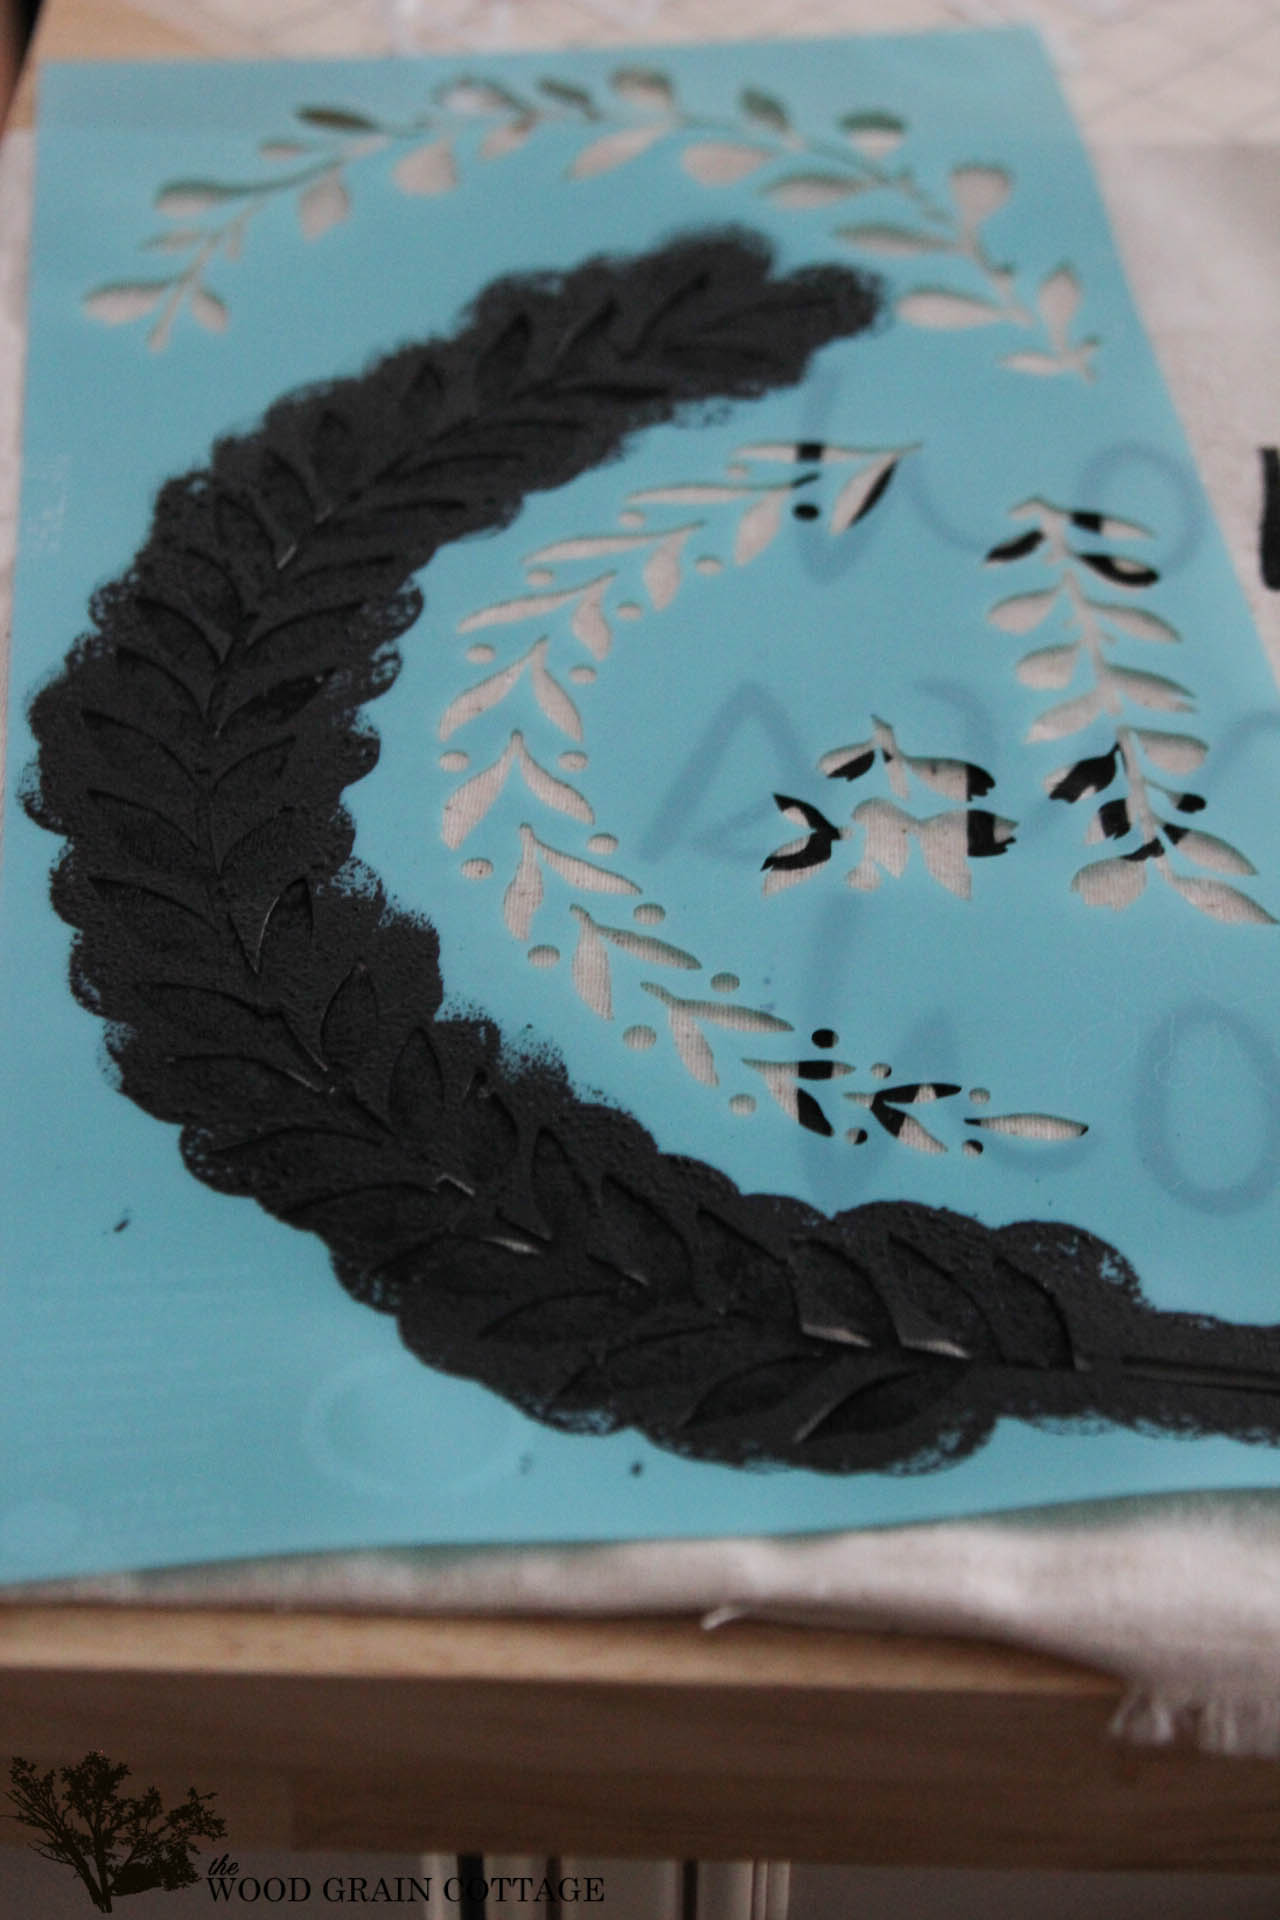
Once everything had dried, I used one of my stencils to add the olive branches…

I just placed it where I wanted, then taped it in place and used the same black paint…
Once I finished painting, I washed the stencil to remove any paint, then flipped it over and placed it on the other side of the wording…

I did the exact same thing as the opposite side, and was I was done, I let the paint dry for a few hours.
Once the paint was dry, I began stuffing the form…


Once I had it filled to the thickness I wanted, I used my sewing machine to sew the bottom closed…

If you didn’t want to sew it with a machine, you could easily hand stitch it closed, but I find the machine much quicker!
I couldn’t be happier with the finished result:

It’s such a happy pillow… and the wording is so true!

It looks great in our living room reading corner, which has quickly became one of my favorite corners in our home…

This pillow… it might just complete me!


Home Sweet Home… that just about sums up how I feel!
And here’s the sources for our cute little reading corner:
- Chair- Thrift Store
- Blanket
- Wood Side Table- DIY
- White Ceramic Vase- Local Store
- Dried Lavender- Our Shop
- Glass Vase- Walmart
- Swing Arm Lamp- DIY

I do not own a Silhouette nor have I used one and I am confused as to how freezer paper adheres to fabric with an iron. Can you explain this to me? Darling pillow!
Thank you!
THANK YOU so much, Karen! Freezer paper adheres really well to fabric! It has a waxy side that sticks to fabric when it’s heated with an iron. However, wax paper will not work. Freezer paper has a paper top and a wax backing. Somehow the wax heats up and molds to the fabric. The Silhouette just makes it much easier to cut than doing it by hand with a razor blade.
I hope that helps! 😀
-Shayna
Love it Shayna, beautiful job.
Have a great day
Rose
THANK YOU so much, Rose! 😀
Happy Friday!
-Shayna
I love how it turned out! Might have to try to make my own 🙂
Thanks for sharing the tutorial.
THANK YOU so much, Rayana! 😀
-Shayna
Beautiful!
THANK YOU so much, Elizabeth! 😀
-Shayna
Love it! And I love your living room corner! 🙂
THANK YOU so very much, Nicole! I love that little corner too! 😀
-Shayna
hi shayn! i wish i have that silhouette and sewing machine. God knows how i love pillows. i don’t know if this silhouette machine is available in our country. If it is, i bet its super expensive. Huh!! any recommendation?
Hi Arnie! The silhouette is amazing and it makes quick work of these projects! Here’s the link to Silhouette: http://www.silhouetteamerica.com/select-a-silhouette.
You could also check out amazon.com too!
I hope that helps! 😀
-Shayna
Adorable, super sweet, & where can I get one? This pillow would look awesome with my decor!!! Nicely done girl…blessings & <3
M
THANK YOU so much, M! E-mail me if you really want one, I might be able to help you out! 😀
-Shayna
Omgness…I’m on it! (((Big hugs))) thank u beautiful!
<3 M
It turned out great! Learning to make pillows (all kinds) is on my list of things to do in 2014. Thanks for the easy tutorial!
THANK YOU so much, Elisabeth! You will love making pillows. It’s very easy! 😀
-Shayna
I just got a silhouette for my birthday and I have not had a chance to use it. Can you point me to any great resources on getting the hang of using it? For instance designing your own graphics or cutting freezer paper?
Hi Hannah! You will love your Silhouette! I had a bit of trouble using mine in the beginning, but it’s really all about trial and error. I would recommend cutting on freezer paper or thick card stock before you start cutting on vinyl, which is more expensive and a little trickier to use. The silhouette design studio is very user friendly and quite similar to Microsoft Word. I have noticed that even though the silhouette can cut any font on your computer, it doesn’t love the tiny script fonts. It will still cut them, but they’re not as clean of a cut. To get a grasp of it, maybe cut a stencil, much like this one: https://www.thewoodgraincottage.com/2014/01/29/wood-slab-sign/. Also, your mat will be super sticky for a while. It makes it a bit hard to lift off paper, vinyl, freezer paper, etc. It will eventually lose a bit of its stickiness, which is a good thing!
Have a bit of patience when you first start. I was ready to throw mine in the trash, but after I kept playing with it, I found out how amazing it is! 😀
Happy cutting!
-Shayna
This was a very well done and complete tutorial ! Thanks ! I believe I will give it a try ! AWESOME JOB !
THANK YOU so much, Sarah! So happy you’re going to make your own! Enjoy! 😀
-Shayna
Hi. This is such an adorable pillow! Can I ask when you purchased the stencil (from Michaels) and some specifics about it (brand, design name etc)? Thanks!
i love this so much! If you would consider selling one, please let me know 🙂
Thank you so much! We will be selling this in our online shop soon! Stay tuned! 🙂
What font did you use for this pillow? Did you buy it on silhouette or up load your own? I love this!
Thank you so much! I don’t remember the exact font, but Lucidia handwriting is close. It was a font that I had on my old computer, but it crashed. Sorry that’s not more helpful!
Beautiful job! The steps were so easy to follow and the images beautifully done! Thank you!
Had NO IDEA that Freezer paper would do this! Thanks for sharing – I LOVE your blog and all your great ideas!!!
Why did you use paint instead of cutting the leaves with the Silhouette and ironing them on too?
Hello! I only used the Silhouette to create my stencil for the wording. Once it was all ironed on, I painted in the negative space, then pulled off the paper. Since I already had the olive branch stencil, I really didn’t need to create one with my Silhouette. If you don’t have the stencil, you could create the branches with the Silhouette though! Hope that helps! 🙂
I love this!!! Would you ever make one to sell?! I’d be very interested!!! Thank you!!