
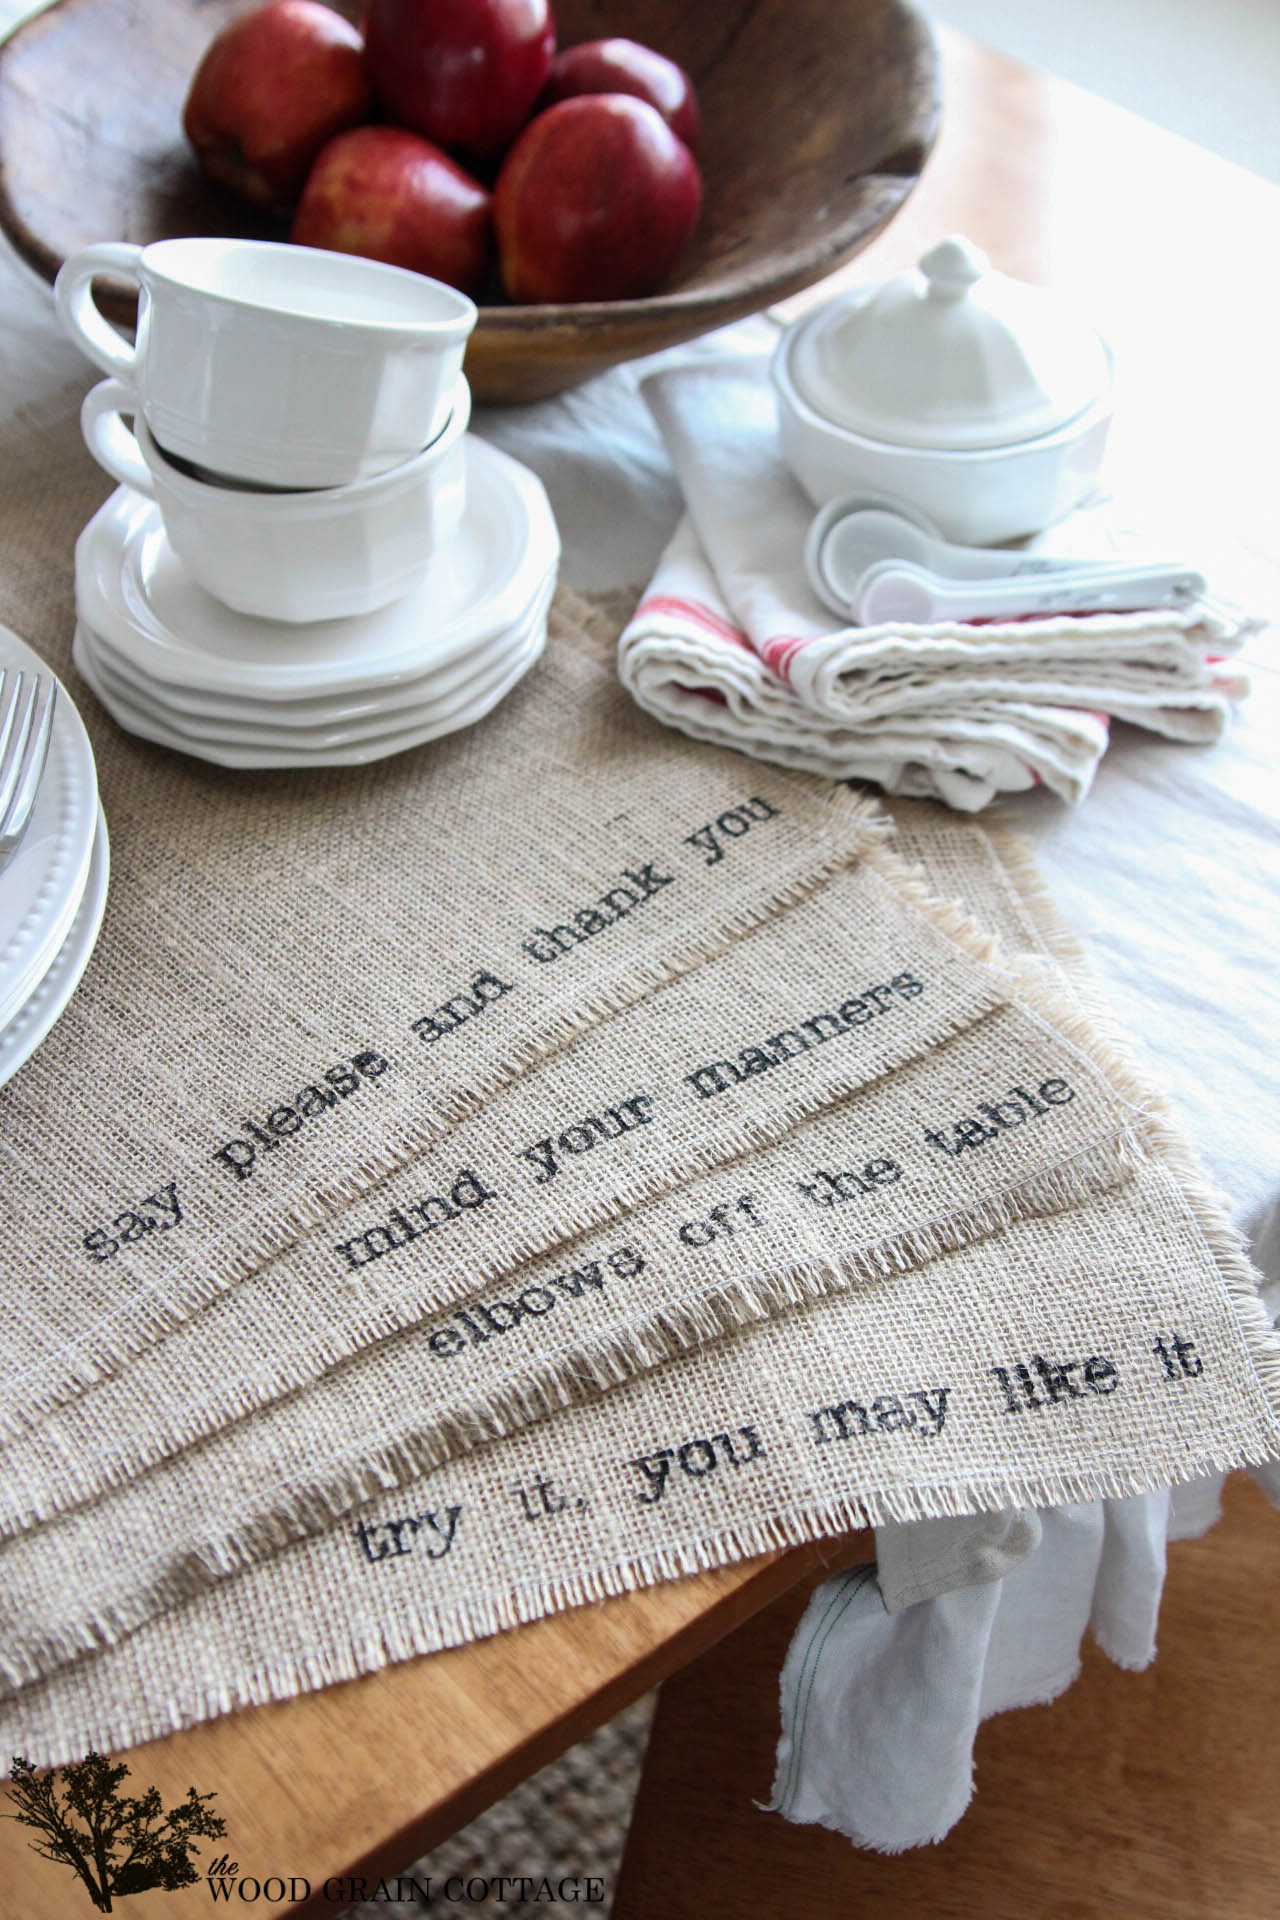
DIY Burlap Placemats
See how easy it is to make these DIY burlap placemats. They’re the perfect addition to your table and you can customize what you want each placemat to say!
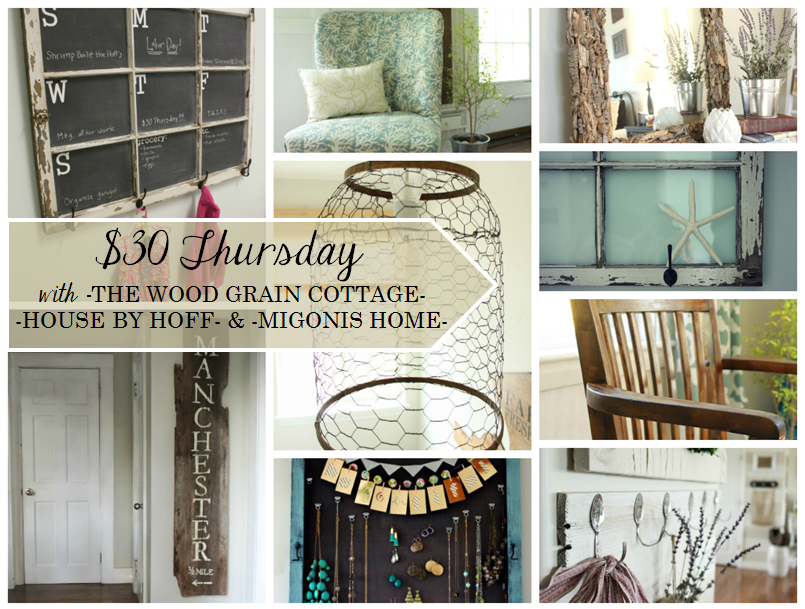
Today is $30 Thursday, so you know what that means, right?
April from House by Hoff, Jen from Migonis Home and I are teaming up to bring you simple and affordable ideas that you can recreate for $30 or less!
For February, I’ve made these DIY burlap placemats. OH boy am I thrilled with how they turned out. They’re just the perfect addition to our table…
DIY Burlap Placemats

They’re pretty easy to make too!
Please note: Some of the links in this post are affiliate links, which allows us to make a small commission from your purchase, but your purchase price stays the same. Thank you for helping support our blog! We greatly appreciate it!
Project Supplies:
- Burlap
- Iron
- Sewing Machine
- White Thread
- Fabric Scissors, these are similar to mine
- Silhouette Cameo
- Freezer Paper
- Black Craft Paint
- Fabric Medium
- Round Painting Sponge
First, I started with my burlap. I cut one rectangle at 15″ tall x 21″ long…

Then cut 3 more just like it…

Once they were all cut, I ironed them smooth…

Then stitched a white seam around the borders of each placemat…


Once I finished sewing the seam, I starting pulling the extra burlap…

I did that to all 4 sides, and once they were all frayed, I used my scissors to trim off any excess…


Then, I used my silhouette to cut the wording out of freezer paper…

With the saying lined up on the edge of the burlap, I used my iron to attach it…

Once they were really stuck, I mixed a bit of black paint with fabric medium, just in case I need to clean them. I’m sure I’ll be happy that I did that.

Once I had it mixed together, I used a round sponge and dabbed the paint on top of the words…

With all the letters covered, I peeled off the freezer paper and was left with this…

After I popped out the center pieces of the letters, and the paint dried, the placemats were ready to go!
They look great!

And that bit of unexpected wording make me so silly happy…

After all, we all need to mind our manners…


Or take our elbows off the table…

Or what about trying something we think we won’t like…


And of course, saying please and thank you…


They all have the cutest frayed edges…
And aren’t the sayings so true?

Mind your manners…

Or your placemat will remind you…

Now, here’s what April & Jen came up with…
April made this adorable heart and arrow wreath…

And Jen made this really cute felt heart table runner…

Ah…. I just love $30 Thursday!
Don’t forget to follow our $30 Thursday Pinterest board. There’s so many affordable projects to help inspire you!
These are absolutely adorable! What a cute idea!!
THANK YOU so very much, Nicole! 😀
-Shayna
Another amazing project Shayna!!! Your mind comes up with such creative ideas…..the wording that you chose for each placemat puts them over the top. And the staging of your completed projects is always as inspiring as what you made. (Love the white and red towels/napkins, too!!!!)
Oh, Jamie! THANK YOU so very much! I’m so glad you loved the project and pictures! 😀
-Shayna
I love these! They are so unique and original!! Have a wonderful day!
THANK YOU so very much, Lori! I love them too! I hope you have a wonderful day! 😀
-SHayna
always blown away by you, just WOW!
Oh! THANK YOU so very much for such a lovely comment! 😀
-Shayna
Shayna, I absolutely love these place mats! And it’s actually something I can do 😀 which is a total bonus. I can actually follow your tutorials on everything you post, but I got really nervous when I saw them and thought I’d have to do a ton of sewing ~ :'( I can’t sew to save my life, but a straight line is possible! I can’t wait to try these!! Keep them coming my friend with a great imagination and hands of gold!!
THANK YOU so much, Amy! I’m so happy you’re going to make your own! The sewing part is very easy, promise! 😀
Enjoy!
-Shayna
Your placemats are so creative and pretty!
THANK YOU so very much, Jan! 😀
-Shayna
Love these! I think I could do them too! Any other ideas on how to put words on them if you dont have a maching to do them?
THANK YOU so much, Pam! If you don’t have a machine, you could probably use a stencil. Just be sure to tape it down really well as you paint on each letter. 😀
I hope that helps!
-Shayna
Great project Shayna! Looks like something that would be sold at World Market.
Oh, Allison! THANK YOU so very much! 😀
-Shayna
I love these place mats! Such a fantastic idea, and I really like how you photographed them. If I saw these in a store, I would definitely buy them.
THANK YOU so very much, Amy! I’m so glad you enjoyed the pictures too! 😀
-Shayna
I love these placemats, Shayna! And I love the idea of $30 Thursday.
THANK YOU so very much, Sharon! $30 Thursday is definitely fun! 😀
-Shayna
Love the placemats! Can’t wait to make them. I stumbled upon your blog a few months back and have been following it ever since. Great projects and a great name too!
THANK YOU so much, Shayna! You have a great name! I don’t often run into many other Shayna’s. 😀
So glad you found me! Welcome to The WGC!
-Shayna
Lovely design and great idea!
You mention that you use freezer paper and a silhouette for the stencil… I live in Norway and are not familiar with these products (or perhaps only the terms of them). Can you please explain what this is?
Susanne
THANK YOU so very much, Susanne! Freezer paper is found at the grocery store. It’s used to lay between meat, etc. when you place it in the freezer. It’s also wonderful for crafts. Here’s a link to it: http://www.amazon.com/Reynolds-391-Freezer-Paper/dp/B000BZYCNK. The Silhouette is an electronic cutting tool. It is so handy! Here’s the link to it: http://www.silhouetteamerica.com/shop/machines/item-number/silhouette%20cameo
If you don’t have either of those items, your could use stencils.
I hope that helps! 😀
-Shayna
OMGness…MUST.MAKE.THESE!!! They are so sweet, Shayna! I love ’em girl…what an awesome idea, but wait, YOU’RE full of them…teehee;) Soooo creative…blessings & <3
M
THANK YOU so very much, M! I’m so happy you’re going to make your own! How exciting!
Have a wonderful day! 😀
-Shayna
These are gorgeous! Love them! 🙂
THANK YOU so very much, Vanessa! 😀
-Shayna
thank u shayna for sharing this post. it was an inspiring project indeed!!! hope to make my own so soon!
Absolutely love these. Fab idea.
Thanks for sharing. X
THANK YOU so very much, Erika! 😀
-Shayna
Love your blog…you are very creative. Question on the burlap placemats. What kind of machine makes the stencil on the freezer paper. I do a lot with burlap and am curious. THANK YOU,
THANK YOU so very much, Cathy! 😀
For cutting, I use the Silhouette Cameo. I absolutely LOVE it!
http://www.amazon.com/Silhouette-Cameo-Electronic-Cutting-Tool/dp/B005Y1CPSU/ref=sr_1_7?ie=UTF8&qid=1395067883&sr=8-7&keywords=silhouette+cameo
I hope that helps!
-Shayna
GEEZ! I just found you but I won’t lose you! I love this idea. I am going to go do it now. A note of interest….
I don’t have a silhouette or any other die cut machine. In this type of situation, I have invested in small alphabet stencils or I cut my own from mylar using printed words for the computer. Takes a little longer to do but it is how I have to roll!
I absolutely love the placemats. My question is….can they be washed? I have three girls who never seem able to keep their food on their plates!
Thanks!
Hi, Shayna!
Can you tell me the height of the letters you cut?
Hi there! 😀 The letters are 1/2″ tall.
If we plan on using these just for one occasion, would we really need to sew the borders? I want to make these for my son’s 1st birthday mustache bash and sponge a black mustache on them instead of the lettering. But I wouldn’t expect to keep them after the party.
That’s such a great idea! No, if you were only using them once, you wouldn’t need to sew the edges. They’d be just fine with out it. I hope that helps! 😀
These are adorable! I have one question though: did yours {or does all burlap} shed? I love the look of burlap and have used it before but the shedding drove me batty. I constantly had to clean up all the fibers. Still – this project…worth it!!
Thank you so much, Malissa! Yes, burlap does shed! You can wash it, and that does minimize the shedding, but it will still leave “hairs”. If you do wash it, make sure your lint trap is cleaned out before you dry the fabric. It fills them up fast! I hope that helps! 🙂
Thanks for the post but I dont know why you mix the paint?
Where’d you purchase the stencil phrases from?
I used my Silhouette cameo machine to design the different sayings. 🙂