
Fold Up Potting Bench
Remember that big shed transformation that we finished in August? Well, I’m back to share one more thing that we added to it…
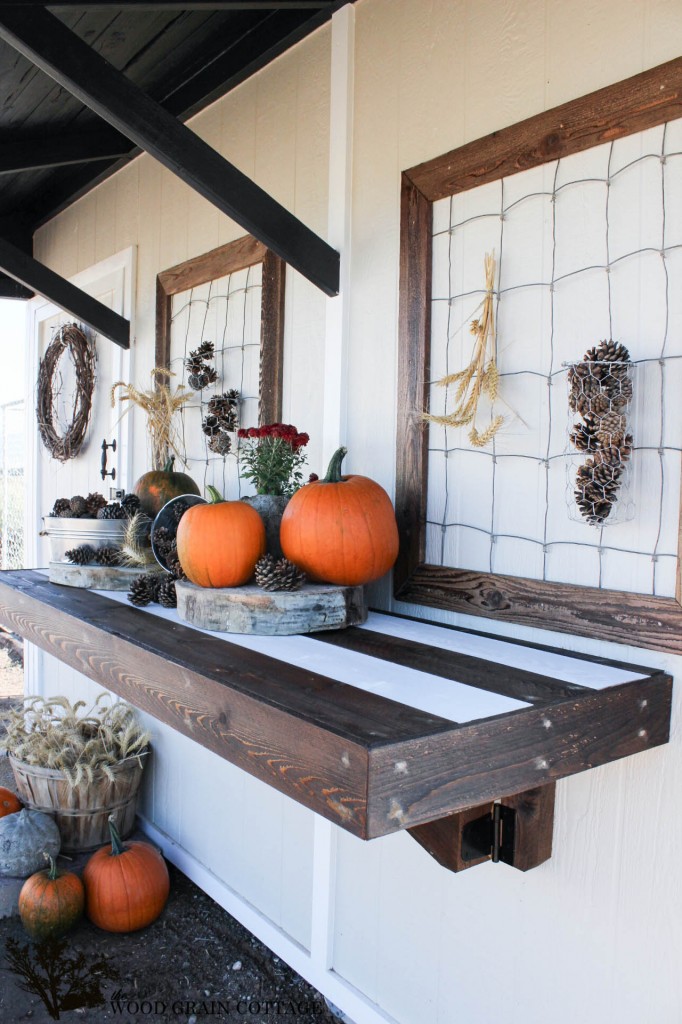
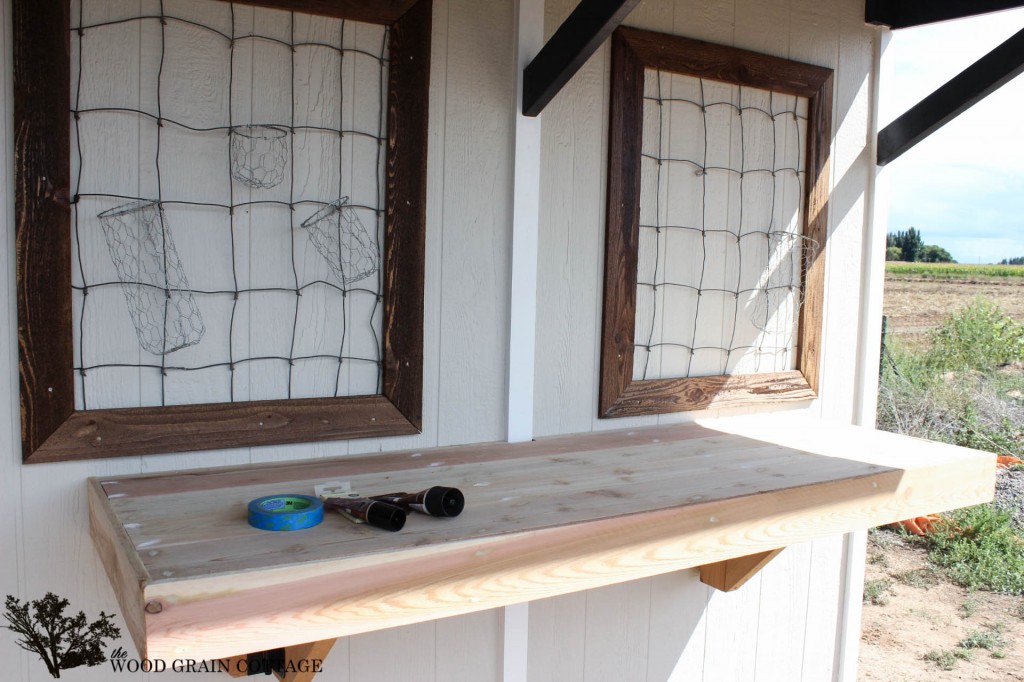
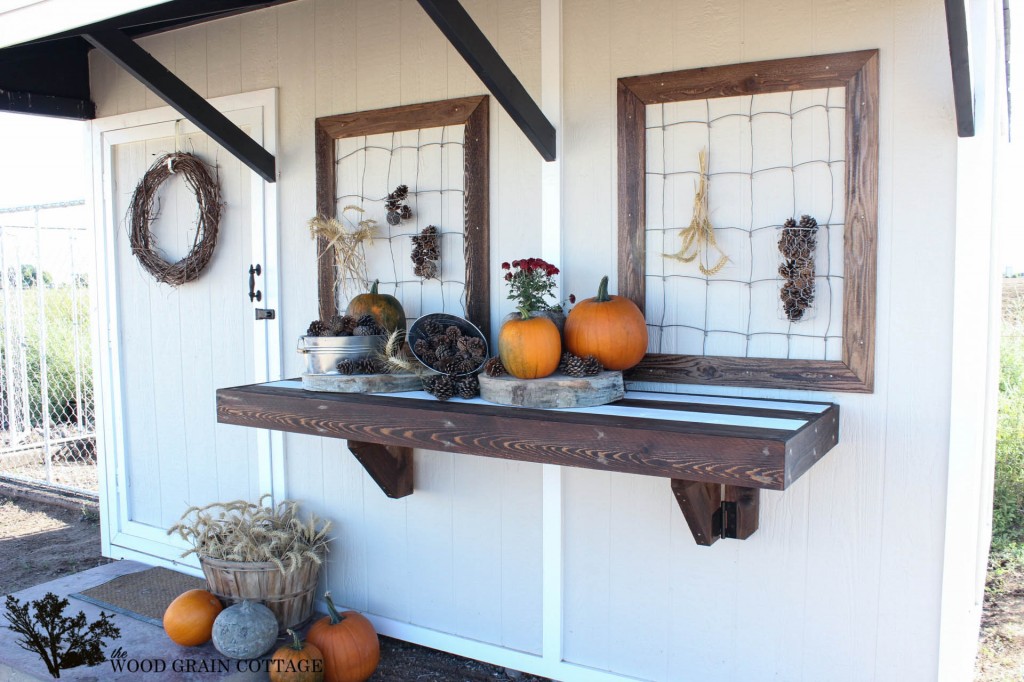
A fold up (or down) potting bench!
I’ve wanted a potting bench for sooo long. In the past, I’ve lugged all my pots, potting soil and plants to the front of the house and potted them on our front porch. Then once I was finished, I’d drag all the supplies back to the shed. Efficient, right? Definitely NOT!
That’s happily in my past, because now I have this:
I’m pretty sure love isn’t a strong enough word for how I feel about it. And it’s nothing if not efficient.
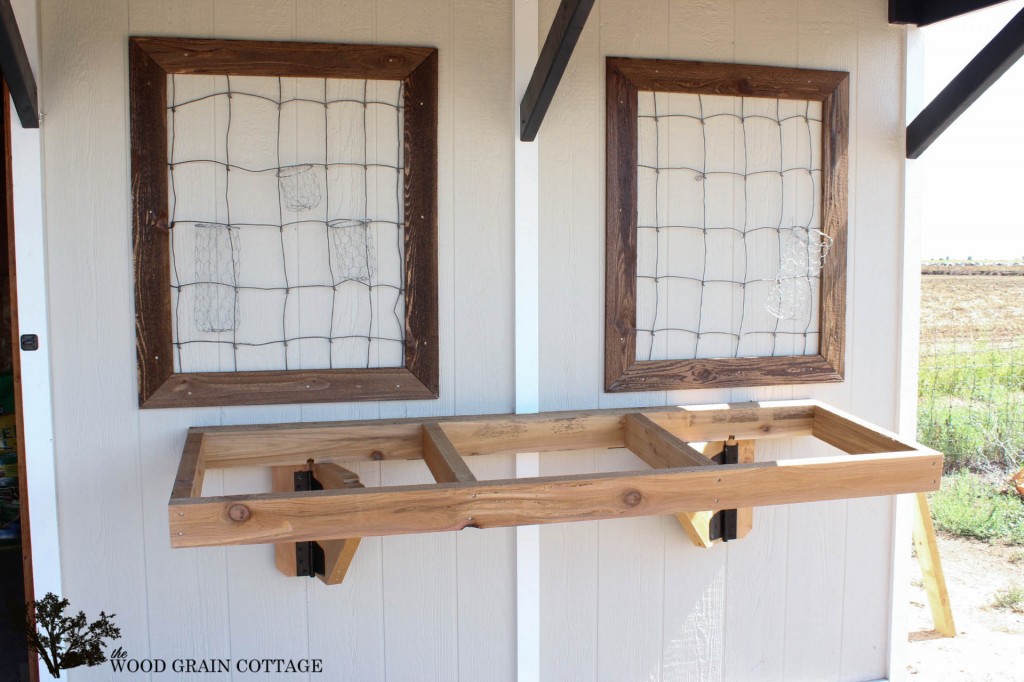
I can have it up:
Or down:
I. KNOW!
Here’s how we made it:
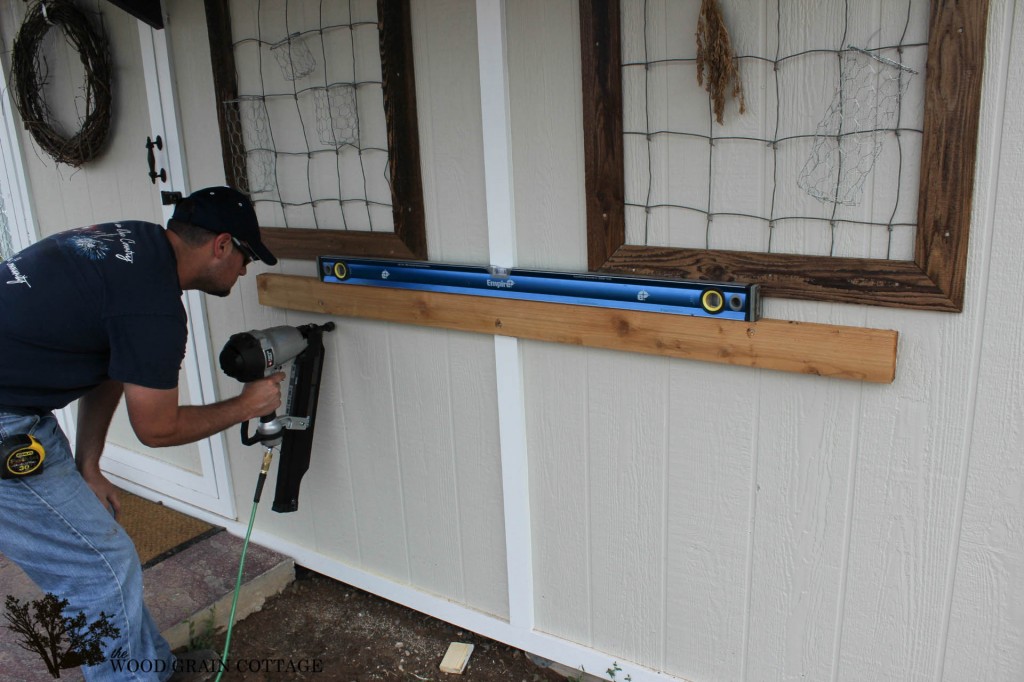
First we started by notching a piece of trim on the front of the shed.
Once it was notched out, we attached a 6 foot cedar board to the front of the shed…
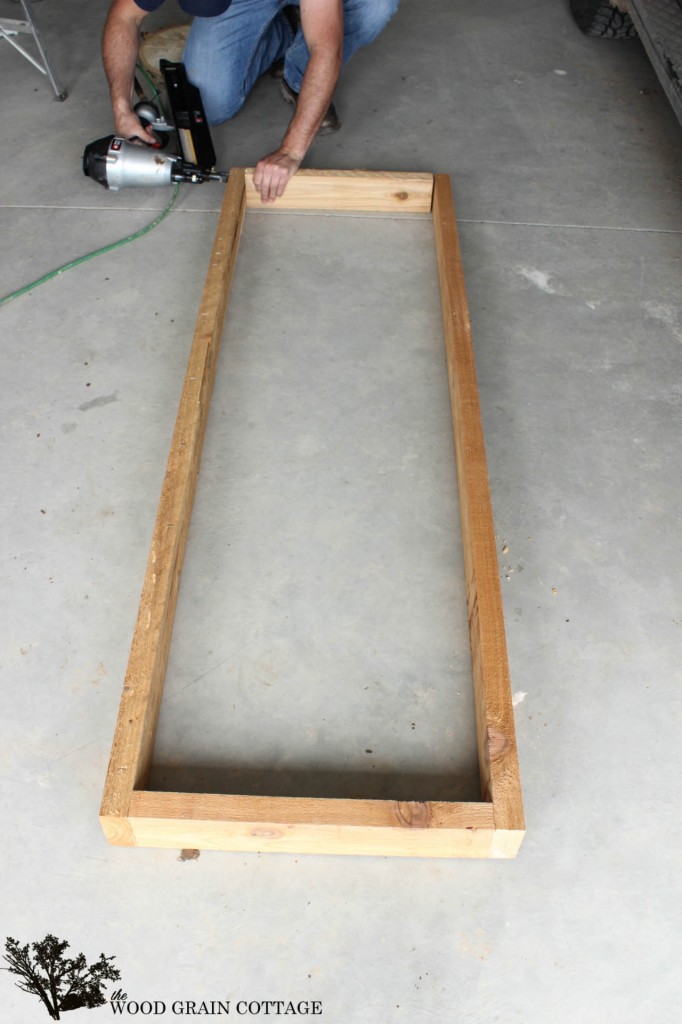
While Anthony built the bench frame…
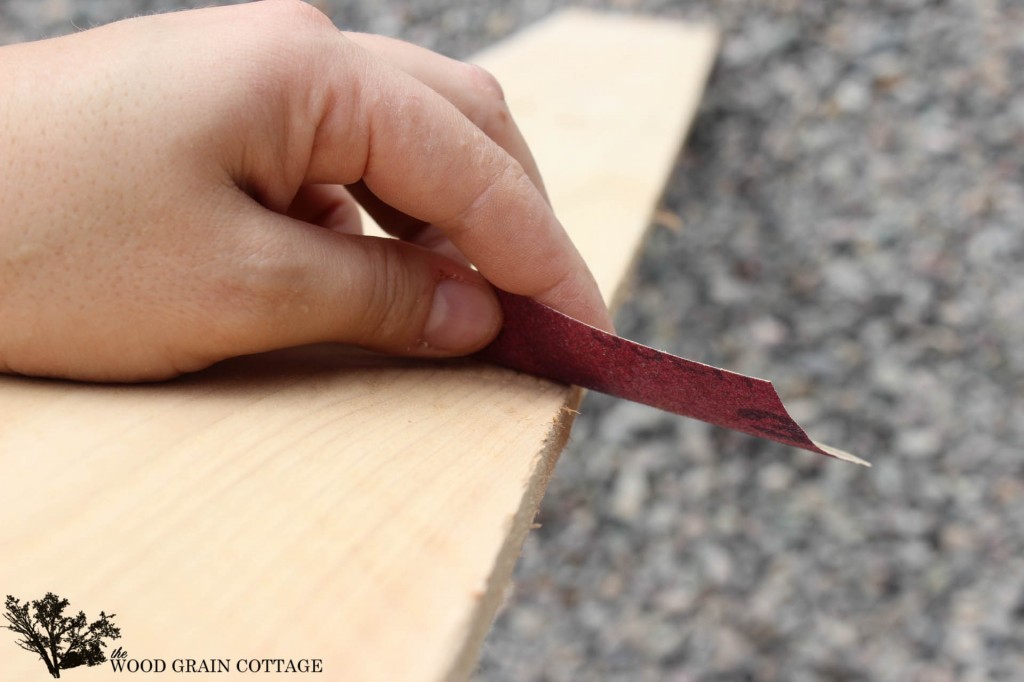
I started sanding down the cedar fence pickets for the bench top…
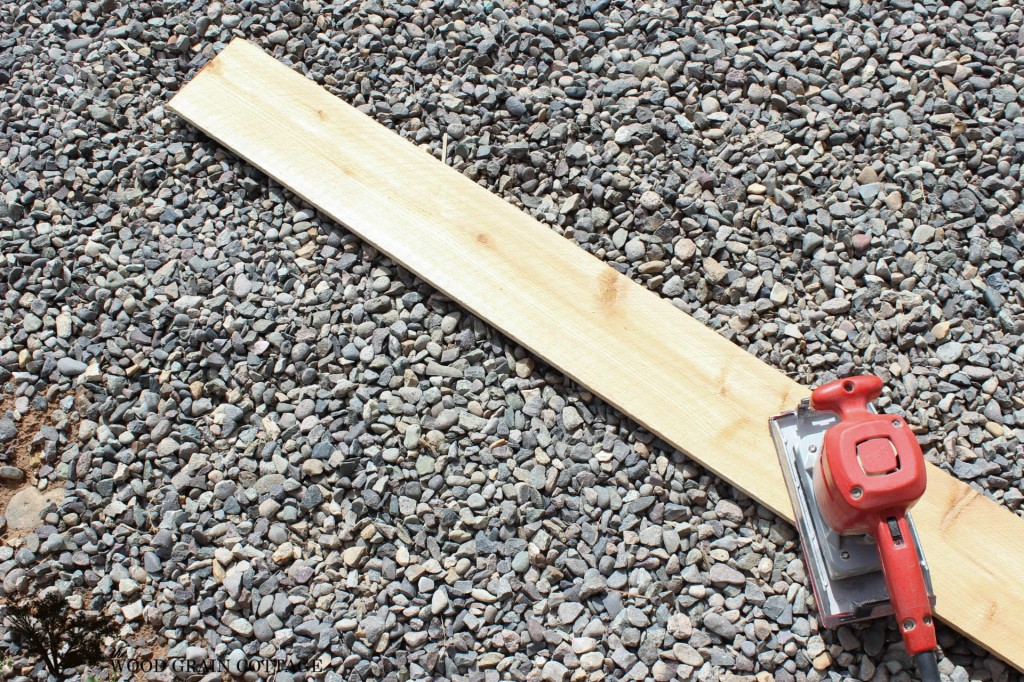
Once the top was smooth, I had to sand down the sides. They were full of splinters…
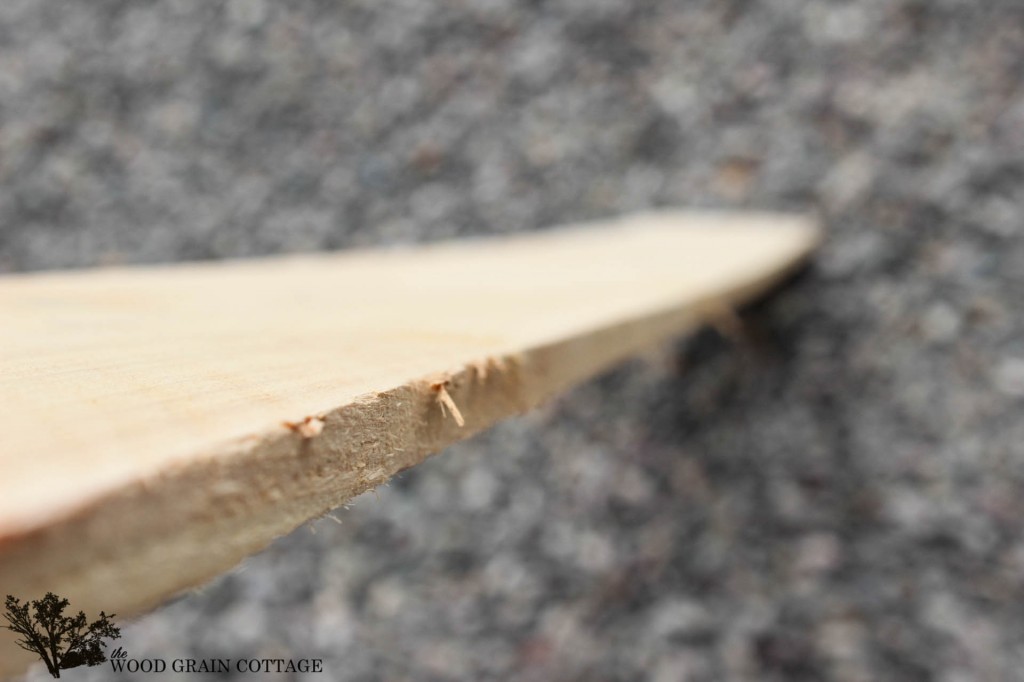
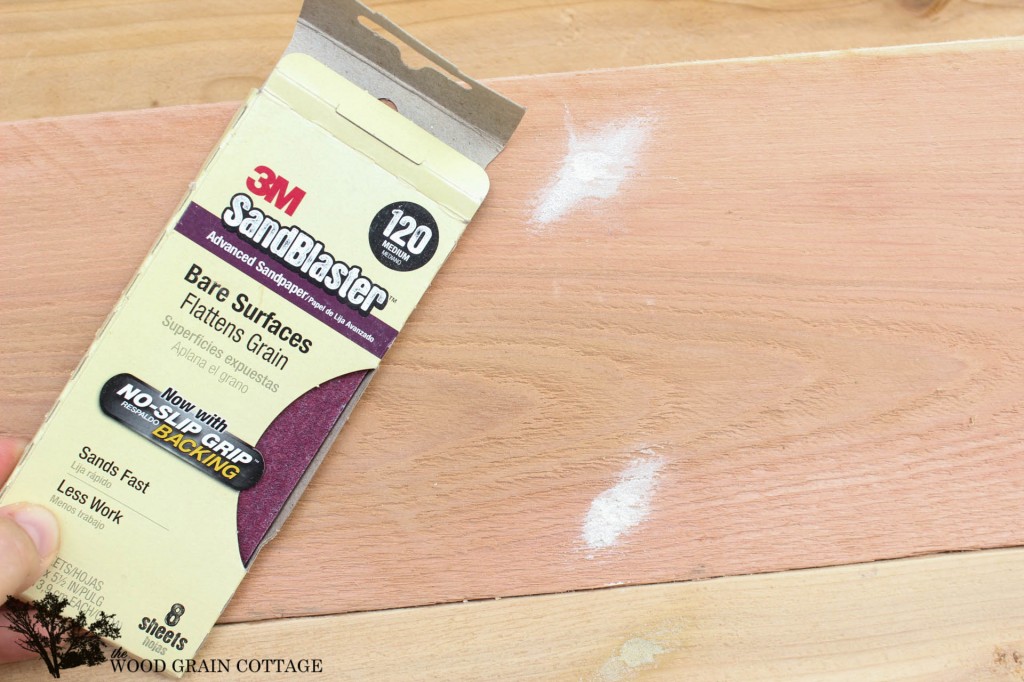
I used the 3M Advanced Abrasives and ran them down both sides of each board.
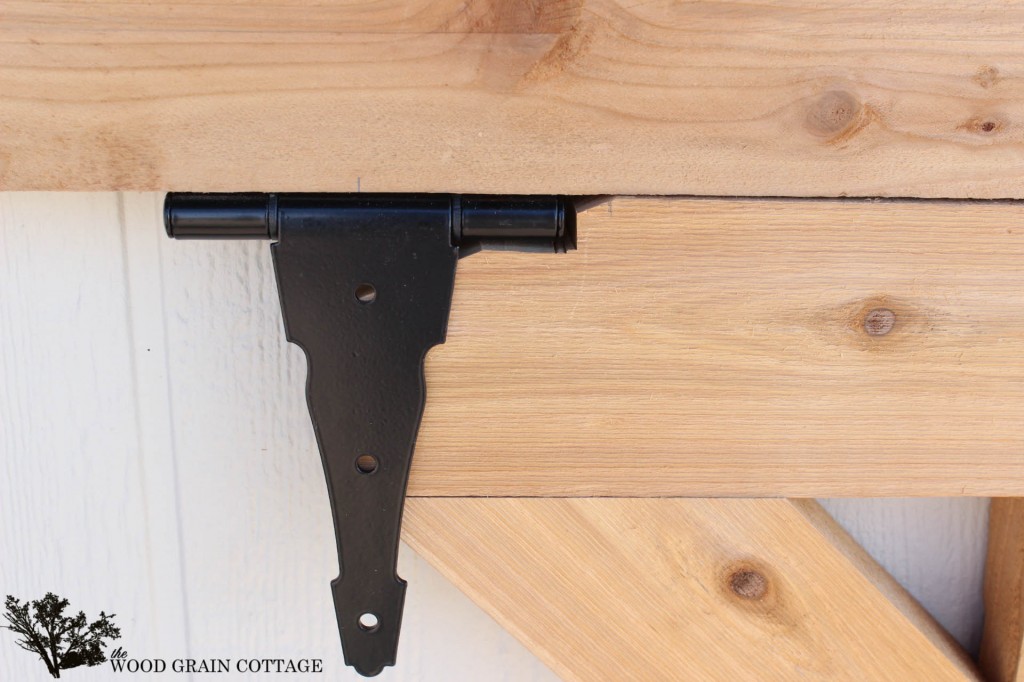
With all the boards sanded and ready, we started constructing the bench brackets…
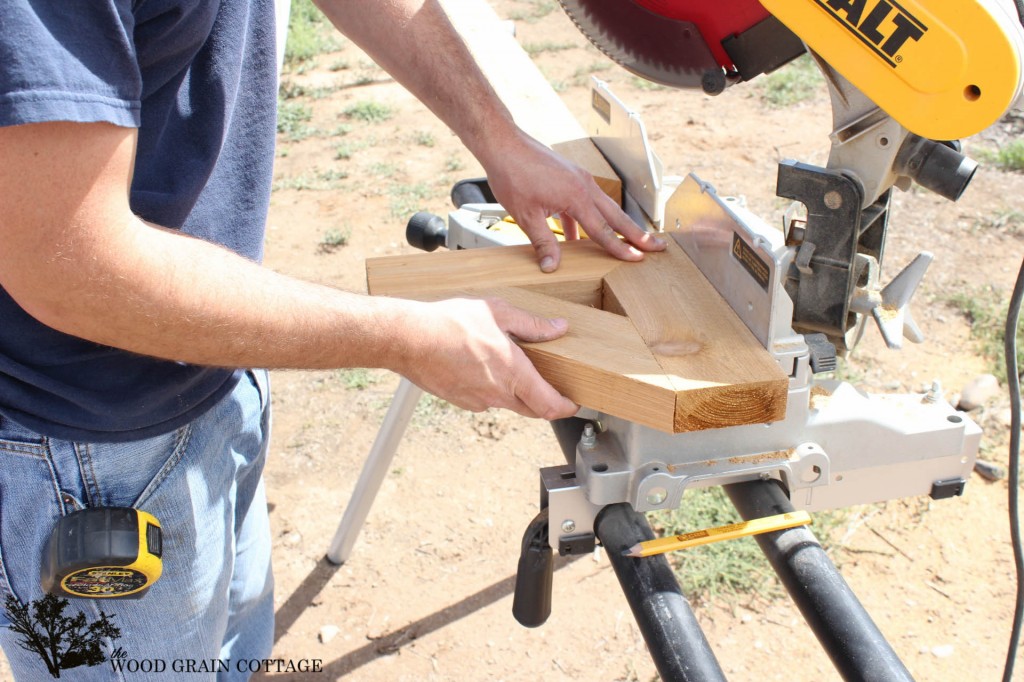
I wanted them to be “chunky”. They’re perfect!
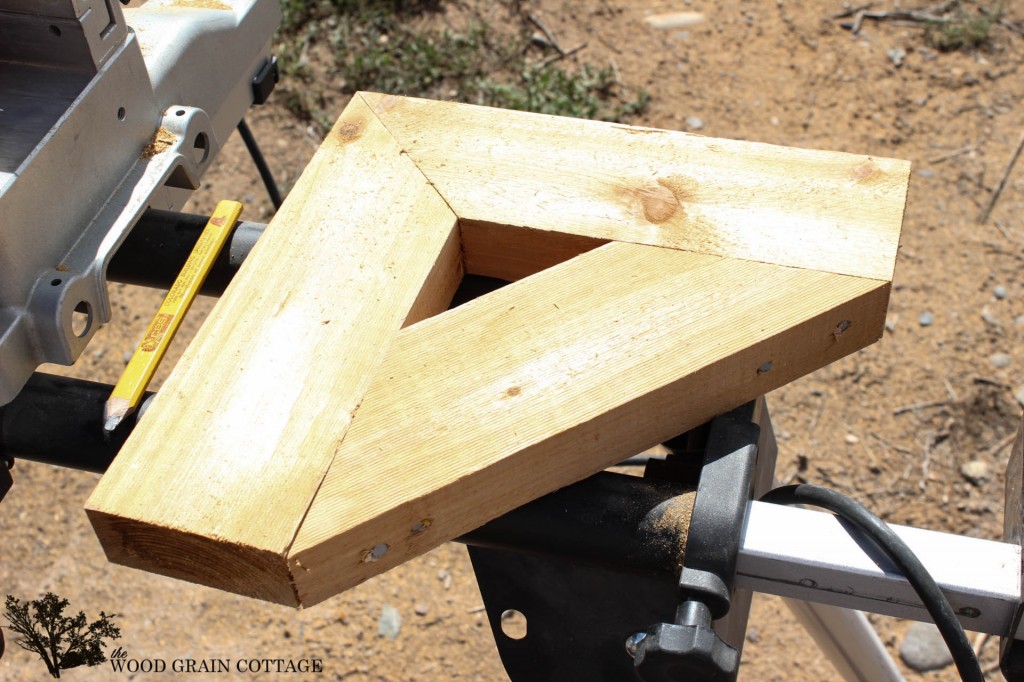
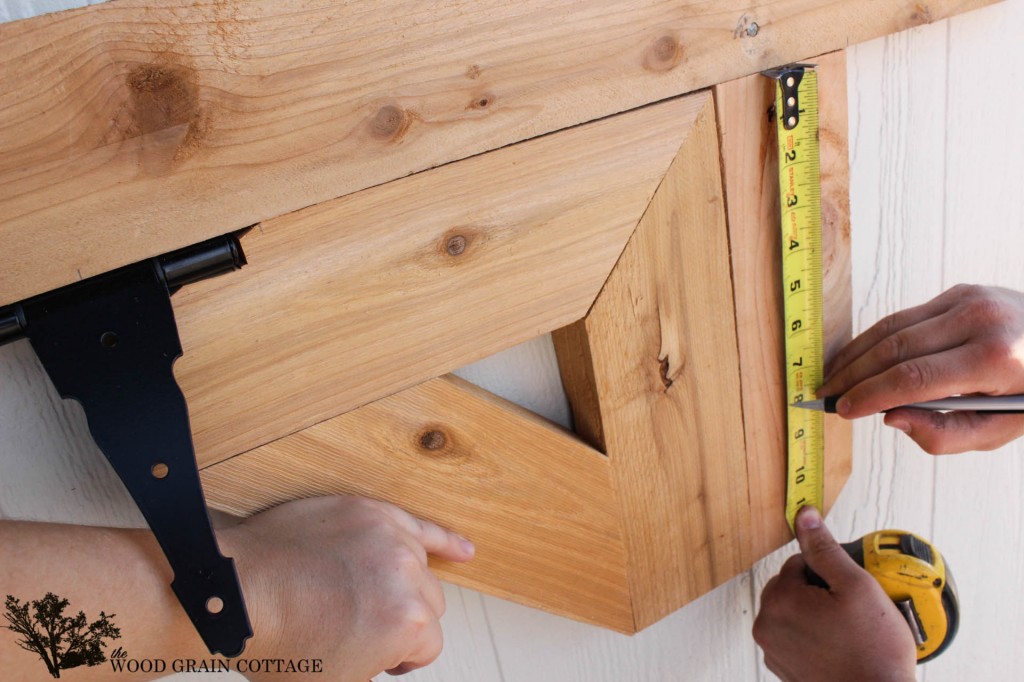
We built two brackets, then moved on to adding the top hinges for the bench, and the side boards for the brackets.
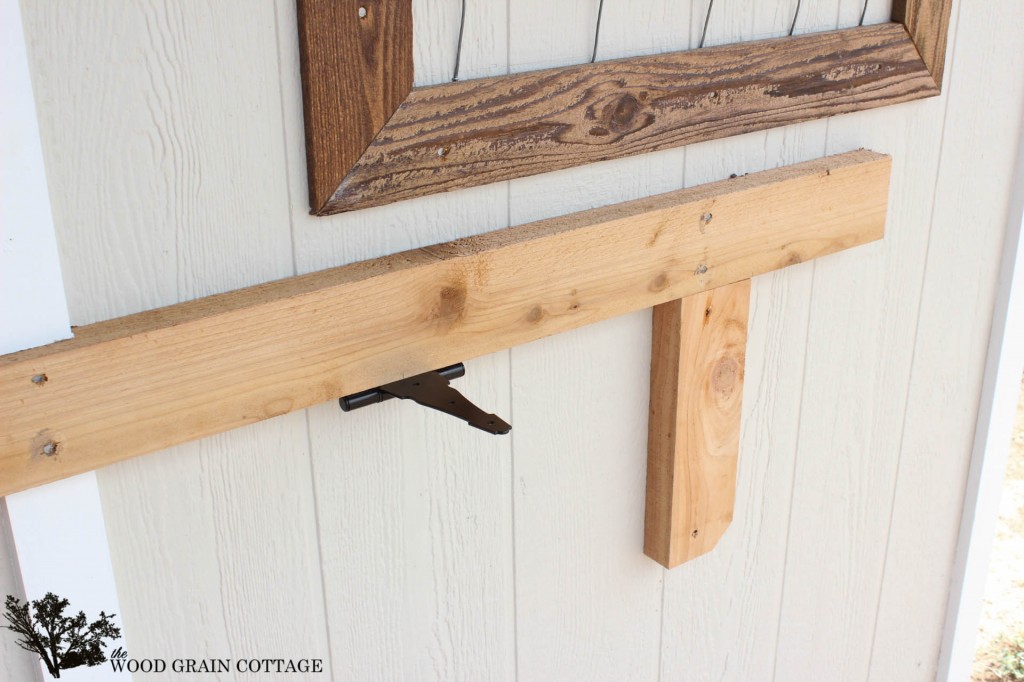
Then we placed the bracket underneath the top board and on the inside of the side board. We measured where to place the additional brackets…
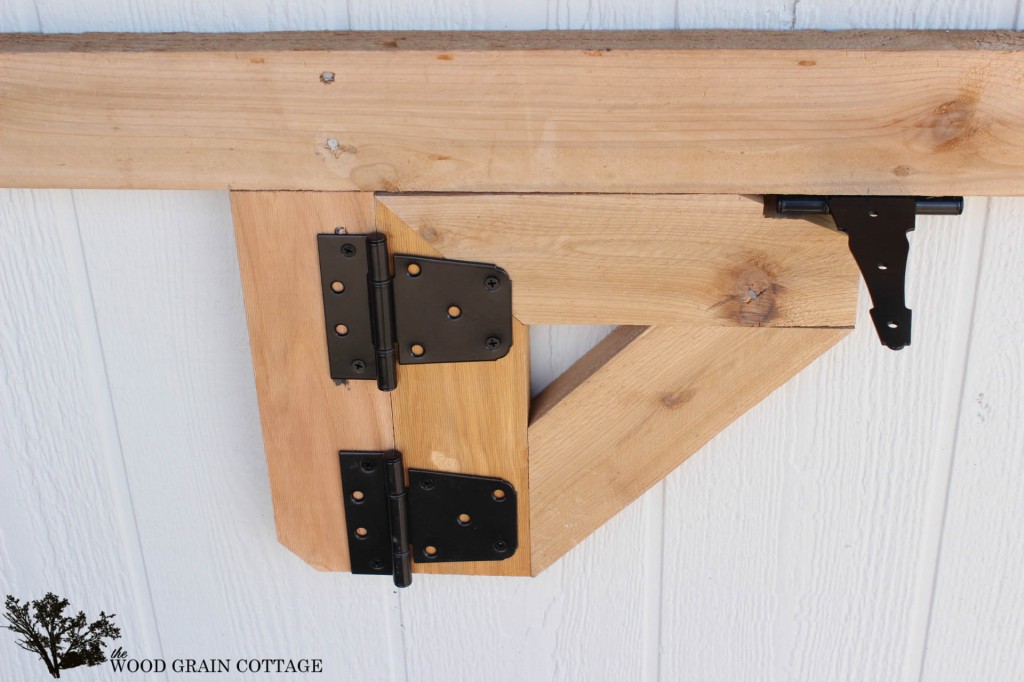
We attached the hinges and then swung the bracket out…. Happy day!

In order for the bracket to swing out, we had to notch around the top hinge…
Then we attached the other side, following the same process as the first.
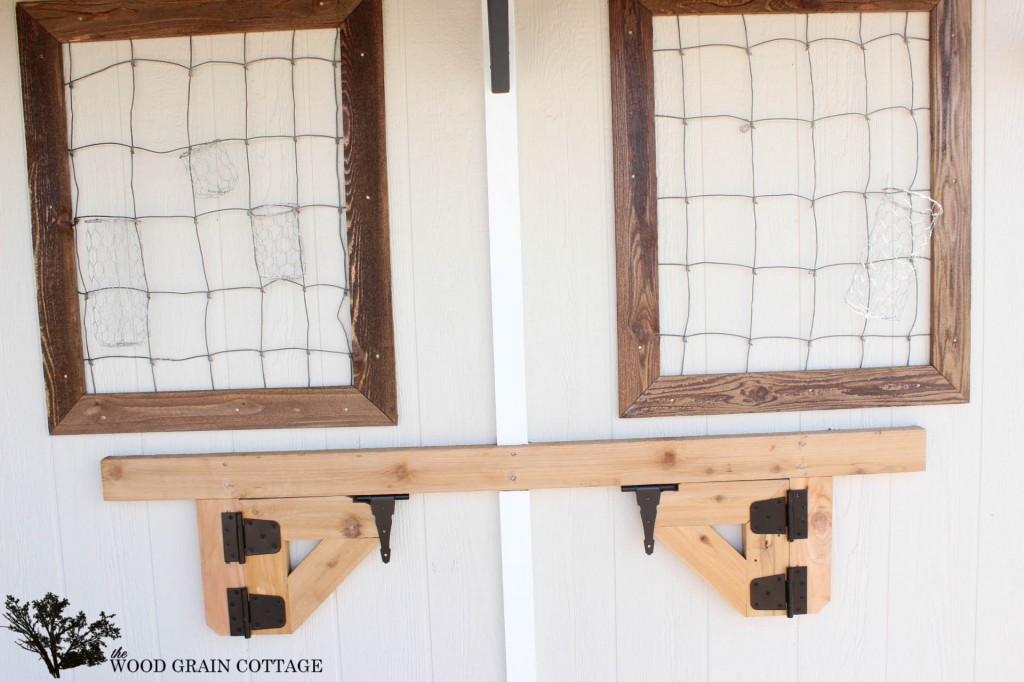
With both of them attached, we were left with this:
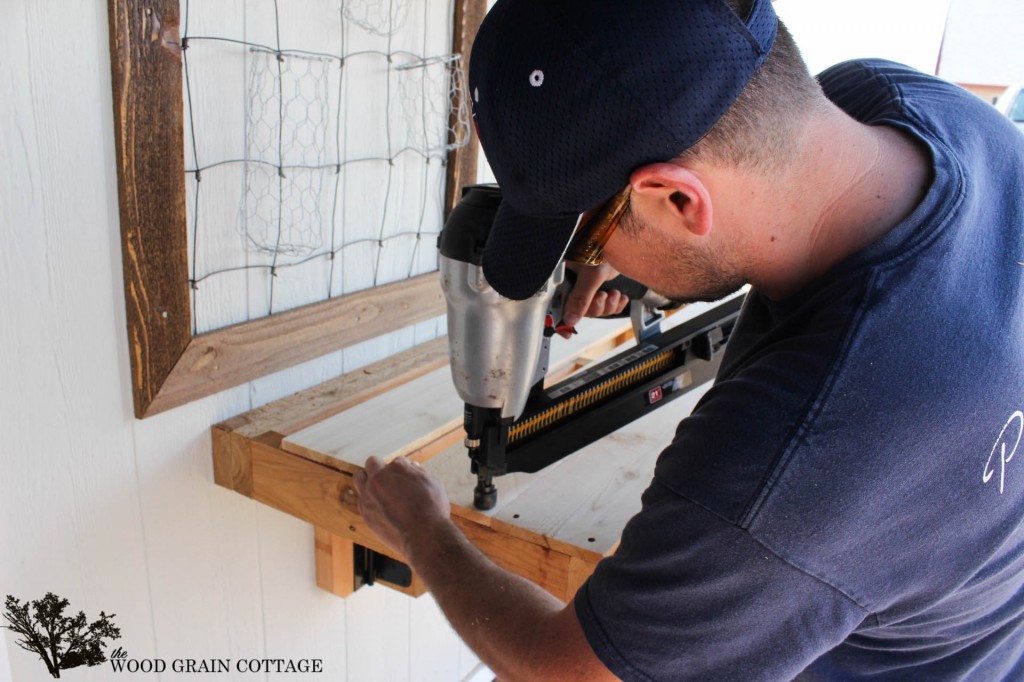
Anthony then installed the top with his nail gun…
And added two more braces to rest on top of the brackets… This thing is sturdy!

Again, we had to notch around the bracket hinges, which is why there is a notch on the bracing in the photo above.
When everything swung right, we started adding the top boards…
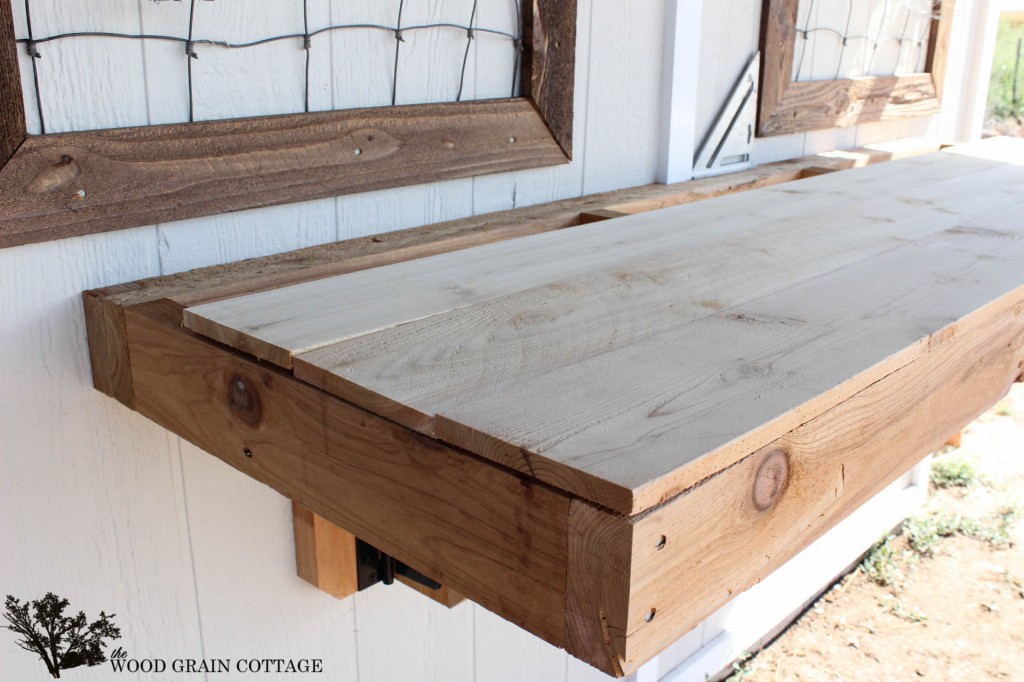
And then it was ready for the finish…
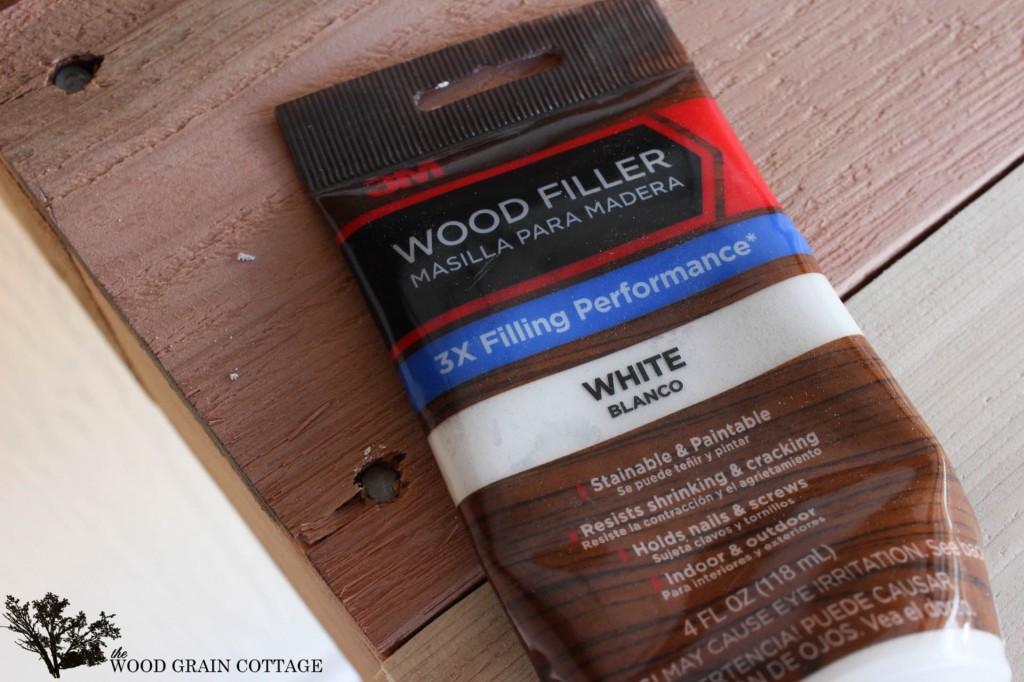
To prep it, I used these 3M products.
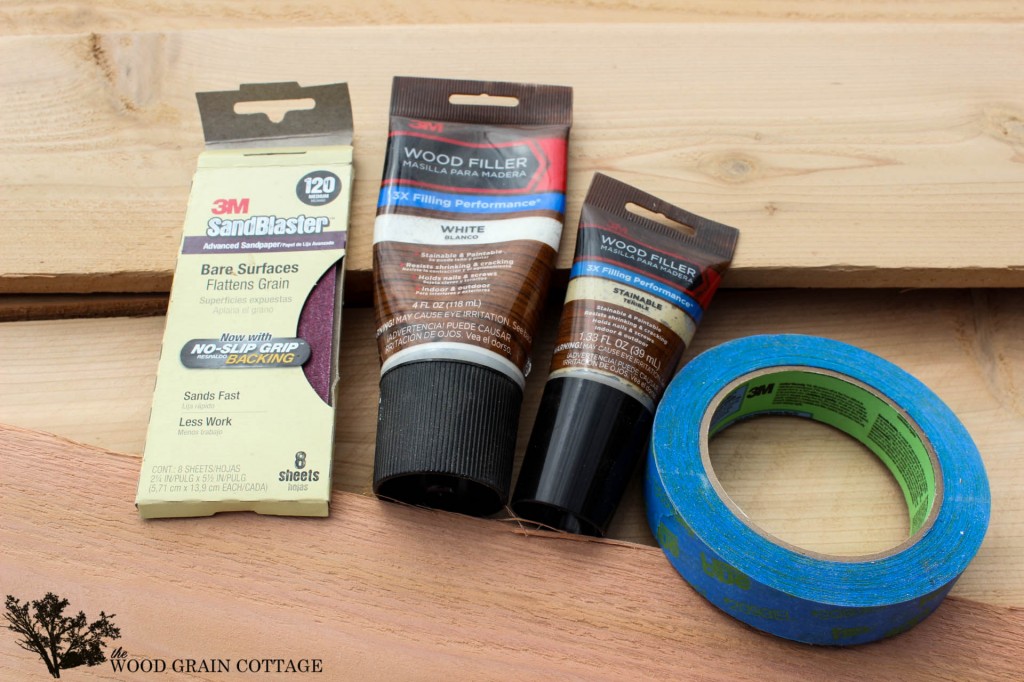
Since I wanted the front to have stripes, I used the white paintable 3M Wood Filler  for the sections where I would be painting them white…
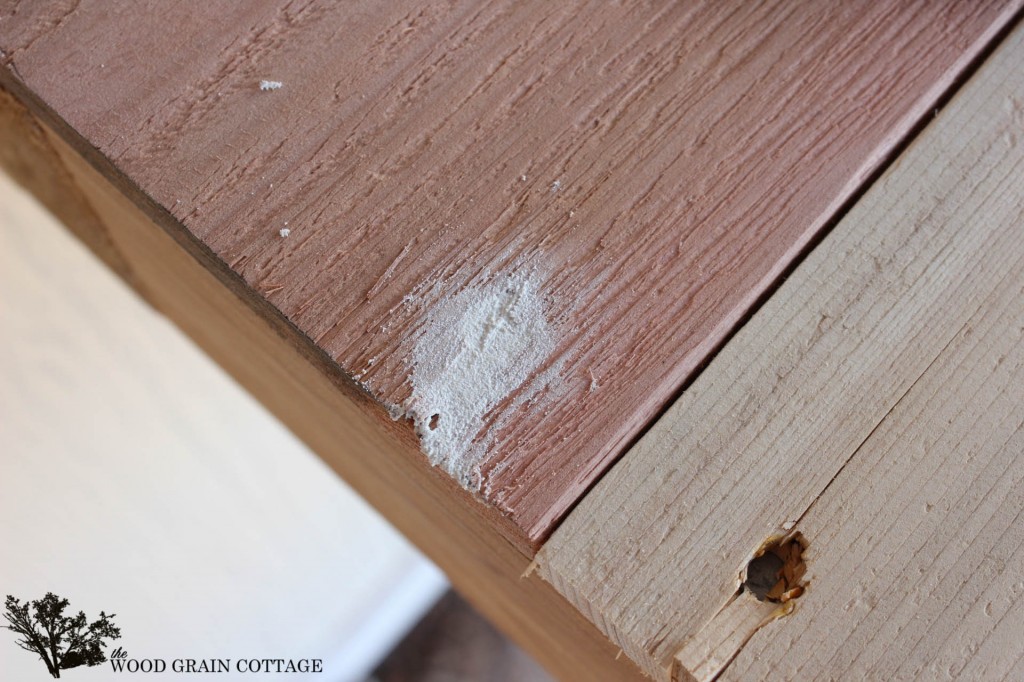
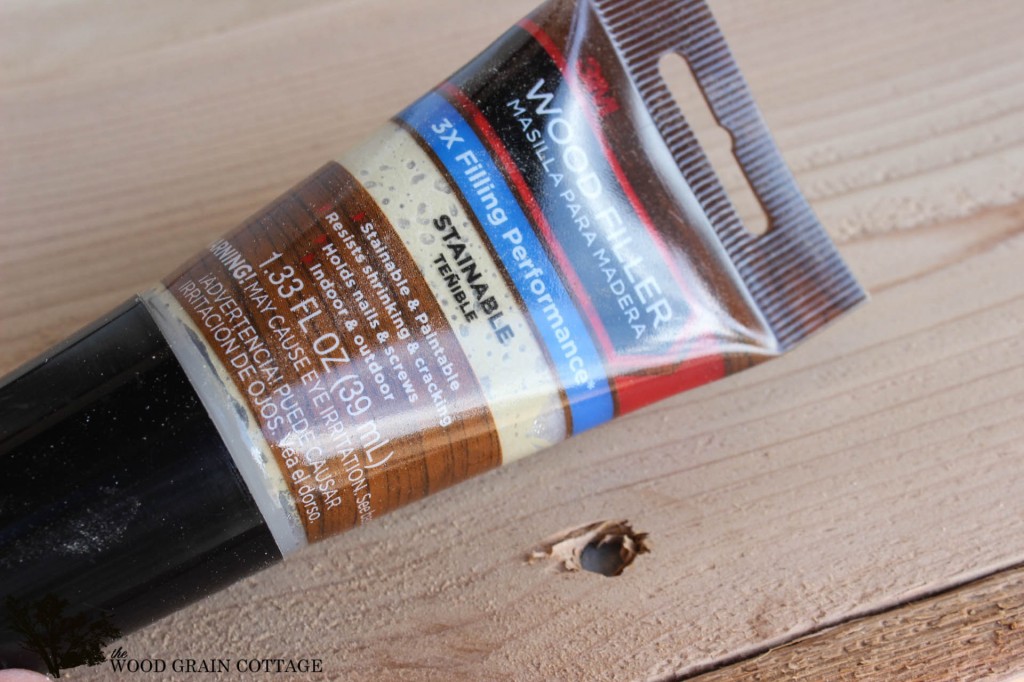
I used the stainable 3M Wood Filler for the boards I wanted to stain…
And once everything was dry, I used the 3M Advanced Abrasives to sand all the areas smooth.
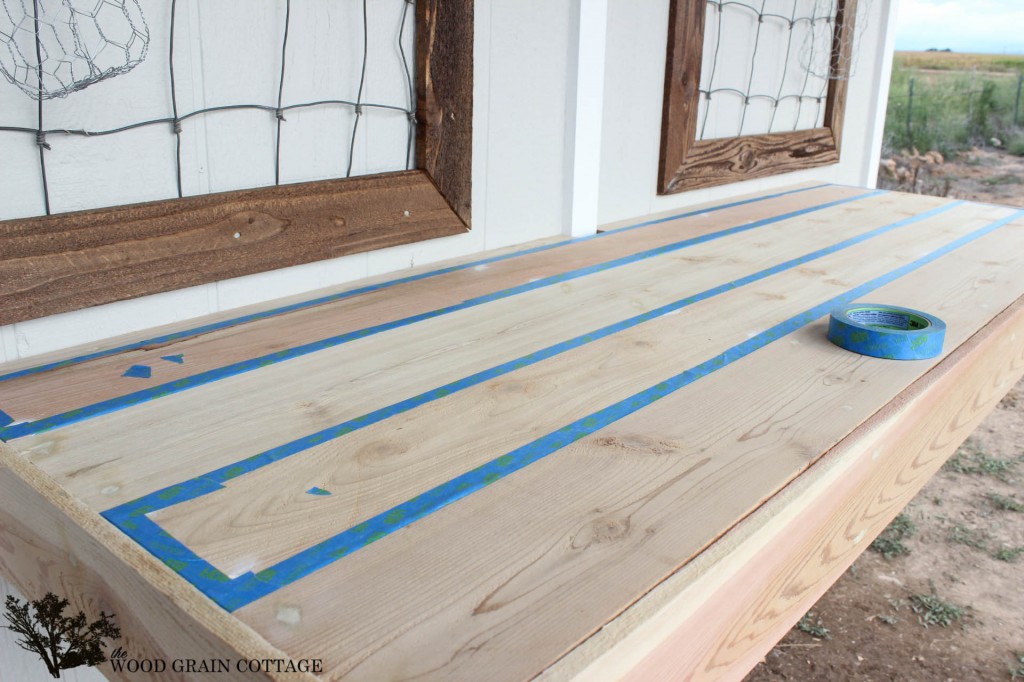
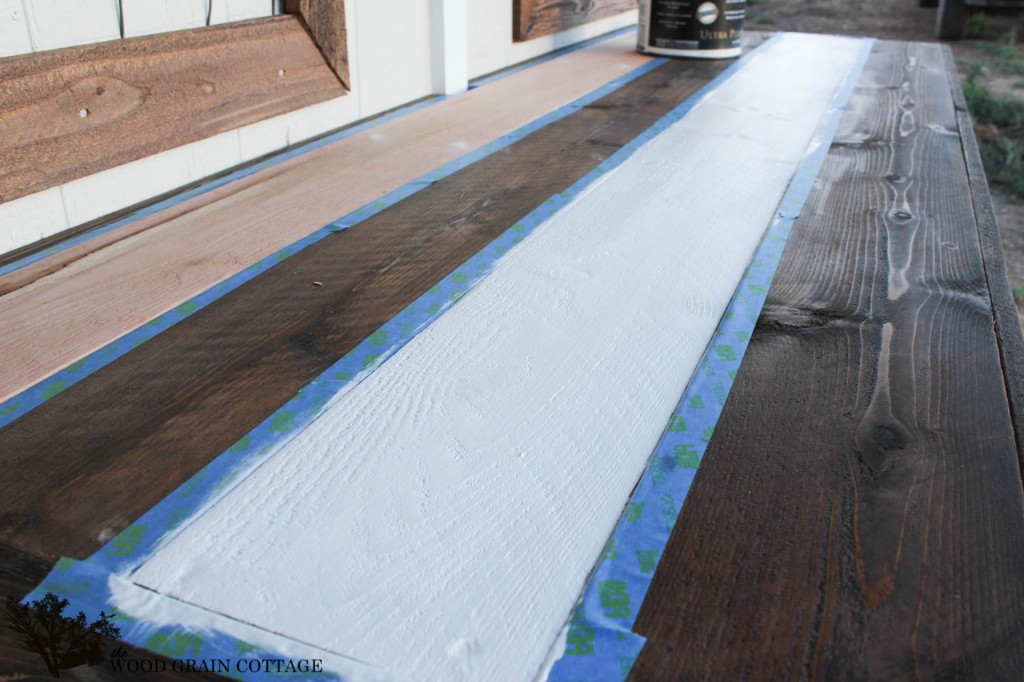
At that point, I was ready to tape off the different areas.
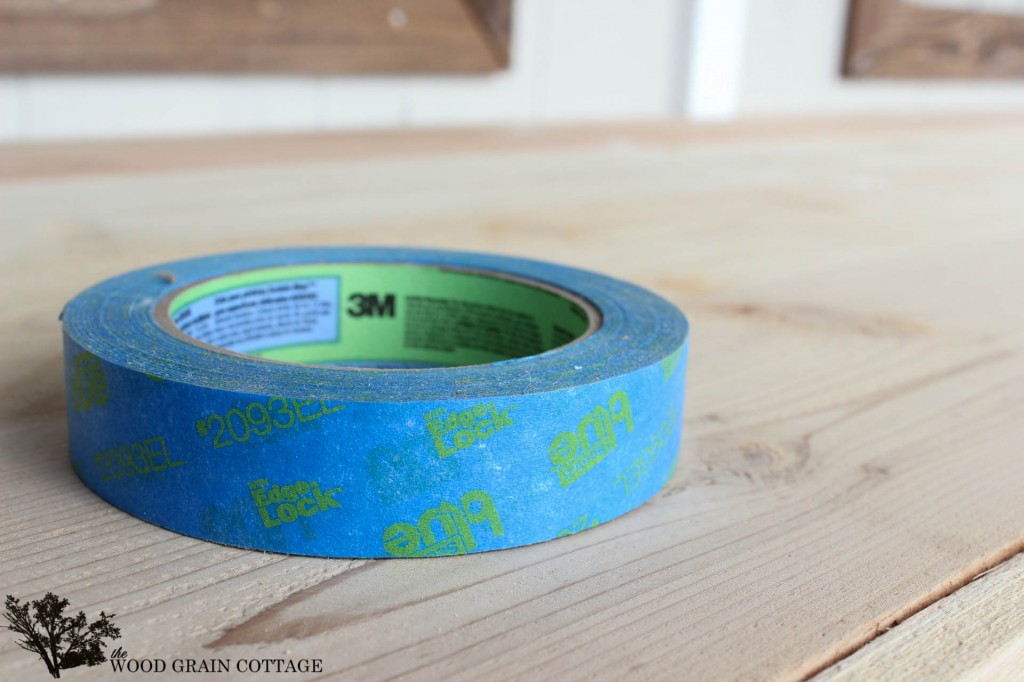
I started with sections I wanted to stain. I taped off all the planks that would be painted white with ScotchBlue™ Painter’s Tape 
And then I stained everything with Provincial by Minwax. Once it was dry I sealed everything.
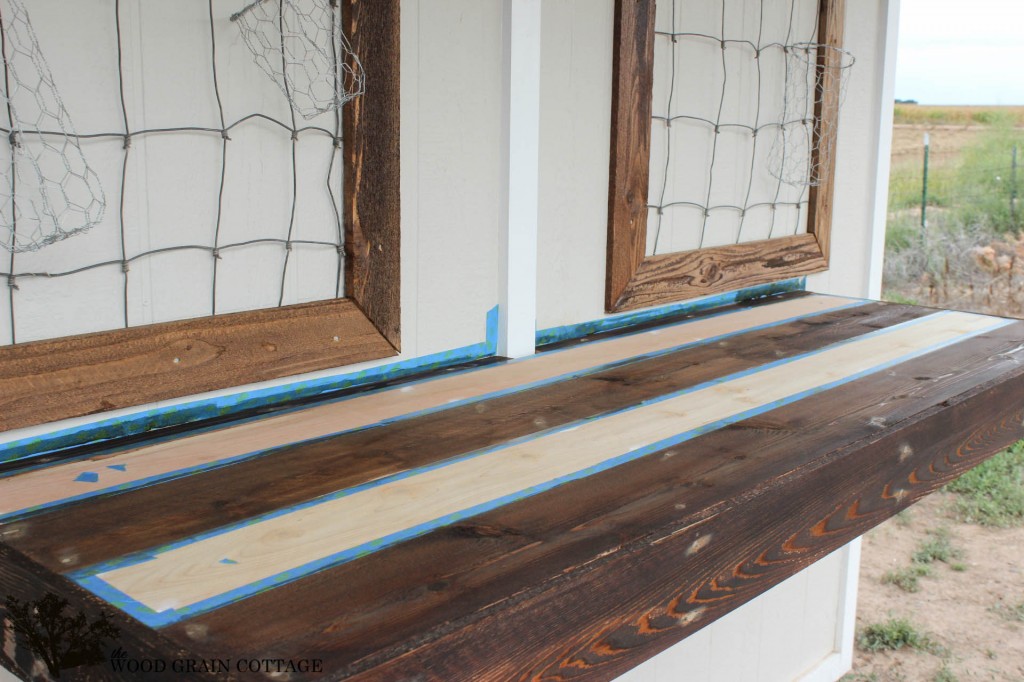
Once the sealer dried, I taped off the freshly sealed areas and painted the other boards white.
I pulled the tape off right after my second coat and was left with this:
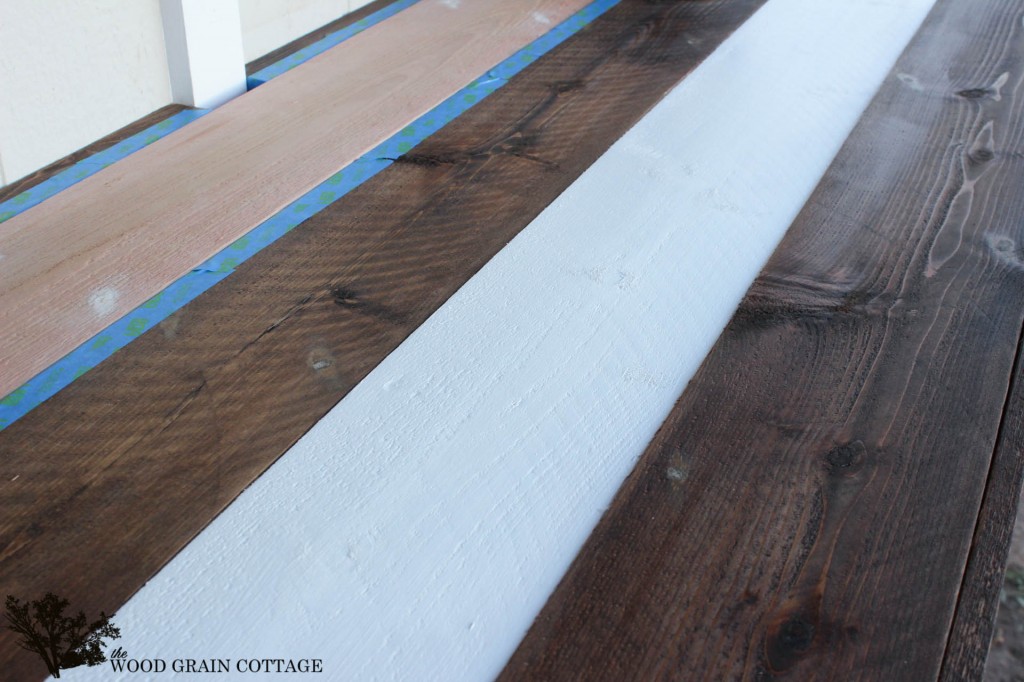
Perfect!
Then I started on the second board and waited for everything to dry.
This is what I woke up to the next morning. #Excited!
I absolutely positively couldn’t be any happier with results.
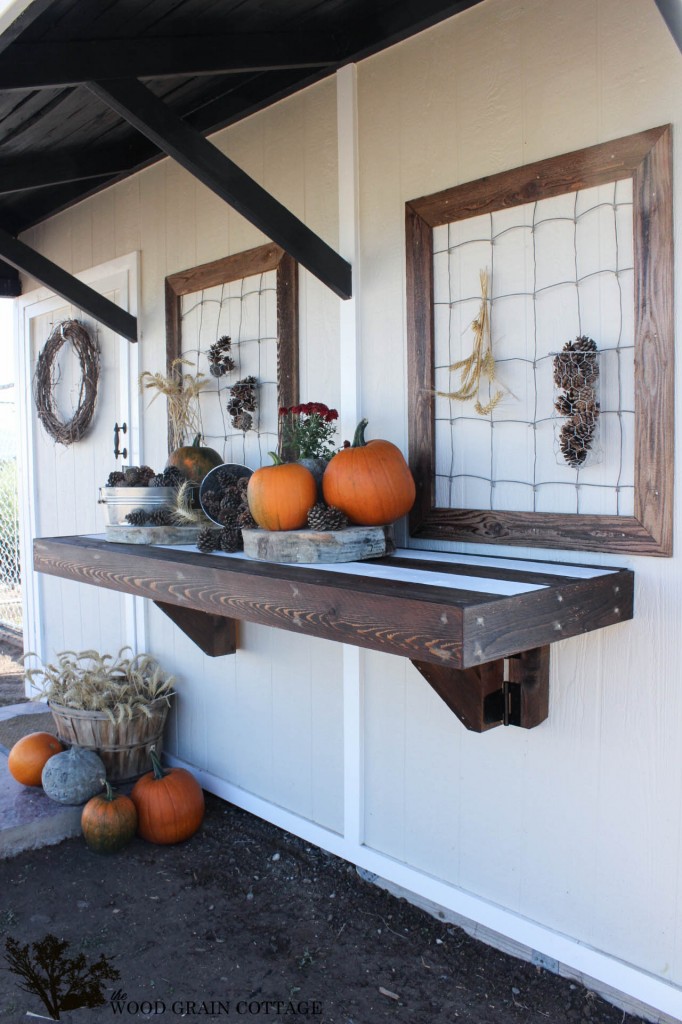
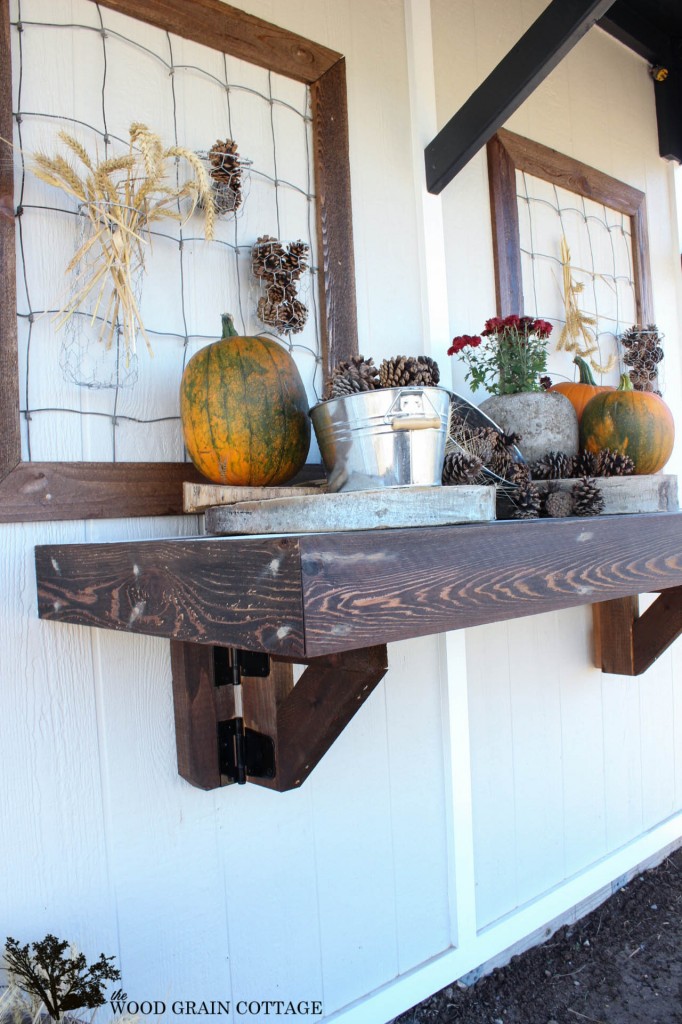
I am completely loving the fact that it can be up or down!
And those chunky brackets have my heart.
It’s the perfect solution for a potting bench, and the fact that it folds up is the icing on the cake. I love that I can fold it up when I want to use it, but that I can leave it down too.
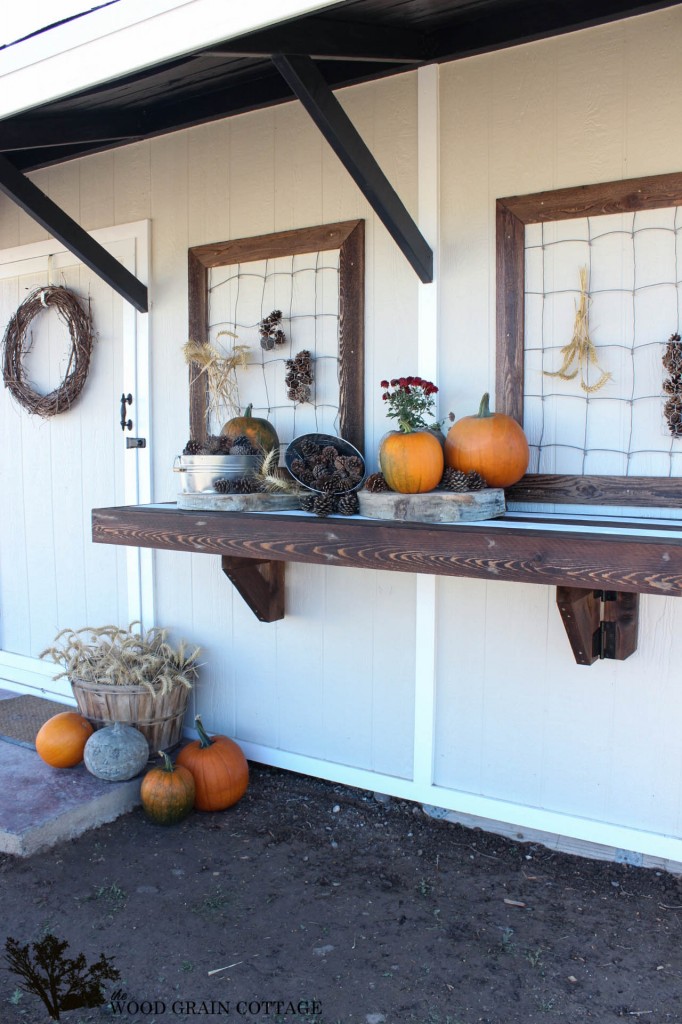
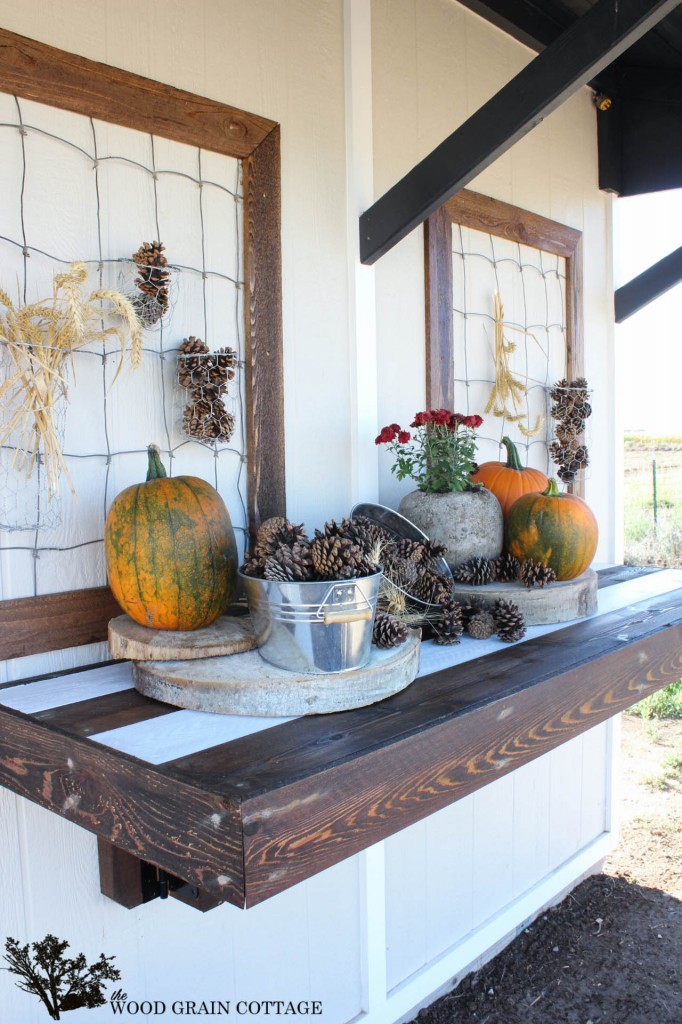
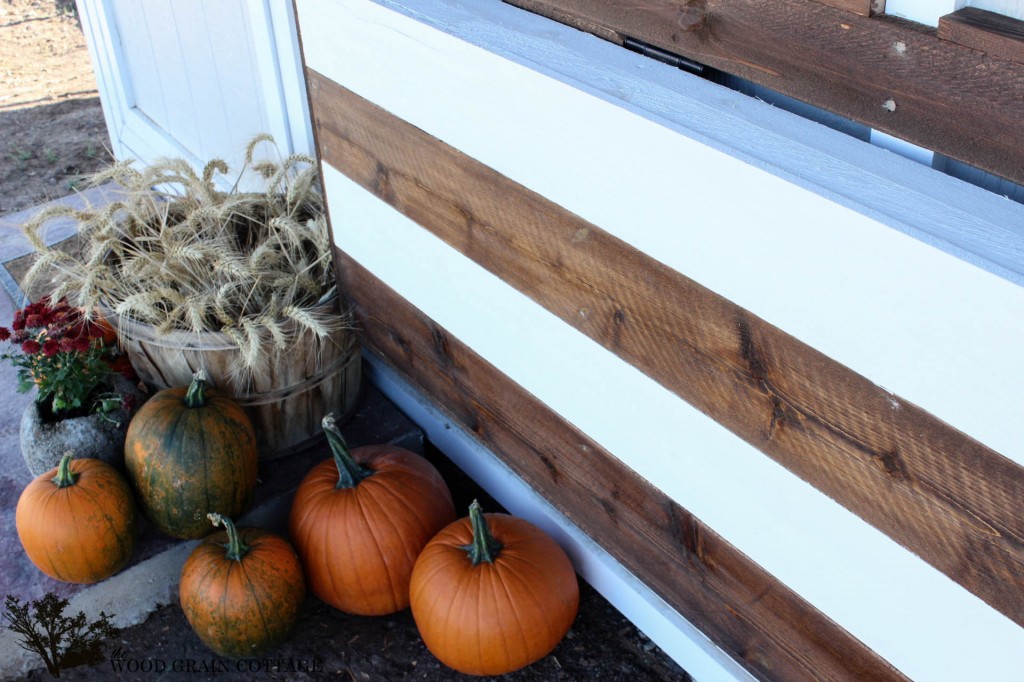
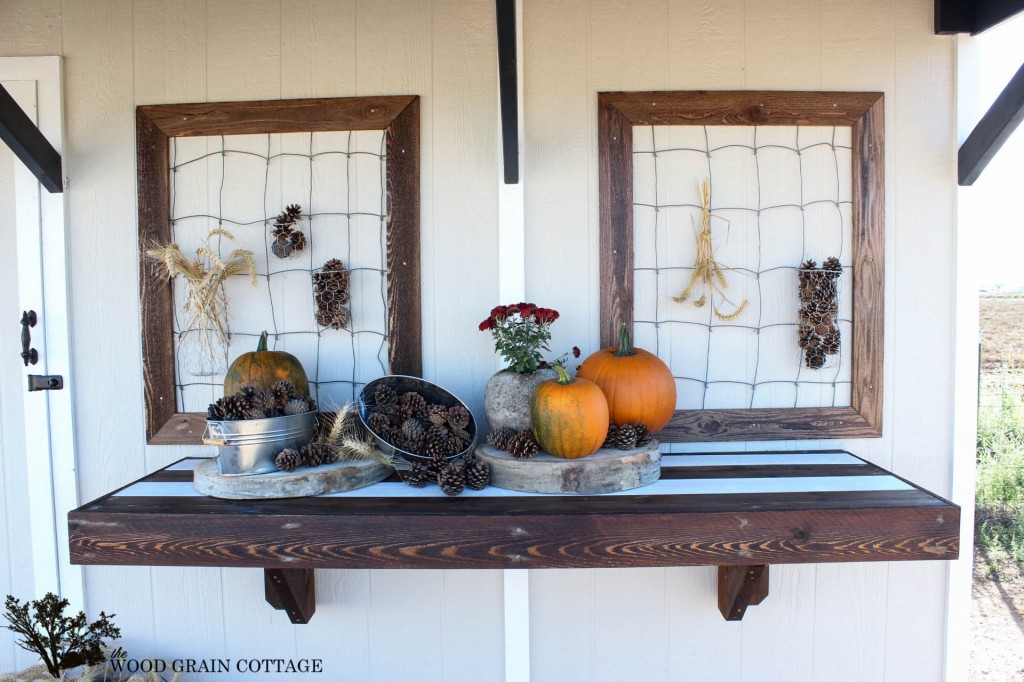
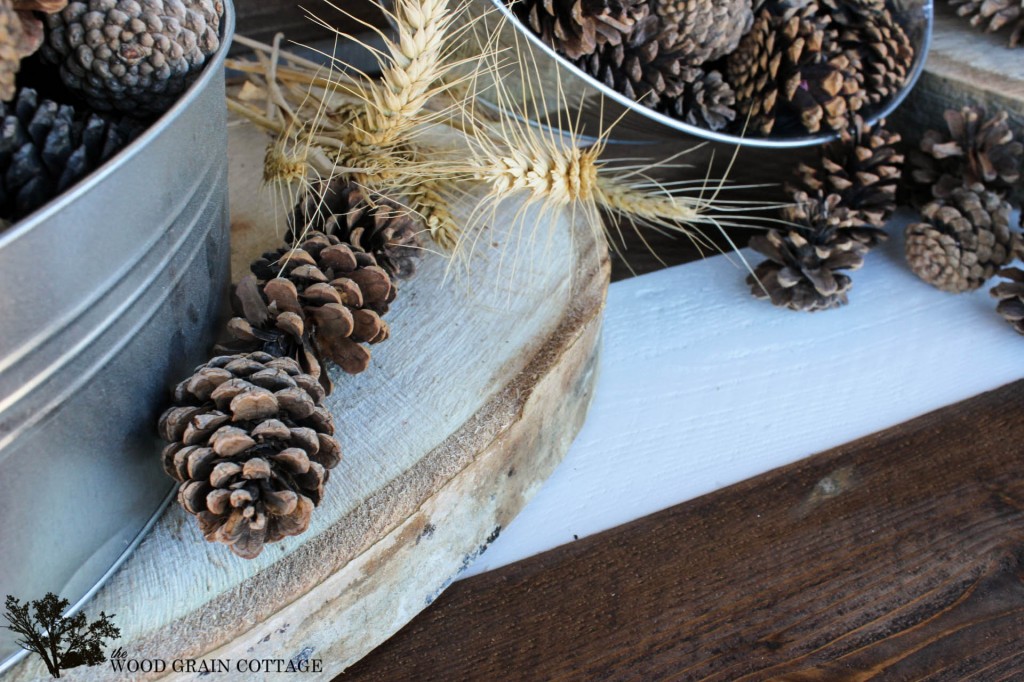
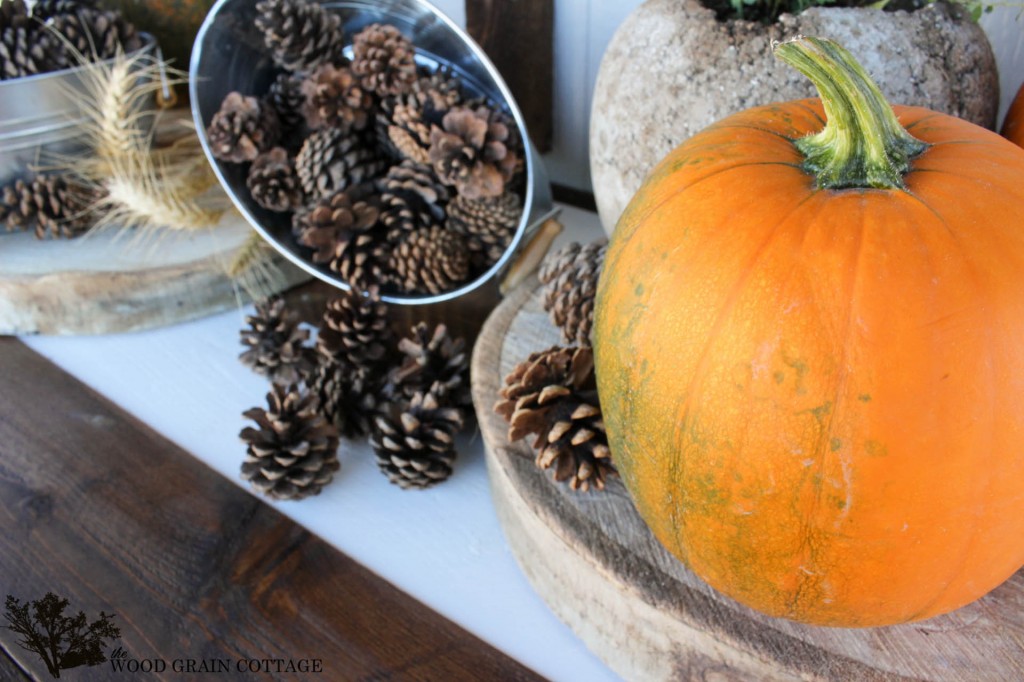
And don’t even get me started on how much fun I had setting it up for fall…
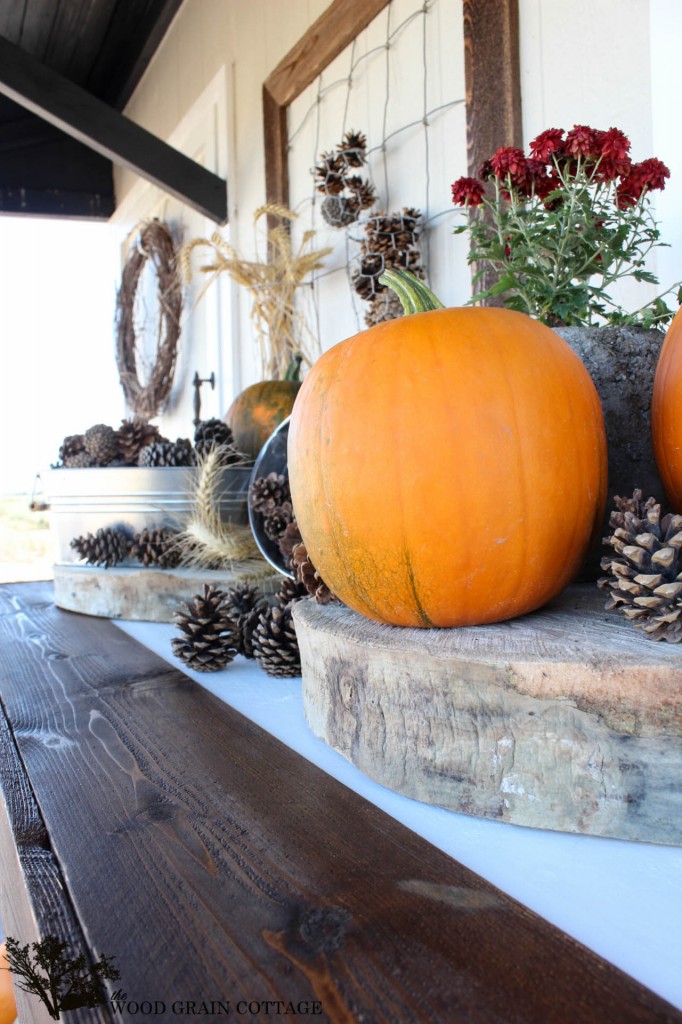
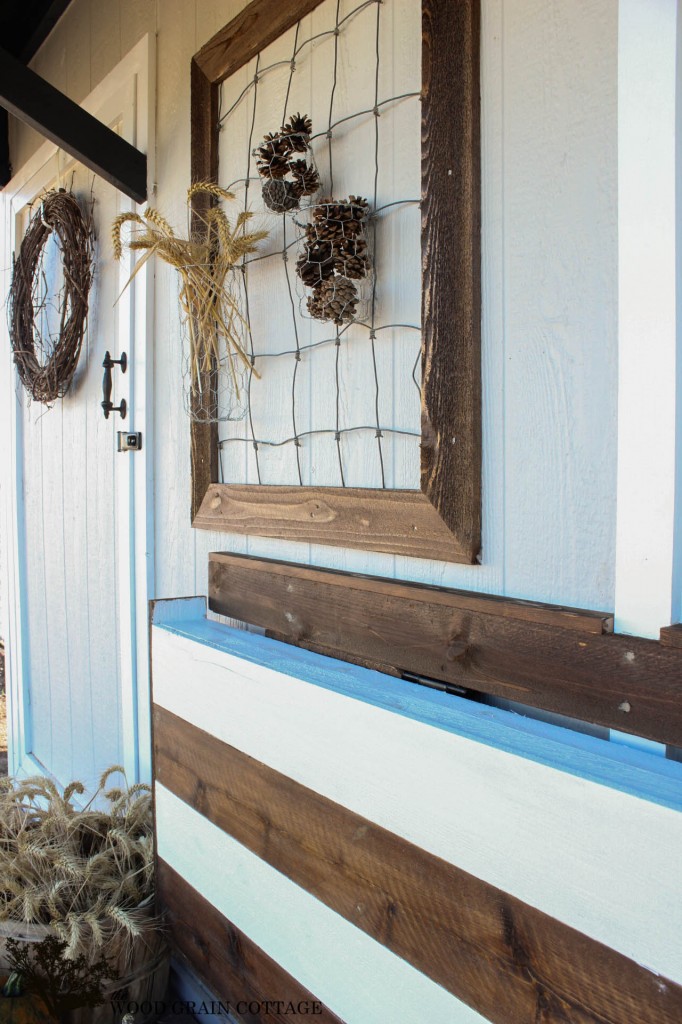
Those stripes… Goodness!
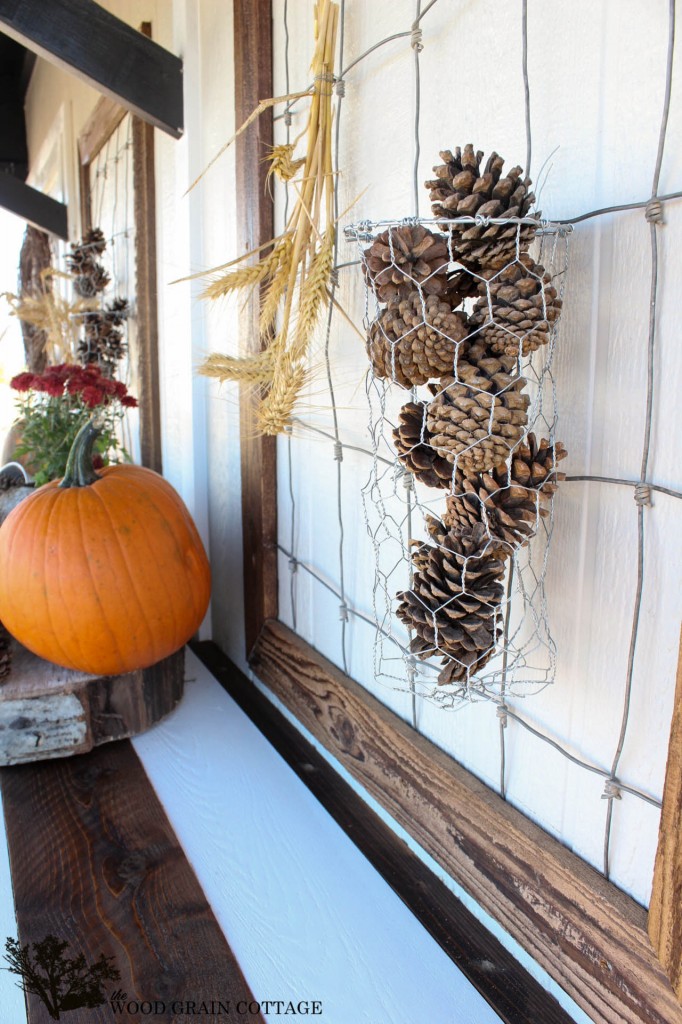
And one of my favorite things about it, well other than the fact that it’s a fold up potting bench, is that it really makes my faux windows pop!
Be still my heart….
And this my friends, is love!
I’m sooo happy to have this bench and I know, without a doubt, that it’s going to be put to good use!
This shed, it’s come a loong way.


This post is a collaboration with 3M DIY. To keep up-to-date on projects, products and sampling visit 3MDIY.com.
To learn more about 3M and 3M Tekk Protection you can visit them here:


Note: I have been compensated by 3M for this post, but all opinions are my own. For my complete disclosure policy, click here.

Linking up to:
OMG!! Just love it:)))))
THANK YOU so much, Pam! I super duper love it! 🙂
-Shayna
great project! well done… Thanks for sharing..
THANK YOU so much, Stephanie! 🙂
-Shayna
Really clever Shayna, and you have a handy husband! Yep, I need a shed!
THANK YOU so much, Christine! I love that handy hubby of mine. 🙂
You definitely need a shed!
-Shayna
This is an amazing idea! I have a pottin bench in our garage/shop but I am always afraid to use it because I don’t want a bunch of dirt in our nice clean shop. Maybe I can convince my husband that we need something like this attached to the back of our house 🙂 [ yeah right – but a girl can try! ]
Simply adorable! I love your fall arangements, too!
Nicely done.
THANK YOU so much, Kelly! I hope you can sweet talk your hubby. I’m crossing my fingers for ya! 🙂
-Shayna
I am in LOVE with that table. Sure wish It was mine. Maybe I can get my Mr. To build me one for my birthday. Hmmmm!! Honestly I am loving everything you post thus far. You and Anthony inspire me!!!! Thank you thank you thank you!!!!!
THANK YOU so much, Diane! I am so happy that you love it. I’m crossing my fingers that you can talk your Mr. into make one! 🙂
SO happy you’re enjoying the blog… and that we’re inspiring you! You’re so welcome!
Hugs!
-Shayna
Seriously, where do you come up with ALL this AWESOMEness?!? Great idea, love the beautiful fall colors AND the pretty photos:) Way ta go you two…blessings & <3
M
Ps. Why can't you live closer? Why? *sniff sniff*
M! You ALWAYS leave me with the biggest smiles! THANK YOU so very much! 🙂
Sending BIG hugs your way!
-Shayna
Once again another beautiful project! Way to go girl!
THANK YOU so very much, Jacque! 🙂
Hugs to YOU!!
-Shayna
That is a great idea and a space saver too. You’ll did a beautiful job and an easy to follow tutorial. Love your Fall display too. Wanted to copy, but need some tree trunk cuts for risers. Love the look.
Blessings,
Audrey Z. @ Timeless Treasures
THANK YOU so much, Audrey! I love the tree trunk risers too! 🙂
-Shayna
LOVE! LOVE! LOVE! – if I had a shed I would be copying you!!!
THANK YOU so much, Beth! 🙂
-Shayna
Fabulous!
THANK YOU so much, Meg! 🙂
-Shayna
I’ve finally talked my husband into building me a workshop/ potting shed this fall. I just found him one more project. I love this idea!
THANK YOU so much, Tricia! I’m so happy you’ve finally sweet talked your hubby into building you a shed… I know what a task that can be! 😉
So happy you’re going to make your own!
-Shayna
Oh I love, love, love this and the wall decor is perfect. What a great idea and such a fabulous tutorial too. I would love for you to link up to my Inspire Me party that will go live tomorrow afternoon. http://www.astrollthrulife.net Hugs, Marty
THANK YOU so very much, Marty! I love it too!
Thanks for the invite to your party too. I’ll stop by to link up! 🙂
-Shayna
Shayna, you have done such a appreciated work. It is such a creative and beneficial for those who have limited space. Love your wall decoration which seems perfect and pretty. Thanks for sharing wonderful post.
THANK YOU so much, Sierra! 🙂
-Shayna
Pinned.
THANK YOU so much! 🙂
-Shayna
It’s so pretty, I don’t think I’d ever collapse the table.
THANK YOU so much, Carrie! I love it when it’s folded up! 🙂
-Shayna
This is totally amazing! Really it is beautiful! Great job, and tutorial!
THANK YOU so very much, Mindi! I really love it! 🙂
-Shayna
What a great shed! Love the colors, the display, the pumpkins and the great idea! Stopping by from Inspire Me
THANK YOU so much, Dawna! I’m so happy you stopped by! 🙂
Welcome to the WGC!
-Shayna
When the top boards were fitted to the frame, they are being laid flush to the edge of the frame. In a later photograph, the top boards are inset so that the surface is flush with the frame. How was that achieved please?
Great potting table idea & thank you for sharing
Thank you, I’m glad you enjoyed the project! To inset the boards, once the top boards were nailed in place, we trimmed out the edges with the same material. That left us with a flush top. I hope that helps!