
Concrete Pumpkins
It’s felt like fall lately… the temps have dropped and the days are getting shorter. You know what that means, right?
It’s pumpkin season!
Today I’m sharing a project I originally shared over at Fox Hollow Cottage. Exciting news!! I’m a new monthly contributor (pinch me, please!) and I couldn’t wait to share my latest pumpkin project: Concrete Pumpkins!
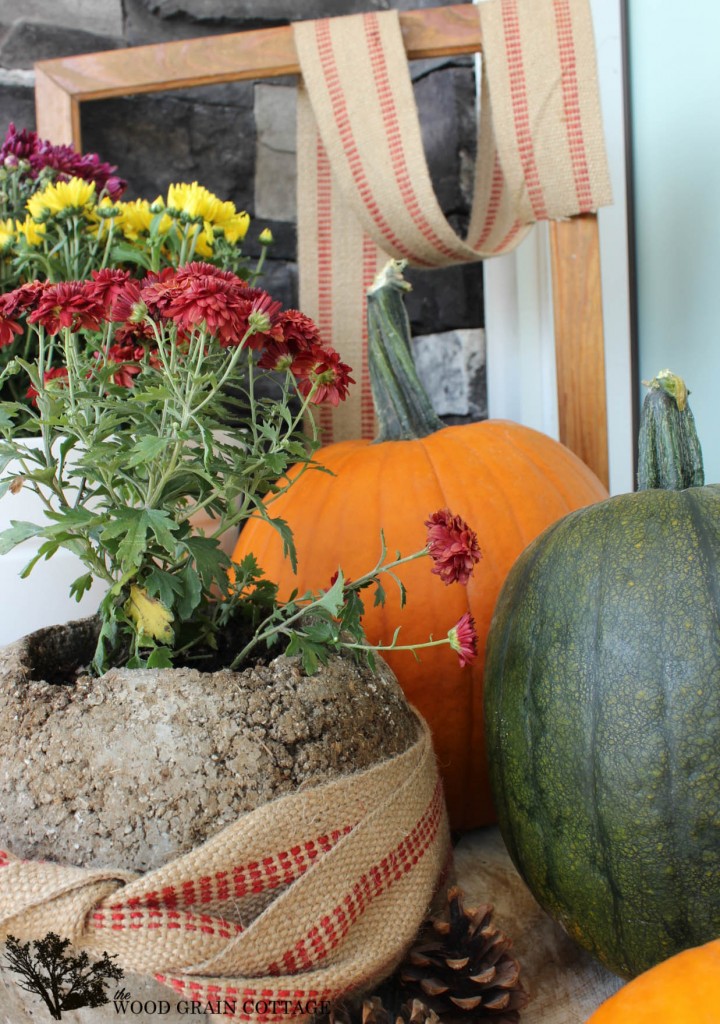
I love texture and these pumpkins don’t disappoint! They also bring such a lovely contrast against regular pumpkins.

Here’s how to make them:
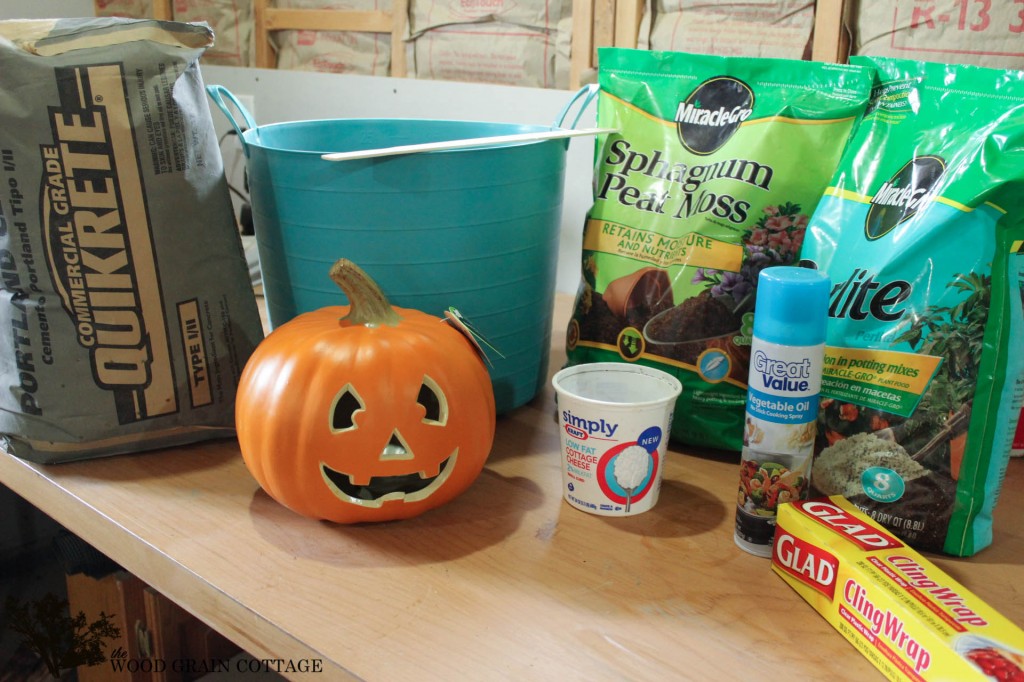
You’ll need:
-Portland Quikcrete
-Sphagnum Peat Moss
-Perlite
-Water
-Plastic Pumpkin
-Cooking Spray
-Plastic Wrap
———
Start by mixing equal amounts of portland quikcrete, peat moss & perlite.
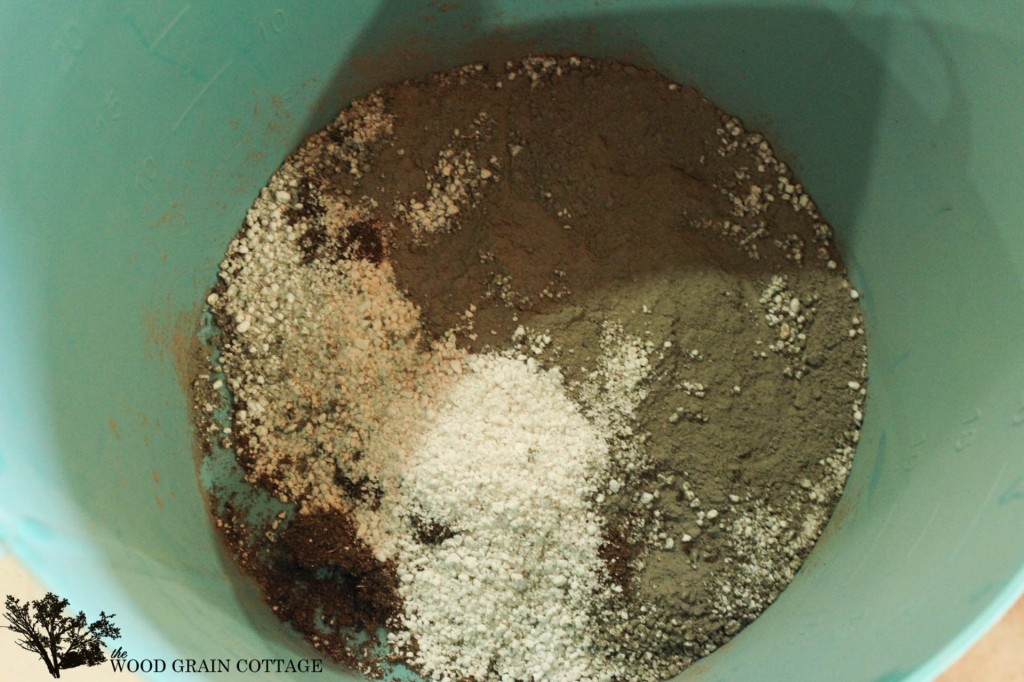
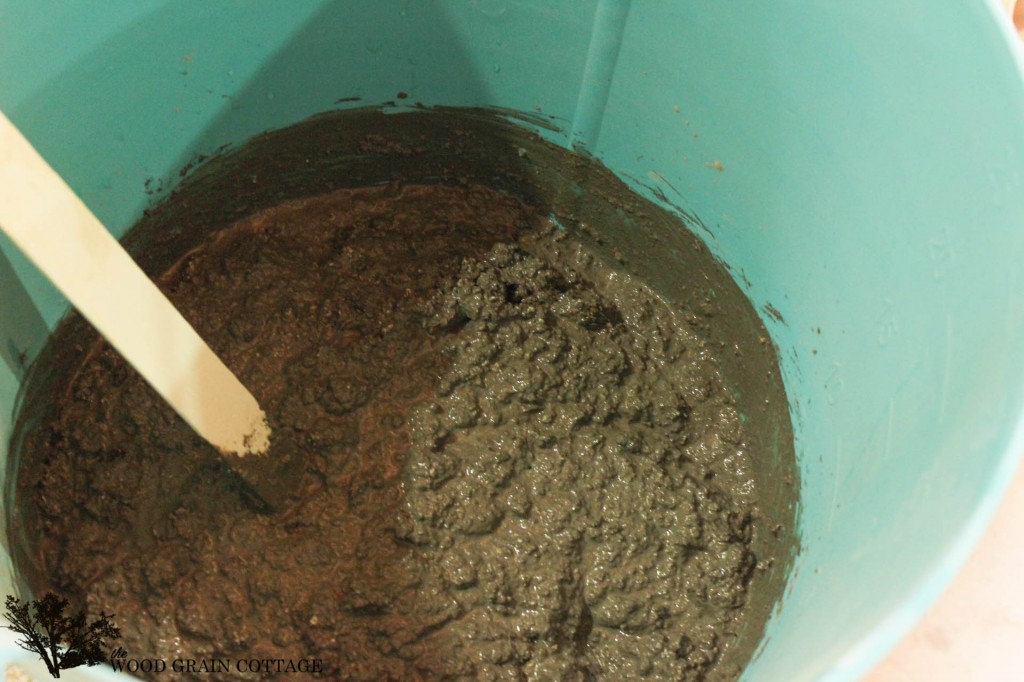
Then, add enough water to make a wet cottage cheese-ish mixture… Technical, I know!
Mix well.
Cut a hole in the bottom of the pumpkin…

Then cover the face of the pumpkin with plastic wrap. Hold in place with a strong tape. I used duct tape.
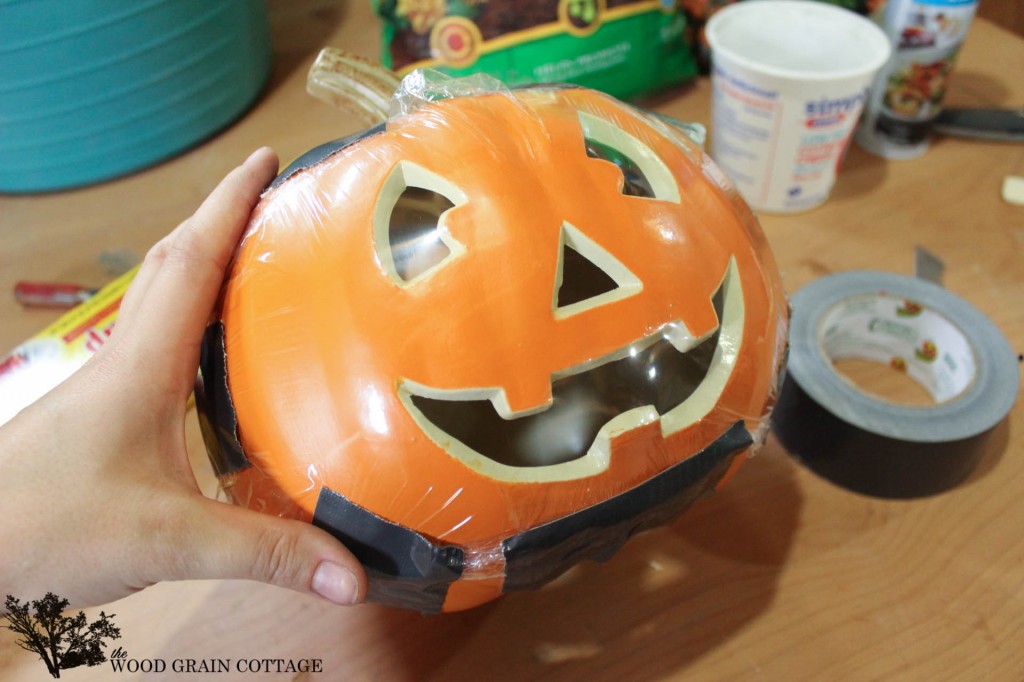
Spray the inside of the pumpkin with cooking spray…
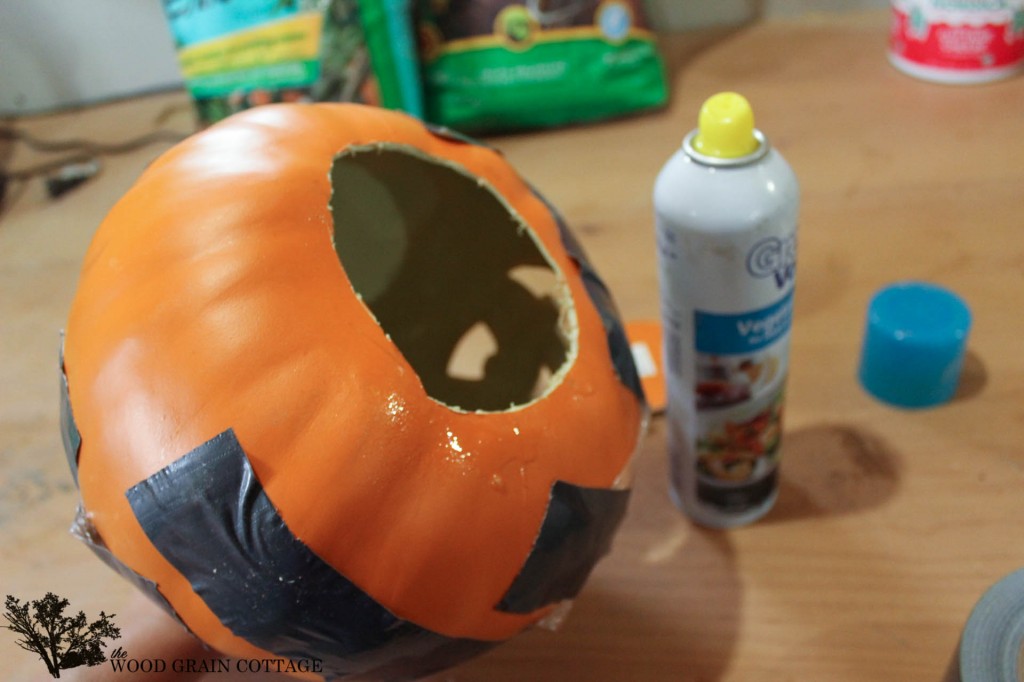
Start filling with the concrete mixture, packing it as tightly as possible.

Let the pumpkin dry at least 24 hours and then remove the plastic wrap.
Allow it to dry at least 24 hours.
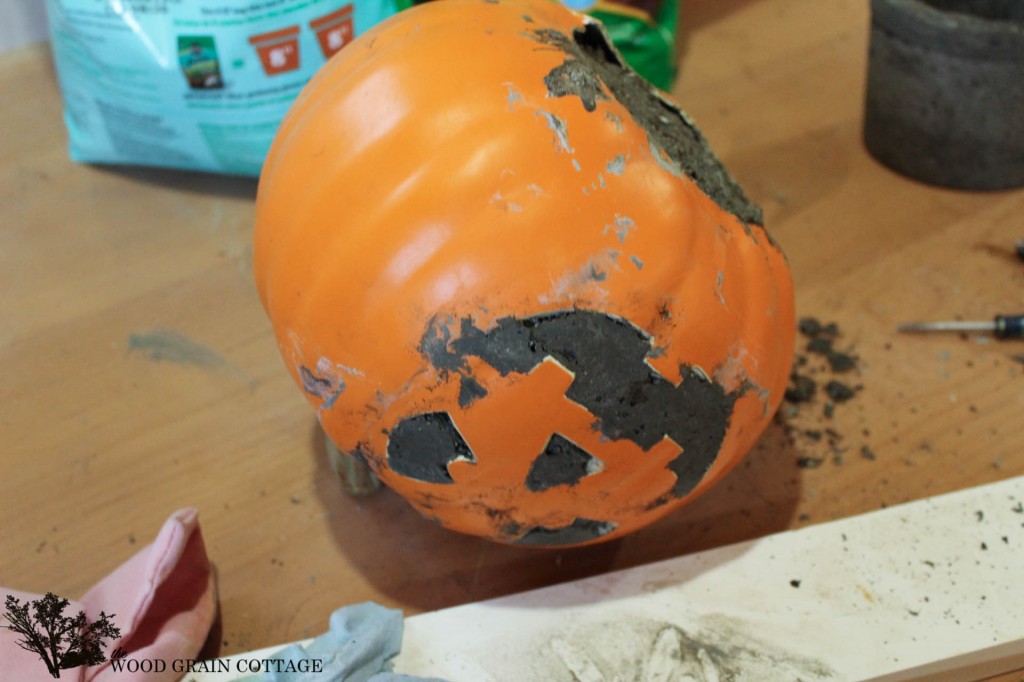
The next day, use snips and and a razor blade to remove the plastic shell.


For the next pumpkin, repeat all the steps above…

But instead of filling the entire thing, use another plastic container in the center. Be sure to spray it with non-stick spray too.

After 24 hours, remove the center container and let it sit another 24 hours before removing the plastic shell.
Once the shell has been removed, let the pumpkins sit at least 72 hours to a week to fully dry and cure.
If you want, lightly paint the eyes and mouth. Sand to distress.
See, they’re easy! But so worth it!
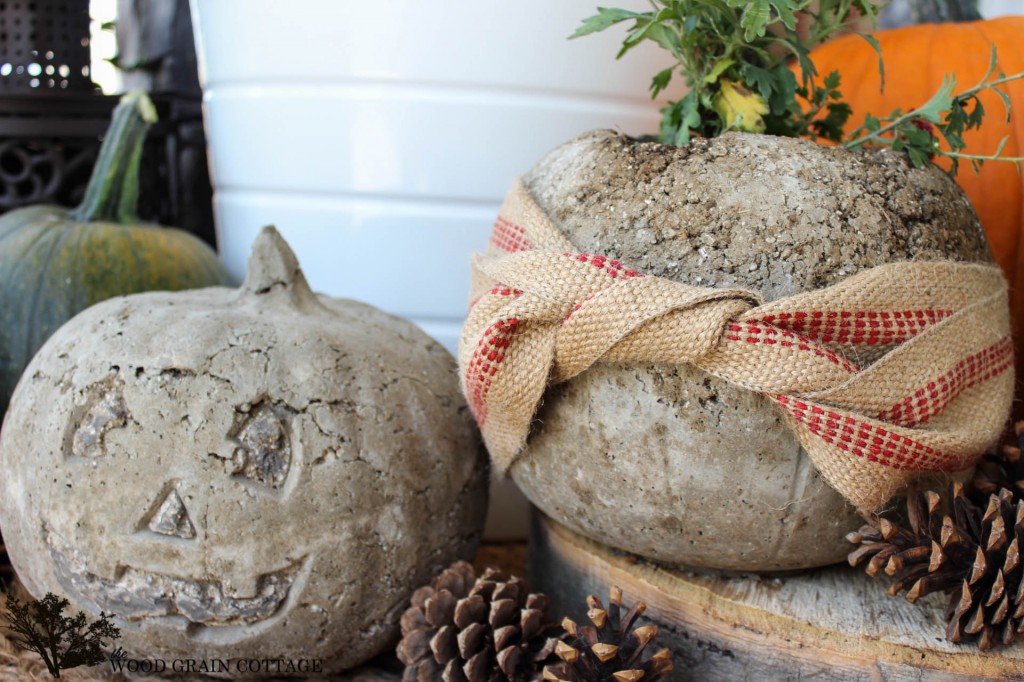


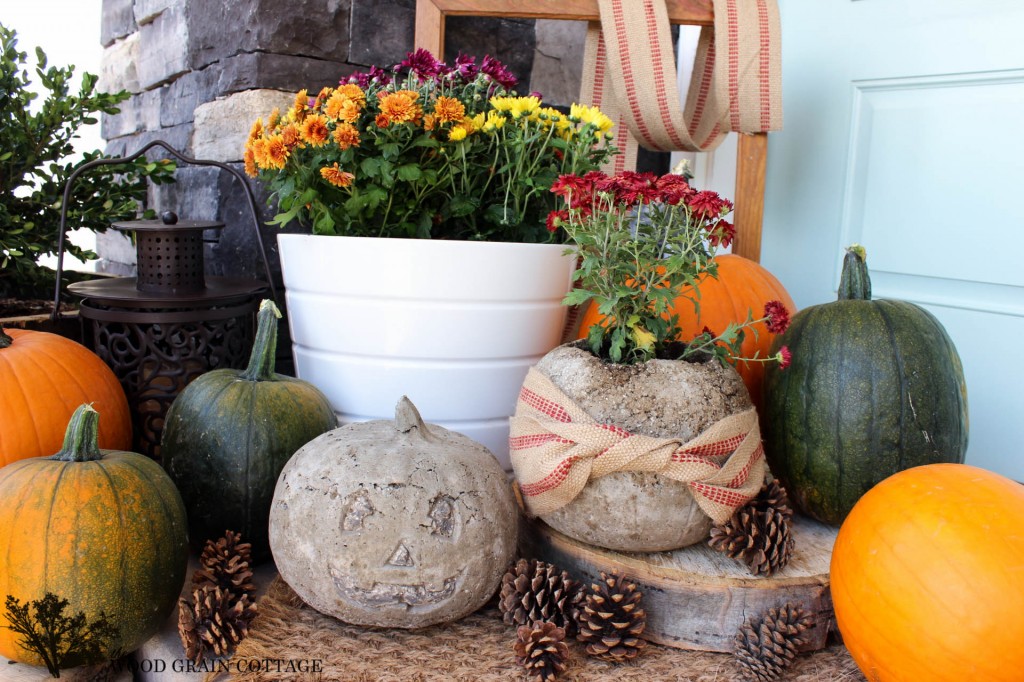
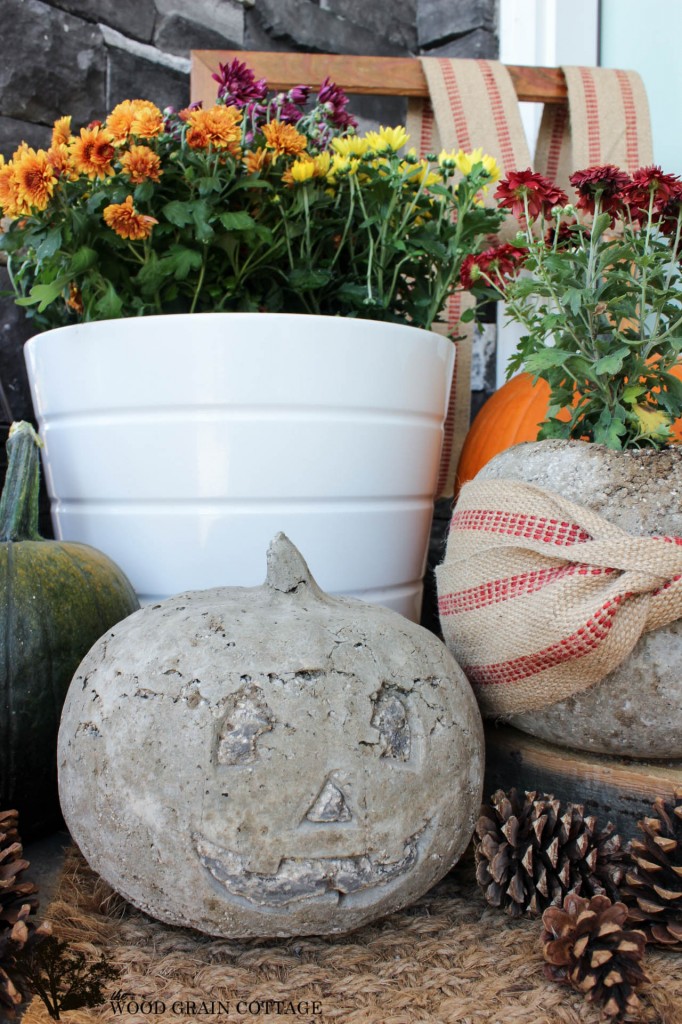
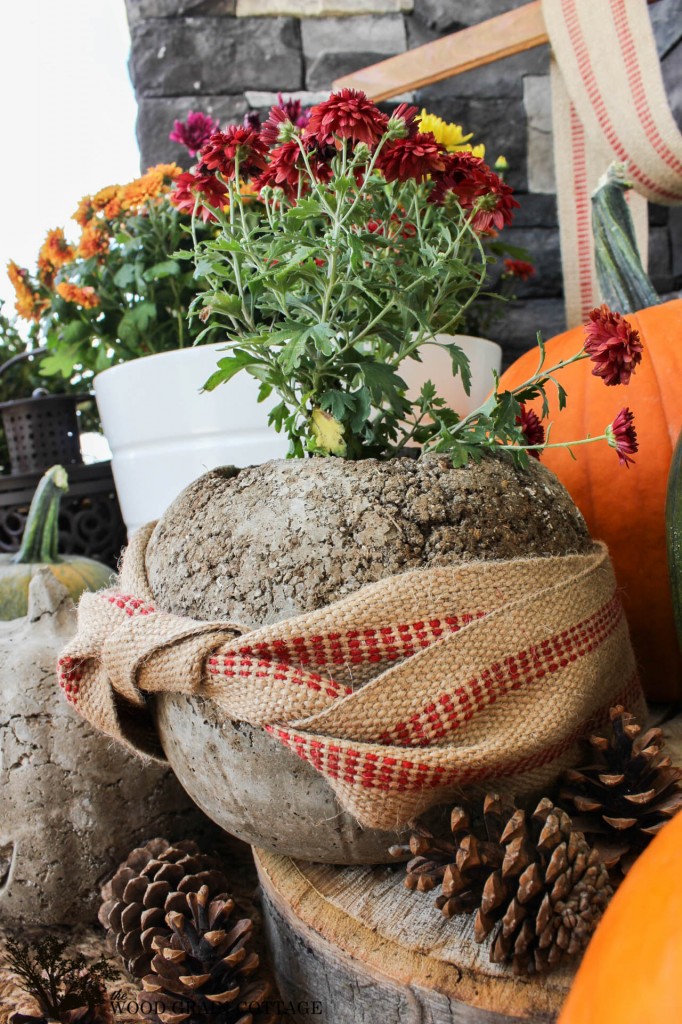
I absolutely love them! They look aged and time warn and I adore the chippy and crumbly look. They’re also very sturdy and heavy, so I imagine they’ll last as long as I want them too!
They look perfect with fall mums and pine cones and I can’t wait to spook-ify them for Halloween!
It’s beginning to look a lot like fall around here… and I’m excited about the change!
Here’s to fall!

Linking up to:
Love your blog and projects!!
Deb
THANK YOU so much for the Monday morning smile, Deb! 🙂
-Shayna
Absolutely love this idea and your execution! They are darling. So smart too. A craft that will last and last. Perfect from Fall, through Halloween and all the way into Thanksgiving. You just rocked this so hard girl :))))
Awe- Shannon! THANK YOU so much! You’re right, they’re definitely going to be used from the beginning of fall alllll the way into Thanksgiving! 🙂
HUGS!
-Shayna
Love, love, love this!! So cool!!
THANK YOU so much! I love, love, love them too! 🙂
-Shayna
These are soooooooooo cool!!! Love them, Shayna! 🙂
THANK YOU so much, April! 🙂
-Shayna
These are amazing! Sharing on my FB page today 😉
Hugs,
Jamie @ somuchbetterwithage.com
THANK YOU so much, Jamie! Thanks for sharing too! 🙂
Hugs!
-Shayna
I love these so much. I love the chippy texture. I am going to have to try it
Thank you so much for sharing
Dido
THANK YOU so much, Dido! I’m so happy you’re going to try them! 🙂
Enjoy!
-Shayna
They’re soooooo cute:) Like super cute…love ’em girl!!! You are so darn crafty, Shayna!
Ok…TOTALLY cute lol;) Blessings & <3,
M
THANK YOU so much, M! I’m so happy you like them! Me too! 🙂
-Shayna
Love this project. First of all, where can you find inexpensive plastic pumpkins like you used on the first pumpkin? Second, why do you have to use Sphagnum Peat Moss and Perlite with the concrete?
THANK YOU so much, Erin! I found the pumpkins at Walmart. I bought the pail for $1 and the other was $5. You could probably find one at the dollar store too, but when I was looking they weren’t out yet!
Also, the peat moss and perlite break up the concrete so it’s not so “solid”. They cause “bubbles” and give the pits and pockets and make that crumbly appearance. You could absolutely just use concrete, they just won’t have the texture.
I hope that helps! 🙂
-Shayna
Shayna great concrete pumpkins and beautiful pictures!
THANK YOU so much, Susan! 🙂
-Shayna
Shayna–you’re so talented and I love your home! I’m also sharing on my FB page this morning. Have a wonderful day!
THANK YOU so very much, Stephanie! Thanks for sharing on FB too! 🙂
Have a great day!
-Shayna
These are too stinkin cute! LOVE them!!
THANK YOU so very much! 🙂
-Shayna
Wow Shayna! What a funky idea… so cute yet rustic and earthy!! Awesome:)
THANK YOU so much, Krista! 🙂
-Shayna
o.m.g.!!!
these are so amazing! So so so inspired! Going to make some this week!
(squeal!)-aimee
THANK YOU so very much for the super sweet comment, Aimee! I am so so so glad you’re inspired! 🙂
Hugs!
-Shayna
Grrrreat idea! Saw your link at Shabby Story. Cute blog!
THANK YOU so much, Holly! So happy you found me! 🙂
Welcome to the WGC!
-Shayna
I LOVE this project, Shayna! DEFINITELY going to give this a try sometime! Thank you for linking up to my party! 😀
THANK YOU SO MUCH, Layla! 😀
I love linking up!
-Shayna
Has to be one of the best ideas I’ve seen for fall this year, love it!
Awe- THANK YOU so much, Sara! 🙂
-Shayna
VERY cool! I’ve never seen anything quite like them!
THANK YOU so much, Korrie! 🙂
-Shayna
This project is very nice and original! I cited it in my Italian Web Site: http://lunadeicreativi.com/blog/20-zucche-di-halloween.
Thank you, Lory
THANK YOU so much, Lory! And thank you for sharing too! 😀
-Shayna
How cute! This is such a creative idea. I love the little vignette you created with the concrete pumpkin. 🙂
Hi Shayna – I love these! I do have a question though- in the pictures of the finished pumpkins the facial features look indented on the solid pumpkin, but in the how-to photo’s it looks like they would protrude. Any further tips on how you achieved the indented looking effect?
Hi Karla! Great question! When I was making the pumpkins, I made sure the concrete was filled in tightly around the eyes. Once I removed the plastic mold, I was left with indention’s of the face, even though they don’t really protrude out. I hope that helps! 😀
I tried this and they looked more like dirt than concrete?! You used equal parts of quick Crete, sphagnum and perlite? Feel like I need much more concrete. I adore these and will try them again! Renae
Hi Ranae! So happy you tried them! Try adding in a bit more quickcrete, and mixing, mixing, mixing. I found after making a few other concrete things that the mixing is a very important step, especially with the perlite and moss. I hope that helps!
Forgot to say thanks!