
DIY Ice Bucket
See how easy it is to make your own DIY Ice Bucket our of a trash can for less than $30! I’m sharing my easy to follow tutorial!
Happy $30 Thursday to you!
Remember yesterday when I said I wanted to host a summer party? Well, I totally meant it. Now that I have my drink tags covered, I figured I would need an ice bucket to go with them.
And really, what’s better than an ice bucket in the middle of summer? Especially when you can make your own… out of a trash can!

DIY Ice Bucket
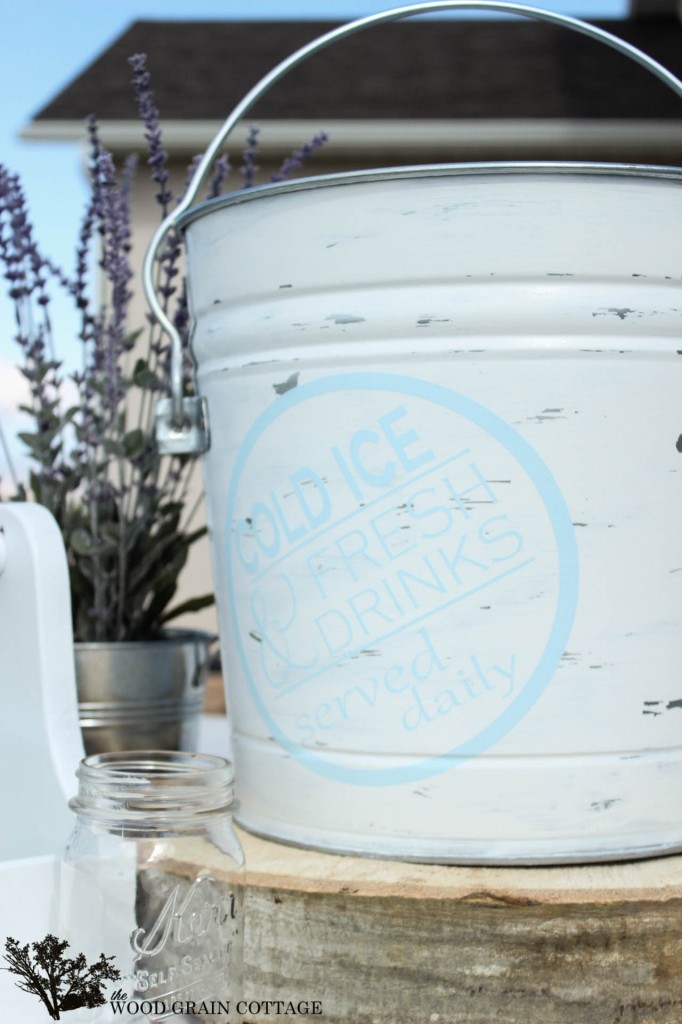
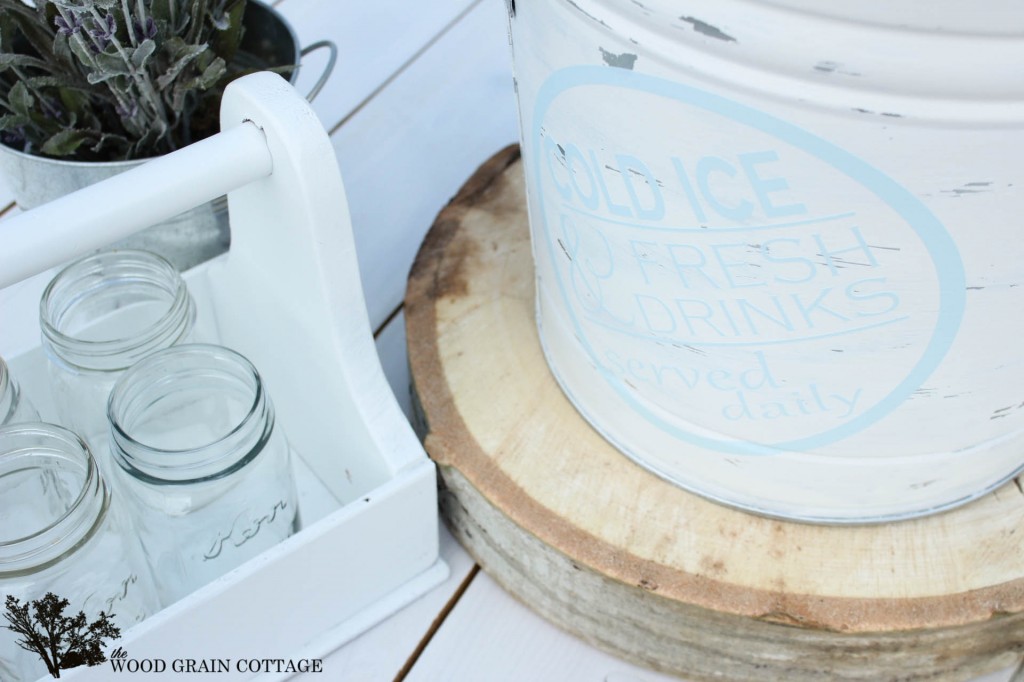
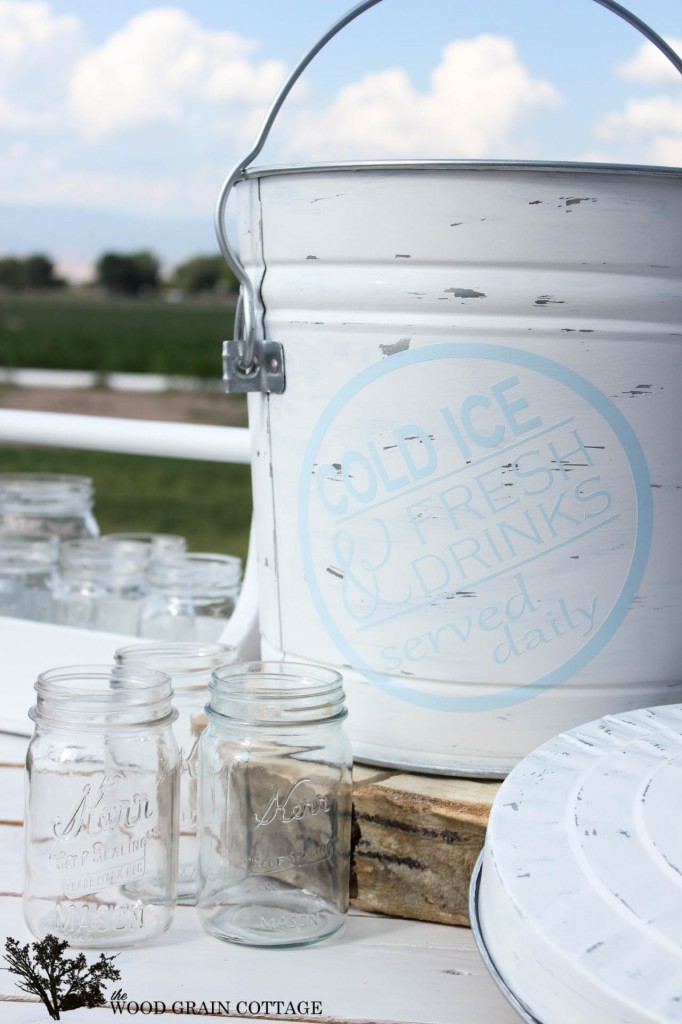
I knew I wanted something that would hold a huge heap of ice, so I grabbed a 6 gallon galvanized metal trash can from the Home Depot for $16.00.

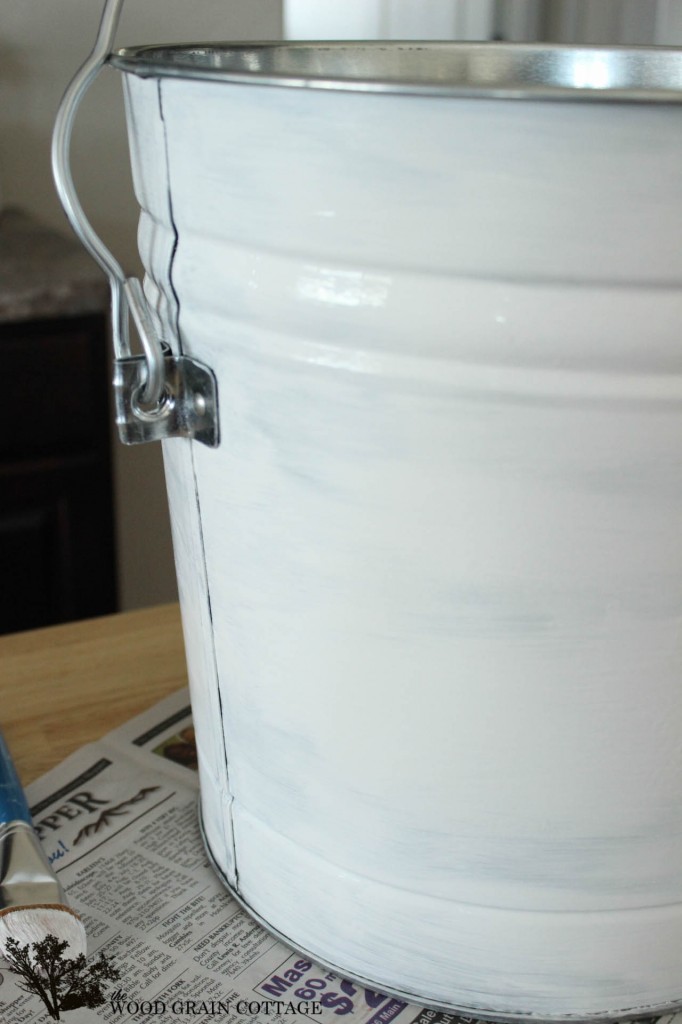
To start the transformation from trash can to ice bucket, I grabbed some white paint and gave the entire thing a light coat.

Once it dried, I gave it another coat of white paint, but made sure to leave some of the original metal peeking out.
Then, I did the exact same thing to the lid.
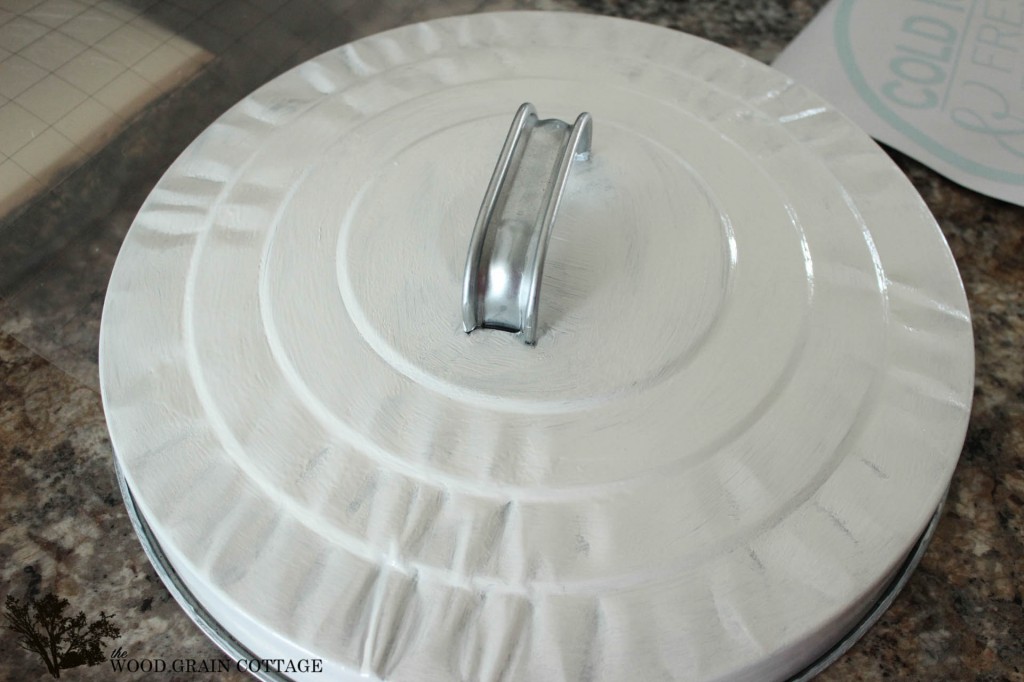
Once the paint had dried, I used my sanding blog and gave it a light sanding all over, but scrapped the paint off in a few random areas.

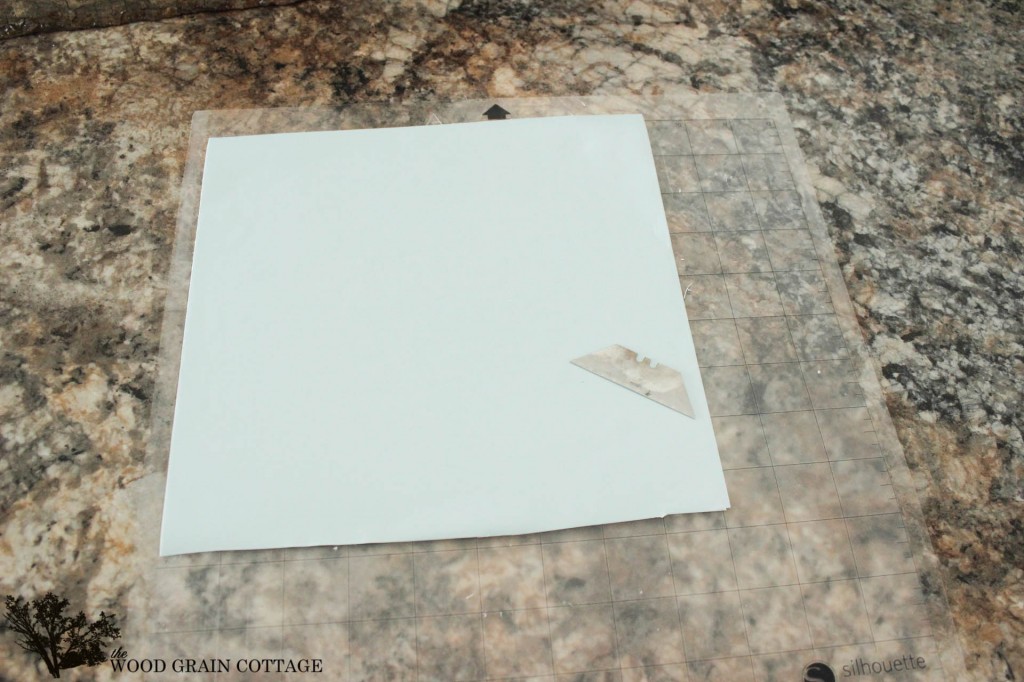
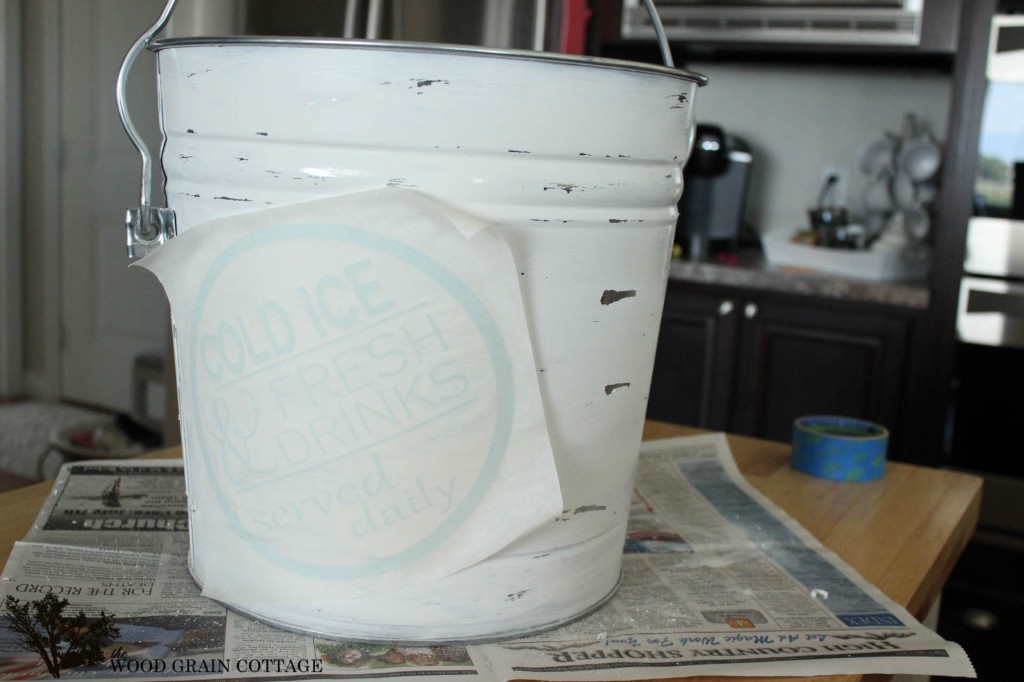
With that done, I created a design on my silhouette machine, then transferred the image onto the bucket.
With the image in place, I sprayed the entire outside of the bucket and lid with a few coats of water based poly.

Once it was dry, this pretty little thing was all ready for it’s debut!
Let me just tell ya’… I’m beyond lovin’ the results!

And around here, Cold Ice & Fresh Drink are Served Daily. It’s hot!
It’s the perfect extra touch for an outdoor party!

The distressed and chippy finish is one of my favorite parts…

And I love that baby blue logo…. It’s got such a fresh vibe!
Now I really must host that outdoor party! I practically don’t have any excuses left… almost!
I’m even happier to know that galvanized metal is safe for food use. As long as we don’t put it in contact with acidic food or massive amounts of heat, all is safe. Plus, if I really want to take the extra step, I can insert a clear bag to hold the ice.
That would actually look pretty cute, you know…. since it’s a trash can….
Here’s what April & Jen have been up to this month:
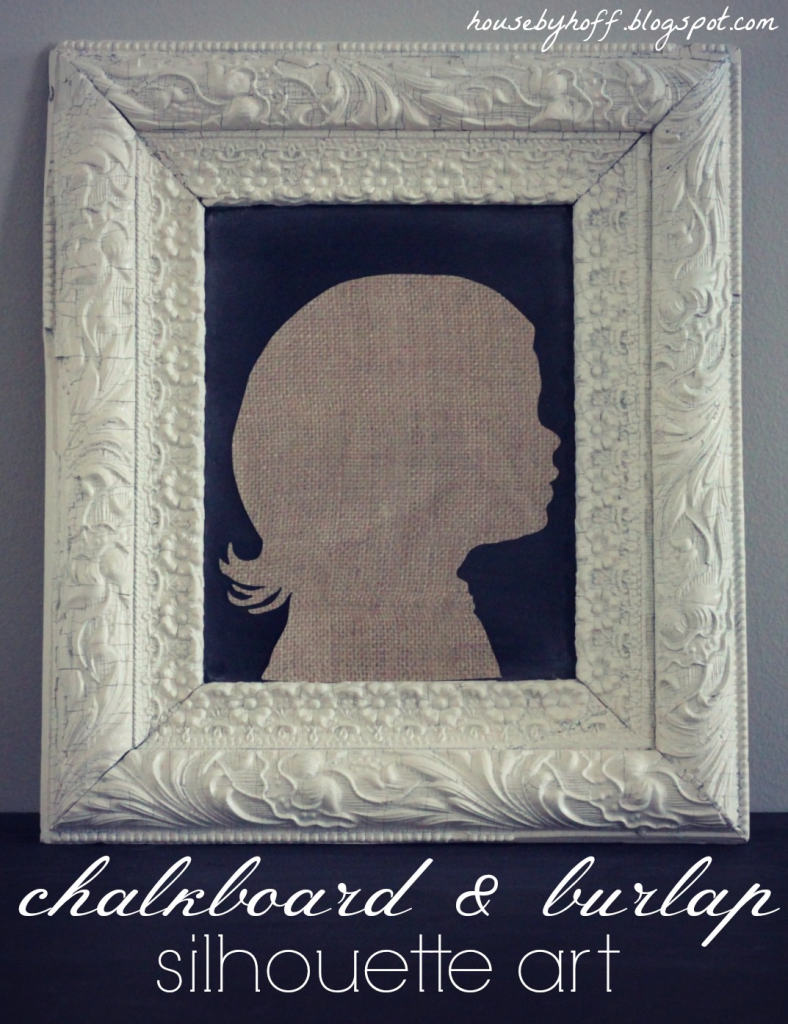
April at House by Hoff made this adorable chalkboard & burlap silhouette art… and shows you how you can make your own too!
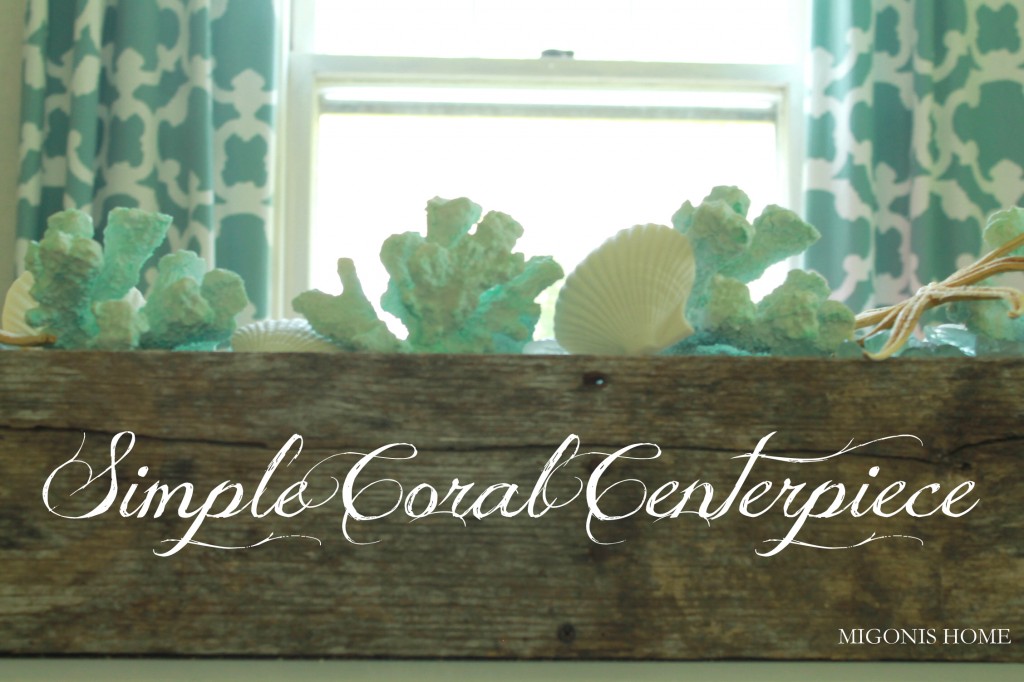
And Jen at Migonis Home shows how easy it is to make a fabulous coral centerpiece!
There you have it. Another $30 Thursday is down in the books.
Don’t forget to follow our $30 Thursday pinterest board too!
Happy Summer!
You are one clever Chica!
This is a great DIY! Having that 6 gallon container will save you from refilling that ice bucket every ten minutes
I also like your idea of inserting the plastic bag in there. I have another idea to add as well. There is stuff in the fabric store that people but to make hot pads. Can’t remember the name. Anyhow in hot pads it keeps you from burning your hand, but you could also get a piece of this fabric and slip into the bucket before you put plastic ice bag in and it can keep your can cool. Keeping the ice from melting too quickly.
THANK YOU so much, Cheryl! So happy you like it too! 🙂
You’re idea is fabulous! I will definitely be checking that out! Thanks!
-Shayna
Hey I remembered the name of the fabric. It’s called insulbrite. People use it to make pot holders , oven mitts and even casserole carriers to keep things warm. I bet if used in your ice bucket it could be used to keep the ice cool so it won’t melt.
THANK YOU for finding the material for me Cheryl! I will be looking into it! 🙂
-Shayna
Fabulous!
THANK YOU, Alina! 🙂
-Shayna
This is great. I just bought the same can for outdoor use.
THANK YOU! Great minds think alike, huh?! 🙂
-Shayna
smart idea Shayna and the result ; very pretty! I can’t believe how you transformed a garbage can into an ice bucket! 🙂 love the transferring of the image very much! 🙂
THANK YOU so very much, Ingrid! I’m loving the outcome too! 🙂
-Shayna
I love that both of used our Silhouettes for our projects this month! Aren’t the possibilities endless?! Did you use vinyl? Love your project! 🙂
THANK YOU, April! Great minds totally think alike! I smiled big when I saw that we both used our silhouettes! I agree, the possibilities are endless!
Yes, the label is vinyl. I’m lovin’ the way it turned out! 🙂
-Shayna
It is super (duper) sweet, Shayna!!! Love the vintage look…talented AND beautiful, YOU ARE!!!
Blessings,
M
THANK YOU, M! You always give me the biggest smiles! 🙂
I’m happy you love it too!
-Shayna
Hi Shayna!
This ice bucket is fabulous… I was just eyeing up some little metal buckets that I picked up at the dollar store thinking about how to change them up. Love how yours turned out – the bigger size will be perfect as an ice/drinks bucket too. I really need to get a silhouette…maybe next week now that I see your cute project too. Great to meet you, I’m a new follower on bloglovin’!
Krista
HI Krista! THANK YOU so much for the lovely comment! I’m so happy to meet YOU and to have you as a new follower!
I’m tellin’ ya, once you get a silhouette you will be dreamin’ of projects! 🙂
-Shayna
This is so super cute!!
You’re a rock star!!
Have a blessed and wonderful day!!
Awe- KariAnne! THANK YOU!
I hope you have a blessed and wonderful day too! 🙂
-Shayna
This is such a darling project and your tutorial is excellent! I love it! We would love to have you link this or any of your posts to our Saturday Show Us How You Rock Link Party. It starts Fridays at 6pm hope we see you there!
Tracy
http://www.madefrompinterest.net
THANK YOU, Tracy! I’m so happy you love it! Me too!
Thanks for the invite! I’ll head over and link up! 🙂
-Shayna
Shayna, once again I love this project! I’m featuring you this week at our “Inspire Me Please” blog party. Congrats!
xo, Jennifer
THANK YOU so very much, Jennifer! How exciting! 🙂
-Shayna
Wow, amazing job! Such a great idea 😉
Jamie @ Better With Age
THANK YOU so much, Jamie! 🙂
-Shayna
What a cute idea .. I really need to try. It’s going to be hard since I don’t own a silhouette machine. Quick question, did you also made those mason jars glass holder/tray? The whole thing just screams “outdoor fun” 🙂 Thanks for sharing this with us.
THANK YOU so much, Grace! I’m glad you like it. If you want, I can sell you your own cut out of the vinyl and stick it in the mail. Just e-mail me. 🙂
With the mason jar caddy, I actually found it at a thrift store for $1 and painted it white. It’s perfect for so many things!
-Shayna
So cute! I love it! Pinning!
THANK YOU so much, Mindi! 🙂
-Shayna