
How To Recover an Ironing Board
I don’t know how you feel, but I was beyond tired of the generic cover that came on my ironing board.
For one, it didn’t have elastic to hold it onto the frame and I was constantly readjusting it and the foam beneath it. Second, it was a dark blue and showed everything.
It was time for a new one. I was tired of complaining about it… to myself! Anthony would have used his “selective hearing” feature and wouldn’t have listened anyway!

I guess I kept putting it off because I thought it was going to be hard. That, and I couldn’t find any fabric that I liked.
One day I was walking through Walmart and I noticed that they had an entire section of $1-$3 / yard fabric. In that section they had a lovely black & white striped fabric.
Must I tell you again how much I love stripes?
You’d better believe I grabbed it up. I mean, at $2.00/ yard how could I have walked away? So not going to happen!
I drove home proud! I knew exactly what I was going to do with it.

Contrary to what I thought {and nervous about my beginner sewing skills}, it was quite easy to make a new cover!
Here’s how:
First, wash and iron the fabric. Mine is a cotton blend, which works perfect for this project. I used about 2 yards of fabric, but bought 5 yards for a few other projects too!
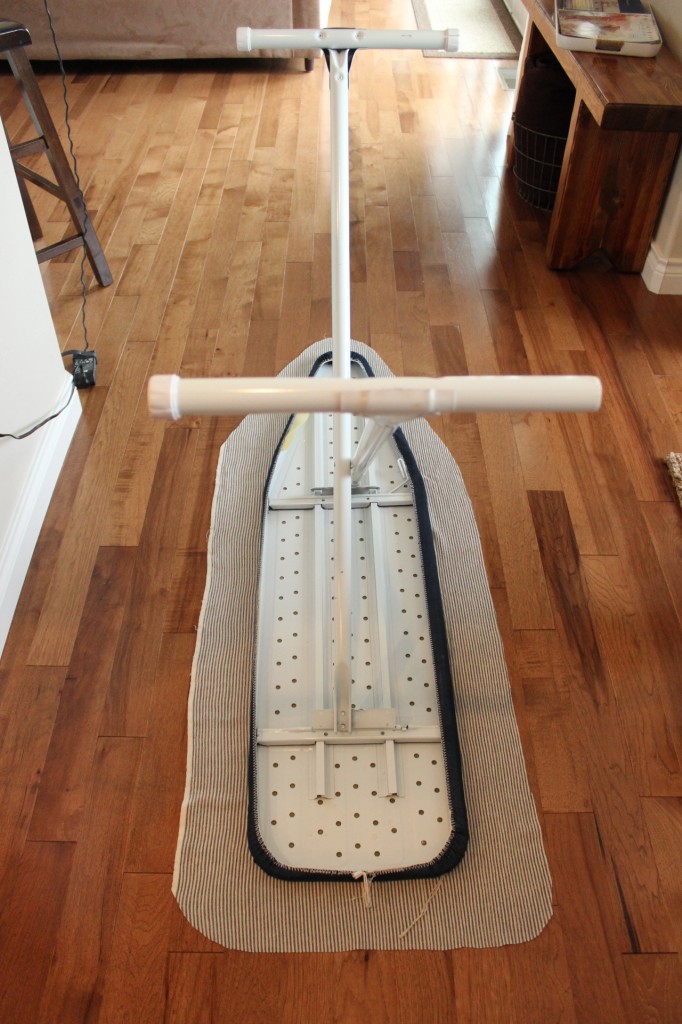
Once it’s ironed, lay it face up on the floor and place the ironing board on top.

Cut around the ironing board, adding about 3 inches to each side.
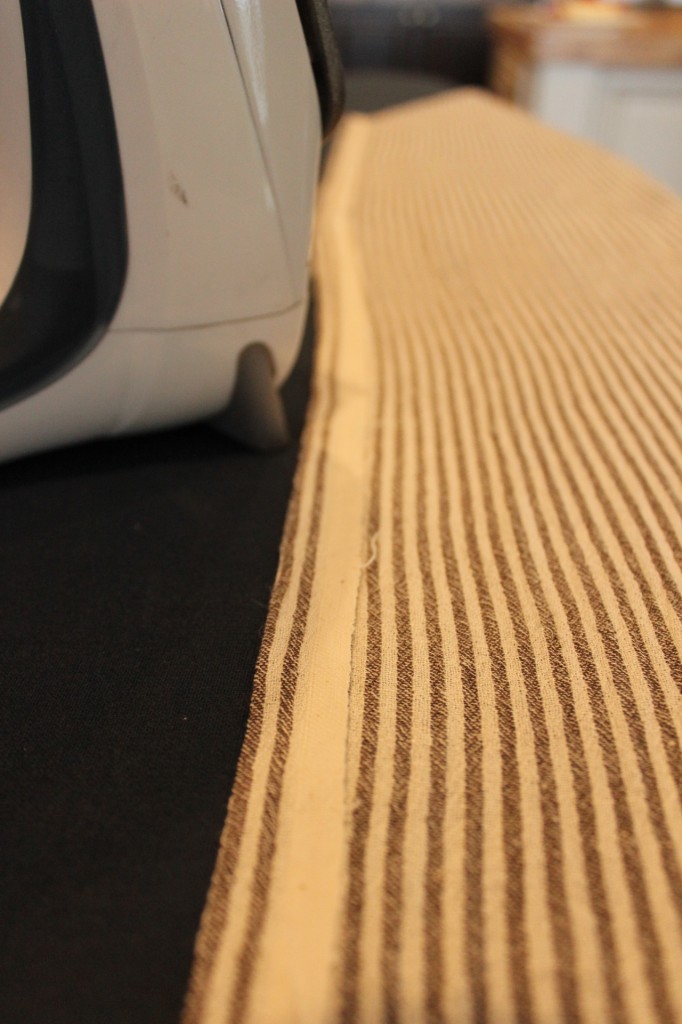
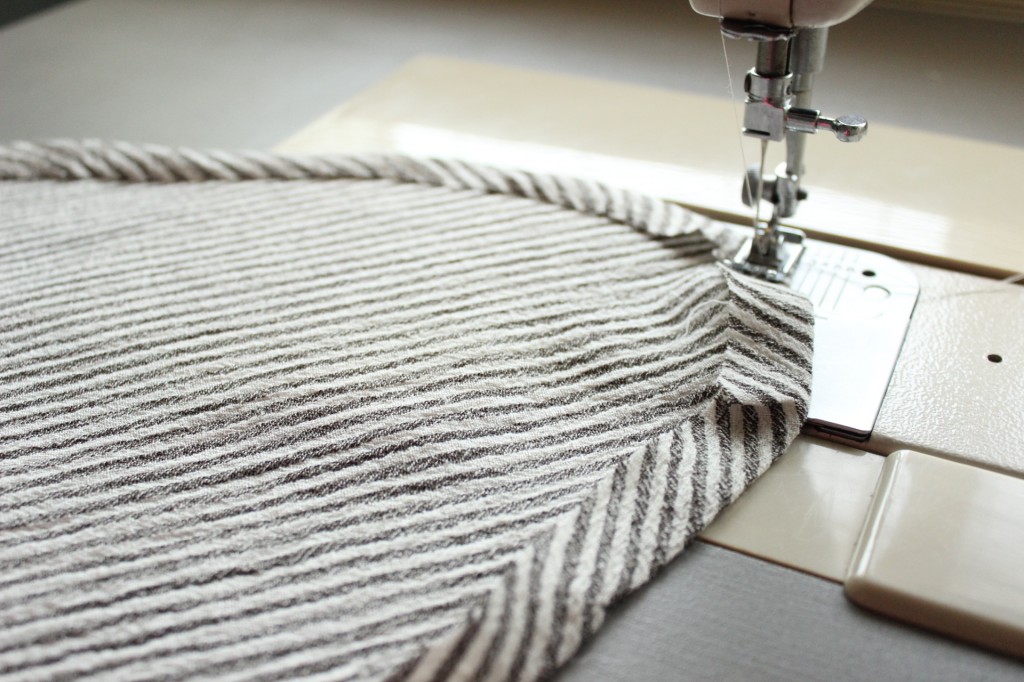
Flip the ironing board back over and iron the fabric over about 1/2″.
Do the same thing on all the “curves”. It’s ok if it doesn’t look really pretty. You won’t see it.
With your sewing machine, sew around the entire thing.

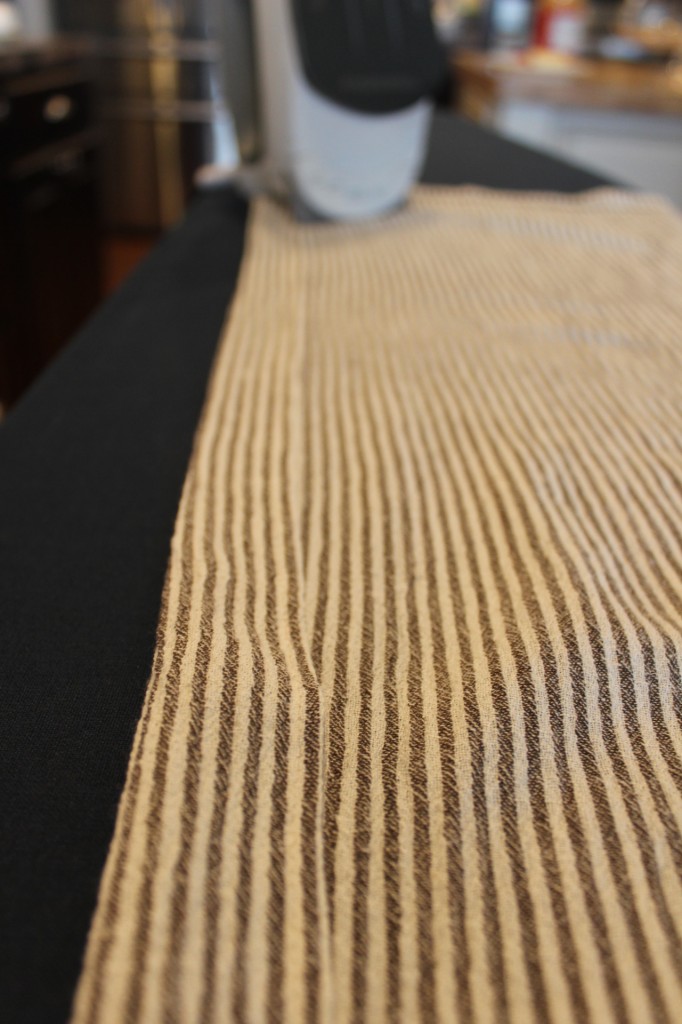
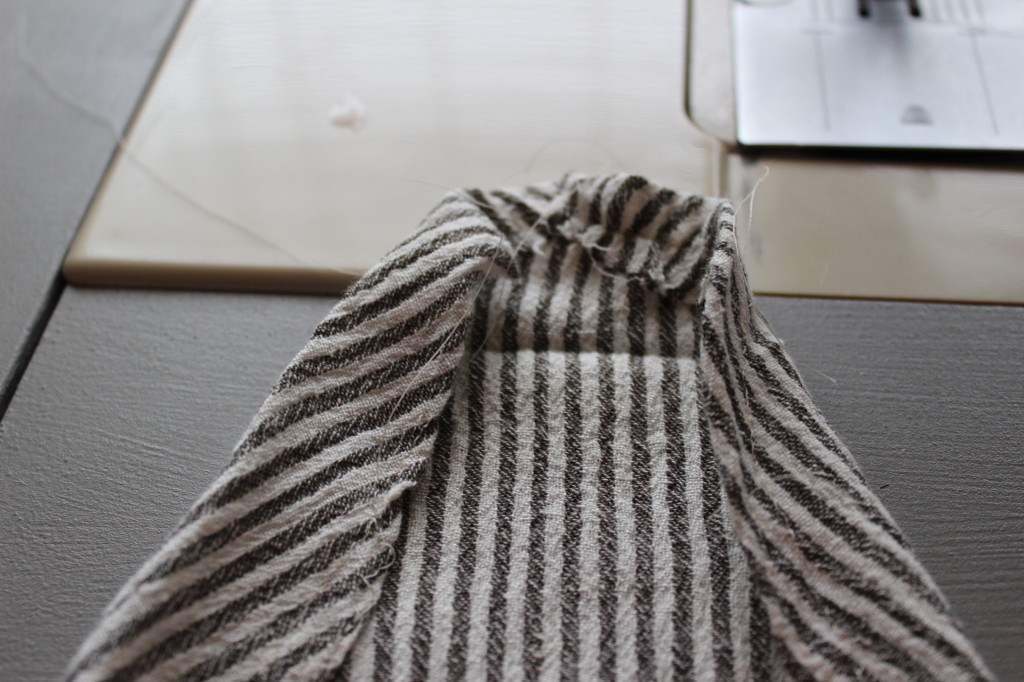
Then, go back to the ironing board and fold the fabric over another inch and iron in place.
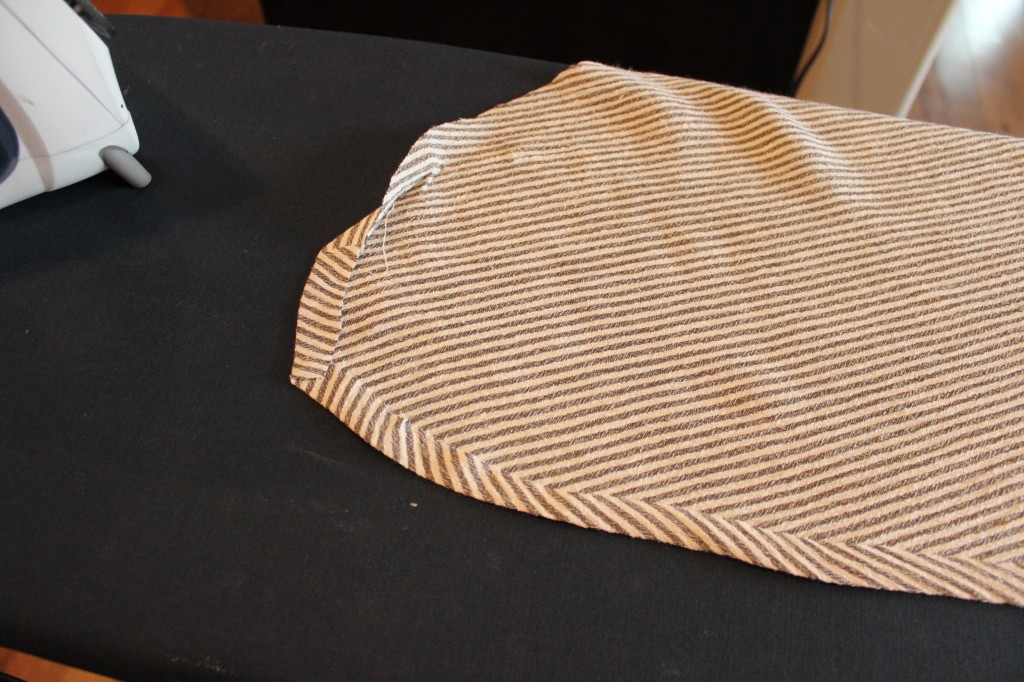
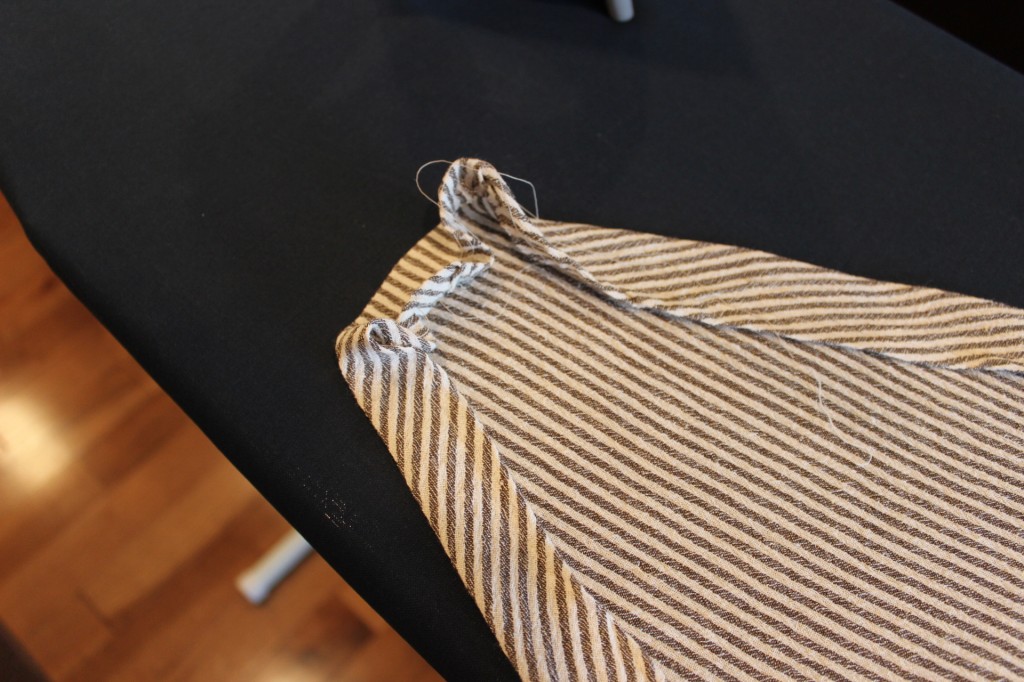
For the narrow end of the cover and the bottom corners, fold the sides and top over, but leave the top corners open.
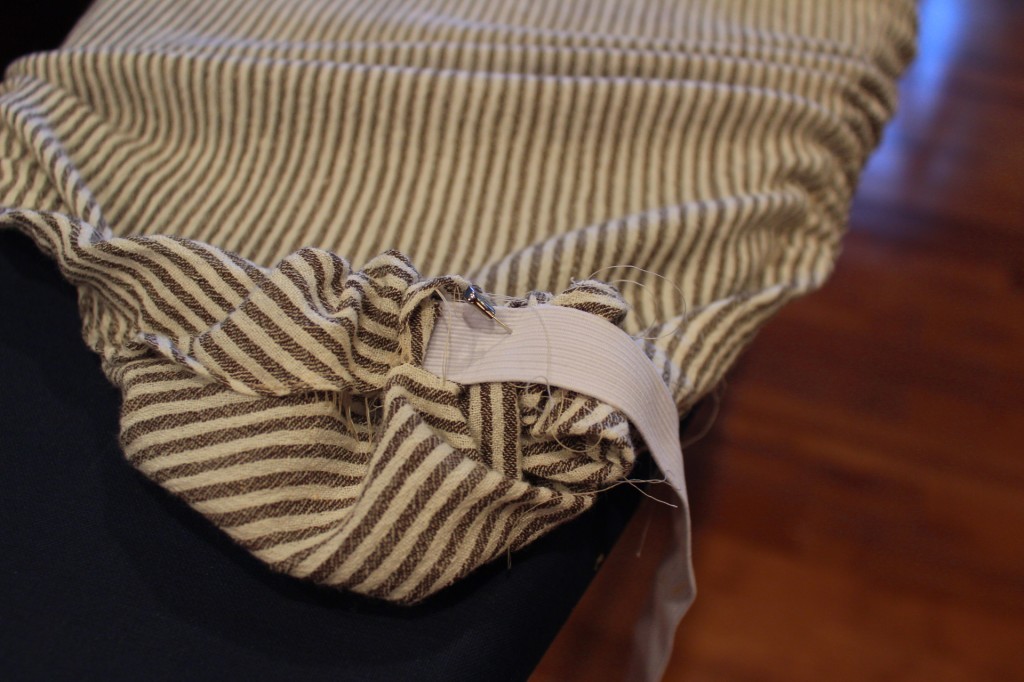
Go back to the ironing board and place your elastic over the folded fabric. Move the needle to the proper position and width for the elastic. My elastic is 3/4″ wide x 3 ft long.
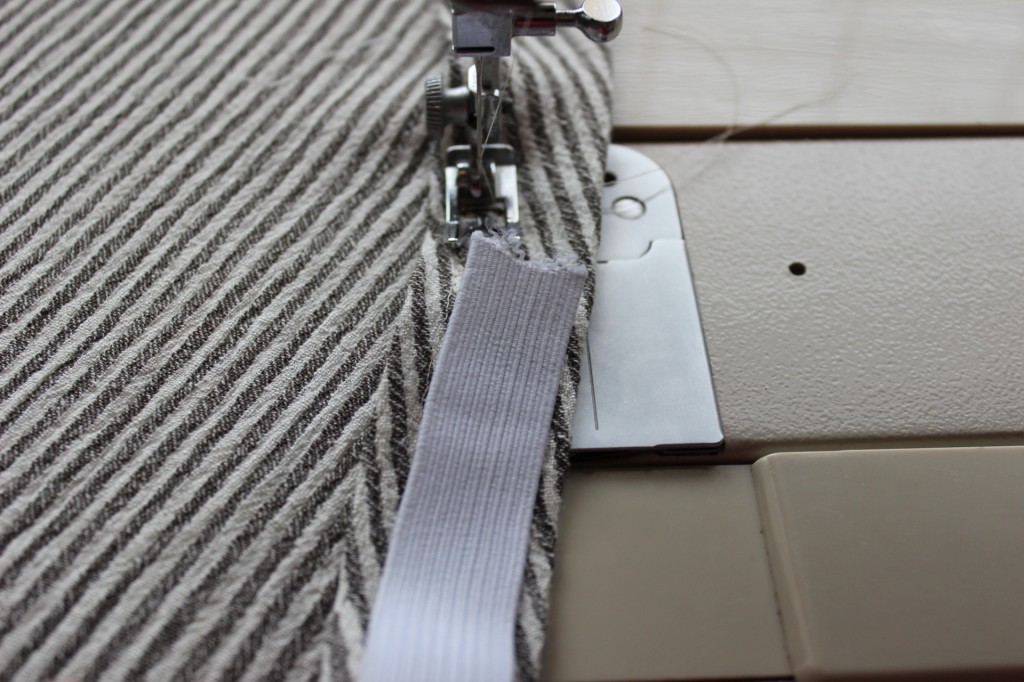
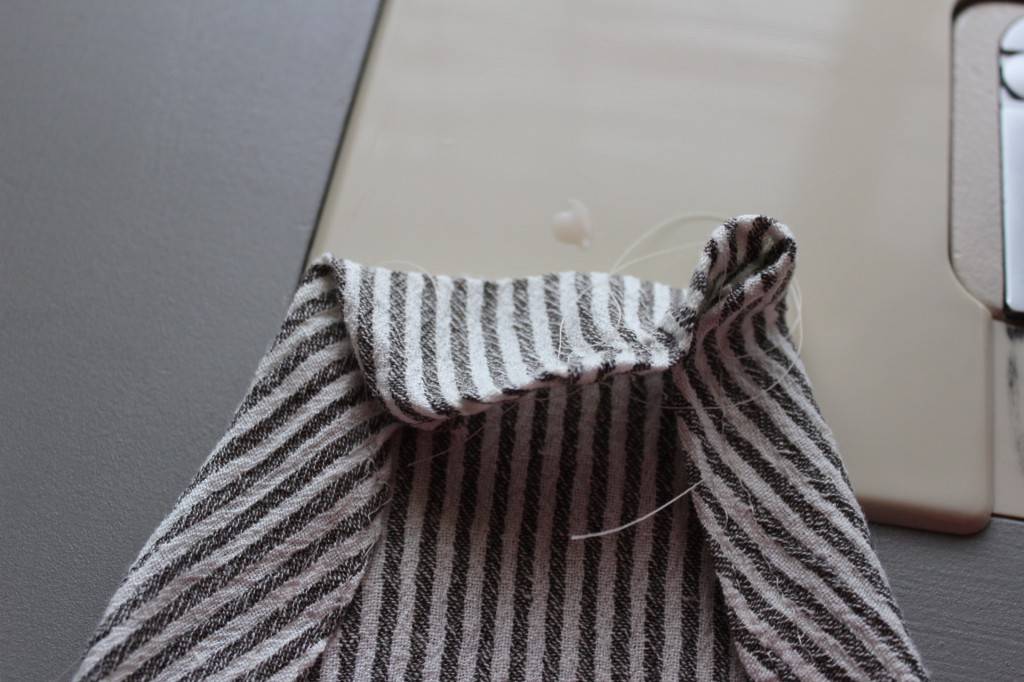
Remove the elastic and sew all the sides. At the narrow end of the cover, sew to the corner joint, making sure NOT to sew the corner. If the corner is sewn, the elastic cannot go through the pocket.
With the sides sewn, fold the top over and sew the top part, making sure NOT to sew the corners!
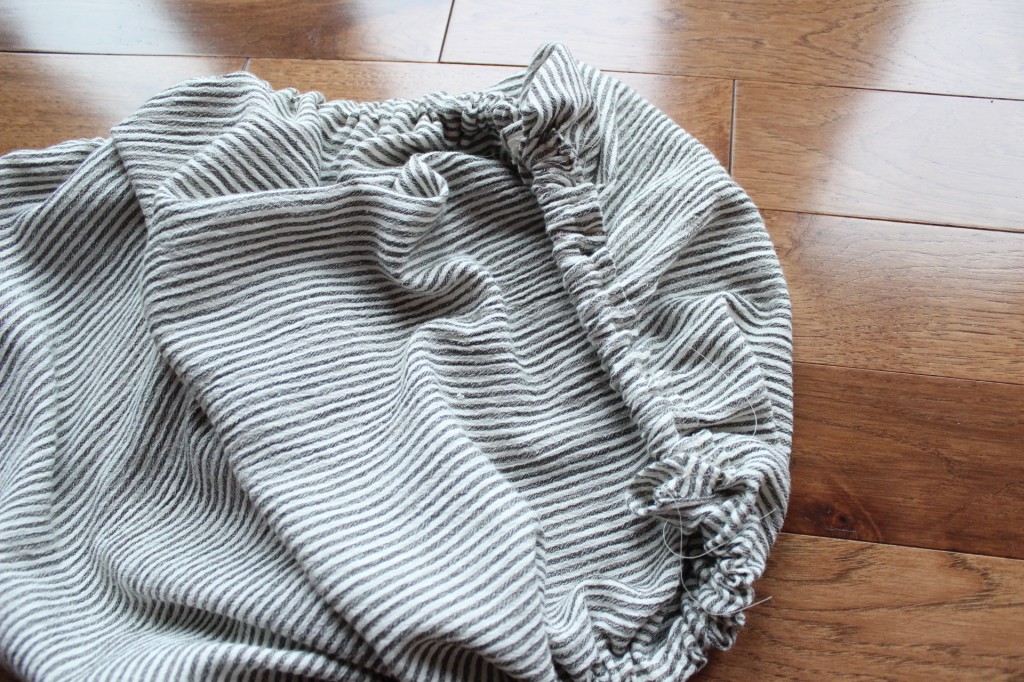
Push a safety pin through the end of the elastic…
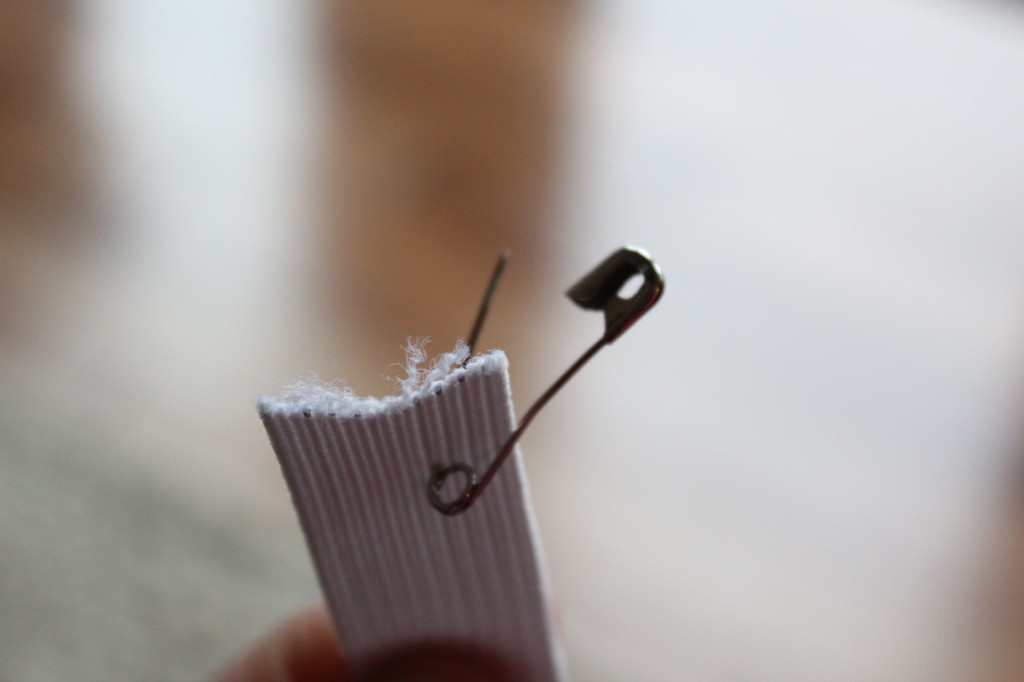
And begin working it through the fabric pocket. It should be snug. The elastic will be really tight and the fabric will start to bunch. Keep working your way around.
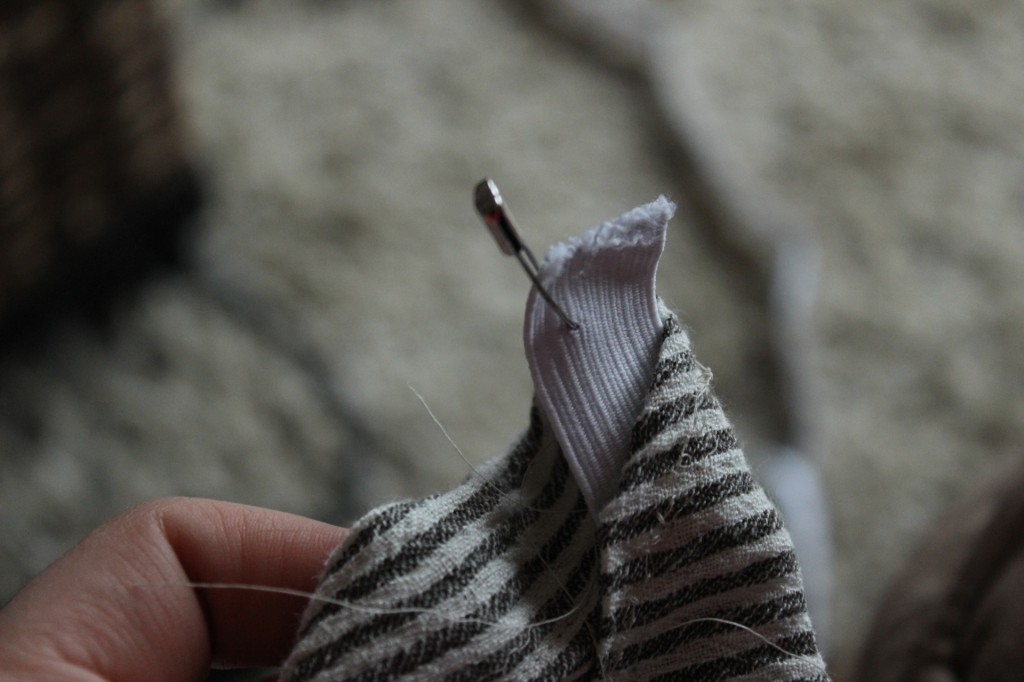
It will look like this with the elastic.
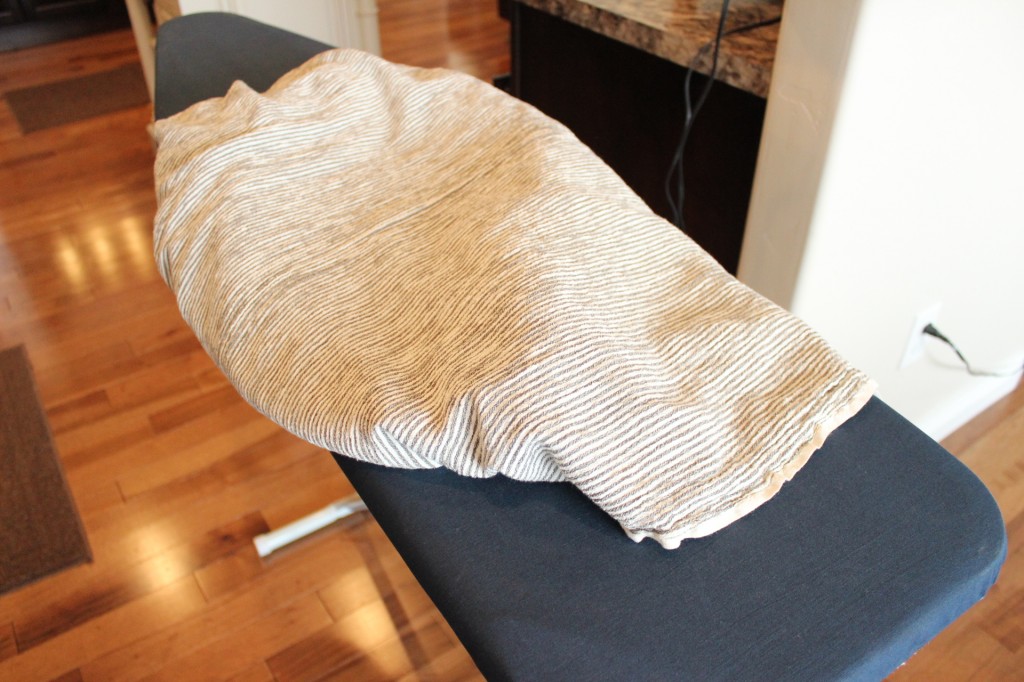
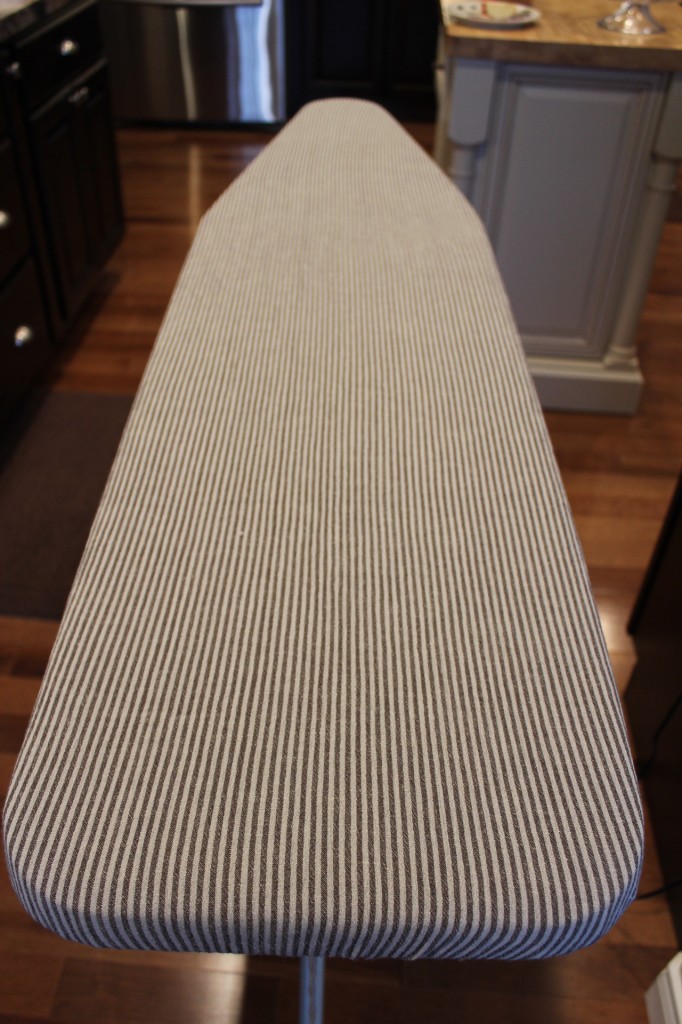
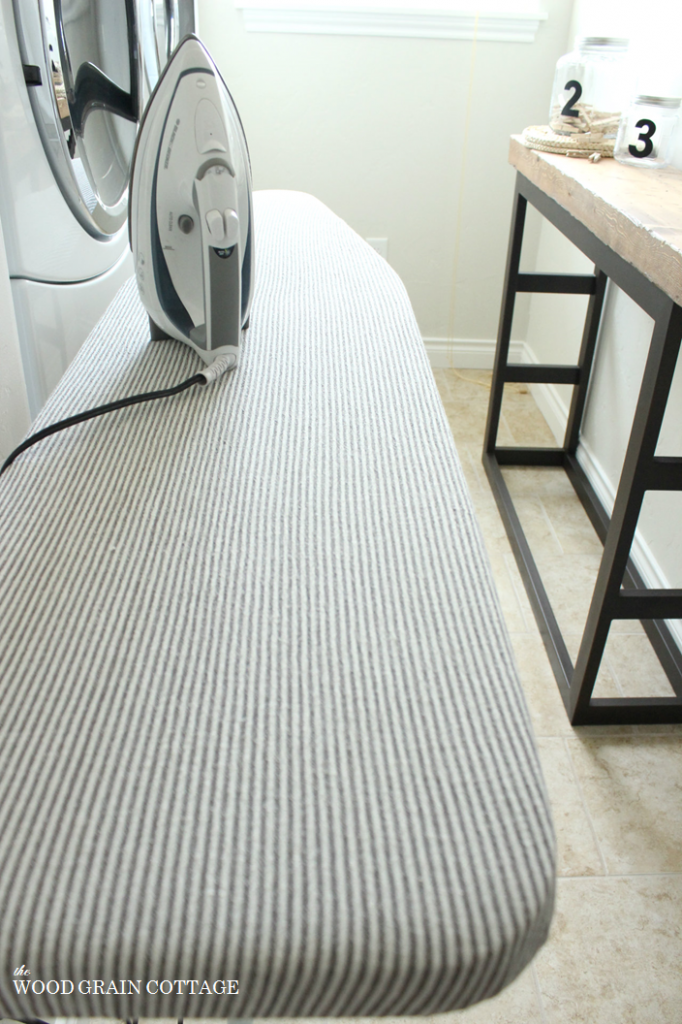
Remove the old cover from the ironing board and place it over the foam. Pull tight in all directions.
To secure the elastic in place, use the safety pin to secure both ends together. If there is extra elastic, trim it off, or tuck it inside the frame.
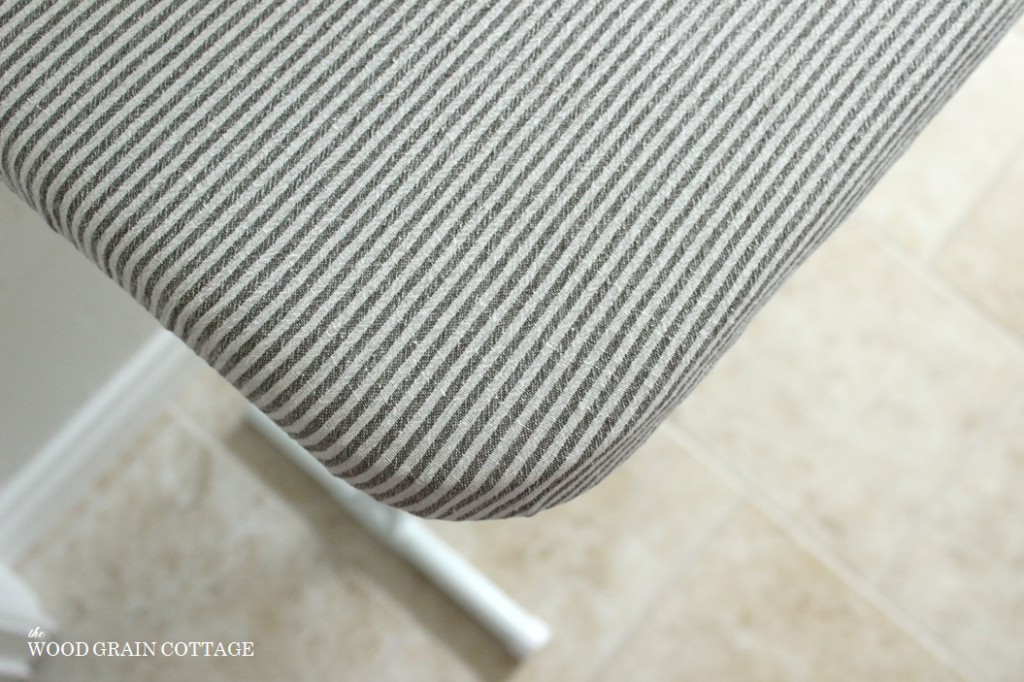
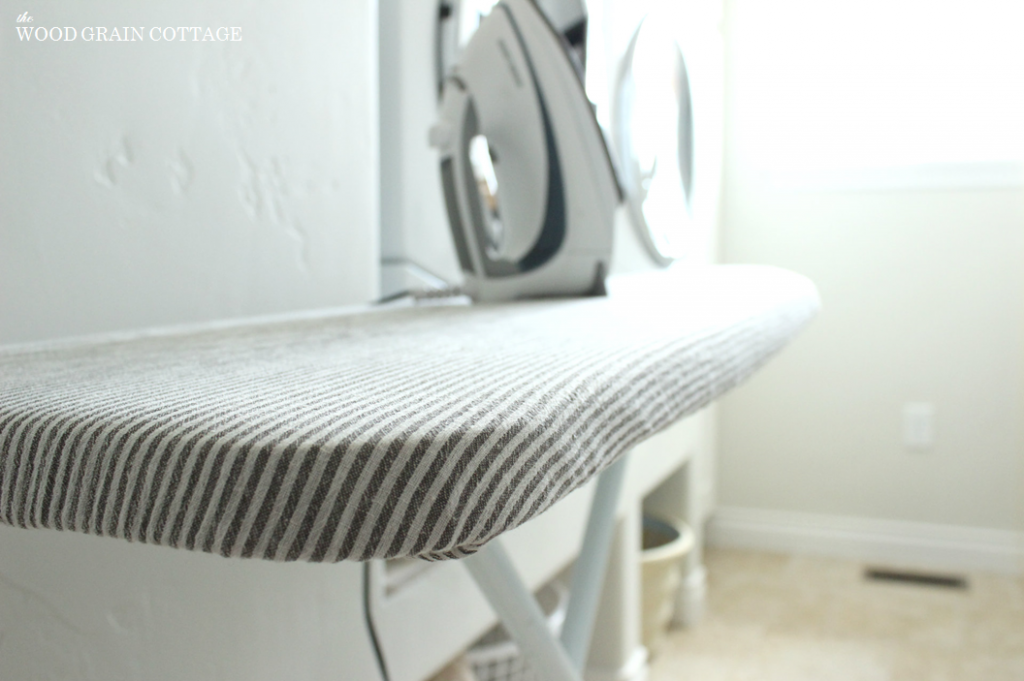
Once it’s snug and the stripes are straight, it’s finished!
Seriously, it’s easy! And you’re left with such a lovely finished product!
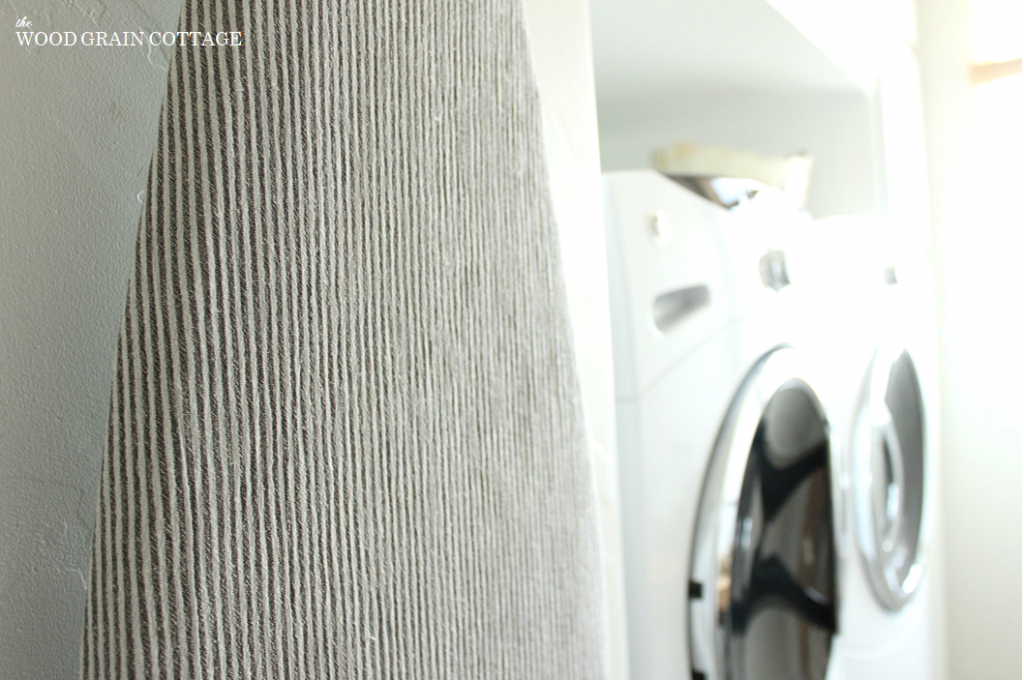
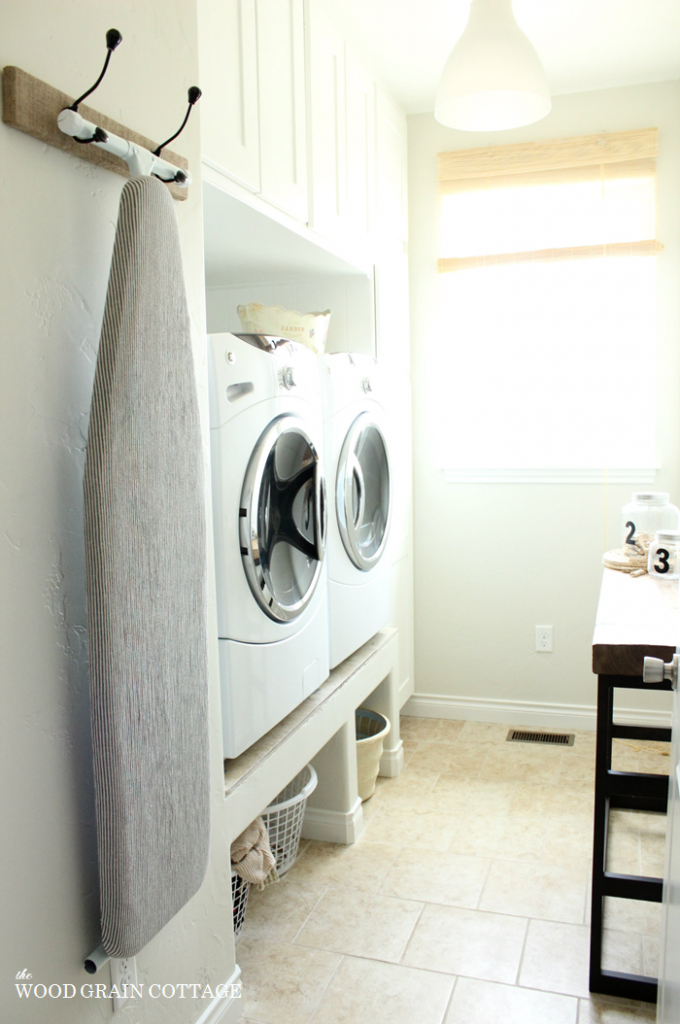
I just love it paired with my hanging ironing board rack!

I can’t help but love the stripes…
It’s such a simple and light pattern, but it’s just what I wanted. I like soft and simple.
It’s definitely added style and functionality! It’s an all in one package!
It’s so much better than the regular old blue cover…
Sigh… it’s looking just lovely in here!
I can’t wait to get a few other things finished up! Then, it might just be one of my favorite rooms in the house, which says a lot considering how I first felt about it…

P.S.- Here’s a few more laundry room related updates:
much, much better Shayna! 🙂 Love the stripes too of course! 🙂 you are so creative, I never would’ve thought of doing this for myself! it looks beautiful and goes well in your space! hmmm… I might have to do one for myself soon, I don’t like mine either! 🙂 Hope you are having a beautiful weekend too! 🙂
Awe, INGRID! You give the best compliments! I’m so happy you love it! It’s such a fun and rewarding project! 🙂
Hope you’re having a happy weekend!
-Shayna
🙂 thank you very much Shayna! 🙂
Hi, I am sorry but your webpage is so full of adverts that keeps popping up all over that I barely can see your instructions.
What a pity, the photo looks good though 🙁
What a great ironing board cover. I have threatened to make a new one for mine, now I will. Love the stripes.
It looks great in your laundry room.
Have a wonderful weekend,
Bev
@ Eclectic Red Barn
THANK YOU Beverly! I was so tired of looking at my old one- it was time for a new one! So happy you like it! 🙂
I hope you have a great weekend too!
-Shayna
Shayna
My daughter is about to re-cover her late Grandma’s ironingboard. A tubular metal frame one height with a wooden top. My late father had always re-covered it my daughter found many layers she should have taken photos!
What would you suggest as padding my father always used an old wool blanket then layers of old flanelette sheets.
She does have plenty of fluffy fabric but it isn’t cotton.
She will purchase new fabric for the top layer as you have shown.
Have you any sugestions?
Hi Lindsey! Cotton would definitely be the best choice. You can buy cotton batting, but I would use several thin layers rather than one thick layer. I kept the original cotton cover that came with my ironing board and covered that with the fabric of my choice, which is a cotton blend. It’s held up great!
I hope that helps! 🙂
-Shayna
I made mine longer & wider also. Placed the old one turned over some board and draw a bigger one. Cut it and made holes all over with a drill to let the steam pass. I coated the wood with poly and screwed it to the old ironing board which was easy as it was metal mesh. And now I don’t have to move the shirts to iron them as is as wide as the back of one.
Just a hint in case you want to follow thru
XOXO
THANK YOU so much, Cristina! That is such a great idea! 😀
Thanks for sharing!
-Shayna
I love this idea so much I made one myself this weekend!! I would love to share your blog post on my blog – Do you mind contacting me about doing this?
Beautiful job on your ironing board cover!
It is cools idea also money saving idea.