
Grain Sack Inspired Mini Burlap Pouch
See how I made a grain sack inspired mini burlap pouch with a custom iron on decal. This project is fun and easy to create!
A while back, I had this idea of a small burlap pouch with a grain sack inspired logo. I’ve made this project so many times in my head, that it feels good to actually have it done.
And I must say, it turned out just like I imagined!

Grain Sack Inspired Mini Burlap Pouch
Here’s how this little beauty came to life:
First, I started with a piece of burlap & scissors.

Then I cut a piece that would be the total length of the front and back of the pouch:

I folded it in half, length ways, and grabbed some jute twine:

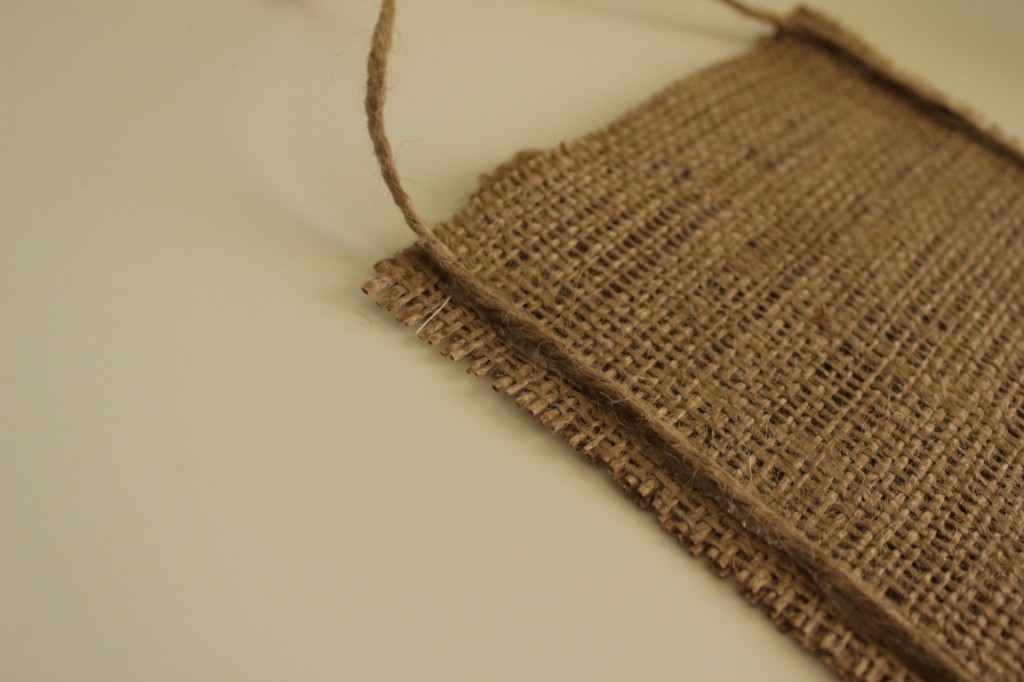
Then I sewed each side, leaving the top and bottom open:

Since this is burlap and it has a thicker and wider weave, I changed my stitch length to make it a little longer:

Here’s a close up:

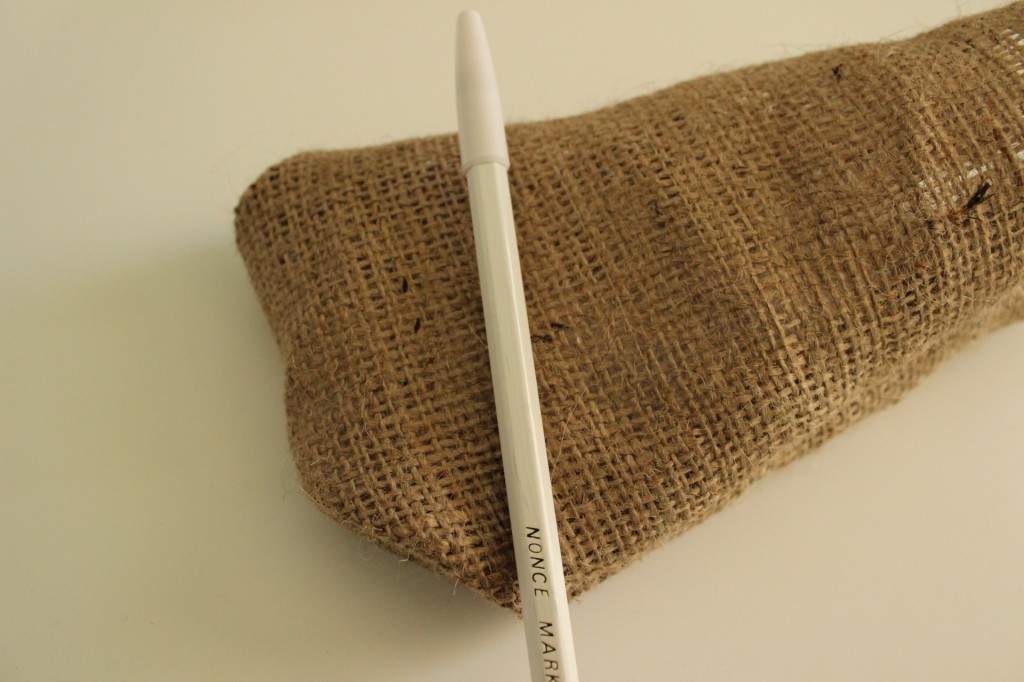
I snipped a little off of each corner on the bottom to make for square corners:

Then grabbed the jute twine to make the handle:
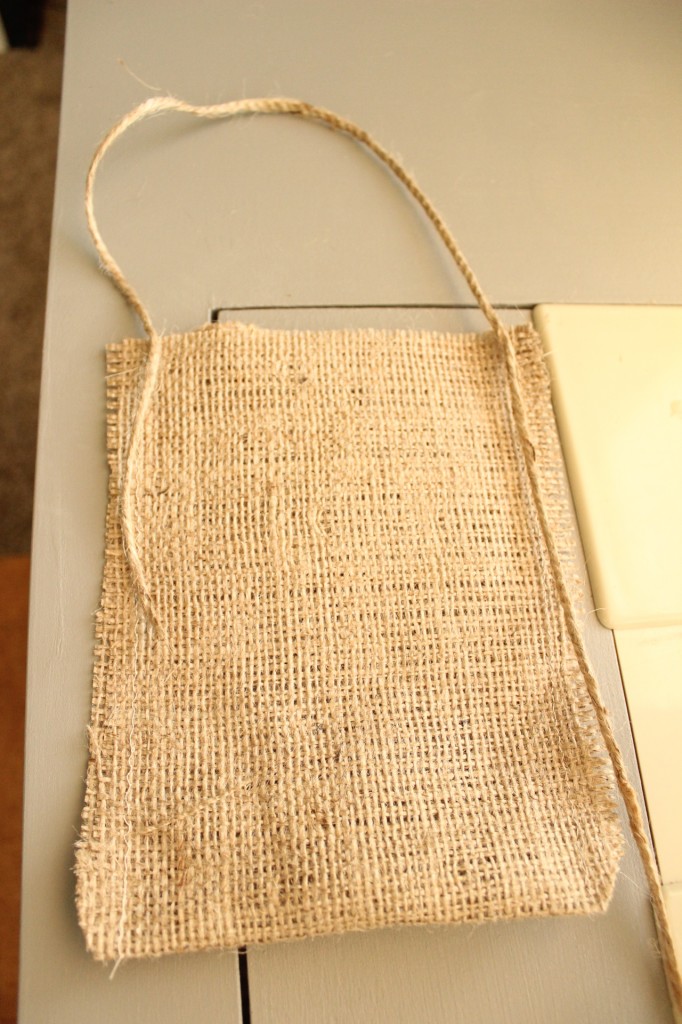
I used hot glue to secure it in place:
Once the hot glue dried, I started turning the pouch inside out:

I used a pencil to get inside the corners…:
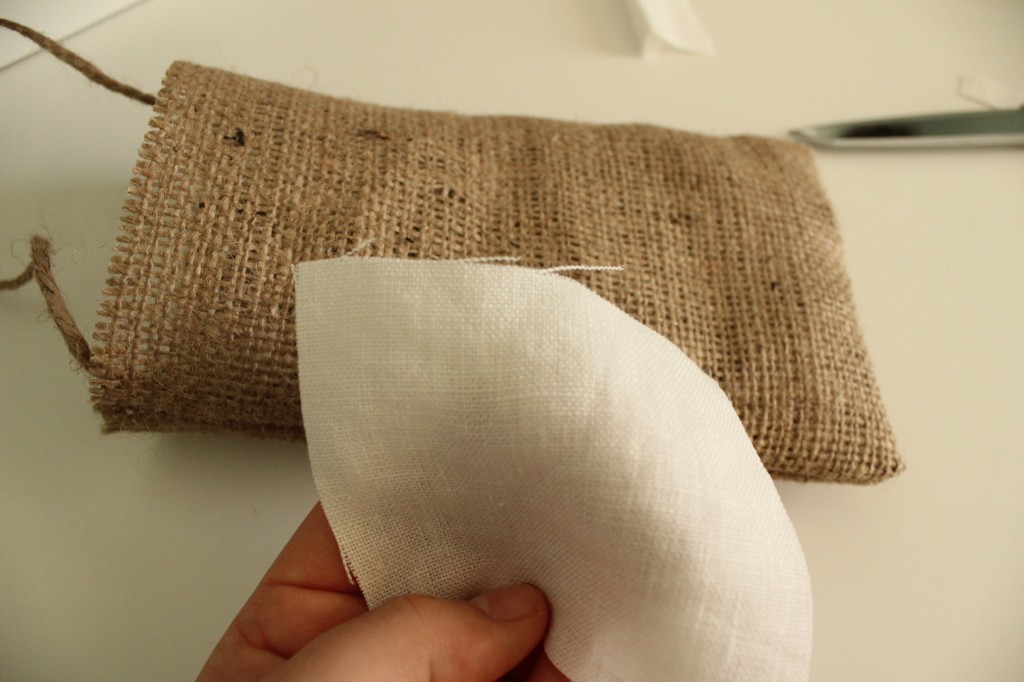
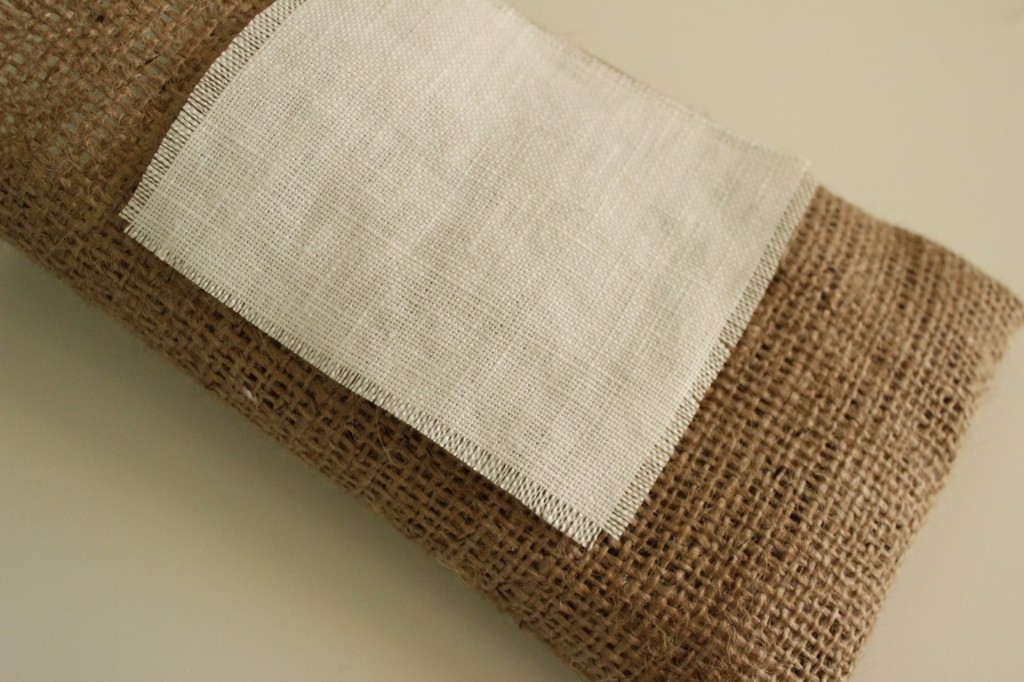
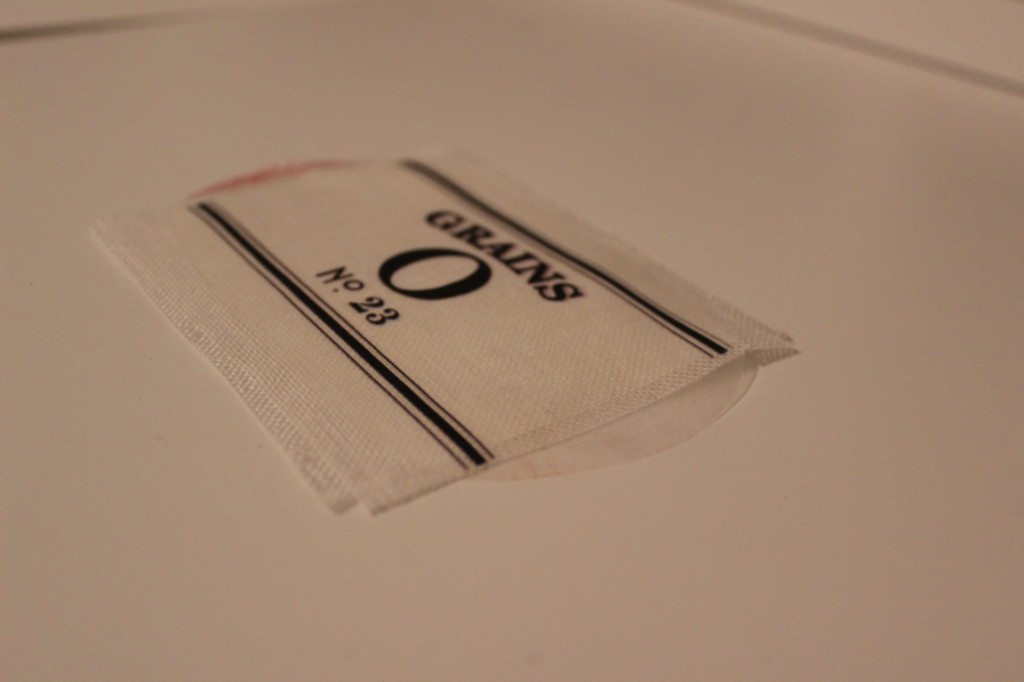
Then I grabbed some leftover white linen for the “grain sack” portion:

I trimmed it down to size, which was 3″ wide x 3.5″ tall:
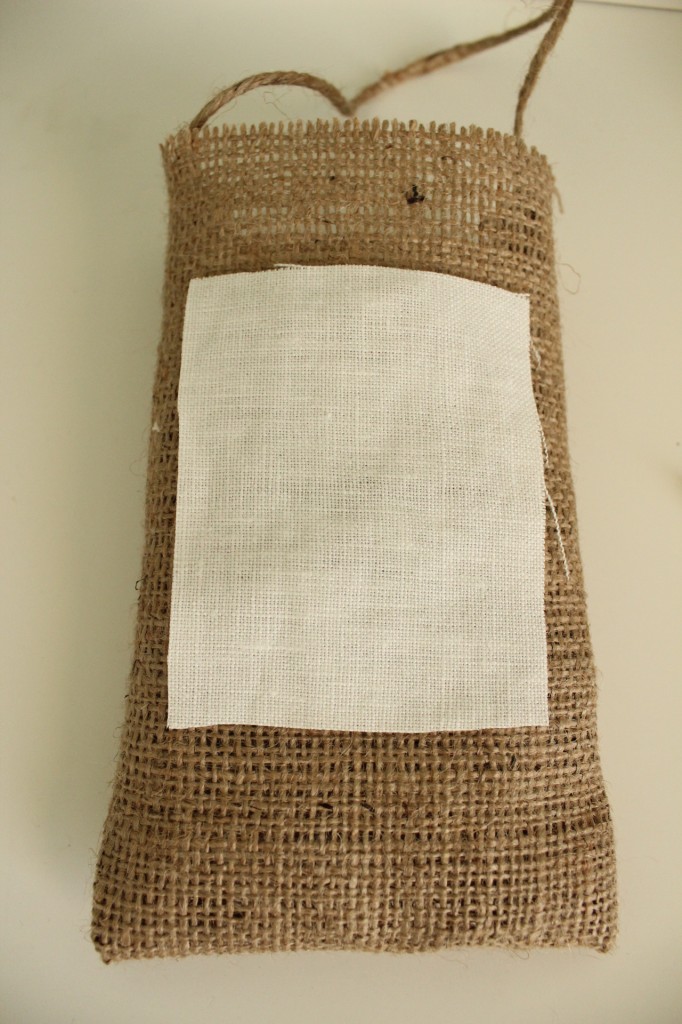
And because linen is famous for fraying, I helped it out by pulling a few strings on each side:
Once I had the linen ready, I started designing my logo. I used Excel and started playing around. I knew that I wanted it to say “Grains”, have an “O” for our last name, and include a number like traditional grain sacks. I used 23, which the day the hubby and I were married.
It all came together from there. I flipped the image in my editing software to a “mirror” image.
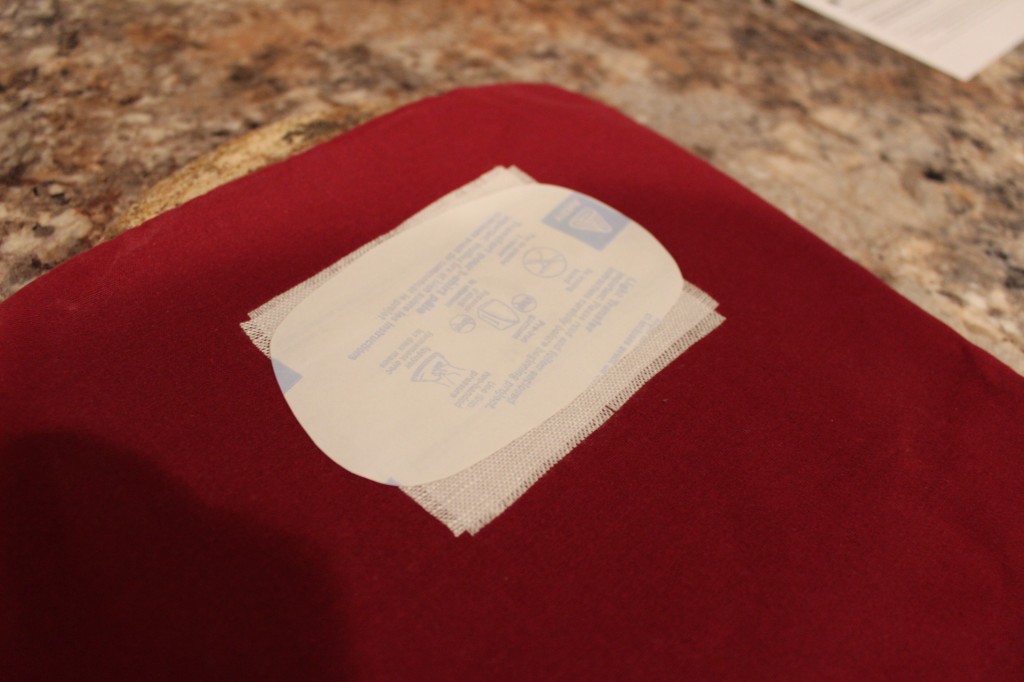
And grabbed some of this:

Then printed my image:

I followed the directions on the transfer paper, which said to trim around the design always having a “curve”:
I used a stone pot holder covered with an old pillow case and started ironing. The directions said to iron the fabric, then iron on the transfer 20 second at a time:
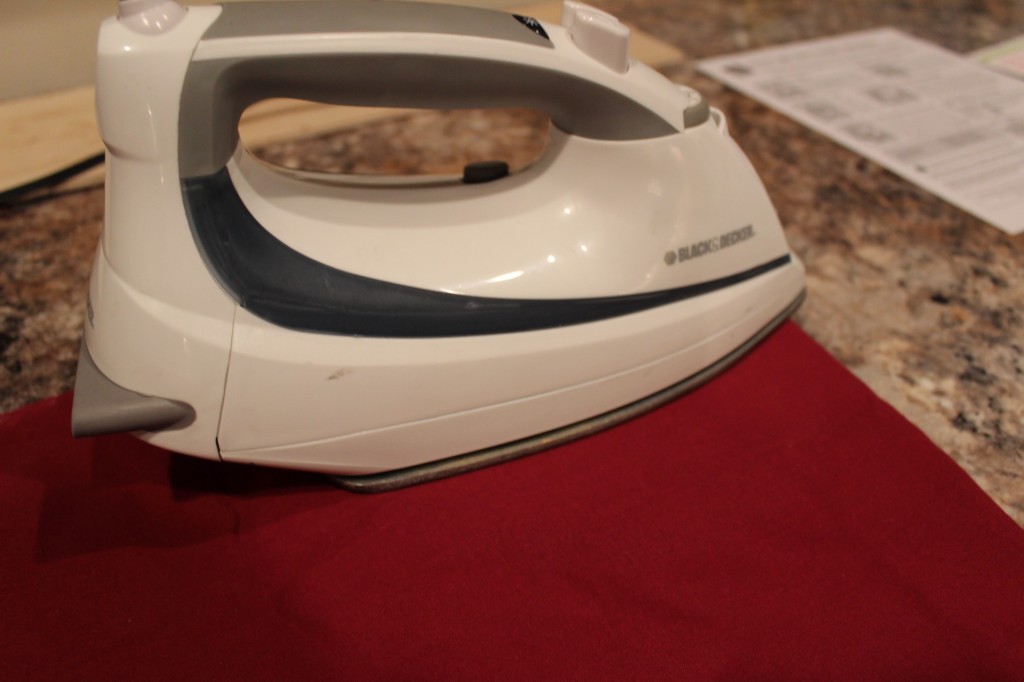
*Side note: Be sure to use piece of fabric that you don’t care about. The fabric transfer will leave a mark on the fabric your ironing on, the pillow case.
I used my scissors to trim off the extra transfer paper:
Then I ironed the burlap pouch to lay flat, and hot glued the logo in place:
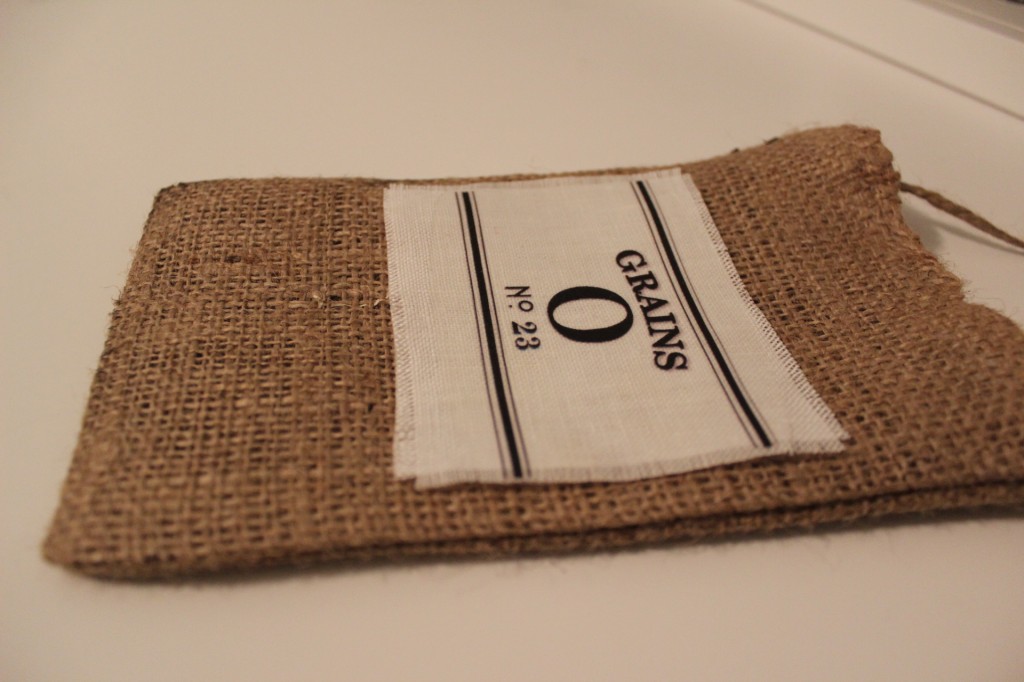
*Side note: You could easily sew the logo onto the burlap bag, but you would have to do that prior to sewing the burlap pouch together. If not, you will sew through the pouch, making the center useless. In other words, you won’t be able to put anything inside the bag.
The only reason I didn’t do that was because I didn’t know what I wanted the logo to look like and I wanted this project done.

I can’t help but smile at the results, it’s sooo pretty!
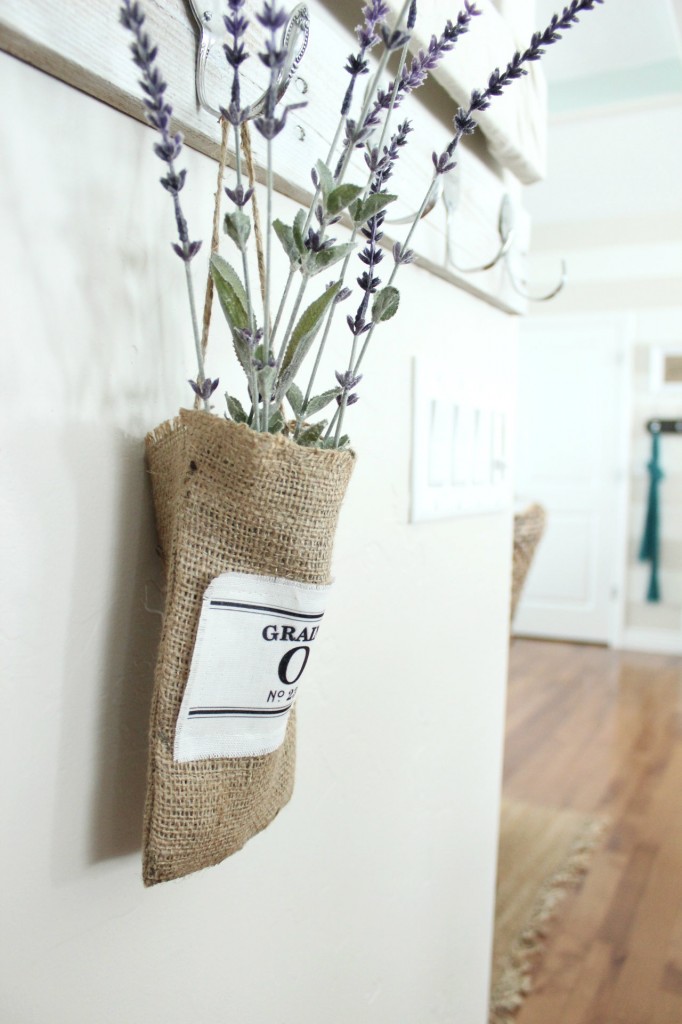
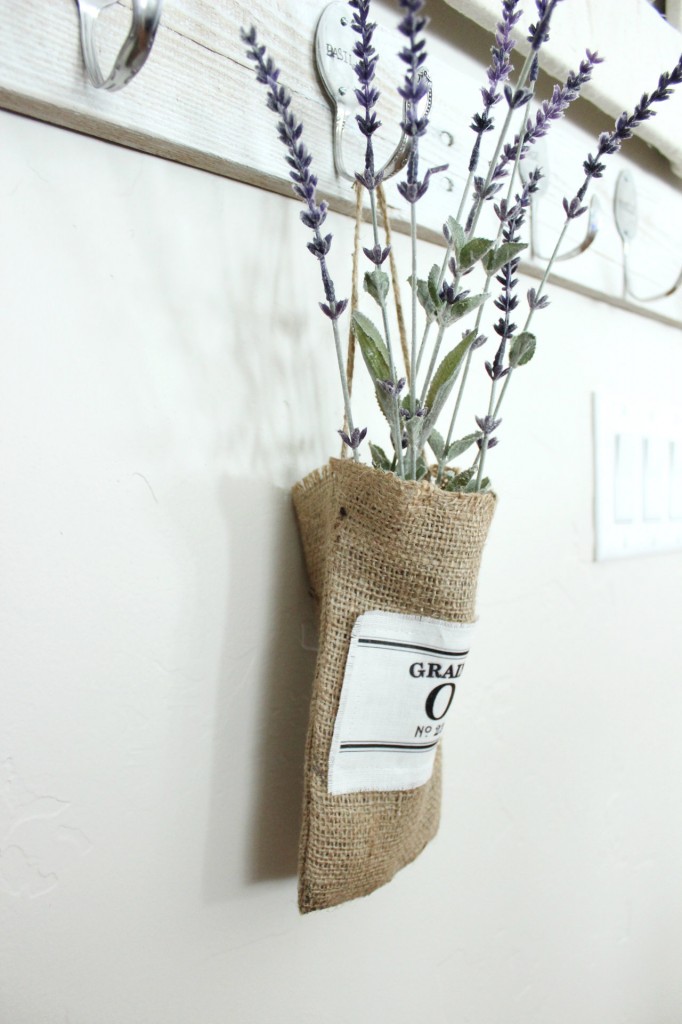
I stuffed it with a few fake lavender sprigs and hung it on my spoon & pallet hook rack.
This is what happiness looks like:

The logo melts my heart… Every part of it is special to US!

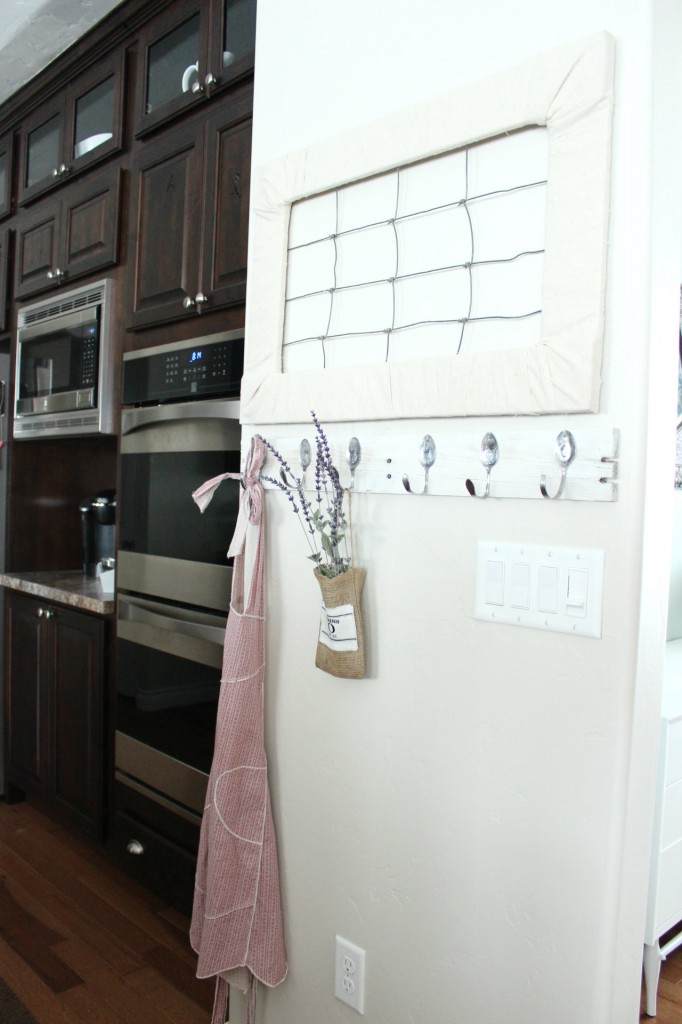
I love how the burlap looks against my spoon hooks:

And it’s the perfect compliment to the fabric wrapped frame with wire mesh fencing:
(Gotta love bright snowy mornings! They make photography a smidge hard! )
The lavender sprigs are lovely…

And the “Grains” get’s me every time. It’s so perfect for our home and farm!
Such a cheerful and “homey” vibe to the kitchen… sigh… It’s the simple things.
And, I’m happy to report that this projects has inspired me to create about 10 more things… I’ll share soon… But how a-dorable would this be with wedding favors tucked inside? Or to hold silverware at each place setting?
The ideas are spinning…
P.S. I’m guest posting over at Fox Hollow Cottage today! The lovely Shannon is away on vacation and asked that I share my spoon & pallet hook rack! Be sure to check it out!
It’s beautiful Shayna! I love how your burlap pouch turned out! great tutorial too! last time I worked with burlap I was scared of sewing with it , so I only used hot glue but after seeing your tutorial I won’t be scared next time it turned out great! the fabric you added in the front is a great detail for your pouch! 🙂
THANK YOU Ingrid! I love how it turned out- and the burlap was very easy to sew! You’ll do great! 🙂
-Shayna
So pretty! This looks like a good beginning sewing project to try-I love the burlap and transfer paper idea, have also been wanting to play around with that-pinning this idea!
THANK YOU Kristina! I’m so glad you enjoyed it- and yes, it’s a great beginning sewing project! Thanks for the pin! 🙂
-Shayna
I have been getting some links back to your posts. I love this burlap bag! Have you put it on Pinterest yet? I didn’t see it on your page which I signed up to follow!! Easy and fun plus I have oodles of lavender all the time!
THANK YOU so much, Gwen! I think I posted it on my Pinterest page, but I’ll pin it again! 🙂
So happy to have you as a new follower! 🙂
-Shayna
Love these. I made something similar this past spring (its a picture on my blog sidebar). Mine says Paris, and I got a bit crazy and ran a little piece of material taped to a piece of paper through my printer. I know there is printable fabric too. LOVE your ideas!
THANK YOU so very much! 🙂
-Shayna
Hi! Cute project! Does the hot glue provide strong enough adhesion when hanging the bag so that the handle doesn’t pull off? I’ve never used hot glue (that’s weird, isn’t it) so I don’t know.
THANK YOU so much! Yes, the hot glue is plenty to hold the handle. I always make sure to use a high heat hot glue gun, and everything is sure to stay put! 😀
Happy hot gluing!