
DIY Cardboard Numbers
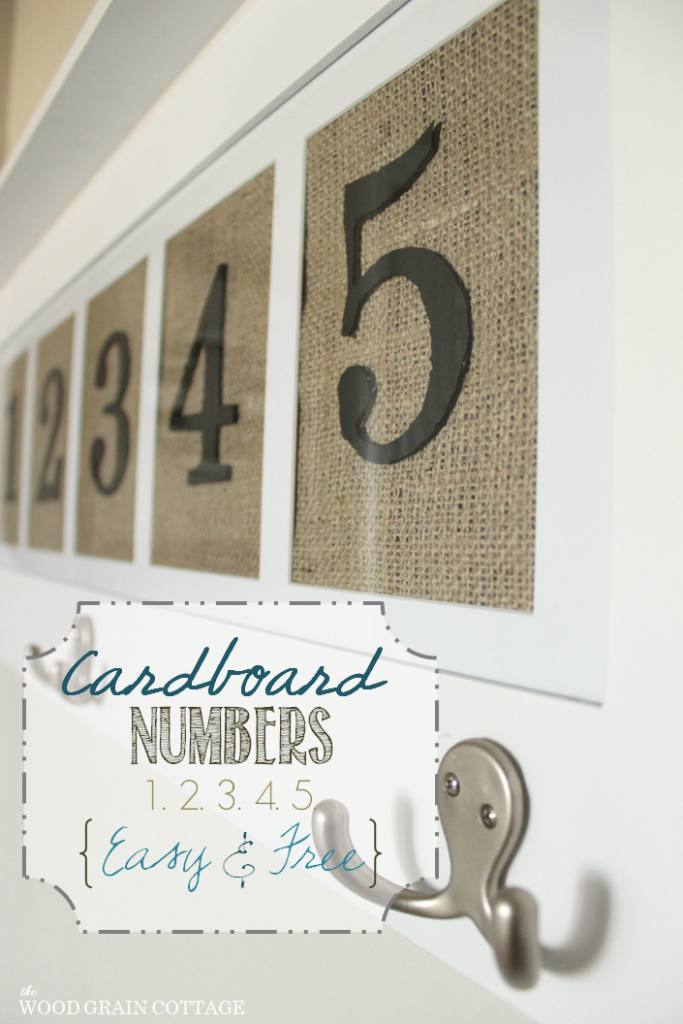
I recently decided to change the mudroom coat rack/ frame. I was ready for it to say something besides “Home” and Something more like: 1, 2, 3, 4, 5.
Totally original, I know, but numbers are so classic and timeless.
I mean, they’ve been around forever. 😉
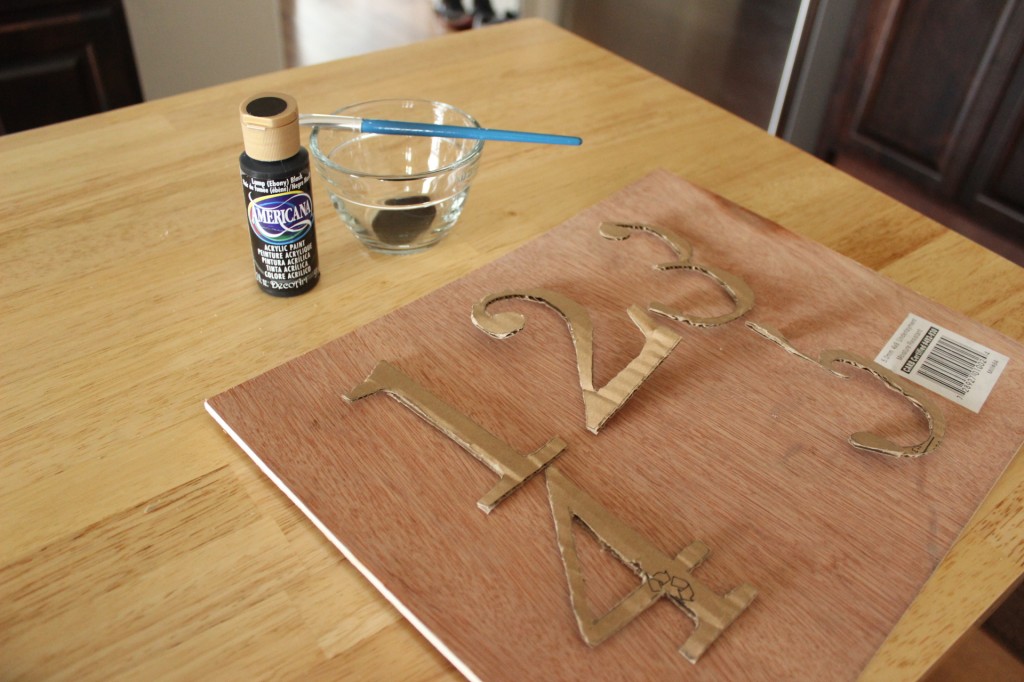
I really didn’t want to spend any money on the project, so I grabbed a couple of pieces of left over cardboard and got to work.
Here’s how I made them:
First, I opened a Word document, picked a font, chose my number size and printed them on heavy card stock. I cut the numbers out and placed them on the cardboard.
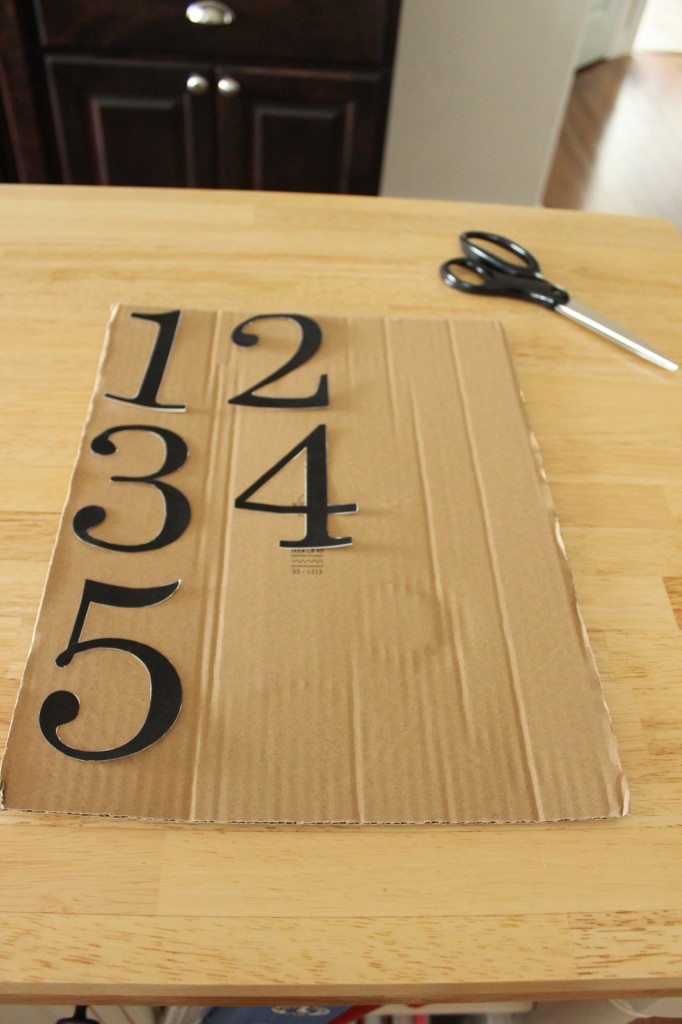
Then I traced each number on the cardboard.

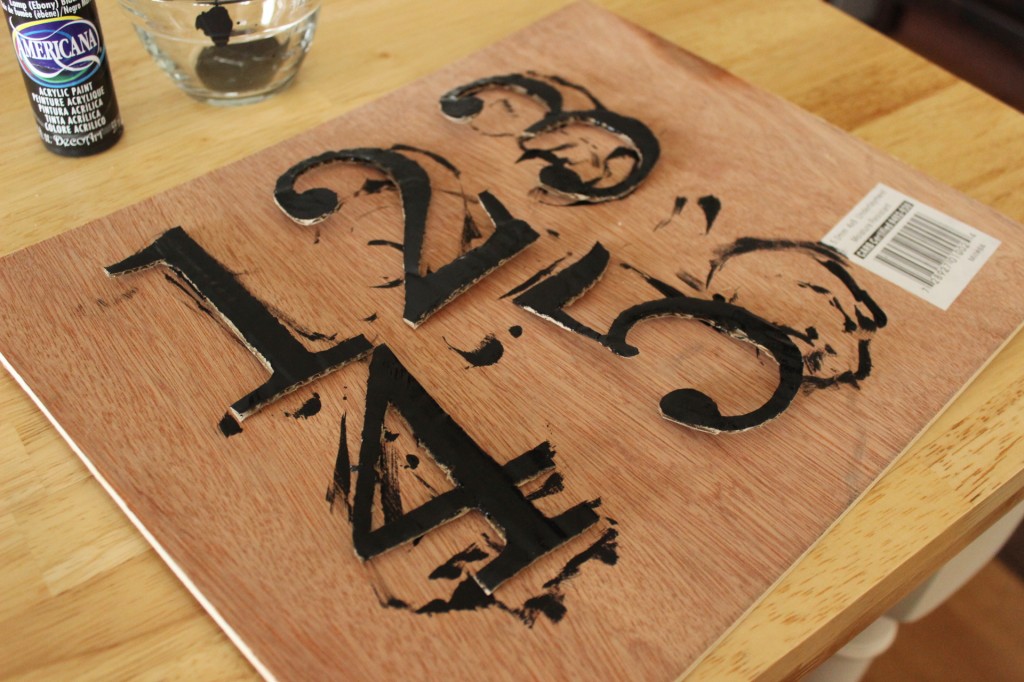
I grabbed a sharp pair of scissors and started cutting out each number.
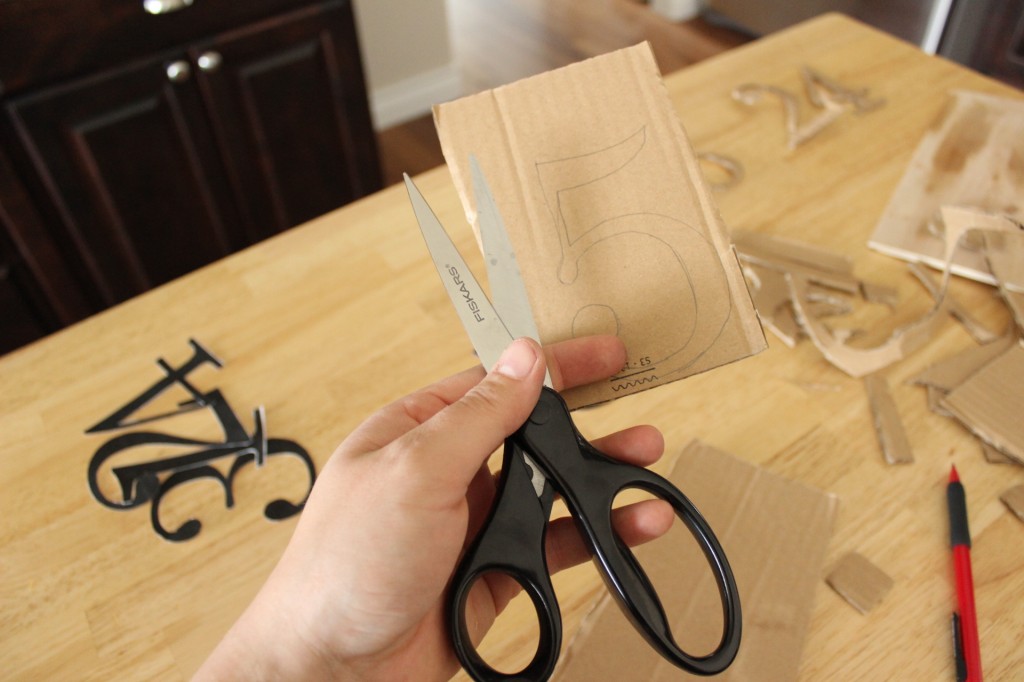
Note: to cut out the middle part of number 4, I used a razor blade. Worked like a charm. The scissors worked for everything else, but they need to be sharp!
The numbers will lay flat once they are painted…
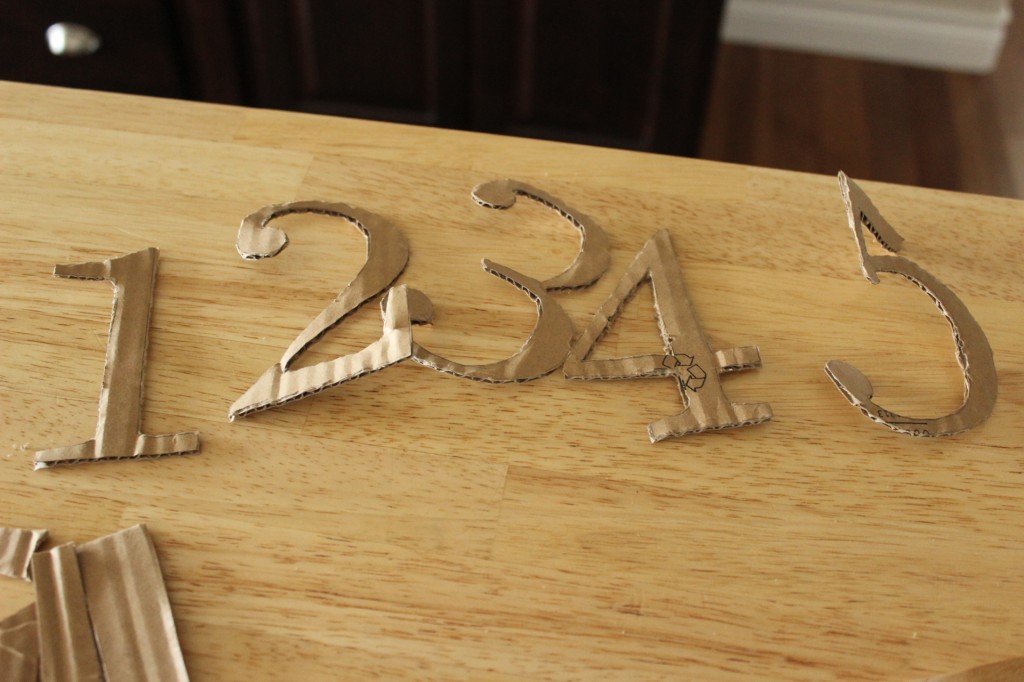
With all the numbers cut out, I starting painting the face of them with acrylic black paint.
I waited for it to dry, then painted the sides of each number.
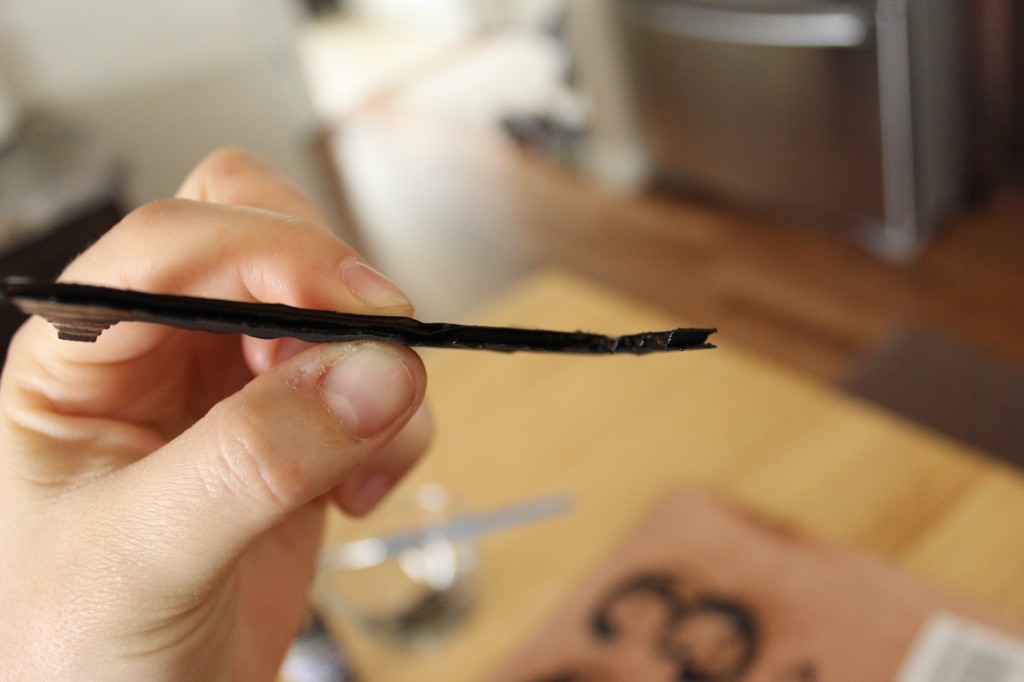
Painting the sides is very important. If you don’t, you will absolutely be able to tell the numbers are made from cardboard. If they are painted, you can’t tell they’re not expensive letters from a home improvement store…
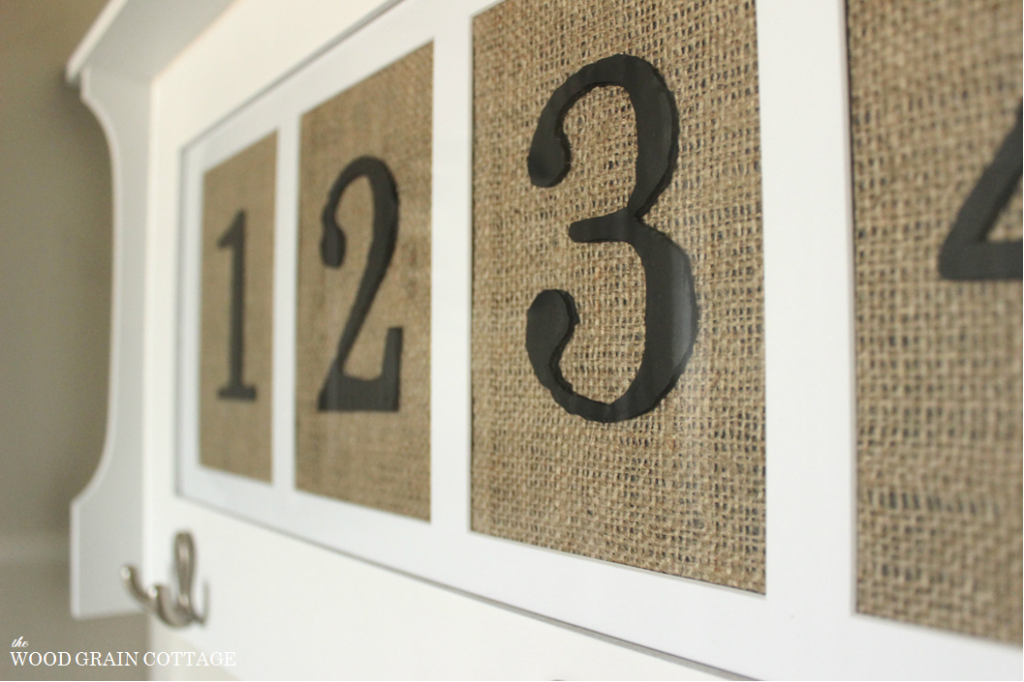
I love the way the black numbers look against the burlap… and a couple dabs of hot glue secures them in place.
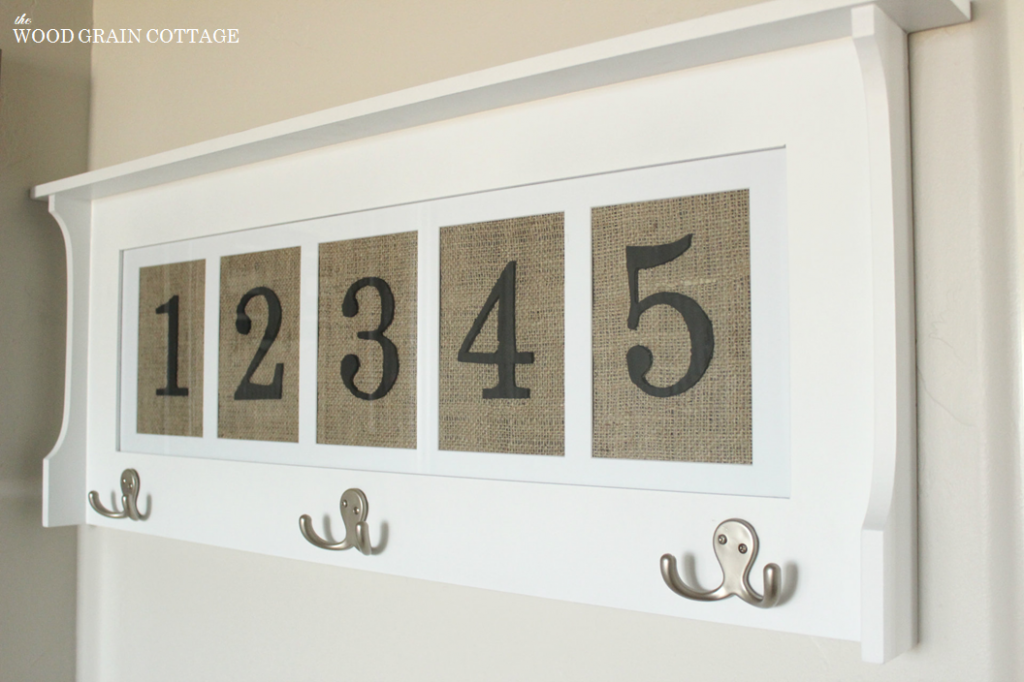 (It’s totally weird that the 5 looks offset… I used a tape measure and each number is equally spaced on each side… Must be the angle.)
And they just happen to pull everything else together too… which I’ll show you a bit later… I know, I know…

I am totally digging how EASY these were to make, and how big of an impact they had on the room.
Plus, they’re free. AND you can pick your own font! Double bonus!
I can’t wait to show you more of our mudroom… it’s come such a long way.

P.S. You can see the cardboard “Home” version here.
Linking up to:
I love the makeover! And you did an awesome job cutting those letters out, mine would have been all kinds a wonky! I’ll be pinning this later tonight!
THANK YOU Jacque! I’m super glad you like them! THANKS for the pin too! 🙂
-Shayna
Fabulous little project, and nicely done. FREE too! My favourite!
Judi in the UK
THANK YOU Judi! I’m so happy you like them… I LOVE that they are FREE too! 🙂
-Shayna
Wouldn’t have known this was made out of cardboard if you didn’t tell us!
THANK YOU Rebecca… they sometimes still trick me too! 🙂
-Shayna
So stinkin’ cute! You are too good! 🙂
Awe- THANK YOU April! I’m so happy you like ’em!
-Shayna
Love the simplicity of this project. Classy, elegant and earthy! All of my favorites! Just so you know.. I just painted my entry way with stripes. I love it, the Mr. thinks it’s pretty cool and my daughter is going to steal the idea for her house too! Thanks for the great ideas! Your fan,D.
WOW! THANK YOU Diane! I am so glad you like them. AND I am SO HAPPY to hear that you are loving your stripes too. 🙂
THANK YOU for the lovely comment!
Big hugs!
-Shayna
I LOVE it, LOVE it, LOVE it! Shayna! what a great project you did here! I love everything about it! 🙂 it’s beautiful, the black numbers look amazing against the burlap! I love burlap projects! 🙂 btw, Shayna, I just saw an e-mail pop in my inbox from “roadkillrescue.com” and they just featured your beautiful Herringbone side table makeover! congrats! 🙂
THANK YOU, THANK YOU, THANK YOU! I’m so happy you love this as much as I do! 🙂
I just got the e-mail featuring my side table too… whoa! I’m speechless…
Hugs to you!
-Shayna
SO clever and cheap! Love it! Would love it if you would link this up to Give Me The Goods Monday: 1 Party, 5 Blogs! http://www.rainonatinroof.com/2013/04/give-me-goods-monday-link-party-4.html
Jenna @ Rain on a Tin Roof
THANK YOU Jenna! I’m so glad you love it! 🙂
I’m on my way to link up!
-Shayna
Still lovin these sooo much! Just wanted to say thanks for linking up to Give Me The Goods Monday! Can’t wait to see what goods you bring next week! Jenna @ Rain on a Tin Roof
THANK YOU Jenna! And thanks for hosting a great party! 🙂
-Shayna
Great repurpose! I love it! You can’t beat free!
THANK YOU Mindi! You’re totally right- you can’t beat free! 🙂
-Shayna
Love the numbers on the burlap. Good job.
Thanks for sharing,
Audrey Z. @ Timeless Treasures
THANK YOU so much, Audrey! I love how they turned out too! 🙂
-Shayna
Love
THANK YOU so much, Ellen! 😀
-Shayna