
Fabric Wrapped Frame With Wire Mesh
When we bought our farm, we inherited a ton of fencing that needed removed. The first few months while our house was being built, Anthony and I spent every night and weekend with the tractor pulling out metal stake after metal stake. And between all those metal stakes was wire mesh fencing.
At the time, our main priority was to remove the fencing as fast as possible, so we rolled all the wire into several bundles and left them in one of our sheds.
I’ve been trying to figure out a way to use some of the wire mesh, and I finally have.
With the addition of our new spoon hook rack, this wall needed something else to tie it all together.
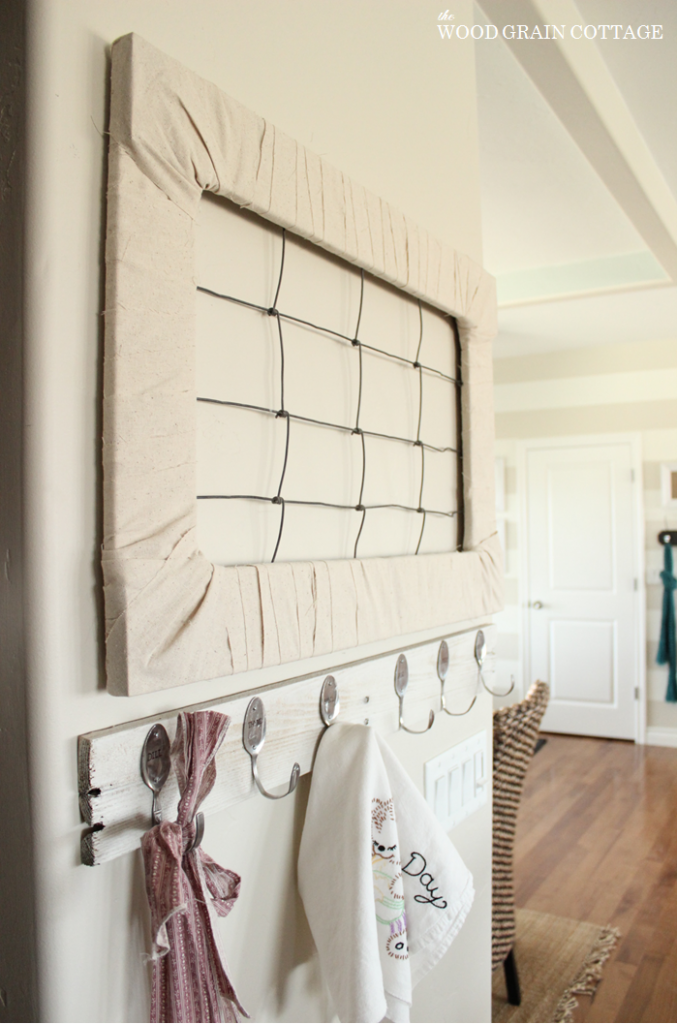
Enter in this lovely frame.
I wanted something with texture, and boy did I get it.
Here’s how I made it:
I started by picking the size of the frame: 30″ wide x 20″ tall.
Anthony cut an extra piece of plywood into the necessary4″ wide strips and I glued them together to make the frame.
While the glue dried, I headed outside to cut a section of wire meshing…

Pretty, eh? And this isn’t even a smidge of the wire…
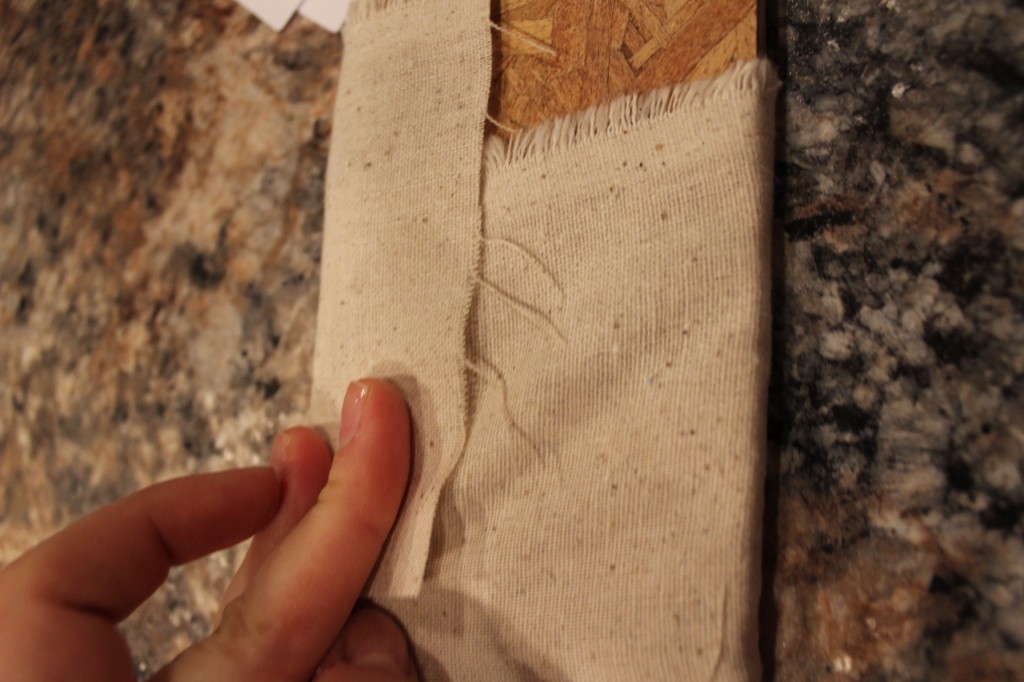
With the wire cut, I grabbed some leftover fabric from the breakfast nook pillows and started cutting it into 3- 4 inch strips, or there about. I used around a yard of fabric.

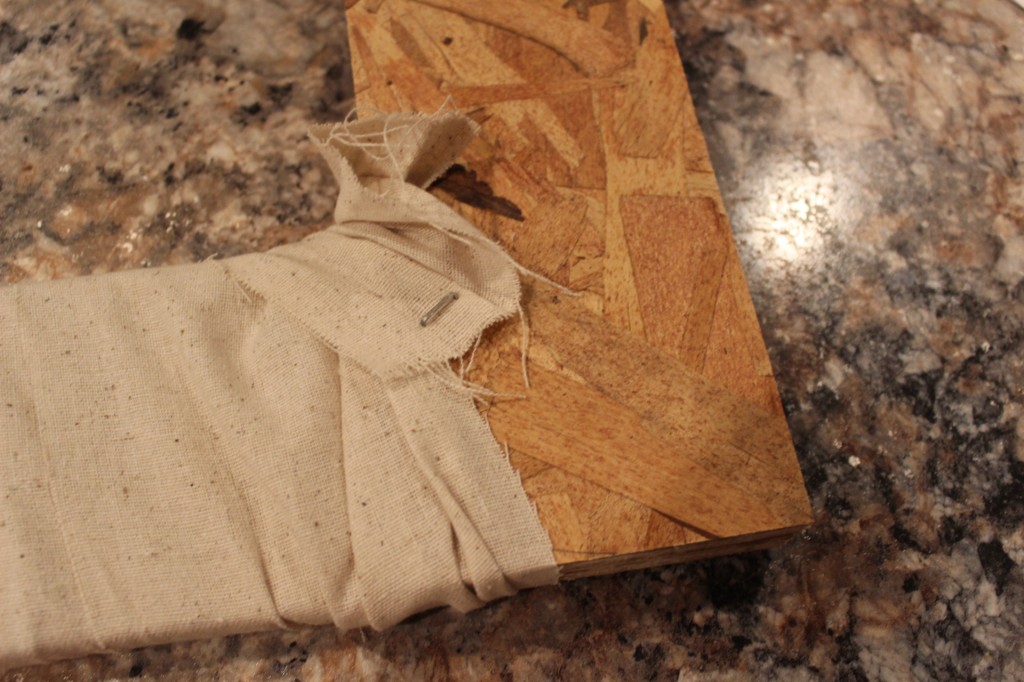
I started by wrapping the entire frame with the fabric strips. I made sure to overlap each strip so that it gave a nice “ruffle-ish” texture. Anthony says it looks like a mummy, but I totally disagree. It looks like ruffles. Definitely ruffles.
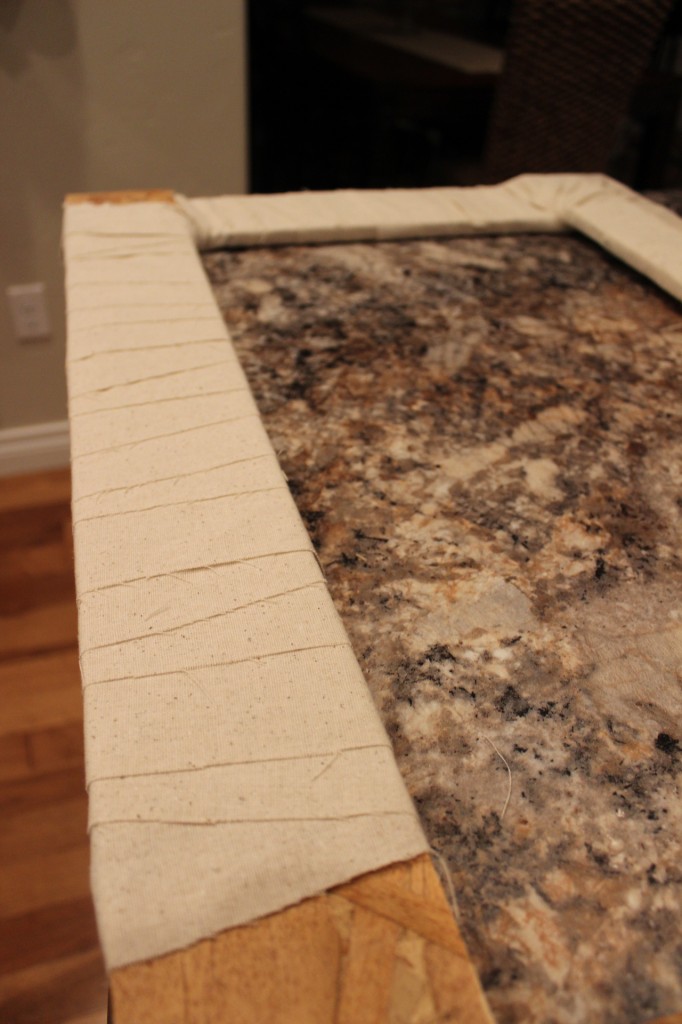
Once I came to the end of a strip, I would pull it as tight as I could and then staple it on the backside.
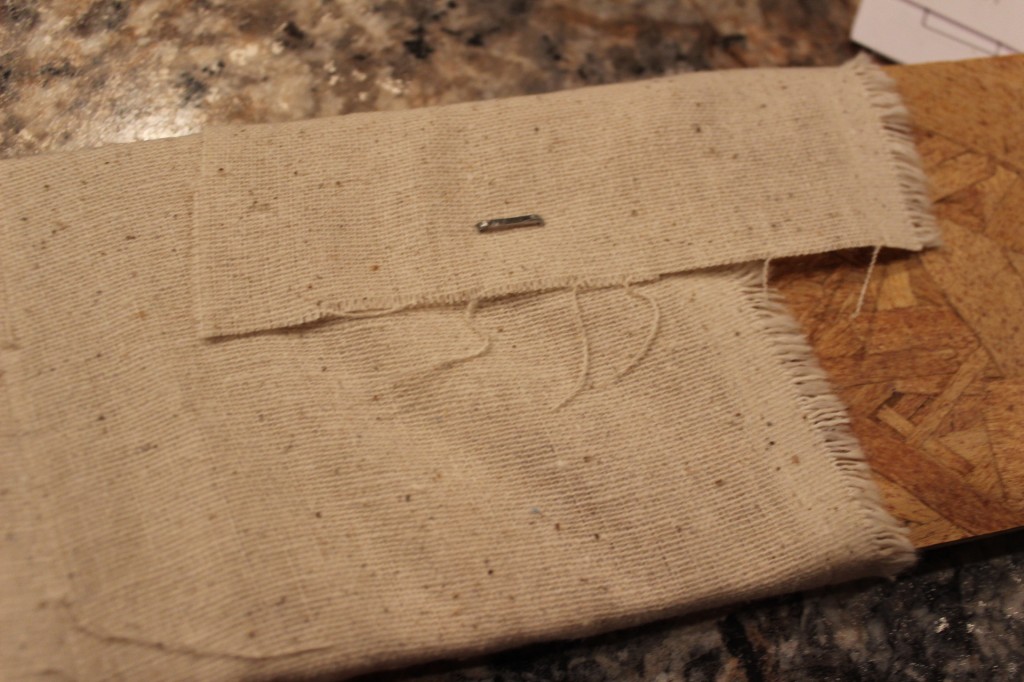
With the strip secured in place, I grabbed another one and made sure to line it up with the first one. Then I kept wrapping it around the frame until I came to the corner.
I started on the next side of the frame and left all the corners empty.
With all the sides wrapped in fabric, I used 4 strips just to cover the corners.

I pulled them tight and stapled it on the back.
With all of the fabric in place, I flipped the frame face side down and laid the wire meshing on the back side.

Then I started stapling it in place, making sure to pull it tight as I went.

Once all sides of the metal were stapled down, I grabbed two small picture frame hangers and nailed them in place on both sides of the frame.

I flipped it back over and hung it on the wall.
Super easy!

The wire meshing is such a cool focal point.

I love the way it looks with the spoons hooks…

And the combination of the hard metal with the softness of the fabric is perfection.

I love that it’s not too “heavy” looking.
The spoons still shine.
And now, here’s the cost breakdown:
Plywood Frame- Free
Wire Fencing Mesh- Free
Leftover Fabric- Free
Stapler & Staples – Free, I already had them on hand.
Total: FREE!
Gotta love that, right?
I’m still working on a little something for the inside of the frame, but that’s another post in itself.
Until then, I love how this wall is coming together. Every time I see it or walk by, I smile.
And knowing that I made the entire thing from stuff laying around is even sweeter!
🙂

Linking up to:
Can I just tell you how much I love all of your projects? I seriously love this!! Love your style, love your creativity and resourcefulness!! Hope you have a great weekend, Shayna!
THANK YOU Chelsea! What I seriously awesome comment. Big smiles (& hugs) to YOU!
Have a great weekend!
-Shayna
This looks terrific! I love using things around the house for projects..and its a great bonus when they turn out as good as this did. I agree, its a perfect compliment to the spoon hooks. Just beautiful!
THANK YOU Christina! I’m so glad you enjoyed it! And you’re right, it’s a complete bonus when projects turn out how you hope- or even better! 🙂
Have a great weekend!
-Shayna
Such a great project! I found you over at the pop party at Fox Hollow. I can’t wait to look around your site!
THANK YOU Kris! I’m so glad you found me! 🙂
-Shayna
Shayna this looks great in your space, I can’t believe how you did this with wire mesh fencing and at $0.00! 🙂 Hope you will have a great weekend!
THANK YOU Ingrid! I’m so glad you like it- me too! 🙂
Have a great weekend!
-Shayna
Love this! What a great memo board-use old clothes pins to hang notes/reminders/invitaions-cool!
Thanks for the inspiration.
Enjoy!
Kris of Cricket Acres Studio
Thank YOU Kris! You must have read my mind on how I’m thinking about using it. 😉
Have a great weekend!
-Shayna
seriously love this frame! oh and the spoon hooks 🙂 aack… off outside i go to see if i have some mesh or chickenwire to make one 🙂
THANK YOU Rosalie! I’m so happy you like it! I hope you can find something to make your own! 🙂
-Shayna